


The short answer: Wash out that empty rotisserie chicken container, poke a few drainage holes in the bottom, fill the base with seed-starting mix, plant your seeds, snap the dome back on, and you've got yourself a free mini greenhouse that traps humidity and warmth to help seeds sprout weeks earlier than usual. Total cost? Under $5 if you already have the container from dinner!
That's right, folks, the same plastic clamshell that held your Tuesday night dinner is secretly one of the best seed-starting tools in your kitchen. Before you toss it in the recycling bin, let's give it a second life as a tiny growing paradise for your favorite seedlings.
Why Does a Chicken Container Work So Well?
Here's the beautiful thing about rotisserie chicken containers: they were practically designed to be mini greenhouses (they just don't know it yet).
That clear, domed lid? It lets sunlight pour through while trapping humidity inside, exactly what seeds need to germinate. The deep base holds enough soil for roots to get a solid start. And the whole thing is see-through, so you and the kids can watch the magic happen without lifting a finger.
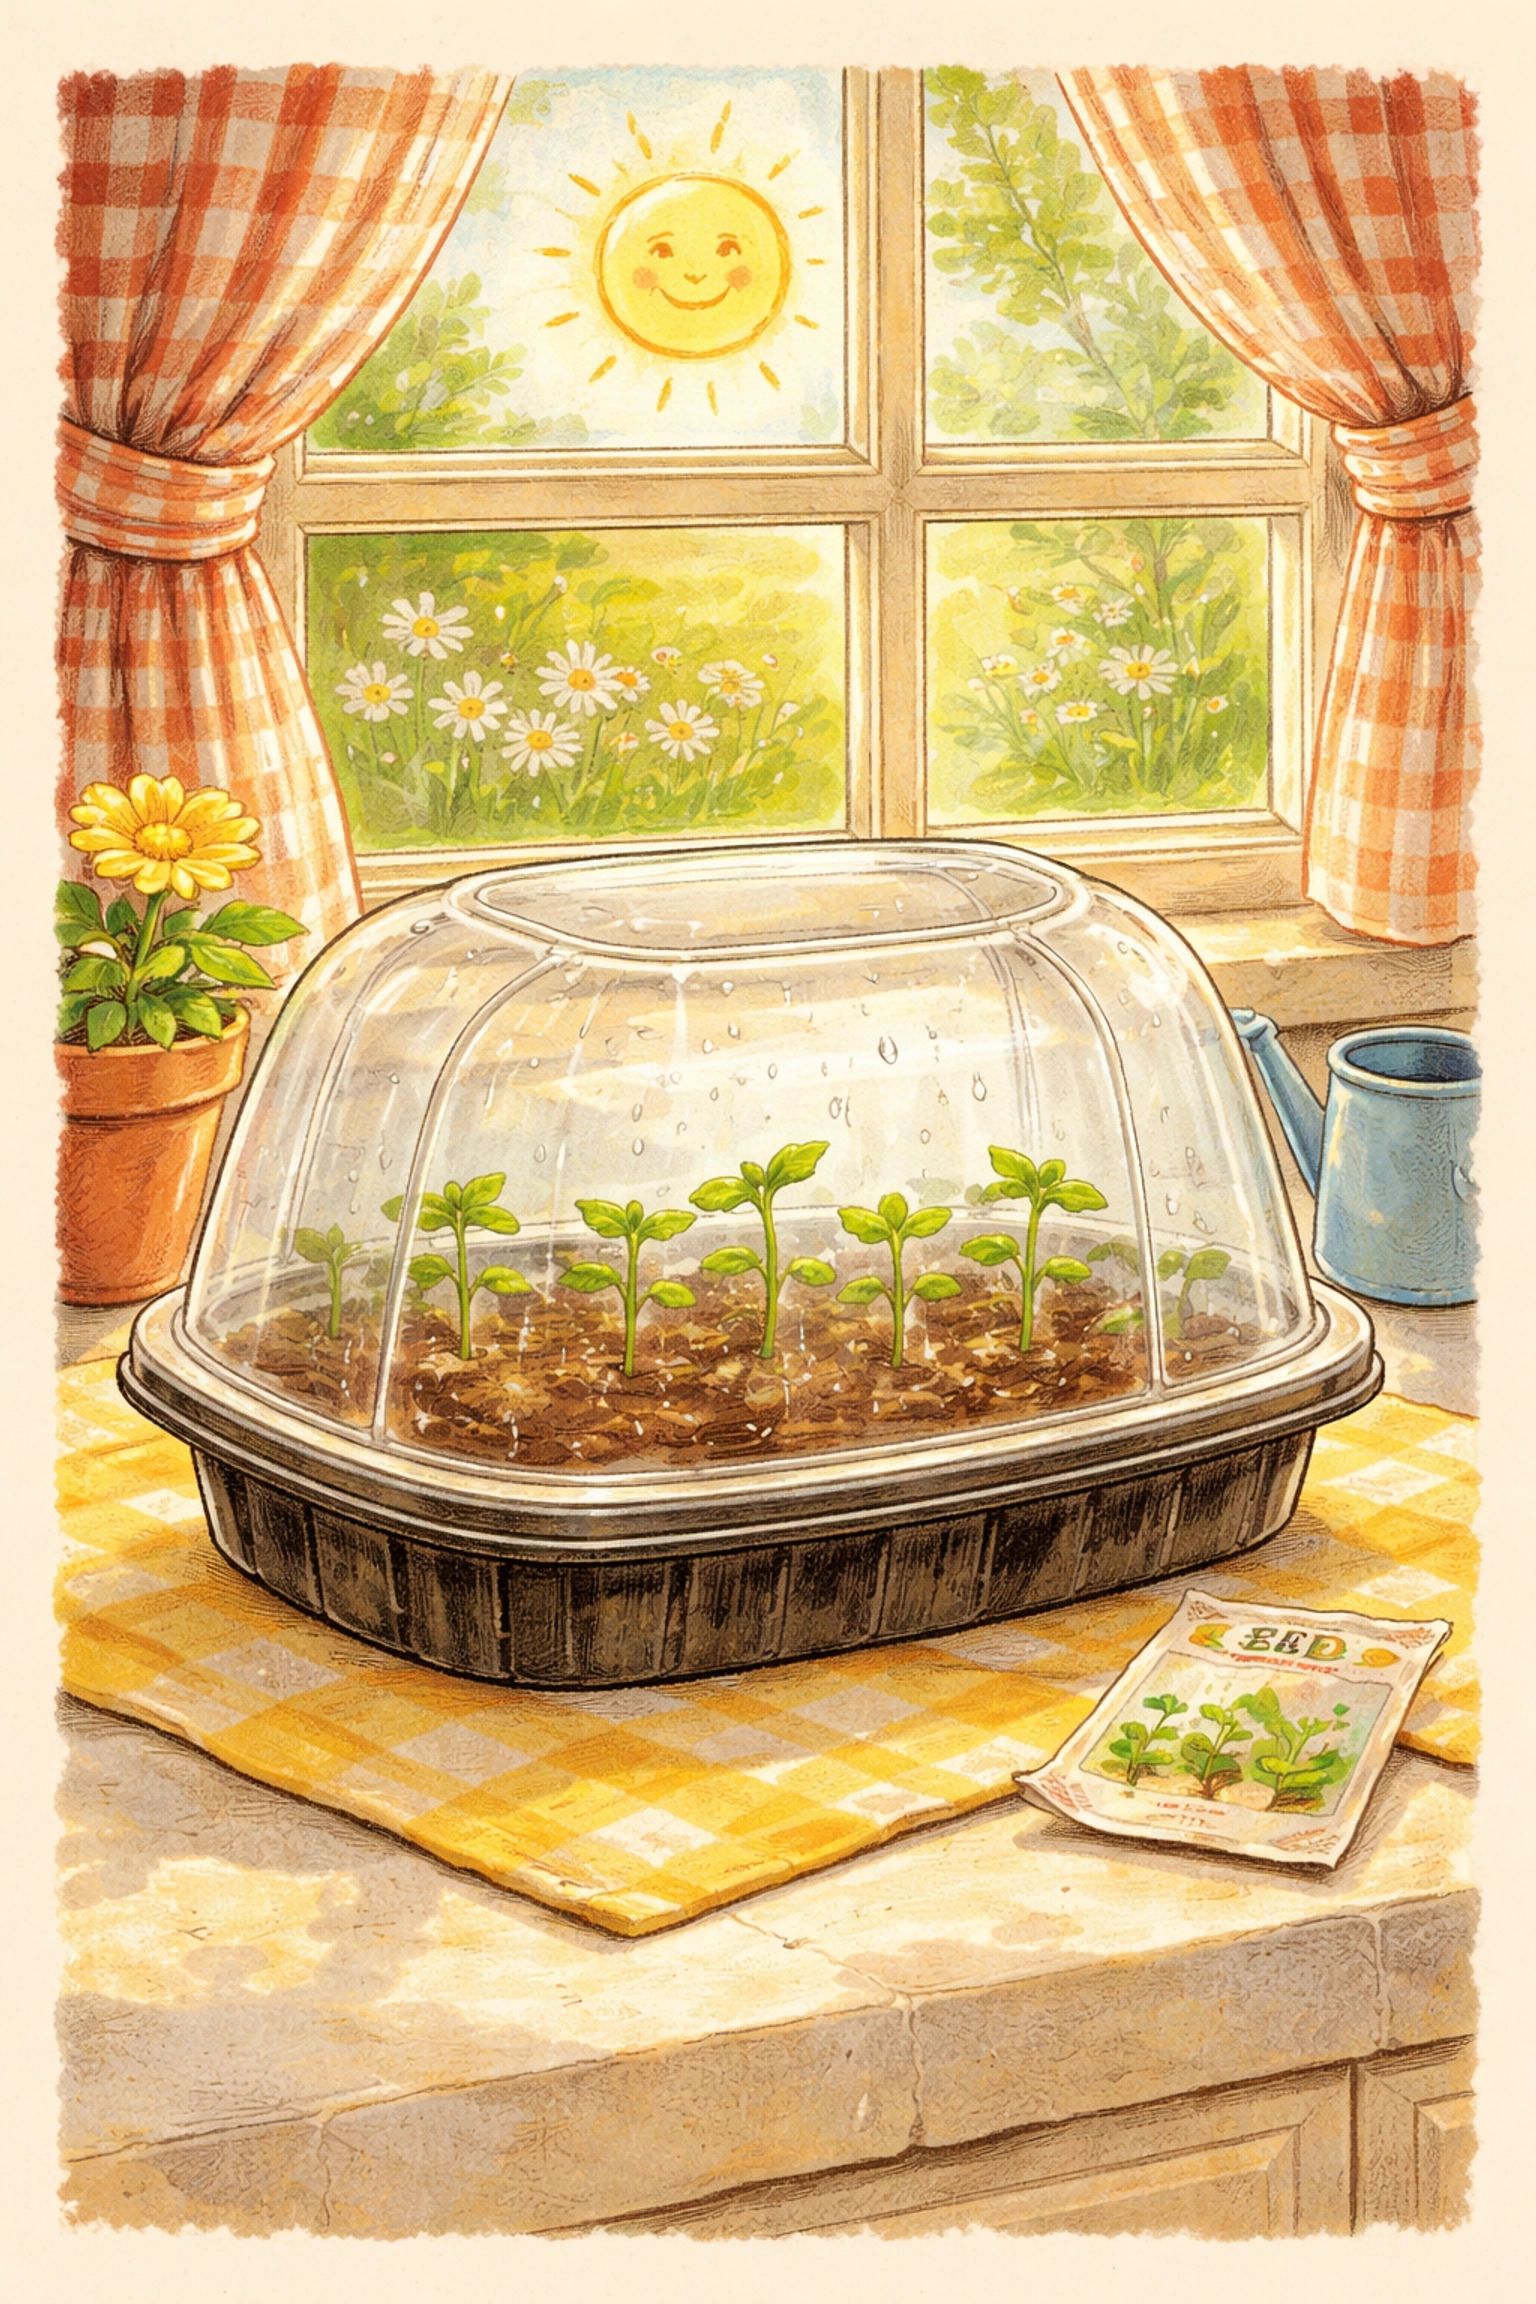
Think of it like a cozy little terrarium for baby plants. The dome creates a warm, humid microclimate that mimics the conditions seeds experience in nature when they're tucked under a layer of moist leaves and soil. Seeds that might take two weeks to sprout in open air can pop up in just 5-7 days inside your chicken container greenhouse.
Plus, it's free. Can't beat that.
What You'll Need (Budget: Under $5!)
Here's your complete supply list, most of which you probably already have lying around:
| Item | Cost |
|---|---|
| Empty rotisserie chicken container (cleaned) | Free! |
| Seed-starting mix (small bag) | $3-4 |
| Seeds of your choice | $1-2 per packet |
| Fork or nail (for drainage holes) | Free (from your kitchen drawer) |
| Spray bottle with water | Free (reuse an old one) |
Total project cost: $4-6
If you've already got potting mix from another project, this whole thing costs you literally nothing but a few minutes of your time.
Step-by-Step: Building Your Chicken Container Greenhouse
Step 1: Clean That Container!
First things first, wash your container thoroughly with warm, soapy water. Nobody wants their tomato seedlings smelling like garlic and rosemary (okay, maybe that sounds delicious, but trust me, the plants don't appreciate it).
Rinse it well and let it dry completely. Any leftover grease or food residue can grow mold, which is the last thing your baby seeds need.
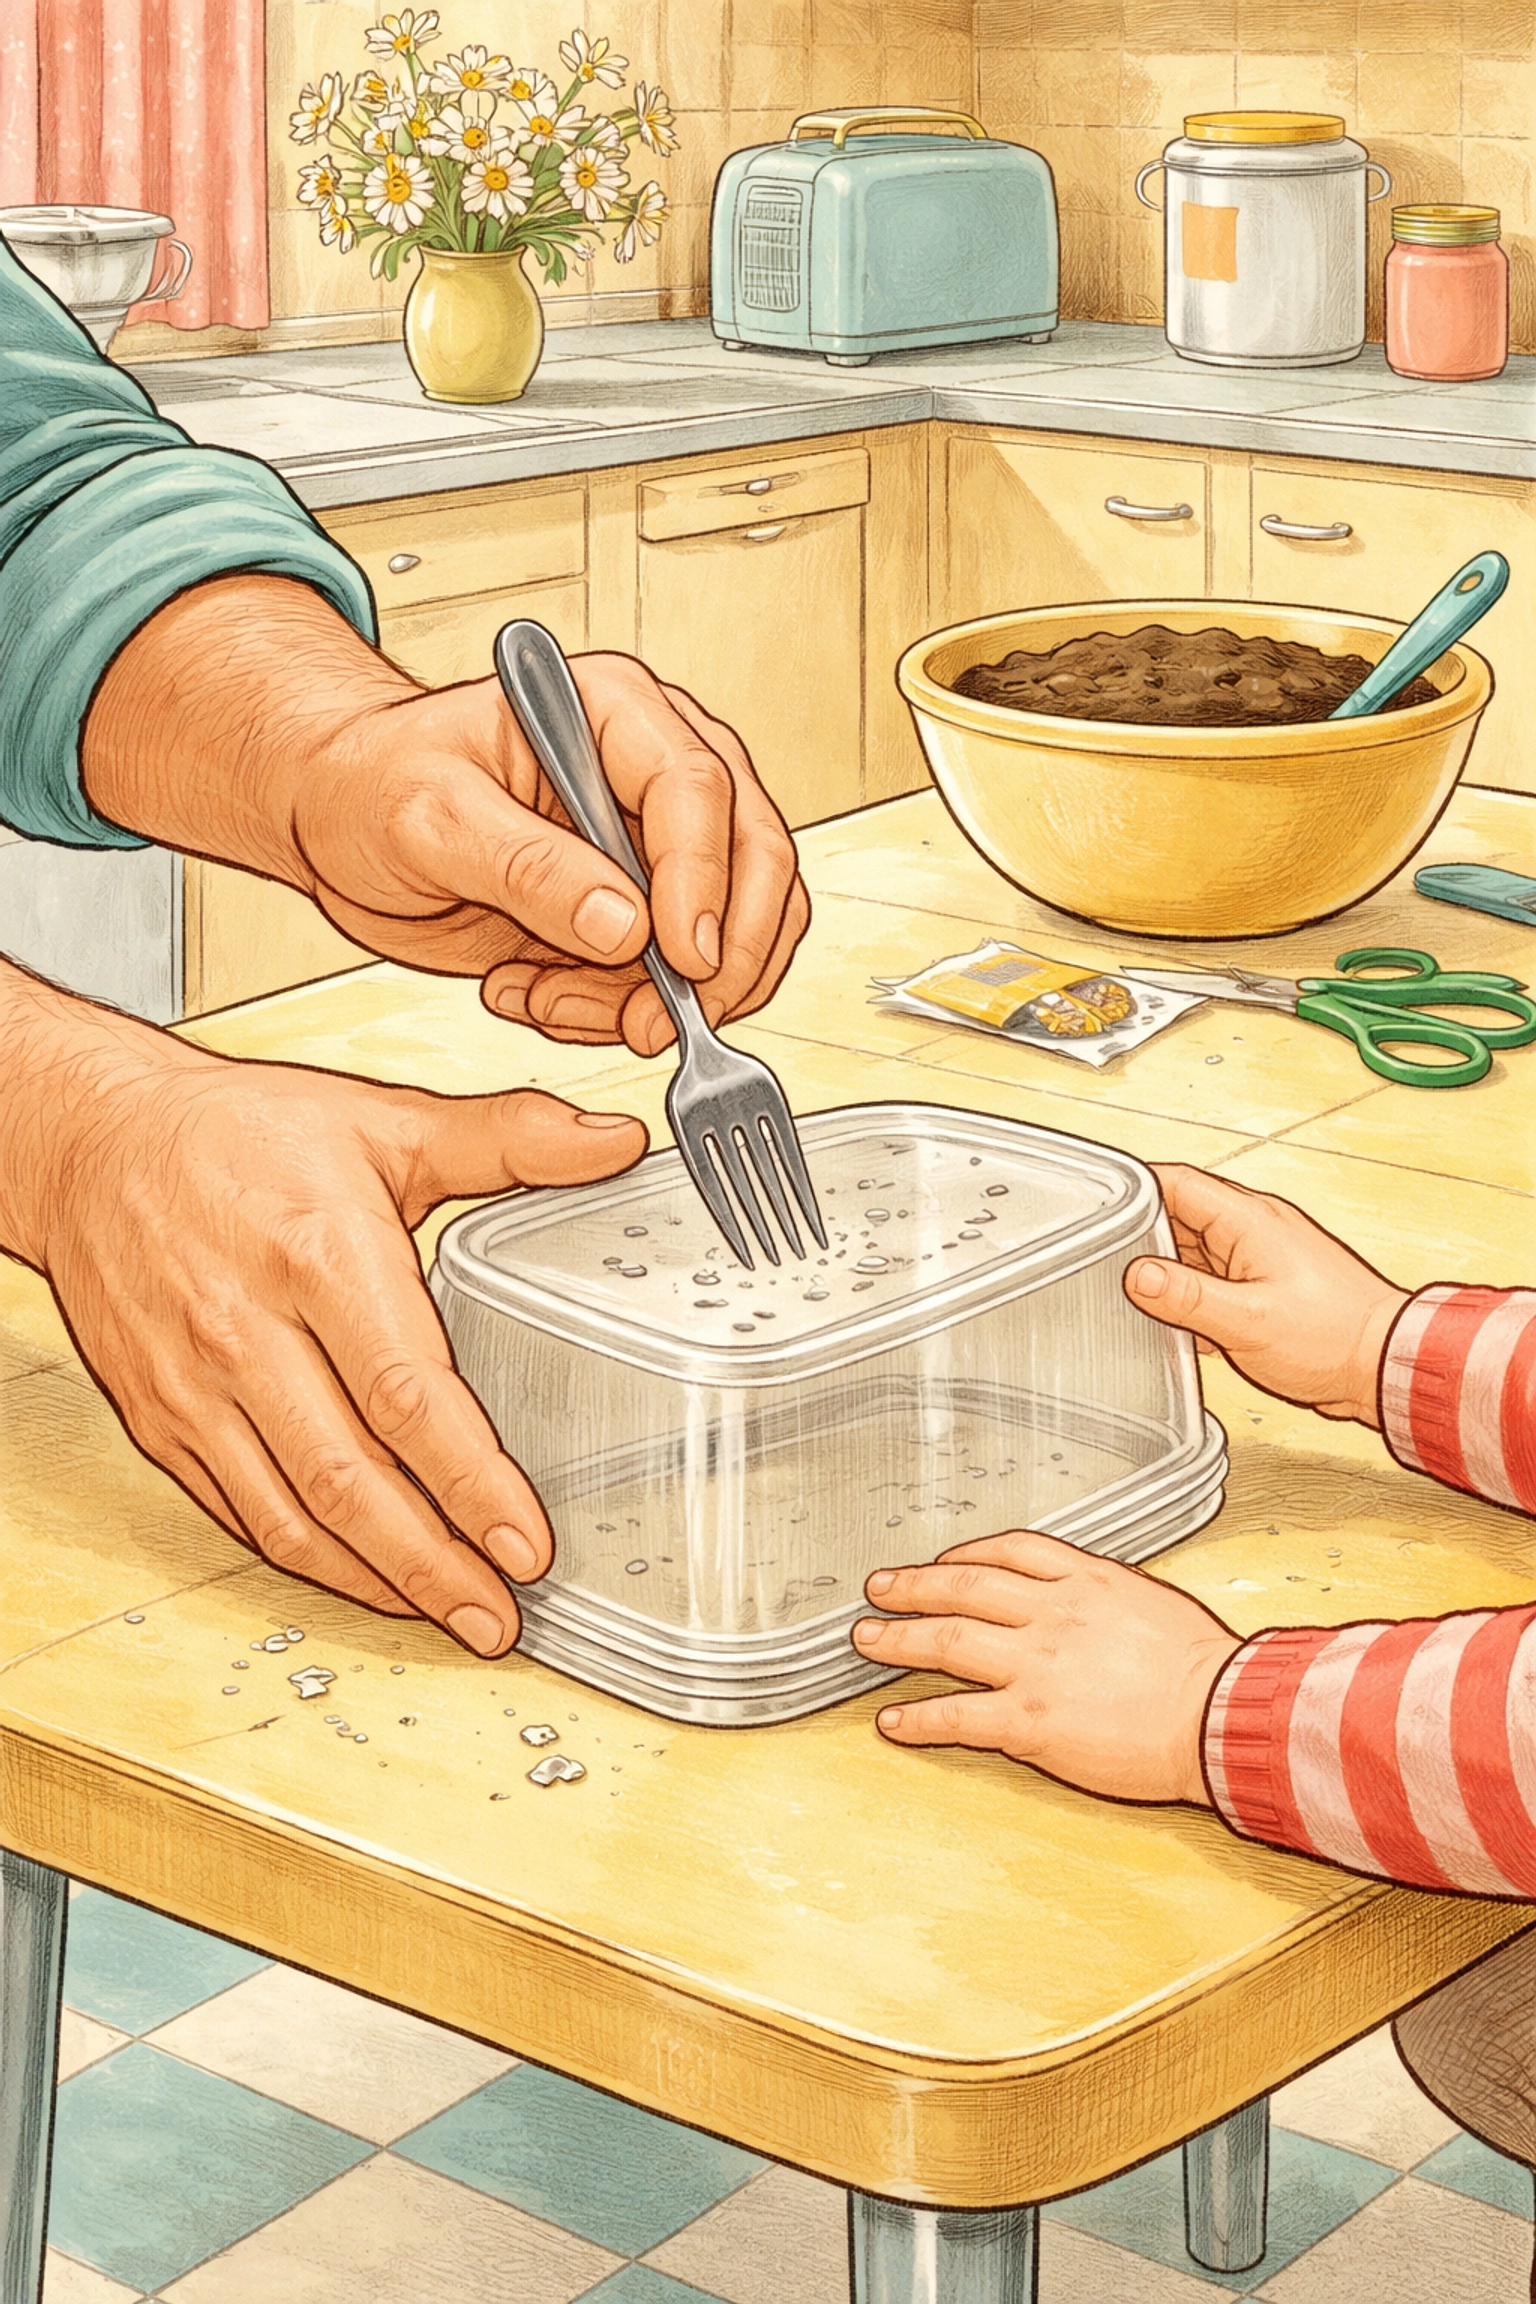
Step 2: Poke Drainage Holes
This step is crucial! Without drainage, your seeds will drown in soggy soil.
Flip the base over and use a fork, nail, or small screwdriver to poke 8-10 small holes in the bottom. Space them out evenly so water can escape from all areas. The holes should be about the size of a pencil tip, big enough to drain but small enough to keep soil from falling through.
Pro tip: Heat the tip of a nail with a lighter for about 10 seconds, and it'll slide through the plastic like butter. Just be careful and let the grown-ups handle this part!
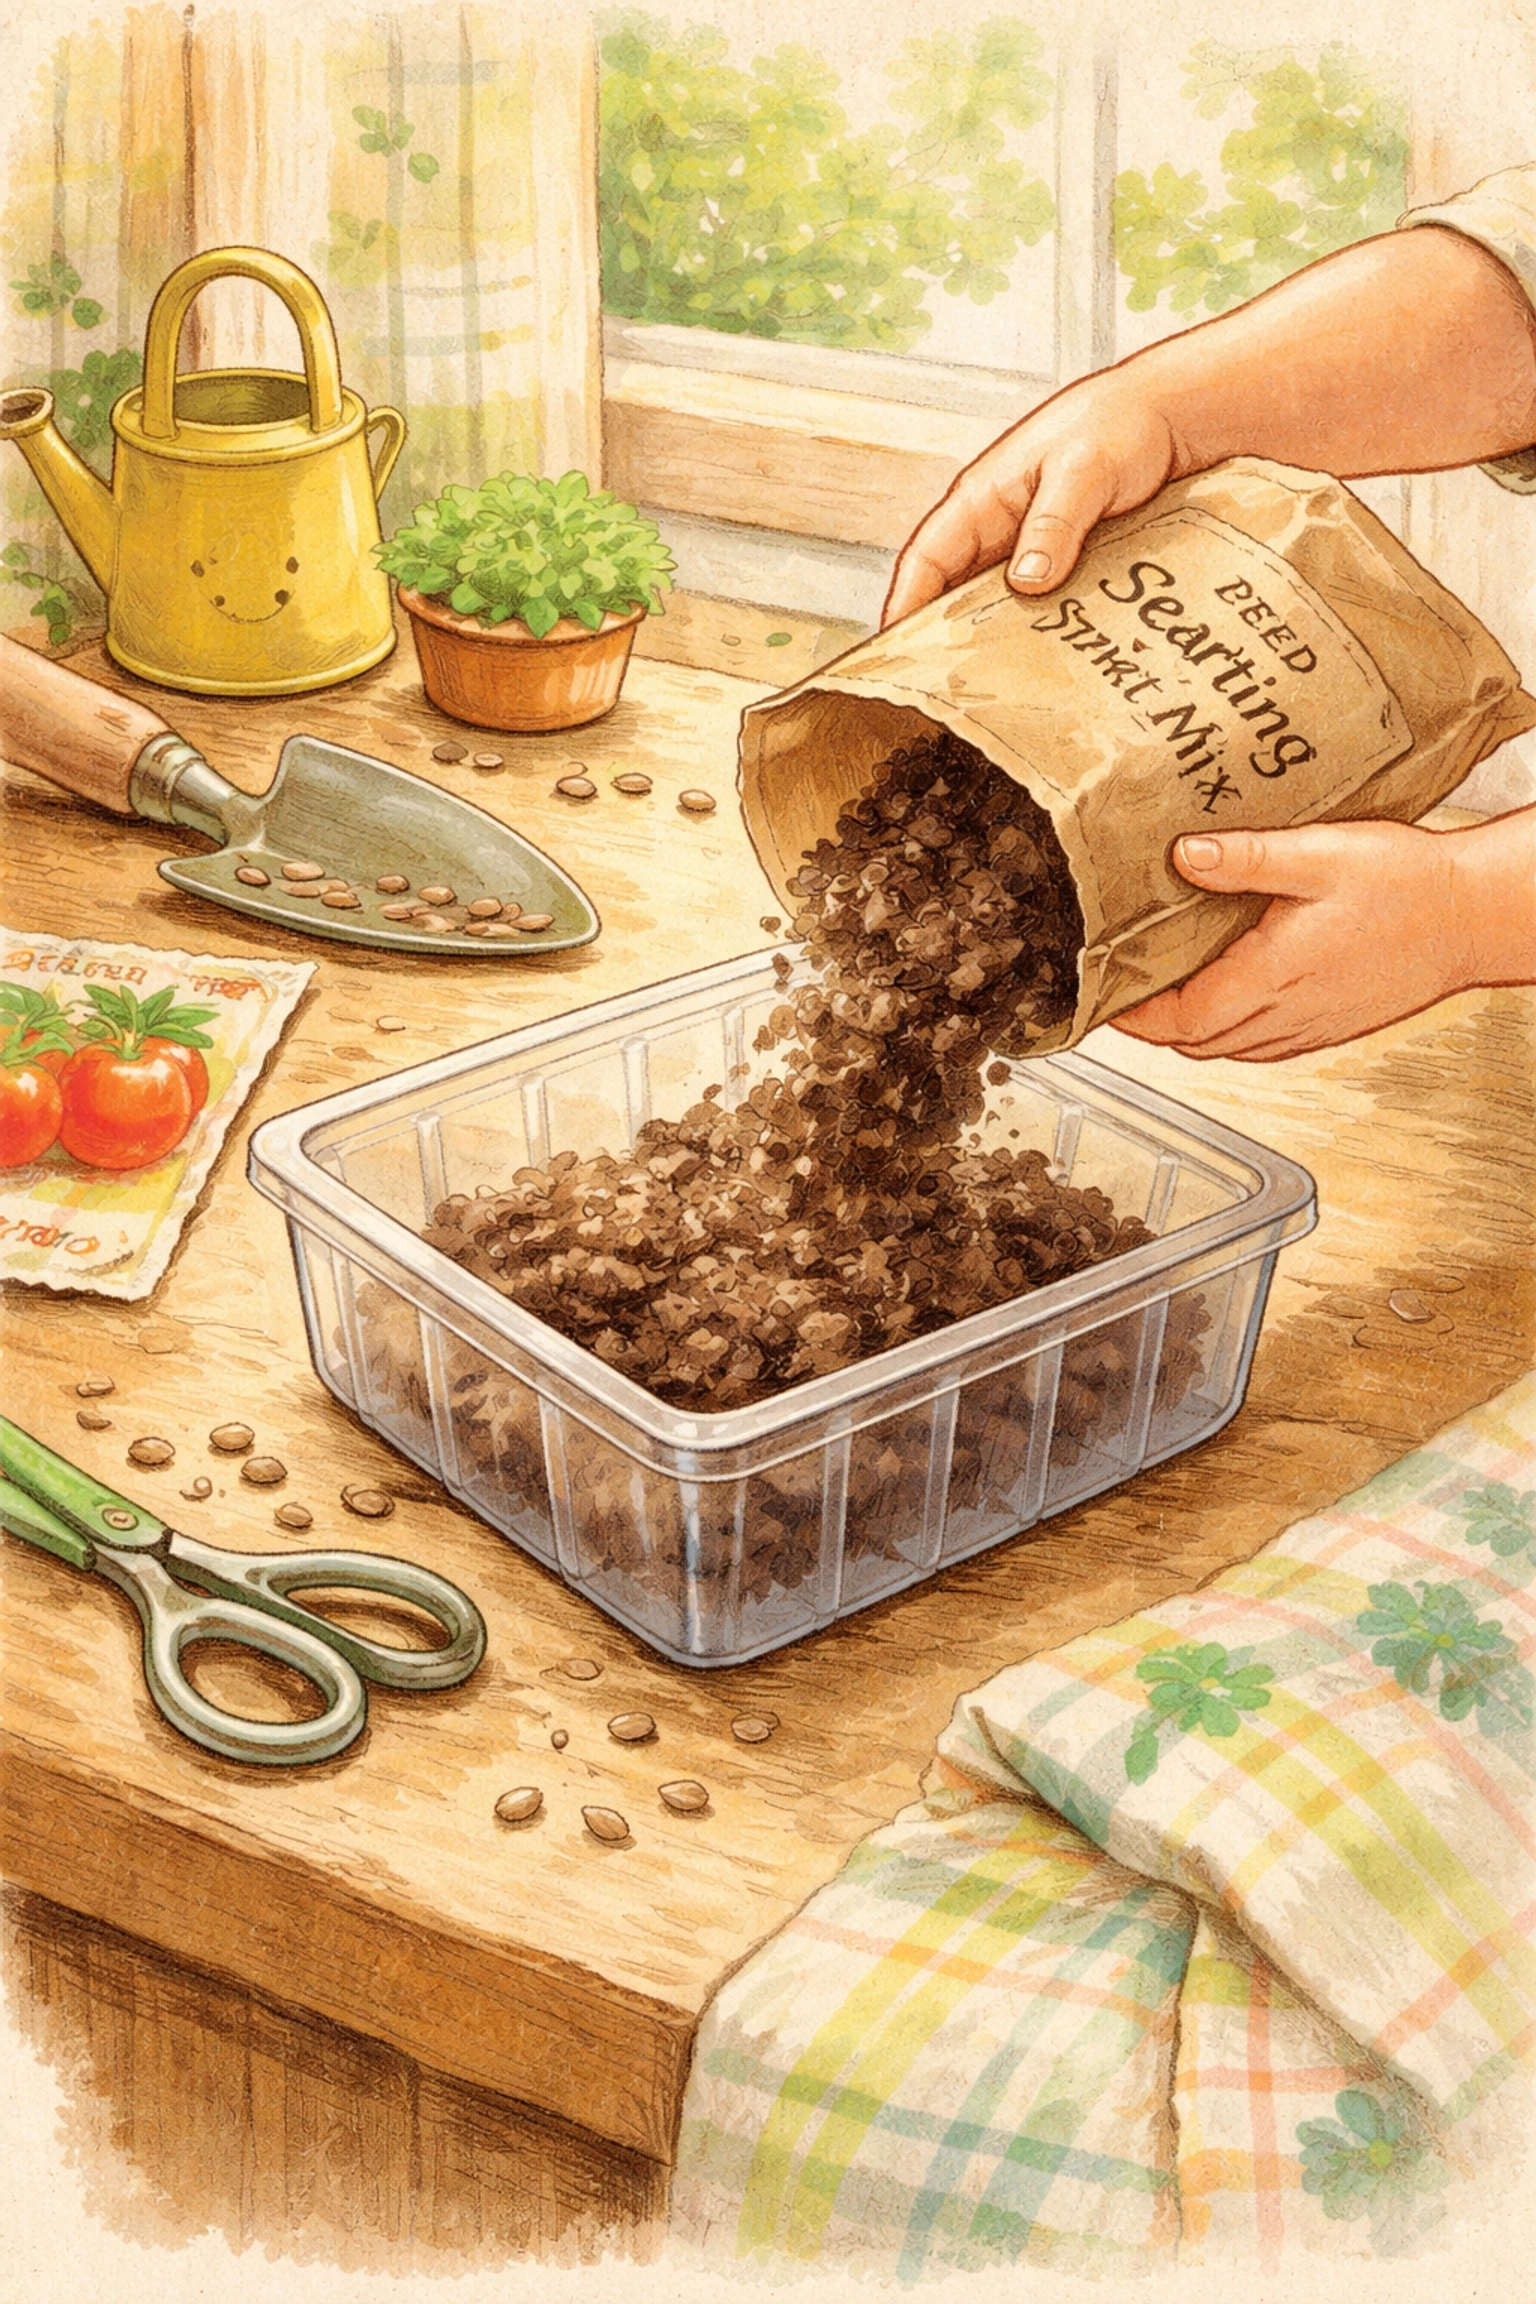
Step 3: Fill with Seed-Starting Mix
Pour seed-starting mix into the base until it's about 2-3 inches deep. This gives roots enough room to stretch out before transplanting.
Don't use regular garden soil here, it's too heavy and can contain weed seeds or diseases. Seed-starting mix is light, fluffy, and sterile, giving your seeds the best possible start.
Gently pat the soil down so it's level, but don't pack it tight. Seeds need air pockets in the soil to breathe.
Step 4: Plant Your Seeds
Now for the fun part! Make small indentations in the soil with your finger, about 1/4 inch deep for most small seeds, or follow the depth instructions on your seed packet.
Drop 2-3 seeds into each spot (not all seeds germinate, so this is your backup plan), then gently cover them with a thin layer of soil.
Space your plantings about 2 inches apart so seedlings won't get crowded as they grow.
Step 5: Water Gently
Use a spray bottle to mist the soil until it's evenly moist but not soaking wet. You want the soil to feel like a wrung-out sponge, damp, not dripping.
Spray bottles are perfect here because they won't blast your tiny seeds out of place like a watering can might.
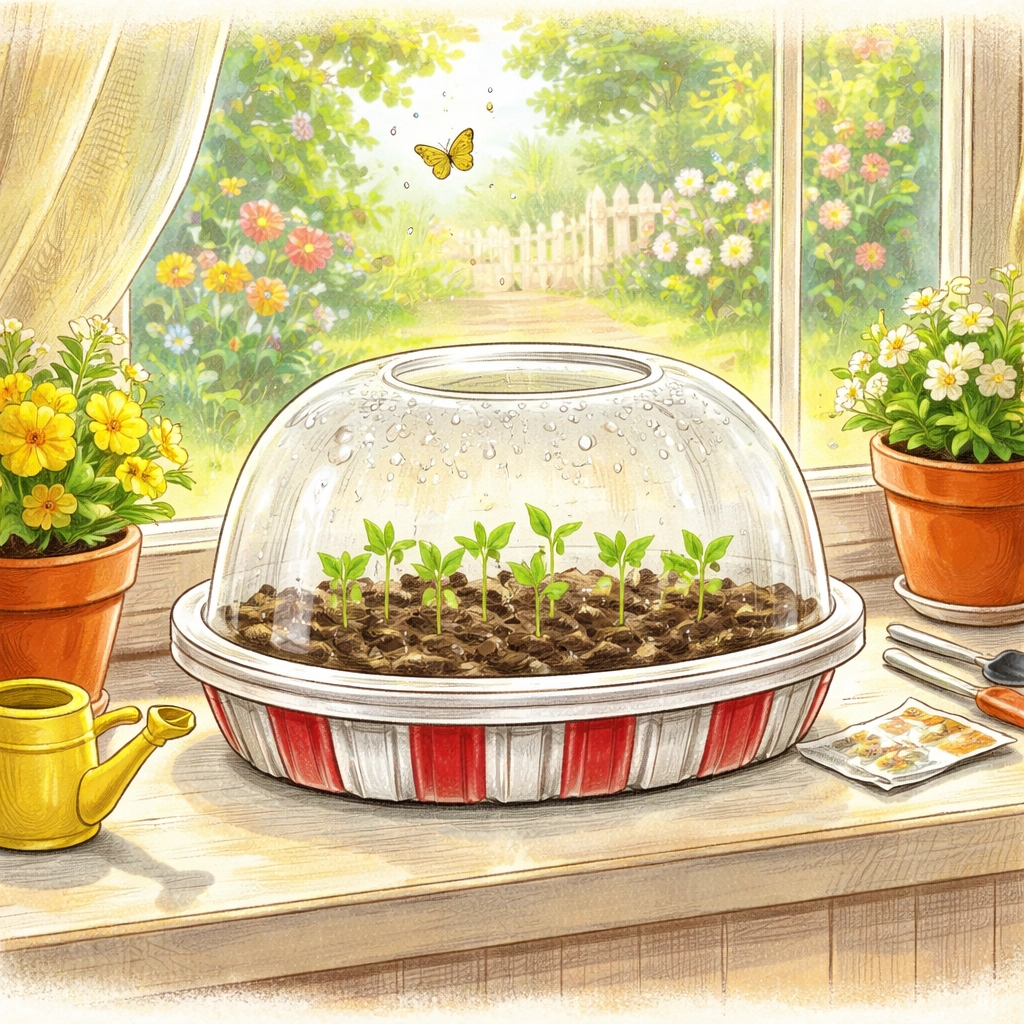
Step 6: Snap On the Dome and Find a Sunny Spot
Close the lid (that glorious dome!) and set your mini greenhouse in a warm, sunny location. A south-facing windowsill is ideal, but any spot that gets 6+ hours of indirect sunlight will work.
The dome will trap warmth and moisture, creating that perfect humid environment seeds crave. You might notice condensation forming on the inside of the lid, that's totally normal and actually a good sign that your greenhouse is working!
Step 7: Monitor and Vent
Check your greenhouse daily. If the soil looks dry, give it a light misting. If there's too much condensation (water droplets covering the entire dome), crack the lid open for a few hours to let things air out. Too much moisture can lead to mold or a fungal issue called "damping off."
Once your seedlings sprout and grow their first set of true leaves (the second pair that appears), start leaving the lid off for longer periods each day. This "hardens off" the babies and gets them ready for life outside their cozy dome.
Best Seeds to Start in Your Chicken Container Greenhouse
Not sure what to plant? These seeds are perfect for beginners and do exceptionally well in humid mini greenhouse conditions:
- Tomatoes – Classic! Start 6-8 weeks before last frost
- Peppers – Love warmth and humidity
- Herbs (basil, cilantro, parsley) – Quick to sprout
- Lettuce – Germinates in just 3-5 days
- Cucumbers – Big seeds, easy for little hands
- Marigolds – Add some flower power!
For more kitchen-to-garden projects, check out our post on regrowing kitchen scraps with kids!
Troubleshooting Tips
Seeds not sprouting? Check your temperature. Most seeds need soil temps between 65-75°F. If your windowsill gets cold at night, move the greenhouse somewhere warmer.
Mold appearing on soil? Too much moisture and not enough airflow. Remove the lid for a full day and let things dry out a bit.
Leggy, stretched-out seedlings? They're reaching for more light. Move your greenhouse closer to the window or supplement with a small grow light.
Frequently Asked Questions
How long can seedlings stay in the chicken container?
Until they outgrow it! Most seedlings are ready to transplant into larger pots or outdoors when they're 3-4 inches tall with 2-3 sets of true leaves, usually 3-4 weeks after sprouting.
Can I reuse the container for multiple batches?
Absolutely! Just wash it thoroughly between uses to prevent disease. Most containers last 2-3 growing seasons before the plastic gets too brittle.
Do I need to add fertilizer?
Not right away. Seed-starting mix has enough nutrients for the first few weeks. Once true leaves appear, you can add a diluted liquid fertilizer at quarter strength.
What if I don't have a rotisserie chicken container?
Any clear plastic clamshell works, salad containers, berry boxes, or bakery containers all do the trick. The key is a clear lid that lets light through.
Where should I NOT put my mini greenhouse?
Avoid spots with direct, intense afternoon sun, the dome can trap too much heat and literally cook your seedlings. Bright, indirect light or gentle morning sun is best.
Can kids do this project alone?
Kids ages 6+ can handle most steps independently. Just have an adult help with poking drainage holes if you're using the heated nail method.
How often should I water?
Check daily, but you'll probably only need to mist every 2-3 days. The dome keeps moisture in, so these greenhouses need far less watering than open trays.
Will this work in winter?
Yes! As long as you have a warm, sunny windowsill, you can start seeds indoors year-round. It's a great way to get a head start on spring planting.
There you have it: a free, functional mini greenhouse made from something you were probably going to throw away anyway. It's the ultimate upcycling win, and your kids will love watching those first tiny green sprouts push through the soil.
Now go enjoy that rotisserie chicken, and save that container! 🌱🍗


