


Toads eat insects.
Thousands of them.
A single toad consumes up to 10,000 pests per season. Slugs. Mosquitoes. Beetles. All gone.
Building a shelter takes minutes. The materials cost nothing. The return on investment is significant.
This project transforms discarded items into functional amphibian housing.
Why Do Toads Need Shelter?
Toads are nocturnal.
They hunt at night. During daylight hours, survival depends on finding cool, dark, moist refuge.
Direct sun kills them. Heat dehydrates their permeable skin within hours.
A proper shelter provides:
- Temperature regulation during hot afternoons
- Moisture retention for skin health
- Protection from predators like snakes and birds
- Burrowing access to loose soil beneath
Gardens without shelter lose their toad populations. The amphibians leave. The pest population rises.
A simple structure changes this equation.
What Materials Work Best?
The options divide into three categories.
Terracotta clay pots remain the most effective choice. Clay stays cool in summer heat. The porous material retains moisture. Old, cracked, or chipped pots work perfectly.

Natural stone creates durable shelters. Flat rocks stack into loose piles with hollow interiors. River stones arrange into small caves. Weight keeps structures stable through storms.
Reclaimed wood offers another path. Old fence planks. Weathered boards. Untreated lumber scraps. Avoid pressure-treated wood: the chemicals harm amphibians.
Materials to avoid:
- Plastic containers (trap heat, no breathability)
- Metal objects (conduct heat, create burns)
- Treated or painted wood (toxic leaching)
- Anything with a sealed bottom
The bottom must remain open. Toads burrow. They dig into loose soil to regulate body temperature. A closed floor defeats the purpose entirely.
How Does the Basic Clay Pot Design Work?
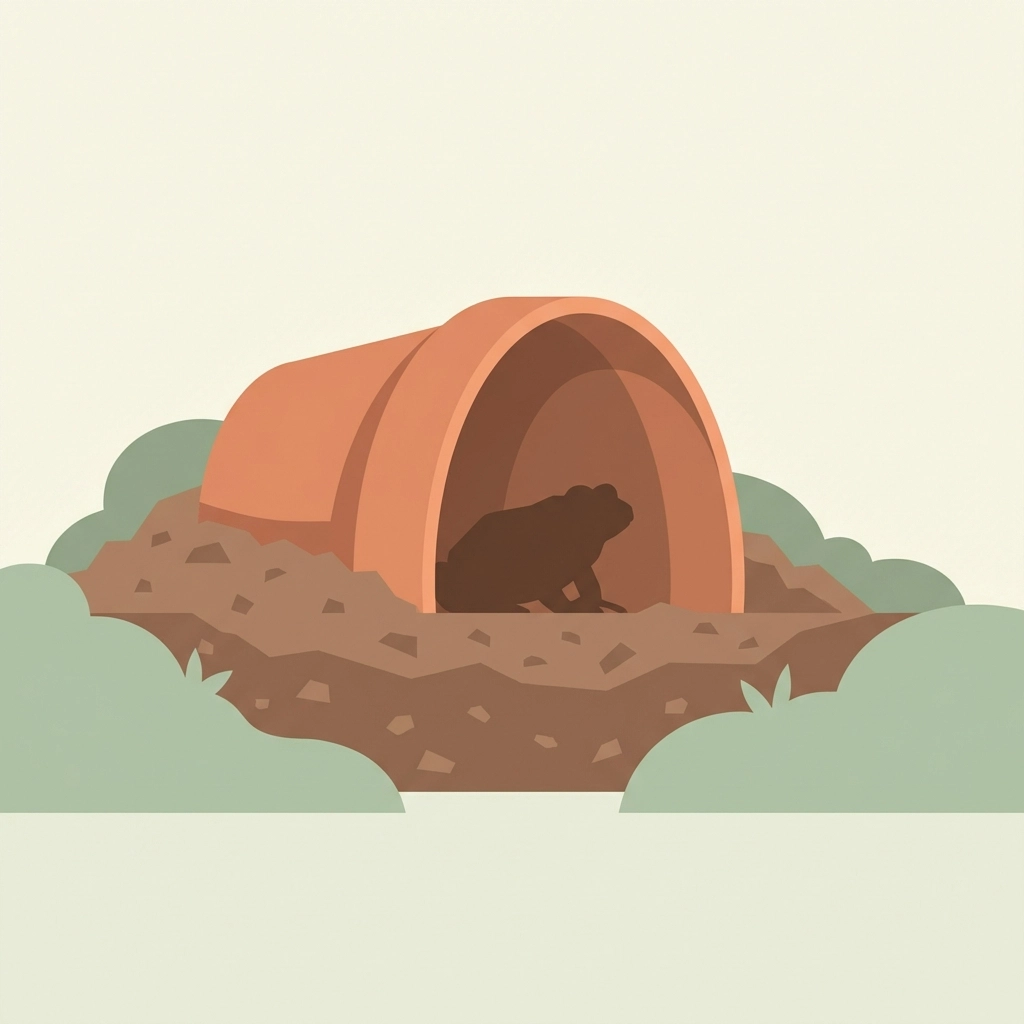
The simplest version takes two minutes.
The Toad Cave Method:
- Select a terracotta pot (6-8 inches works well)
- Lay it on its side
- Half-bury the bottom edge into soil
- Create a small cave entrance
Done.
The pot provides overhead cover. The soil beneath allows burrowing. The opening faces away from prevailing wind.
This design requires zero modification to the pot. No cutting. No drilling. No tools.
Imperfection improves function. A cracked pot with a chipped rim creates natural ventilation. Toads prefer rough textures over smooth surfaces.
What Are the Advanced Construction Options?
Three variations offer different aesthetics and functionality.
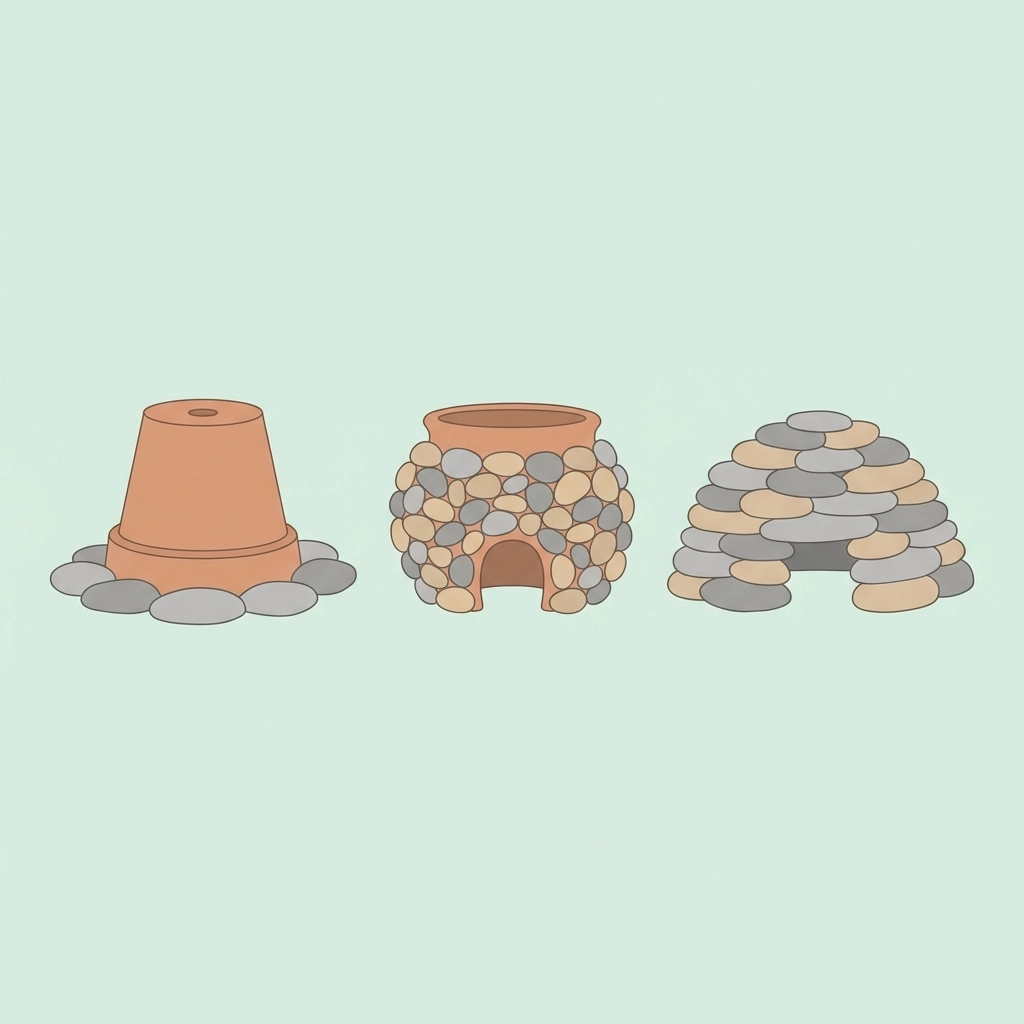
The Raised Abode:
- Arrange 8-10 flat stones in a circle
- Place an inverted pot on top
- Remove 2-3 stones from one side
- The gap becomes the entrance
This design elevates the shelter slightly. Water drains away during rain. Air circulation improves.
The Stone Cottage:
- Hot glue river rocks to the exterior of a clay pot
- Use non-toxic adhesive only
- Cover the entire surface
- Allow 24 hours to cure before placement
The result blends into natural landscapes. The stone layer adds insulation. Visual appeal increases without compromising function.
The Stacked Stone Shelter:
- Gather 15-20 flat stones of varying sizes
- Stack in a loose dome shape
- Leave a 3-inch opening at the base
- Maintain gaps between stones for airflow
No pot required. This version uses only found materials. The structure doubles as habitat for beetles and spiders: additional toad food sources.
Where Should the Shelter Go?
Location determines success or failure.
Ideal placement characteristics:
- Shaded for most of the day
- Near a water source (downspout, birdbath, pond edge)
- Protected from foot traffic
- Adjacent to ground cover or low plants
- Accessible from multiple directions
Specific locations that work:
- Under shrub canopies
- Beside air conditioning drip lines
- Near garden hose connections
- Along foundation walls (north-facing)
- Within vegetable bed perimeters
Locations to avoid:
- Full sun exposure
- Elevated or sloped terrain
- Near chemical application zones
- High-traffic pathways
- Areas prone to flooding
The shelter entrance should face east or north. Southern and western exposures receive direct afternoon sun. This creates lethal temperatures inside the structure.
Distance from hunting grounds matters. Toads travel up to 100 feet nightly. Placing shelters near pest-prone plants increases effectiveness.
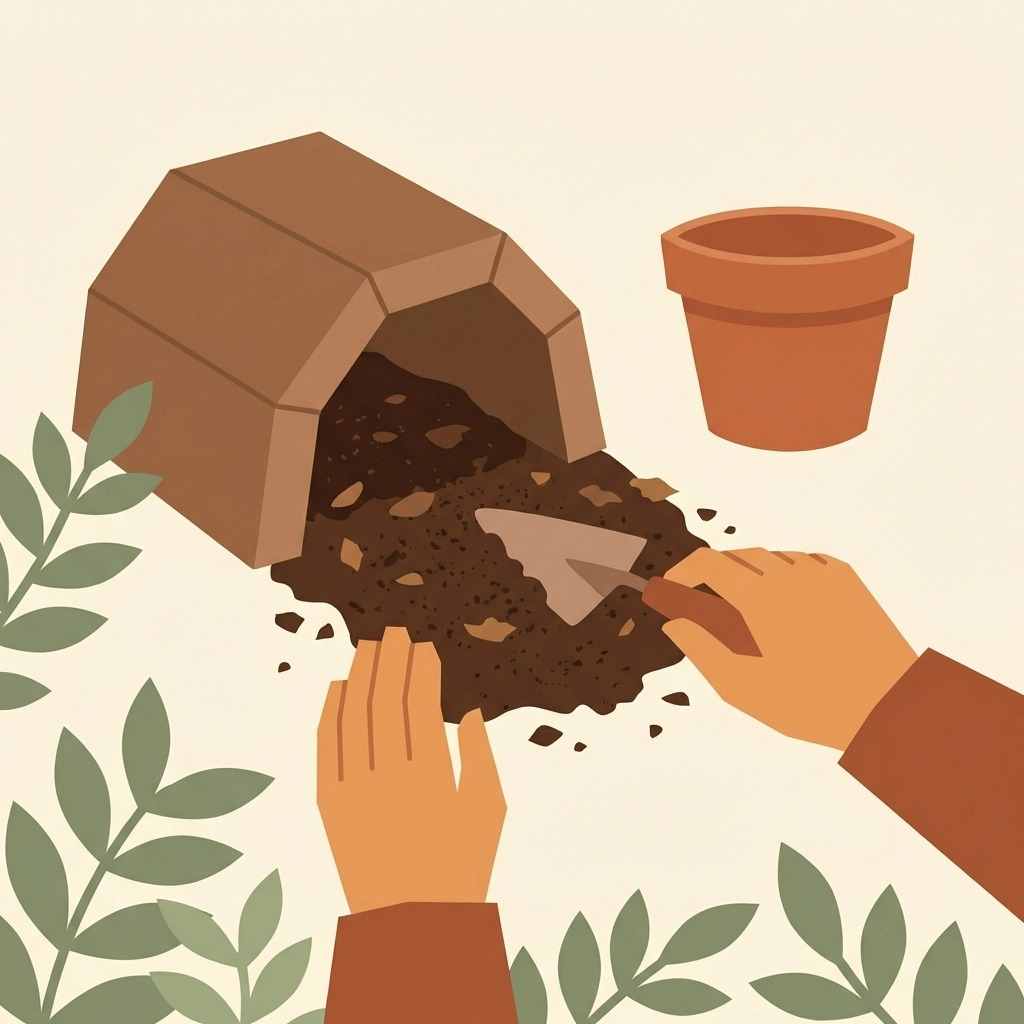
How Should the Ground Be Prepared?
The soil beneath the shelter requires attention.
Preparation steps:
- Remove grass and debris from a 12-inch diameter area
- Loosen soil to 4-inch depth with a hand trowel
- Mix in compost or leaf mold
- Water the area thoroughly
- Place the shelter directly on prepared soil
Compacted ground prevents burrowing. Clay soil bakes hard in summer. Sandy soil drains too quickly.
The ideal substrate feels loose and slightly damp. Toads dig backward using their hind legs. Resistance exhausts them.
What Maintenance Do Toad Shelters Require?
Minimal intervention works best.
Weekly tasks:
- Check moisture level of surrounding soil
- Add water during dry periods
- Remove any debris blocking entrance
Monthly tasks:
- Inspect for ant colonies or wasp nests
- Clear fallen leaves from interior
- Verify structural stability
Seasonal tasks:
- Refresh soil mixture in spring
- Add mulch layer before summer heat
- Leave undisturbed during winter dormancy
Avoid the urge to check for occupants frequently. Lifting the shelter disturbs residents. Stress causes abandonment.
Signs of successful habitation include:
- Small burrow depressions near entrance
- Droppings (small, dark pellets)
- Tracks in loose soil
- Absence of slugs in surrounding area
Patience is required. Toads may take weeks or months to discover new shelters. Placement near existing toad sightings accelerates adoption.
Can Multiple Shelters Be Installed?
Yes. Spacing determines effectiveness.
Place shelters 15-20 feet apart. This respects territorial boundaries while maximizing coverage.
Different designs attract different species. American toads prefer deeper burrows. Fowler’s toads tolerate shallower structures. Variety increases biodiversity.
A property with three to five shelters supports a stable population. This number provides options during weather extremes and breeding cycles.
What Results Should Be Expected?
Pest reduction becomes noticeable within one season.
Slug damage decreases. Mosquito populations drop near shelter locations. Beneficial predator-prey balance establishes.
The shelters last indefinitely with basic care. Terracotta survives decades outdoors. Stone structures remain permanent.
One afternoon of work. Years of benefit.
The project costs nothing when using salvaged materials. The ecological return compounds annually as toad populations stabilize and reproduce.
Building habitat creates resilience. The garden ecosystem strengthens. Chemical interventions become unnecessary.
A simple clay pot. Some loose soil. A shaded corner.
That is all it takes.


