


What Is the Easiest Way to Make Salt Dough with Kids?
Mix 1 cup of flour, ½ cup of salt, and ½ cup of warm water together until you get a smooth, pliable dough. That's it. Three ingredients you almost certainly have in your kitchen right now, and you've got yourself a batch of homemade sculpting clay that'll keep little hands busy for hours while the snow piles up outside.
Salt dough is one of those timeless crafts that grandparents made, parents made, and now your kids can make, all without a single trip to the craft store. It's non-toxic, kid-friendly, and surprisingly forgiving. If the dough cracks, you smoosh it back together. If a creation flops, you roll it out and start fresh. No pressure, no waste.
Why Is Salt Dough Perfect for Snow Days?
Here's the thing about snow days: they sneak up on you. One minute you're watching the forecast, and the next you've got kids bouncing off the walls while the roads are a mess. Salt dough is the ultimate "we're stuck inside but we're making memories" activity because:
- Zero shopping required , flour, salt, and water live in most pantries
- It's endlessly customizable , make ornaments, figurines, handprints, or abstract blobs of joy
- The whole process takes time , mixing, sculpting, baking, decorating… that's a full afternoon sorted
- Cleanup is genuinely easy , it's just flour and salt, not glitter glue chaos

What Ingredients Do You Need for Salt Dough?
Let's keep this simple. Here's your materials table:
| Material | Amount | Notes |
|---|---|---|
| All-purpose flour | 1 cup | Regular white flour works best |
| Table salt | ½ cup | Fine salt mixes more smoothly than coarse |
| Warm water | ½ cup | Warm helps the dough come together faster |
| Mixing bowl | 1 large | Something with high sides to contain the mess |
| Measuring cups | 1 set | Or eyeball it, we won't judge |
| Baking sheet | 1 | Lined with parchment if you have it |
Optional extras for decorating later:
- Acrylic paints or markers
- Cookie cutters
- A drinking straw (for making ornament holes)
- Toothpicks (for adding details)
- Rolling pin (or a clean glass works fine)
How Do You Make Salt Dough Step by Step?
Step 1: Combine the Dry Ingredients
Dump your flour and salt into a large mixing bowl. Give it a good stir with a spoon or fork until everything looks uniform. This takes about 30 seconds, kids can absolutely handle this part.
Step 2: Add the Water Gradually
Pour in your warm water a little at a time while stirring. The dough will start looking shaggy and weird at first. That's normal. Keep stirring until it gets too thick to mix with a spoon.
Step 3: Knead It Out
Here's where tiny hands really shine. Turn the dough out onto a clean, lightly floured surface and knead it for 3-5 minutes. You're looking for smooth and pliable, like Play-Doh's homemade cousin.
Too sticky? Sprinkle in a little more flour, one tablespoon at a time.
Too crumbly? Add water in tiny splashes until it comes together.
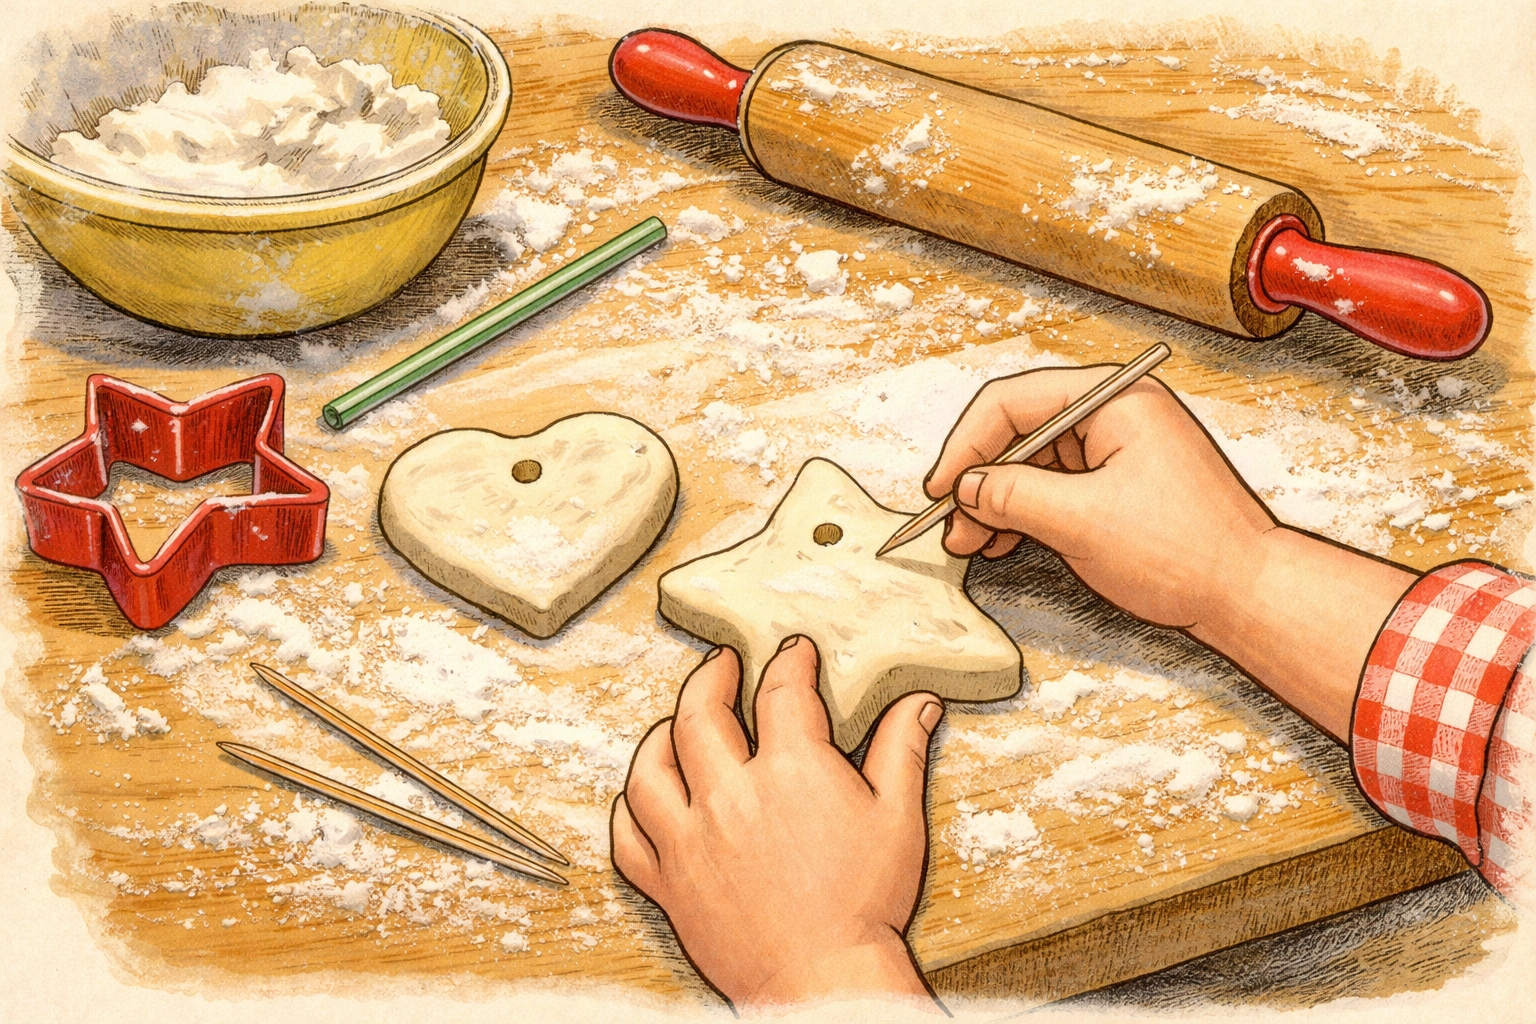
Step 4: Roll and Shape
Now the fun begins. Roll out your dough to about ¼ inch thick for flat ornaments, or leave it thicker for 3D sculptures. Use cookie cutters, shape things freehand, or press little handprints for keepsakes.
Pro tip: If you want to hang your creations later, poke a hole near the top with a drinking straw before baking. The hole will shrink slightly, so make it a bit bigger than you think you need.
Step 5: Bake Low and Slow
Place your sculptures on a parchment-lined baking sheet. Bake at 200°F (about 95°C) for 2-3 hours, depending on thickness. Some folks go even lower, around 175°F, and bake longer to prevent cracking.
The key is patience. High heat causes bubbles and cracks. Low and slow wins the race.
You can also flip thicker pieces halfway through to help them dry evenly.
Step 6: Cool Completely Before Decorating
This is the hardest part for excited kids, but it matters. Let your pieces cool completely before painting or handling too much. Warm salt dough is fragile.
How Long Does Salt Dough Take to Dry?
Oven drying typically takes 2-3 hours at low heat, though thicker pieces may need longer. You can also air dry salt dough at room temperature, but that takes 2-4 days depending on humidity and thickness.
For a snow day, oven drying is your friend, it means kids can actually paint their creations before bedtime.
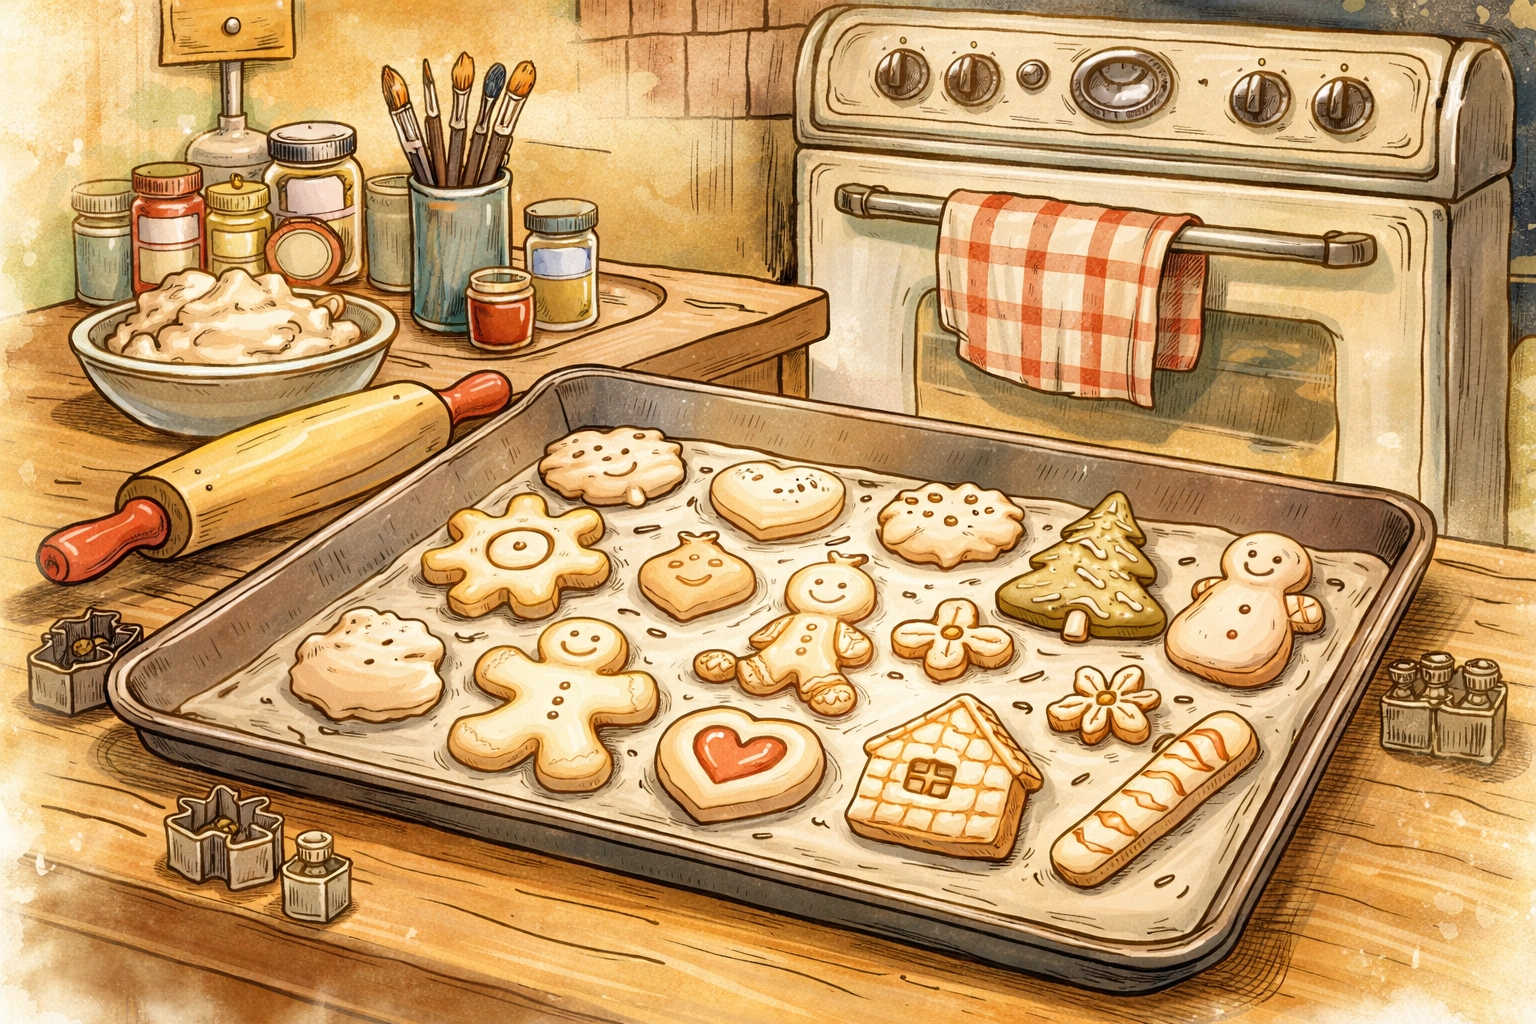
What Can Kids Make with Salt Dough?
The possibilities are honestly endless, but here are some favorites that work well for different ages:
For younger kids (ages 3-5):
- Handprint ornaments
- Simple cookie cutter shapes
- Snakes and balls (the classics never fail)
For older kids (ages 6+):
- Miniature food for pretend play
- Tiny animals or characters
- Fossil impressions using leaves or shells
- Name plaques with letter stamps
For the whole family:
- Holiday ornaments you can use year after year
- Garden markers for spring planting
- Gift tags with thumbprint designs
If your crew enjoyed this project, you might also love our DIY kitchen scrap regrow garden, another pantry-based activity that keeps the learning going.
How Do You Paint and Preserve Salt Dough?
Once your pieces are completely cooled and dried, grab whatever paints you have on hand. Acrylic paints work great, but washable tempera is fine for younger artists. Markers and colored pencils can add details too.
For longer-lasting pieces: A light coat of clear polyurethane spray or even clear nail polish can help seal and preserve your creations. This is especially worth doing for ornaments you want to keep for years.
Important note: Salt dough is not waterproof and doesn't love humidity. Store finished pieces in a dry spot, and they can genuinely last for years.

Can You Make Salt Dough Without an Oven?
Yes, but it takes longer. Air drying works: just leave your pieces on a wire rack or parchment paper in a dry room. Flip them every 12 hours or so. Expect 2-4 days for full drying depending on thickness and your home's humidity level.
Some crafters use a food dehydrator on the lowest setting, which speeds things up considerably.
Frequently Asked Questions
Is salt dough safe if a toddler eats some?
Salt dough is non-toxic, but it tastes terrible (very salty) and isn't meant to be eaten. A small taste is generally harmless, but discourage snacking.
Can you use self-rising flour instead of all-purpose?
Stick with all-purpose if possible. Self-rising flour contains leavening agents that can cause the dough to puff unpredictably.
Why did my salt dough crack in the oven?
Usually this means the temperature was too high or the piece dried unevenly. Try lower heat and flipping thicker items halfway through.
How thick should salt dough be for ornaments?
About ¼ inch works well for most ornaments. Thinner can become fragile; thicker takes much longer to dry.
Can you add color to the dough before baking?
Yes! Food coloring or liquid watercolors can be mixed into the water before combining. Just know the colors may fade or darken during baking.
How long does unbaked salt dough last?
Wrapped tightly in plastic wrap and refrigerated, unbaked dough keeps for about a week.
Can you microwave salt dough to dry it faster?
This isn't recommended: microwaving often causes uneven drying and can create hot spots that crack or burn.
What's the best way to store finished salt dough crafts?
Keep them in a dry place away from humidity. A sealed container with a silica packet works well for long-term storage.
References
- The Spruce Crafts – Salt Dough Recipe
- BBC Good Food – Salt Dough Recipe
- Red Ted Art – Salt Dough Ideas
Tierney Family Farms provides educational content for families. We're not responsible for any kitchen messes, salt-tasting incidents, or the forty-seven tiny sculptures now drying on your counter. Craft at your own (delightful) risk.


