


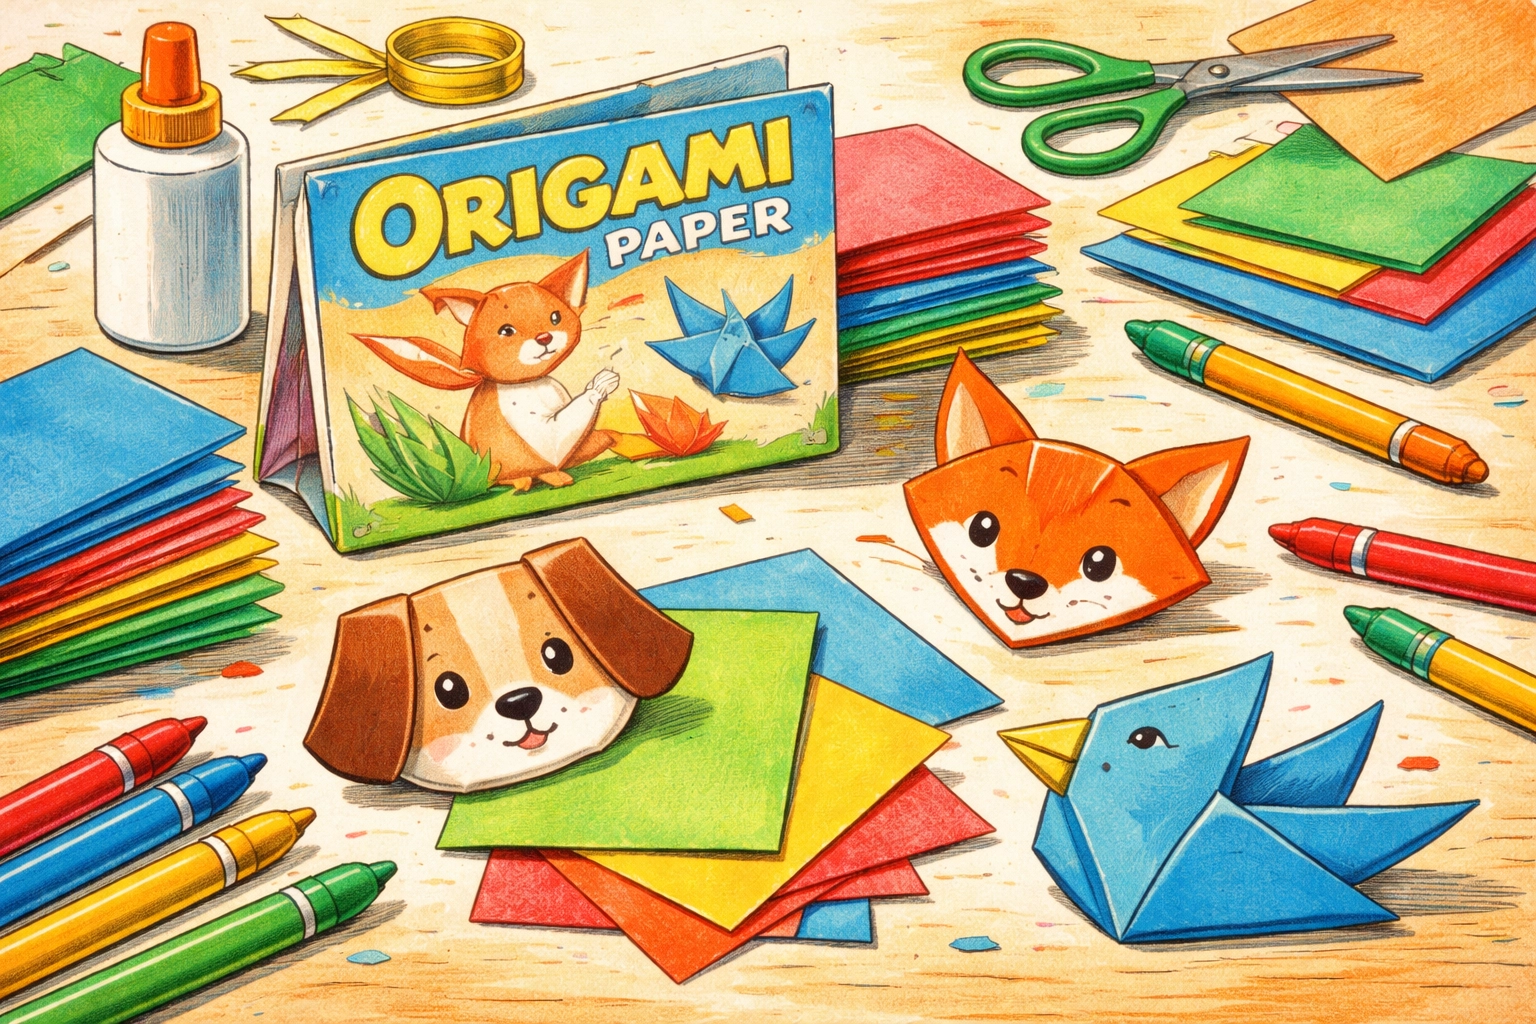
The short answer: You can make paper animals with kids using just square paper and your hands, no glue, scissors, or special skills required. Start with simple animal faces like a dog, cat, or fox, which typically take 5-10 minutes and fewer than 15 folds. These flat designs build confidence before moving on to 3D creatures like birds or fish.
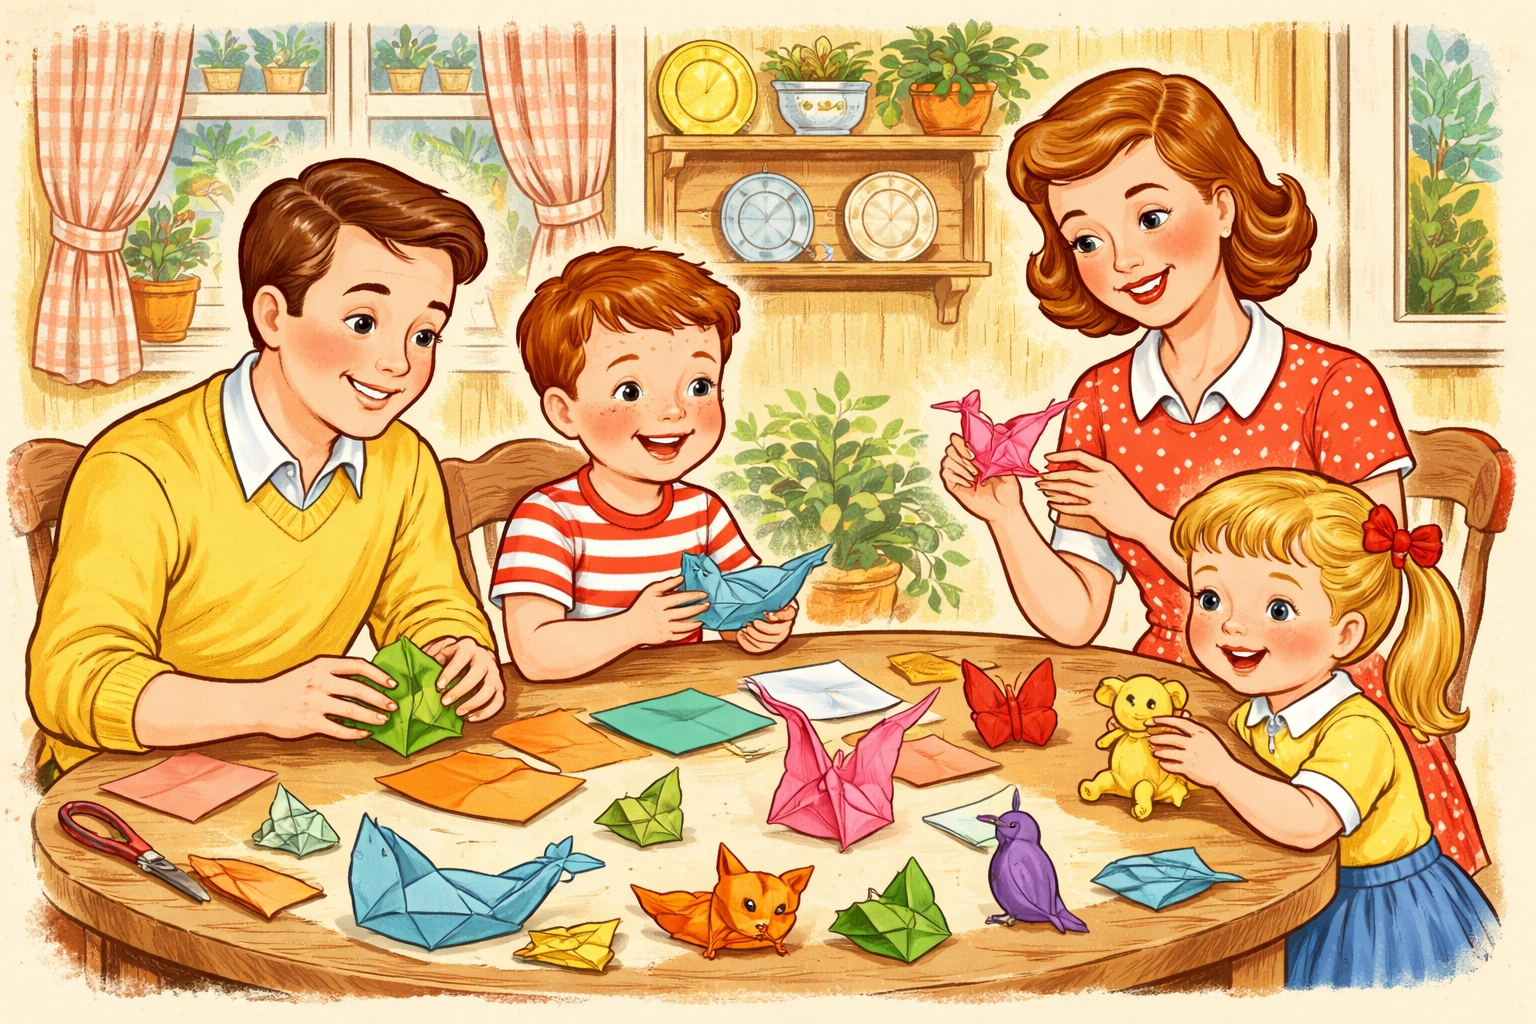
Origami is one of those rare activities that costs almost nothing, travels anywhere, and genuinely engages kids from preschool through elementary school (and honestly, adults too). There's something quietly magical about watching a flat square transform into a recognizable animal through nothing but careful creases.
Let's fold some paper animals together.
What You'll Need: Materials Under $10
| Material | Approximate Cost | Notes |
|---|---|---|
| Origami paper pack (100+ sheets) | $5-8 | Look for 6×6 inch squares; comes in multiple colors |
| Standard copy paper | $0-3 | Cut into squares; slightly harder to fold but works |
| Construction paper | $2-4 | Good for larger projects; heavier weight |
| Markers or crayons | $0 (likely have at home) | For adding faces and details after folding |
| Googly eyes (optional) | $1-2 | Kids love these for finishing touches |
Total estimated cost: Under $10 for a full origami setup that can keep kids busy for weeks.
Age Ranges: Who Can Fold What?
Origami skills vary wildly by kid, but here's a general guide:
Ages 3-4: Little ones can help with single folds and enjoy watching you create. They're great at decorating finished animals with crayons or stickers.
Ages 5-6: Most kindergarteners can follow along with simple face designs (dog, cat, fox) with some guidance. Expect creases to be imprecise, and that's completely fine.
Ages 7-9: This is the sweet spot for beginner origami. Kids can typically follow step-by-step instructions independently for simple to moderate designs.
Ages 10+: Ready for more complex animals with multiple folds and 3D shaping. They may start experimenting with their own modifications.
Time Estimates for Common Paper Animals
- Dog or cat face: 5 minutes, 6-8 steps
- Fox face: 5 minutes, 8 steps
- Simple bird: 10 minutes, 12-15 steps
- Fish: 8-10 minutes, 10-12 steps
- Jumping frog: 10-15 minutes, 15-20 steps
These times assume you're working alongside kids, so add a few minutes for questions, restarts, and the inevitable "wait, which way do I fold this?" moments.
Step-by-Step: Three Beginner Paper Animals
Project 1: The Classic Dog Face
This is often the very first origami animal kids learn, and for good reason, it's quick, forgiving, and instantly recognizable.
Steps:
Start with a square piece of paper, colored side down. Position it like a diamond (one corner pointing toward you).
Fold the bottom corner up to meet the top corner, creating a triangle. Crease firmly and unfold.
Fold the paper in half again, this time bringing the left corner to meet the right corner. Crease and unfold. You now have crossing fold lines.
With the paper still in diamond position, fold the top corner down about one-third of the way toward the center.
Fold the left and right corners down and slightly outward, these become the floppy ears. Angle them however you like; there's no wrong ear position.
Fold the bottom corner up just a little to create the chin/snout area.
Flip it over and draw on eyes, a nose, and a mouth. Done!
Tip: If ears look uneven, lean into it. Real dogs have lopsided ears too.
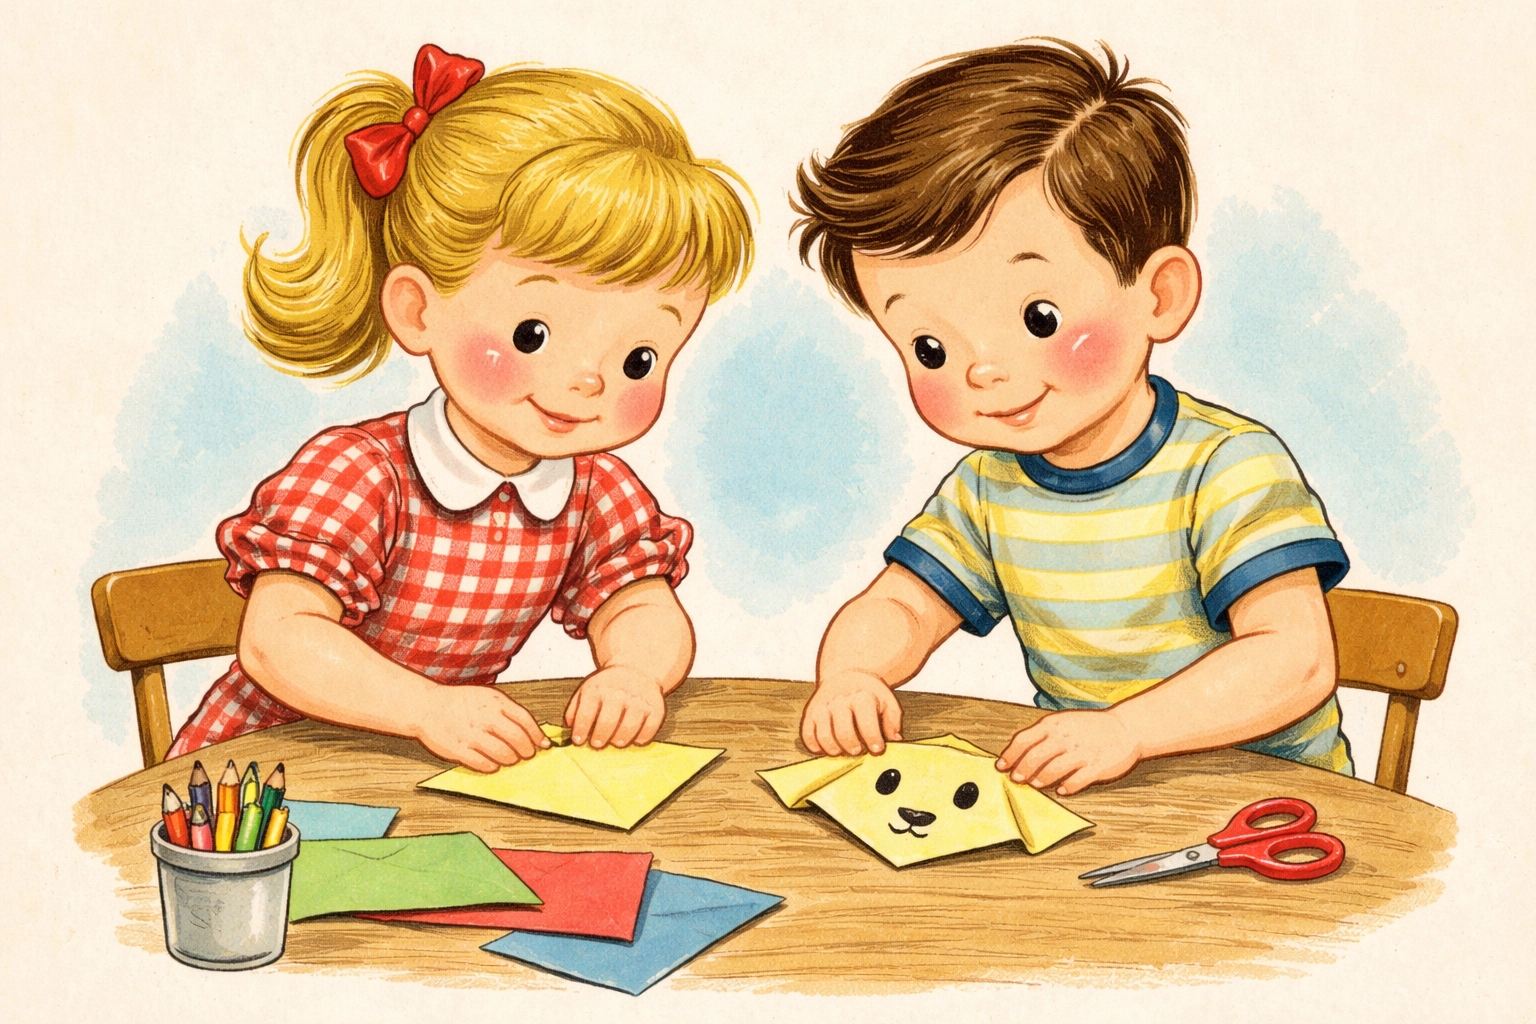
Project 2: The Friendly Fox
The fox uses a similar approach to the dog but with pointy ears and a more angular face. Kids who mastered the dog often want to try this one right away.
Steps:
Start with your square paper in diamond position, colored side down.
Fold the bottom corner up to meet the top corner, making a triangle.
Take the bottom left point of the triangle and fold it up toward the top center. Repeat with the bottom right point. You should now have a smaller diamond shape.
Flip the paper over.
Fold the bottom portion up about one-third of the way, this creates the fox's white muzzle area.
Fold the top point down just slightly behind the model to create a flat top to the head.
Add eyes above the white muzzle area, a small triangular nose, and optional whisker dots.
Variation: Use orange paper for a classic red fox, or try gray for an arctic fox in winter.
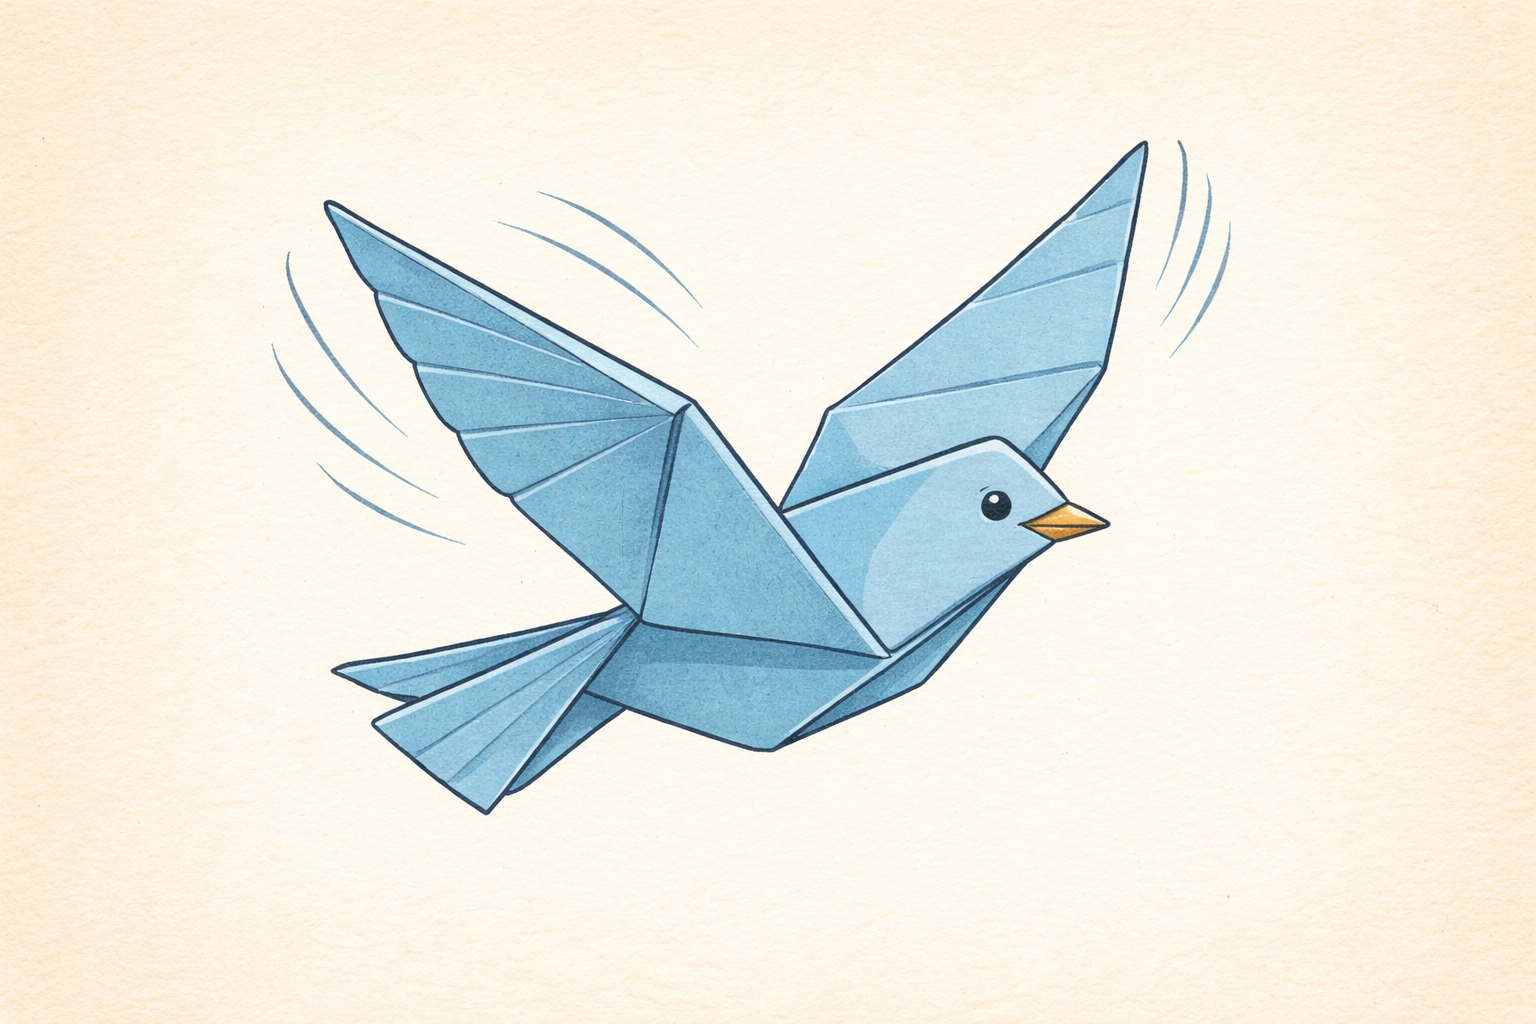
Project 3: The Simple Flapping Bird
This is a small step up in difficulty but extremely satisfying because the finished bird can actually "flap" when you pull the tail.
Steps:
Begin with a square, colored side up, positioned as a diamond.
Fold in half diagonally (bottom corner to top), crease, and unfold. Fold in half the other diagonal direction, crease, and unfold.
Flip the paper over. Fold in half horizontally (bottom edge to top edge), crease, and unfold. Fold in half vertically, crease, and unfold.
Using the crease lines as guides, collapse the paper into a smaller square shape by bringing all four corners together at the bottom. This is called a "square base" or "preliminary base."
With the open end pointing down, fold the left and right edges of the top layer into the center line, like you're making a kite shape.
Fold the top triangle down over those folds, crease firmly, then unfold all three folds you just made.
Lift the bottom point of the top layer up and fold it all the way up while allowing the sides to fold inward along the creases you made. This creates a long diamond shape.
Flip over and repeat steps 5-7 on the other side.
You now have a diamond with two "legs" at the bottom. Fold one leg up and to the side to create the tail. Fold the other leg up to create the neck/head, then fold the tip down to form the beak.
Gently pull the wings apart and your bird is complete.
The flapping trick: Hold the bird's chest with one hand and gently pull the tail with the other. The wings should flap up and down.
Tips for Successful Folding Sessions with Kids
Start with demonstrations. Fold one yourself while kids watch before handing them their own paper. Seeing the full process helps them understand where they're headed.
Use larger paper for younger kids. Six-inch squares can feel tiny for little fingers. Try cutting copy paper into 8-inch squares for easier handling.
Crease with intention. Teach kids to run their fingernail or a popsicle stick along each fold. Sharp creases make every subsequent step easier.
Embrace imperfection. A slightly crooked dog is still a dog. Origami teaches patience and fine motor skills even when results look wobbly.
Make it a series. Once kids have a few animals, they can create a paper zoo, a farm scene, or characters for storytelling. This extends the activity well beyond the initial folding time.
For more hands-on projects that keep kids engaged, check out our kids crafts collection for ideas across all seasons and skill levels.
Frequently Asked Questions
What type of paper works well for kids' origami?
Standard origami paper (called kami) is thin and holds creases cleanly, making it a solid choice for beginners. Copy paper cut into squares works too, though it's slightly stiffer.
Can toddlers do origami?
Toddlers typically can't fold independently, but they enjoy watching, helping with single folds, and decorating finished animals. It's a great activity for them to do alongside an older sibling or parent.
How do I keep my child from getting frustrated?
Start with the simplest possible designs and work up gradually. Praise the process, not just the result. And keep extra paper handy, restarting fresh often feels better than trying to fix a crumpled attempt.
What if the folds don't line up correctly?
Minor misalignment is normal and usually doesn't affect the final result much. If a fold is significantly off, unfold and try again before moving to the next step.
Are there origami animals that can move or do tricks?
Yes! The flapping bird, jumping frog, and snapping fox all have interactive elements that kids tend to love.
How do I store finished origami animals?
A shoebox or small basket works well. Some families string them on thread to create mobiles, or glue flat face designs onto cardstock for greeting cards.
Can we use regular printer paper?
Absolutely. Just cut it into a square first. Printer paper is heavier than traditional origami paper, so creases may need extra pressure, but it works fine for most beginner projects.
What animals should we try after mastering the basics?
Fish, butterflies, and rabbits are natural next steps. Once those feel comfortable, try the jumping frog or simple whale.
Origami offers a refreshing break from screens while building focus, spatial reasoning, and fine motor skills. Keep a stack of paper squares in your craft drawer, car, or bag for whenever you need a quiet, engaging activity. Happy folding!


