


Cyanotype printing captures plant specimens using sunlight and chemistry.
No camera required.
The process dates to 1842. It remains one of the simplest photographic methods available. Farm flora: leaves, flowers, stems, seed heads: becomes permanent art in under twenty minutes.
Age range: 5+ with supervision, 10+ independent
What Is a Cyanotype?
A cyanotype is a camera-less photographic process.
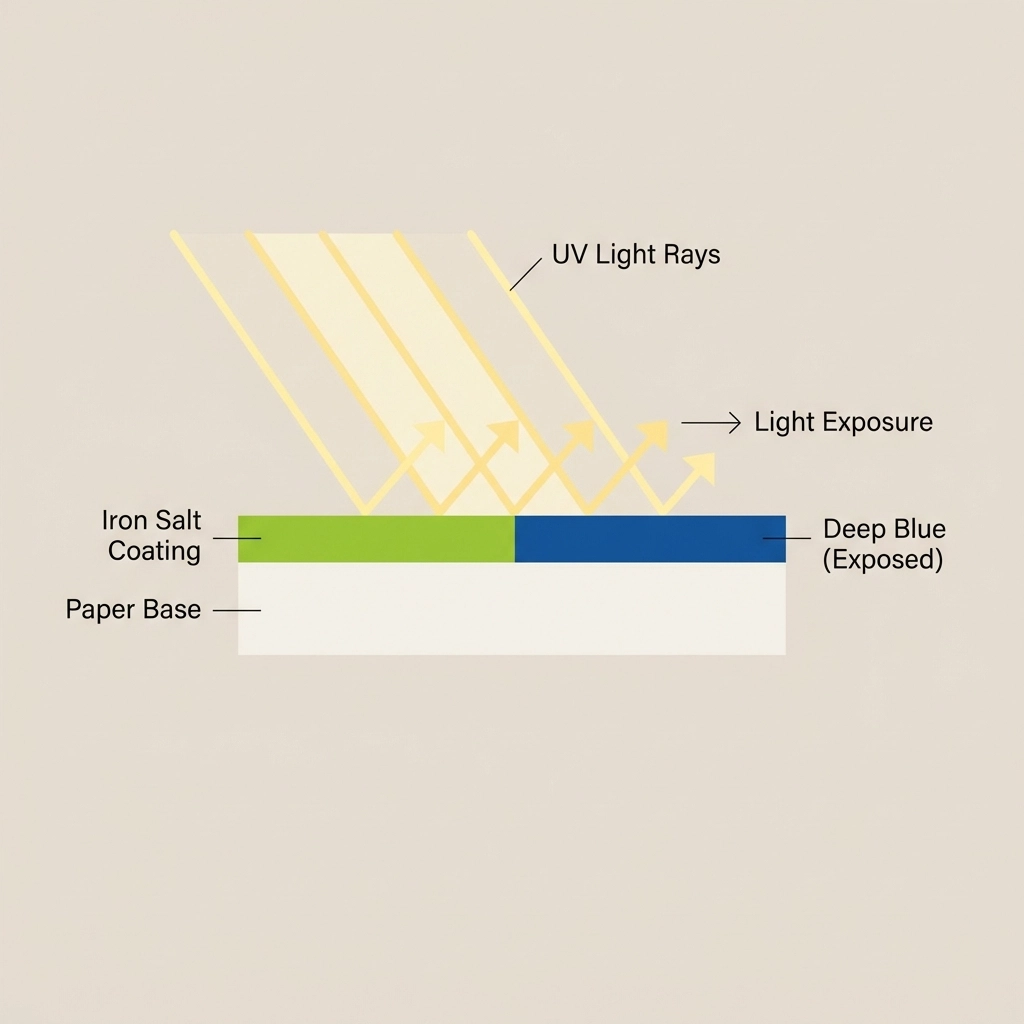
Paper coated with iron salts reacts to ultraviolet light. Exposed areas turn deep blue. Covered areas stay white.
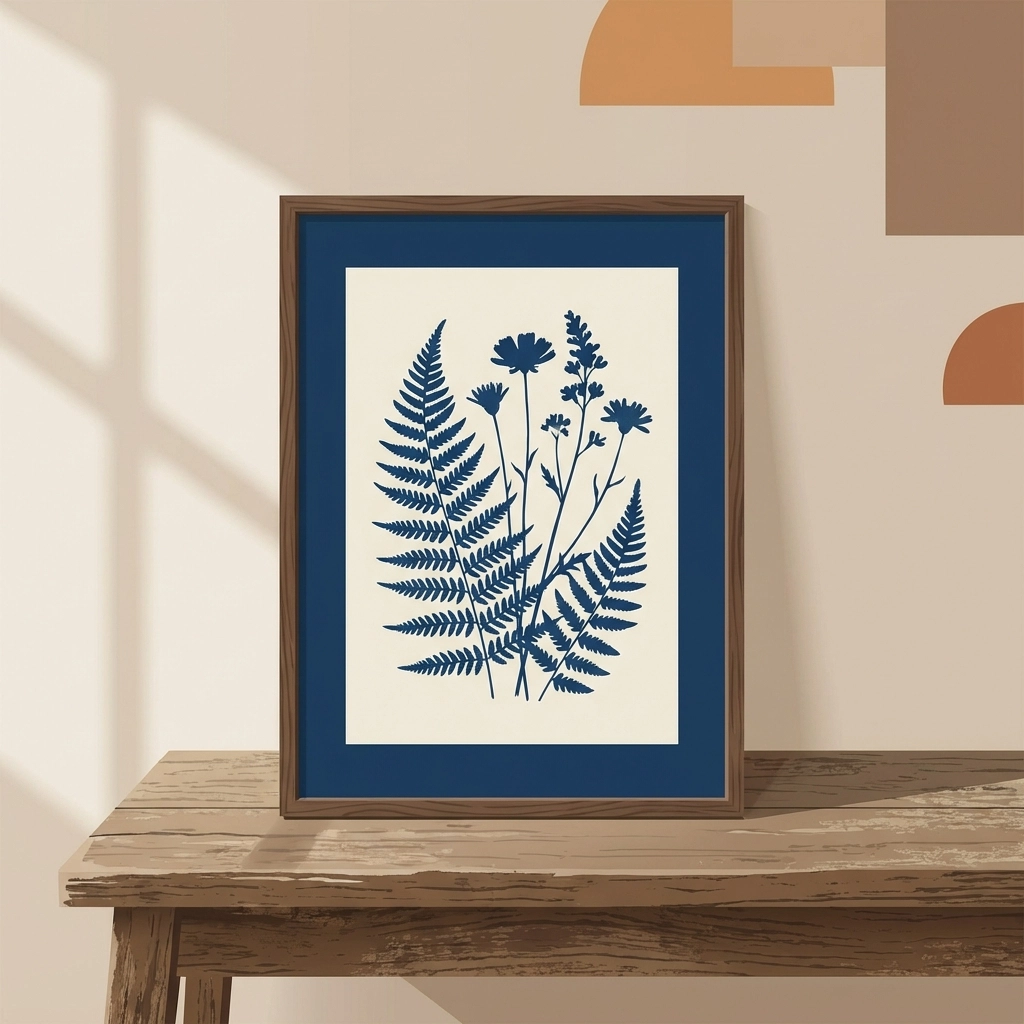
The result: a negative botanical print.
Objects placed on the paper block light. Their silhouettes remain as white shapes against a rich blue background.
Anna Atkins used this method in 1843 to document algae specimens. The technique has not changed.
What Materials Are Needed?
The supply list is short.
Essential items:
- Cyanotype paper (pre-treated)
- Fresh plant specimens
- A piece of glass or clear acrylic
- Tap water
- A flat surface for drying
Optional additions:
- Cardboard backing
- Clips or clothespins
- Lemon juice for enhanced contrast
Cyanotype paper is available at photo supply stores and craft retailers. Pre-treated sheets eliminate the need for mixing chemicals.
Store unused paper in a dark, dry location. Light sensitivity begins immediately upon removal from packaging.
How Does the Chemistry Work?
Iron salts coat the paper surface.
The treated paper appears lime green before exposure. UV light triggers a chemical reaction in the iron compounds. Ferric ammonium citrate and potassium ferricyanide combine under sunlight.
Exposed iron salts oxidize. They form Prussian blue: a stable, permanent pigment.
Covered areas receive no UV exposure. The iron salts wash away during rinsing. White paper remains.
The process is self-developing. No darkroom required.
Which Plants Work Best?
Plants with defined shapes produce the clearest prints.
High-contrast specimens:
- Fern fronds
- Maple leaves
- Queen Anne's lace
- Yarrow stems
- Carrot tops
- Parsley
- Clover
Challenging specimens:
- Thick succulents (block too much light)
- Wilted flowers (lose edge definition)
- Wet leaves (cause blur)
Flat specimens create sharp silhouettes. Dimensional objects produce softer, more diffused edges.
Freshly picked plants hold their shape during exposure. Wilting begins within minutes on hot surfaces.
What Is the Step-by-Step Process?
The process follows five stages.
Stage 1: Gather
Collect plant specimens in the hour before printing.
Flat leaves and thin-stemmed flowers work best. Shake off excess moisture. Remove any insects.
Transport specimens between damp paper towels to prevent wilting.
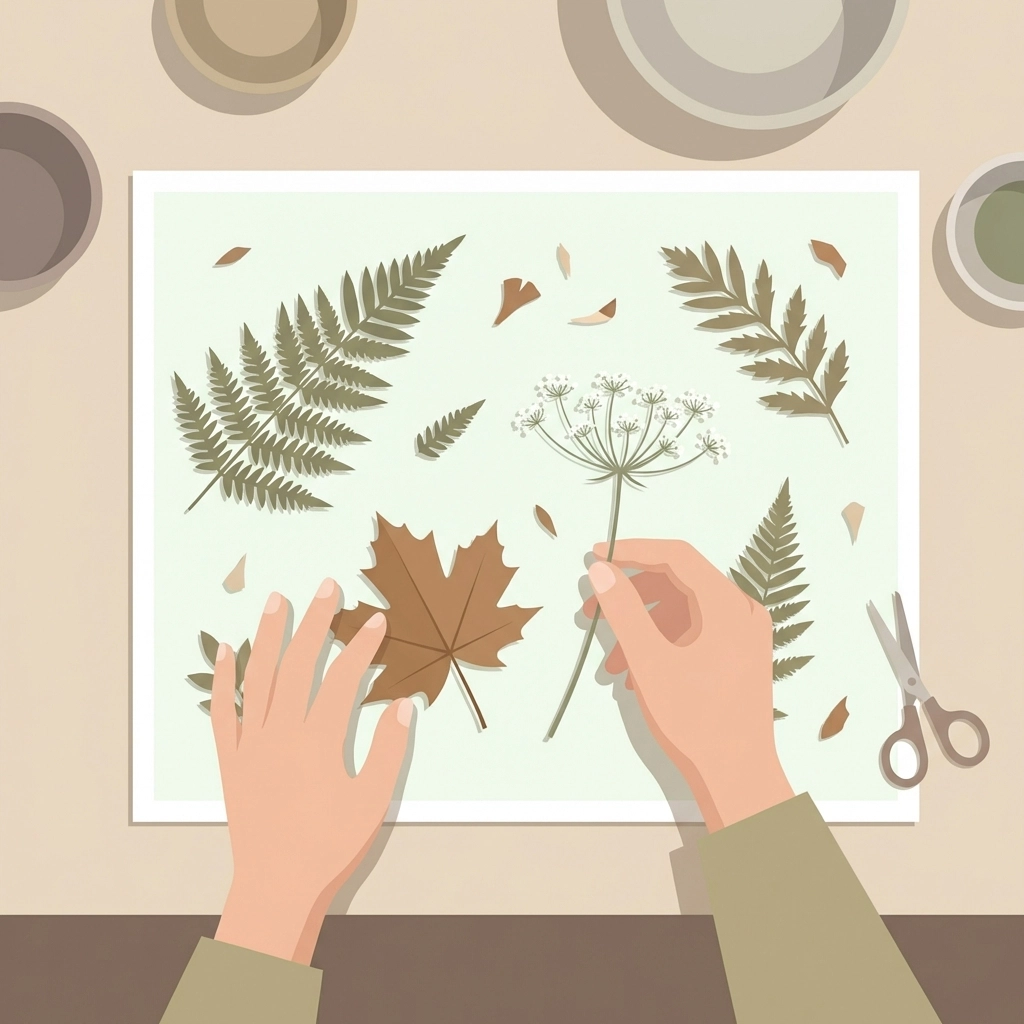
Stage 2: Arrange
Work in dim indoor light.
Remove one sheet of cyanotype paper from its packaging. Place it on a firm backing: cardboard or foam board.
Arrange plant materials directly on the paper surface. Composition matters. Overlapping creates layered effects. Spacing creates isolation.
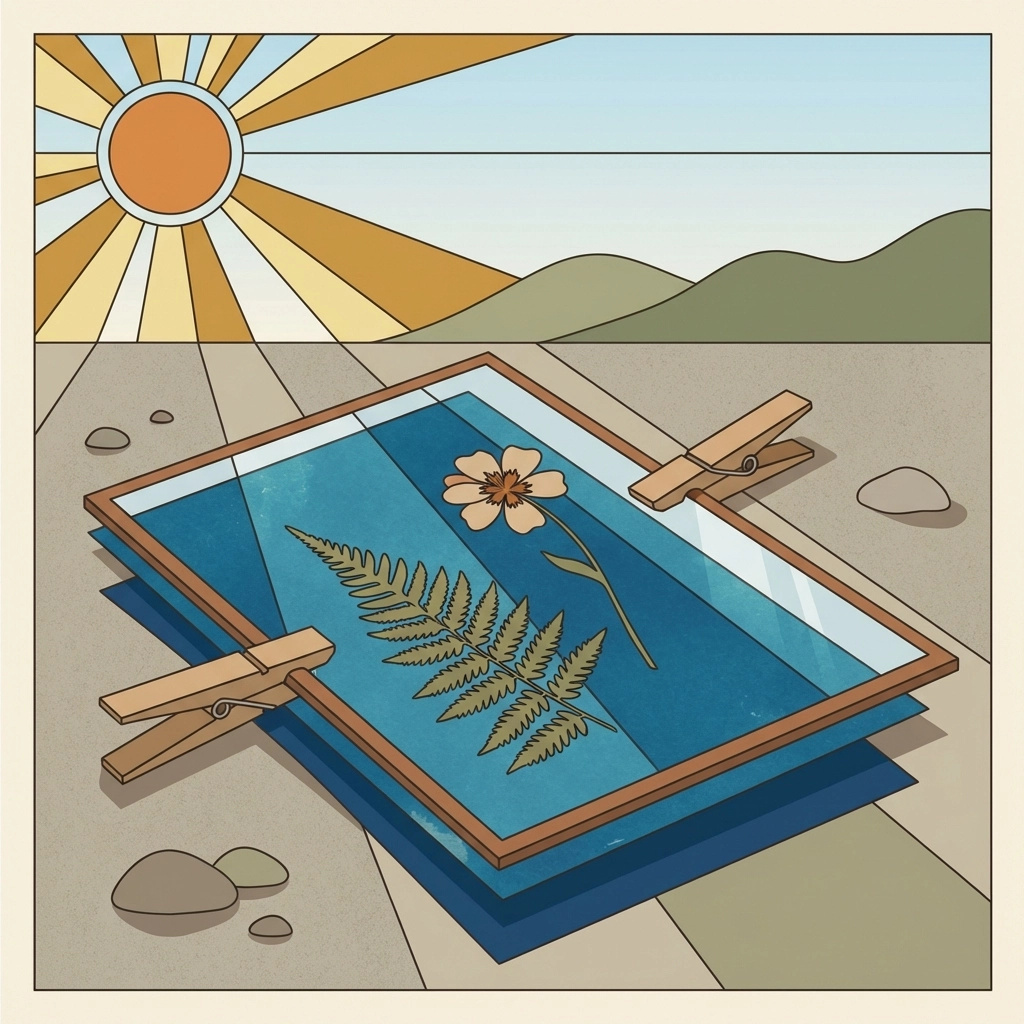
Stage 3: Secure
Place a piece of glass over the arrangement.
The glass serves two purposes:
- Holds specimens flat against the paper
- Prevents wind displacement during outdoor exposure
Flat contact produces sharp prints. Gaps between plant and paper create blur.
Stage 4: Expose
Carry the secured arrangement outside.
Place in direct sunlight. The paper's blue-green color begins fading immediately.
Exposure times vary:
- Bright sun: 1–5 minutes
- Partial clouds: 10–20 minutes
- Overcast sky: 15–20 minutes
Watch for the paper to turn pale bronze or grayish. This signals adequate exposure.
Under-exposure produces weak, faded prints. Over-exposure reduces contrast.
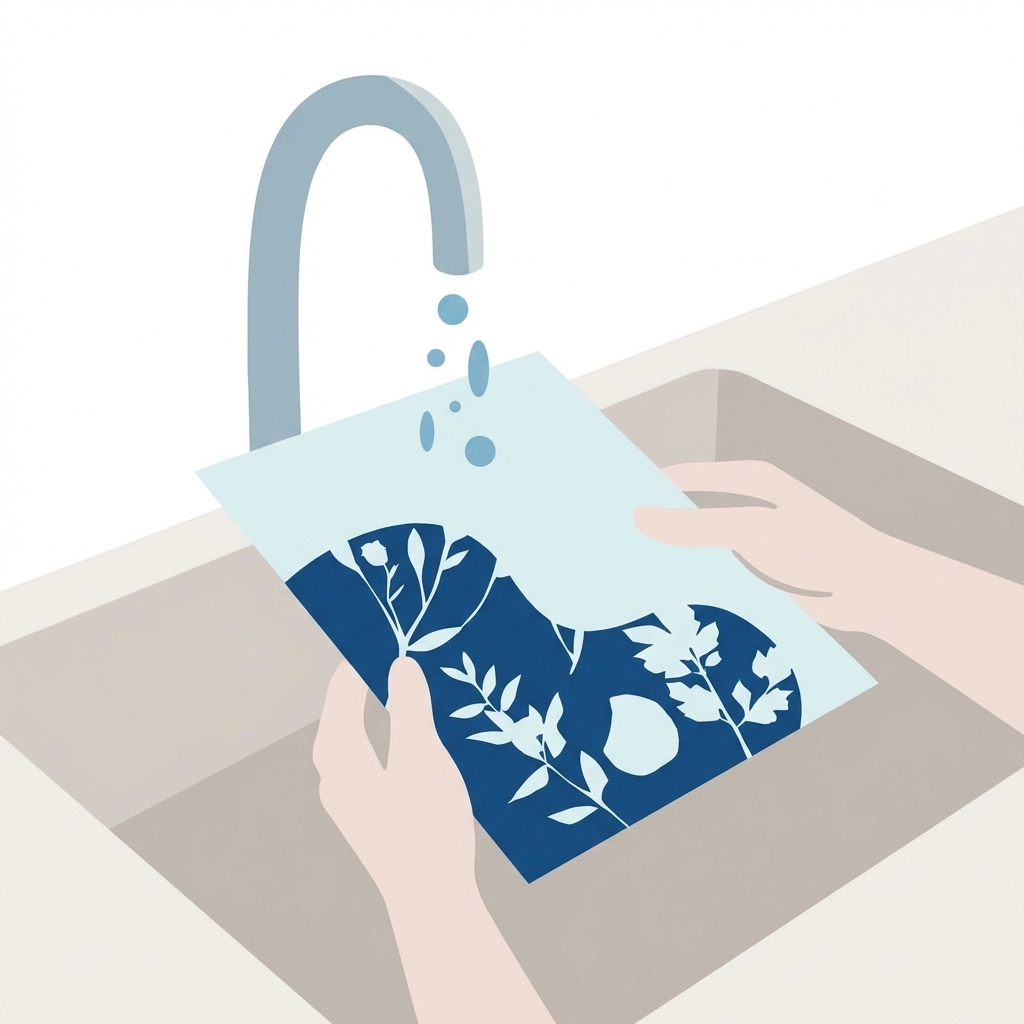
Stage 5: Develop
Return indoors.
Remove the glass. Lift away plant materials.
Immediately submerge the paper in tap water. Rinse for one to two minutes. The image reverses: pale areas turn blue, covered areas turn white.
Running water works. A basin of still water also works. The rinse removes unexposed iron salts and stops the chemical reaction.
Lay flat to dry. Colors deepen as the paper dries completely.
How Long Does Exposure Take?
Exposure time depends on UV intensity.
Direct summer sun at midday: 1–3 minutes.
Direct winter sun: 5–10 minutes.
Overcast conditions: 15–20 minutes.
Indoor window light: 30–60 minutes.
The paper provides visual feedback. Initial blue-green fades to pale gray or bronze when exposure is complete.
Testing is the most reliable method. Cut a sheet into quarters. Expose each quarter for different durations. Compare results after rinsing.
What Common Mistakes Occur?
Most failures trace to three causes.
Insufficient exposure: The print appears pale, washed out. Blue tones lack depth. Solution: extend exposure time.
Movement during exposure: Edges appear doubled or blurred. Solution: use heavier glass, shield from wind.
Incomplete rinsing: Yellow or green stains remain on the paper. Highlights appear muddy. Solution: rinse longer, use running water.
Paper that has been exposed to light before use produces weak results. Always store in complete darkness.
How Can Prints Be Enhanced?
Several techniques increase contrast and permanence.
Hydrogen peroxide dip: A brief soak in diluted hydrogen peroxide (one part 3% peroxide to ten parts water) intensifies blue tones immediately after rinsing.
Lemon juice addition: Adding lemon juice to the rinse water deepens the final blue.
Extended drying: Colors continue developing for 24–48 hours. Final assessment should wait until fully cured.
Pressing: Drying under weight prevents curling and warping.
Finished prints are archival. They resist fading when stored away from direct light.
What Age Groups Can Participate?
The process scales across ages.
Ages 5–7: Adult handles exposure timing and rinsing. Child arranges plants and observes the color change.
Ages 8–10: Child manages all steps with supervision during glass handling and water rinsing.
Ages 11+: Independent execution. Journaling and specimen identification add educational depth.
Safety note: Glass edges require caution. Acrylic sheets offer a safer alternative for younger participants.
What Learning Outcomes Apply?
Cyanotype printing intersects multiple disciplines.
Chemistry: Photosensitive reactions, oxidation, pH effects on pigment intensity.
Botany: Plant identification, leaf structure, seasonal variation in specimens.
Physics: UV light behavior, exposure and shadow formation.
Art: Composition, negative space, contrast.
The process provides tangible results. Abstract concepts become visible.
Why Farm Flora?
Farm environments offer diverse specimens within walking distance.
Cultivated plants, cover crops, wildflowers, and weeds all produce distinct prints. Seasonal variation creates a year-round activity.
Spring: emerging leaves, early blossoms.
Summer: full foliage, seed heads, herbs.
Fall: changing leaves, dried grasses, late flowers.
Winter: evergreen needles, dried stems, seed pods.
A single location yields dozens of unique compositions across twelve months.
Summary
Cyanotype printing transforms farm plants into permanent blue-and-white images.
The chemistry is simple. The materials are accessible. The results are immediate.
UV light does the work. Water fixes the image. No special equipment required.
A hands-on introduction to photographic science( using only the sun.)


