


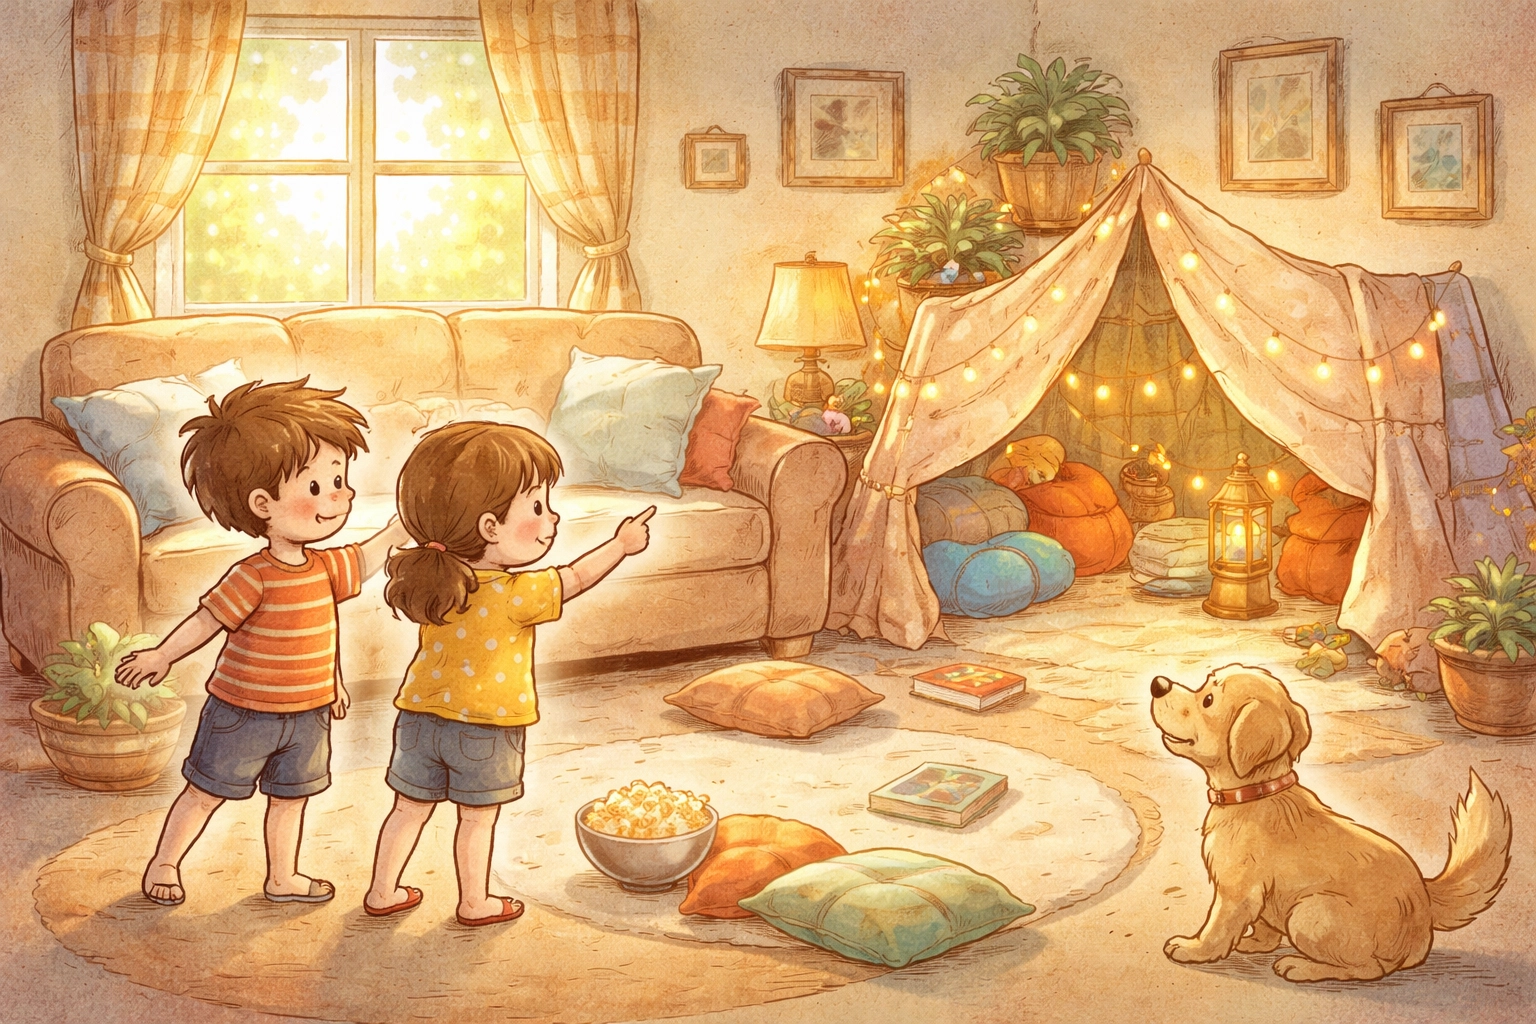
You need blankets, pillows, chairs or furniture to drape over, a flashlight, and a bit of imagination. That's it. An indoor camping adventure can happen with items you likely have sitting around your home right now: no tent, no sleeping bags, and no trip to the store required. It's one of those rare activities where setup is half the fun and cleanup takes about five minutes.
This activity works well for a rainy afternoon, a special weekend treat, or anytime your family needs a change of scenery without actually leaving the house.
Quick Overview
| Detail | Information |
|---|---|
| Skill Age Range | 4–7 years old (for building the fort and setting up camp) |
| Enjoyment Age Range | 2–10 years old (younger kids love being inside; older kids enjoy the storytelling and atmosphere) |
| Setup Time | Around 30 minutes |
| Budget | $0 (using household items) |
Materials List
Here's what you can gather from around your home. If you happen to be missing something, the cost column shows what you might spend if you needed to pick it up: but for many families, this project costs nothing.
| Material | Quantity | Assumed Cost (If Purchased) |
|---|---|---|
| Blankets or flat sheets | 2–4 | $0 (from closet) |
| Pillows | 3–6 | $0 (from beds/couch) |
| Chairs, couch cushions, or dining chairs | 2–4 | $0 (already owned) |
| Flashlight or battery-powered lantern | 1–2 | $0–$5 |
| Books or magazines | A small stack | $0 (from shelves) |
| Stuffed animals | As many as desired | $0 (from toy bin) |
| Snacks (crackers, fruit, trail mix) | Small portions | $0–$3 |
| Paper and crayons | A few sheets | $0 (from craft supplies) |
| Optional: string lights (battery-powered) | 1 strand | $0–$5 |
Total estimated cost: $0 if using what you have on hand, or up to around $13 if you needed to grab a flashlight and string lights.
Step-by-Step Instructions
Step 1: Choose Your Campsite
Pick a spot in your home that has enough floor space for a blanket fort. The living room tends to work well because you can drape blankets over couches and chairs. A bedroom corner or hallway can also work if you get creative with furniture placement.
Tip: Avoid high-traffic areas where someone might accidentally walk through your tent mid-adventure.
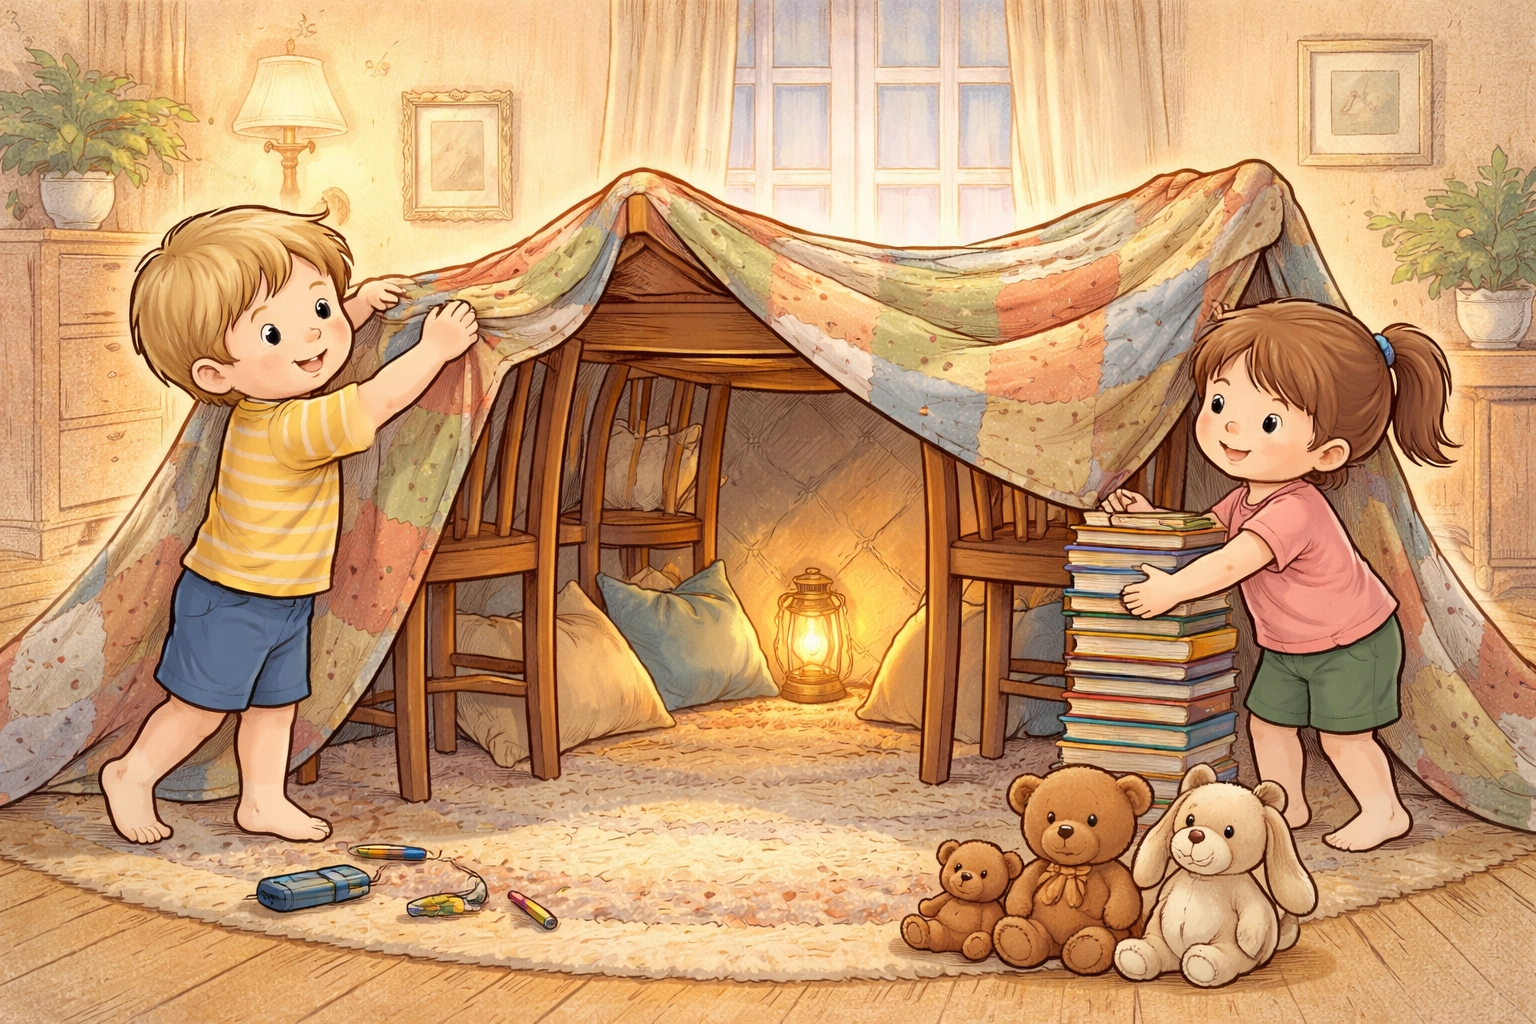
Step 2: Build Your Tent or Fort
This is where kids can really take the lead (with a little help for the younger ones).
Option A: The Classic Chair Fort
- Place two to four chairs in a rough square or rectangle shape, with the seat backs facing inward.
- Drape a large blanket or sheet over the top of the chairs.
- Tuck the edges under the chair legs or use heavy books to weigh them down.
Option B: The Couch Lean-To
- Remove couch cushions and lean them against the couch to create walls.
- Drape a sheet over the top, anchoring it behind the couch.
- This creates a cozy cave-like space.
Option C: The Table Tent
- If you have a dining table or large coffee table, simply drape blankets over all sides.
- Leave one side open as the "door."
There's no wrong way to do this. If it stays up long enough to crawl inside, you've succeeded.
Step 3: Set Up Your Sleeping Area
Lay down a soft base inside your tent using:
- A folded comforter or thick blanket as a "sleeping bag"
- Pillows for comfort
- Stuffed animals as camping buddies
You don't need actual sleeping bags unless you happen to have them. Blankets work fine, and kids often prefer the novelty of sleeping somewhere different over having the "right" gear.
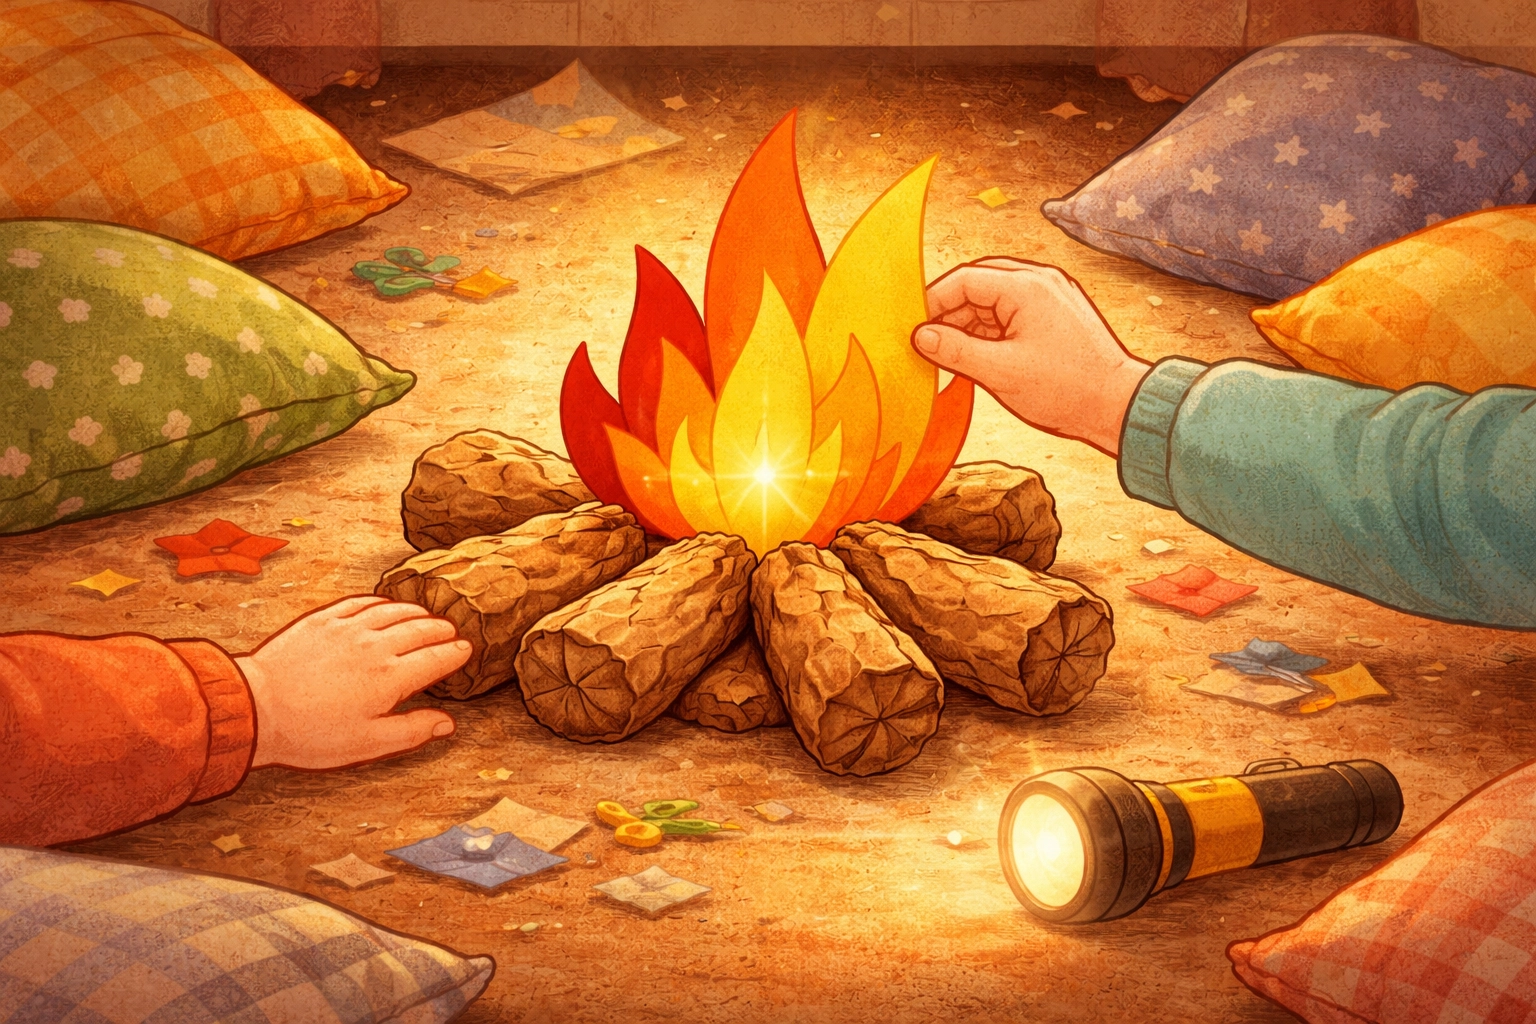
Step 4: Create a Paper Campfire
This is a simple craft that adds atmosphere without any fire risk.
Materials needed:
- Brown paper (or paper bags cut into strips)
- Red, orange, and yellow paper or crayons
- Tape or glue
How to make it:
- Roll brown paper into log shapes or crumple it loosely.
- Arrange the "logs" in a small pile on the floor near your tent.
- Cut flame shapes from red, orange, and yellow paper (or draw flames on white paper and color them).
- Tape or glue the flames so they stand up between the logs.
Kids can sit around this "campfire" for stories, songs, or snacks.
Step 5: Add Lighting for Atmosphere
Turn off the overhead lights and use:
- A flashlight propped up inside the tent
- A battery-powered lantern
- Battery-powered string lights draped around the tent opening
The shift in lighting transforms an ordinary room into something that feels special. Kids who are hesitant about the dark can keep a nightlight nearby or leave a lamp on low in another part of the room.

Step 6: Pack Your Camping Snacks
Part of camping is eating differently than usual. Set out a small "trail mix station" or prepare simple snacks that feel outdoorsy:
- Crackers and cheese
- Apple slices
- Grapes
- Pretzels
- A small handful of cereal or dried fruit
Serve snacks in small containers, cups, or even clean coffee filters for that grab-and-go camping feel. Avoid anything too messy inside the tent: crumbs in blankets can make cleanup less fun.
Step 7: Plan Your Camp Activities
Now that camp is set up, here are some things to do inside:
Read by flashlight. Pick a few favorite picture books or chapter book chapters. Reading with a flashlight somehow feels more exciting than regular reading.
Tell stories. Take turns making up silly stories, or use story-starter prompts. One person starts with a sentence, the next person adds on.
Draw what you "see" outside. Pretend there's a forest, lake, or mountain outside your tent. Kids can draw the imaginary view.
Stargazing (sort of). If you have glow-in-the-dark stars or stickers, put a few on the ceiling above your tent. Otherwise, poke small holes in a piece of dark paper, hold a flashlight behind it, and project "stars" onto the tent ceiling.
Shadow puppets. Use the flashlight to make animal shapes on the tent walls.
Tips for Success
Keep expectations flexible. Some kids will want to stay in the tent for an hour. Others might lose interest in fifteen minutes. Both are fine.
Involve kids in every step. The building process can be as entertaining as the camping itself. Let them make decisions about where things go, even if the fort looks a little lopsided.
Consider a "campout breakfast." If your indoor camping adventure happens in the evening, extend the fun by serving breakfast near the tent the next morning: pancakes on the floor feel like a treat.
Leave it up. If space allows, keeping the tent up for a day or two gives kids a place to return to for quiet play, reading, or imaginative games.
Variations to Try
- Themed camping: Choose a theme like "jungle expedition," "arctic adventure," or "space mission" and adjust your decorations and stories accordingly.
- Movie night camping: Set up a tablet or laptop outside the tent opening and watch a family movie from inside your cozy fort.
- Sibling campout: Older kids can "host" a camping trip for younger siblings, taking charge of setup and activities.
Why This Works
Indoor camping offers a low-pressure way to spend quality time together. There's no driving, no packing, and no worrying about weather or bugs. Kids get to practice building, problem-solving, and imaginative play while parents get an activity that doesn't require a trip to the craft store.
It's simple, it's free, and it often turns into a memory that kids ask to repeat. Sometimes the best adventures happen right in your living room.
FAQ
- Do I need a real tent for indoor camping? Not at all! A few blankets draped over chairs or a table create a cozy "tent" that kids often find more fun than the real thing. It’s all about the imagination.
- What are good snacks for indoor camping? Think "trail mix" style: crackers, pretzels, dried fruit, or popcorn. Anything that is easy to eat with fingers and doesn't create a big mess inside your blanket fort is a winner.
- How can I make an indoor campfire safe? Use paper! Roll up brown paper for logs and use red/orange tissue paper for flames. You can even tuck a small flashlight or battery-operated candle inside the "flames" to make it glow safely.
Looking for more low-cost family projects? Browse our collection of hands-on activities at Tierney Family Farms.


