


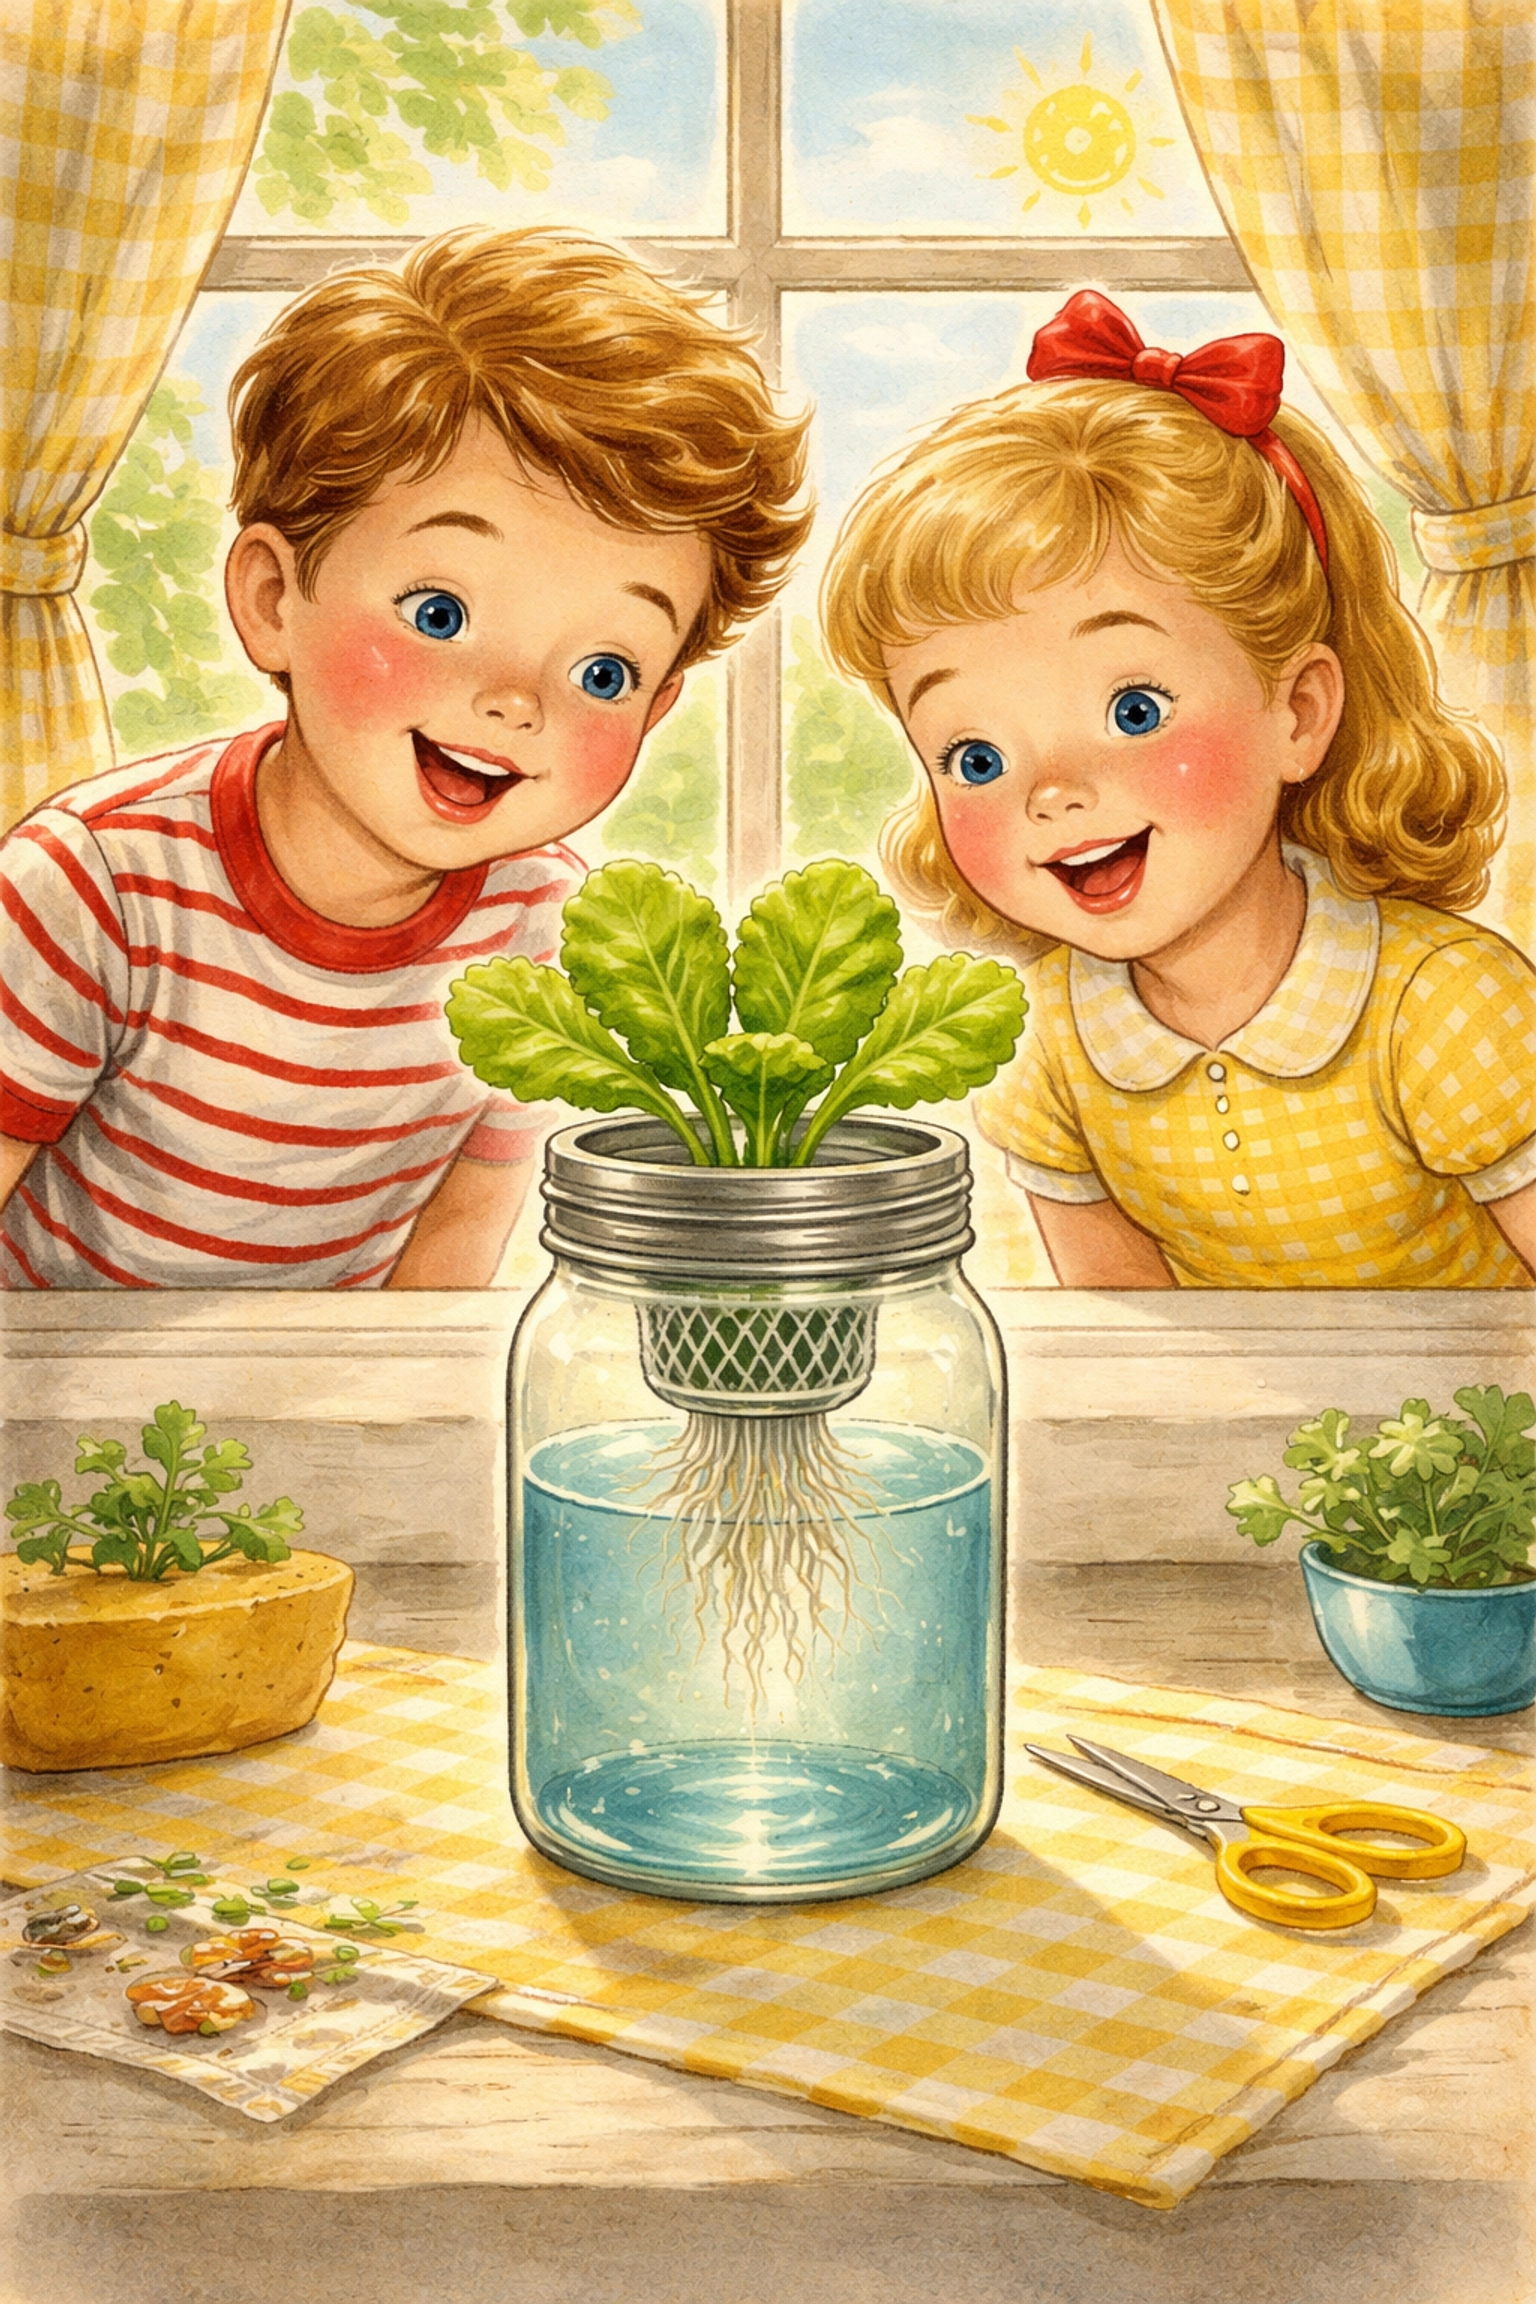
The Kratky Method is a passive hydroponic technique that allows plants to grow in nutrient-rich water without pumps, electricity, or constant maintenance. Developed by Bernard Kratky at the University of Hawaii in 2009, this "set it and forget it" approach is often considered the easiest way to introduce kids to hydroponics. You simply suspend a plant above a water reservoir, let the roots dip in, and watch nature do the rest. By the time the water runs out, your lettuce is typically ready to harvest!
Why the Kratky Method is Perfect for Kids
If you've ever tried to get kids excited about gardening, you know the struggle. Watering schedules get forgotten. Soil gets everywhere. Interest fades before the first sprout appears.
The Kratky Method solves most of these problems in one elegant swoop.
No daily watering. Once you set up the system, the plant drinks what it needs directly from the reservoir. No reminders, no guilt trips, no wilted plants on Monday morning.
No electricity required. Unlike other hydroponic systems that need air pumps or water circulators, the Kratky Method is completely passive. This makes it safer for little hands and much easier on your wallet.
Fast results. Leafy greens like lettuce grow quickly in a Kratky setup, often ready to harvest in just 4–6 weeks. That's fast enough to hold a child's attention from seed to salad.
Science in action. Kids get to observe roots growing in real-time, watch the water level drop, and learn about plant biology without digging through dirt.
How the Kratky Method Actually Works
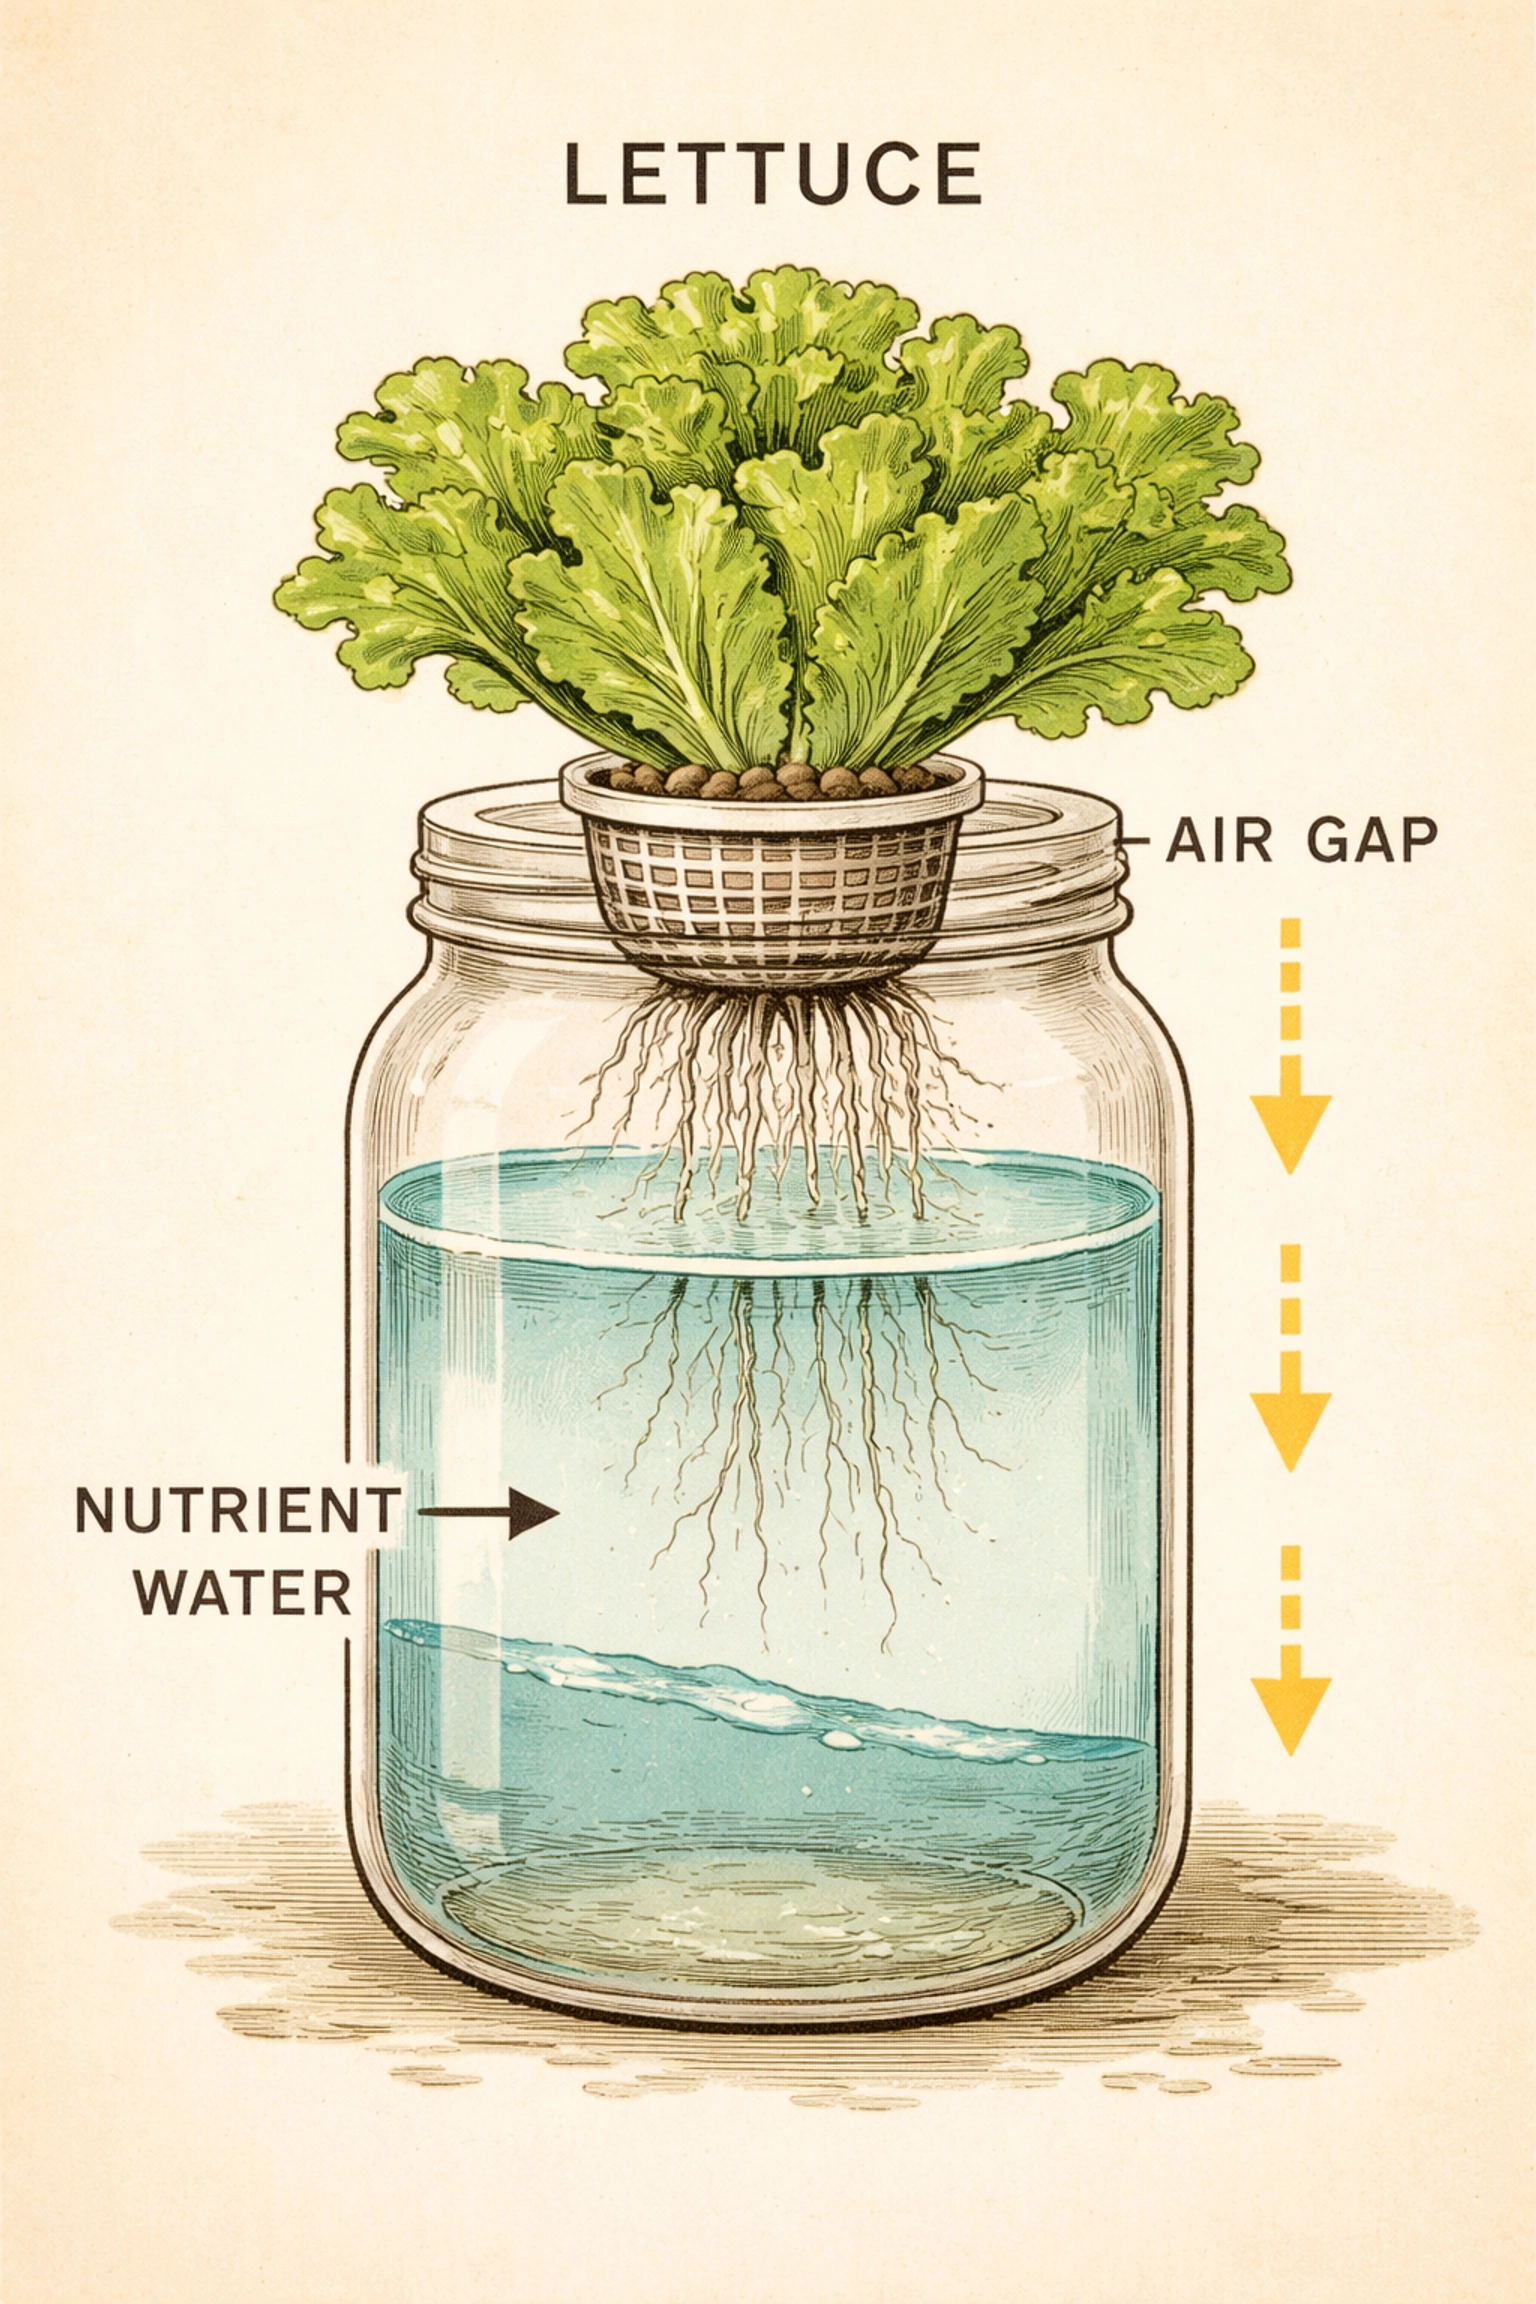
Here's the magic behind the method:
- A plant is placed in a net cup filled with a growing medium (like clay pebbles or coconut coir).
- The net cup sits in a lid that covers a water reservoir filled with nutrient solution.
- The plant's roots dangle down, with just the tips touching the water.
- As the plant drinks, the water level drops, creating an "air gap."
- The roots exposed to this gap become "air roots" that absorb oxygen directly from the humid air.
- By the time the reservoir is empty, the plant is usually ready to harvest.
No pumps. No timers. No fuss. The plant essentially regulates itself.
Budget Breakdown: Kratky Lettuce for Under $10
One of the best parts of this project? It's incredibly affordable. Here's a sample budget using recycled and low-cost materials:
| Item | Estimated Cost | Notes |
|---|---|---|
| Mason jar or recycled container | $0–$2 | Reuse a pasta sauce jar or pickle jar |
| Net cup (2–3 inch) | $0.50–$1 | Available at garden centers or online |
| Growing medium (clay pebbles or sponge) | $1–$2 | A small bag goes a long way |
| Hydroponic nutrient solution | $3–$5 | One bottle lasts for many projects |
| Lettuce seeds | $1–$2 | Butterhead or leaf lettuce work great |
| Aluminum foil or paint (to block light) | $0–$1 | Prevents algae growth |
| Total | $5.50–$13 | Most families can do this for under $10 |
If you already have a jar and some foil at home, you're looking at a project that costs about the same as a fancy coffee.
Materials You'll Need
Before you begin, gather the following supplies:
- A container – Mason jars, large yogurt containers, or plastic food storage containers work well. Aim for something that holds at least 16 ounces of water.
- A net cup – These small mesh pots allow roots to grow through while holding your plant in place. A 2-inch or 3-inch cup is perfect for lettuce.
- Growing medium – Clay pebbles (also called hydroton), coconut coir, or even a simple kitchen sponge cut to size.
- Hydroponic nutrient solution – Look for an all-purpose liquid hydroponic fertilizer. Follow the dilution instructions on the bottle.
- Lettuce seeds – Butterhead, romaine, or loose-leaf varieties are all excellent choices for beginners.
- Aluminum foil, paint, or dark tape – Used to cover the jar and block light from the water (this prevents algae from growing).
- A sunny windowsill or grow light – Lettuce needs about 10–14 hours of light per day.
Step-by-Step Instructions
Step 1: Prepare Your Container
Take your jar or container and wrap the outside with aluminum foil, or paint it with non-toxic paint. This blocks light from reaching the water inside. Algae love light, and we don't want them crashing our lettuce party.
Cut or drill a hole in the lid that's just big enough for your net cup to sit snugly. The cup should hang down into the container without falling through.
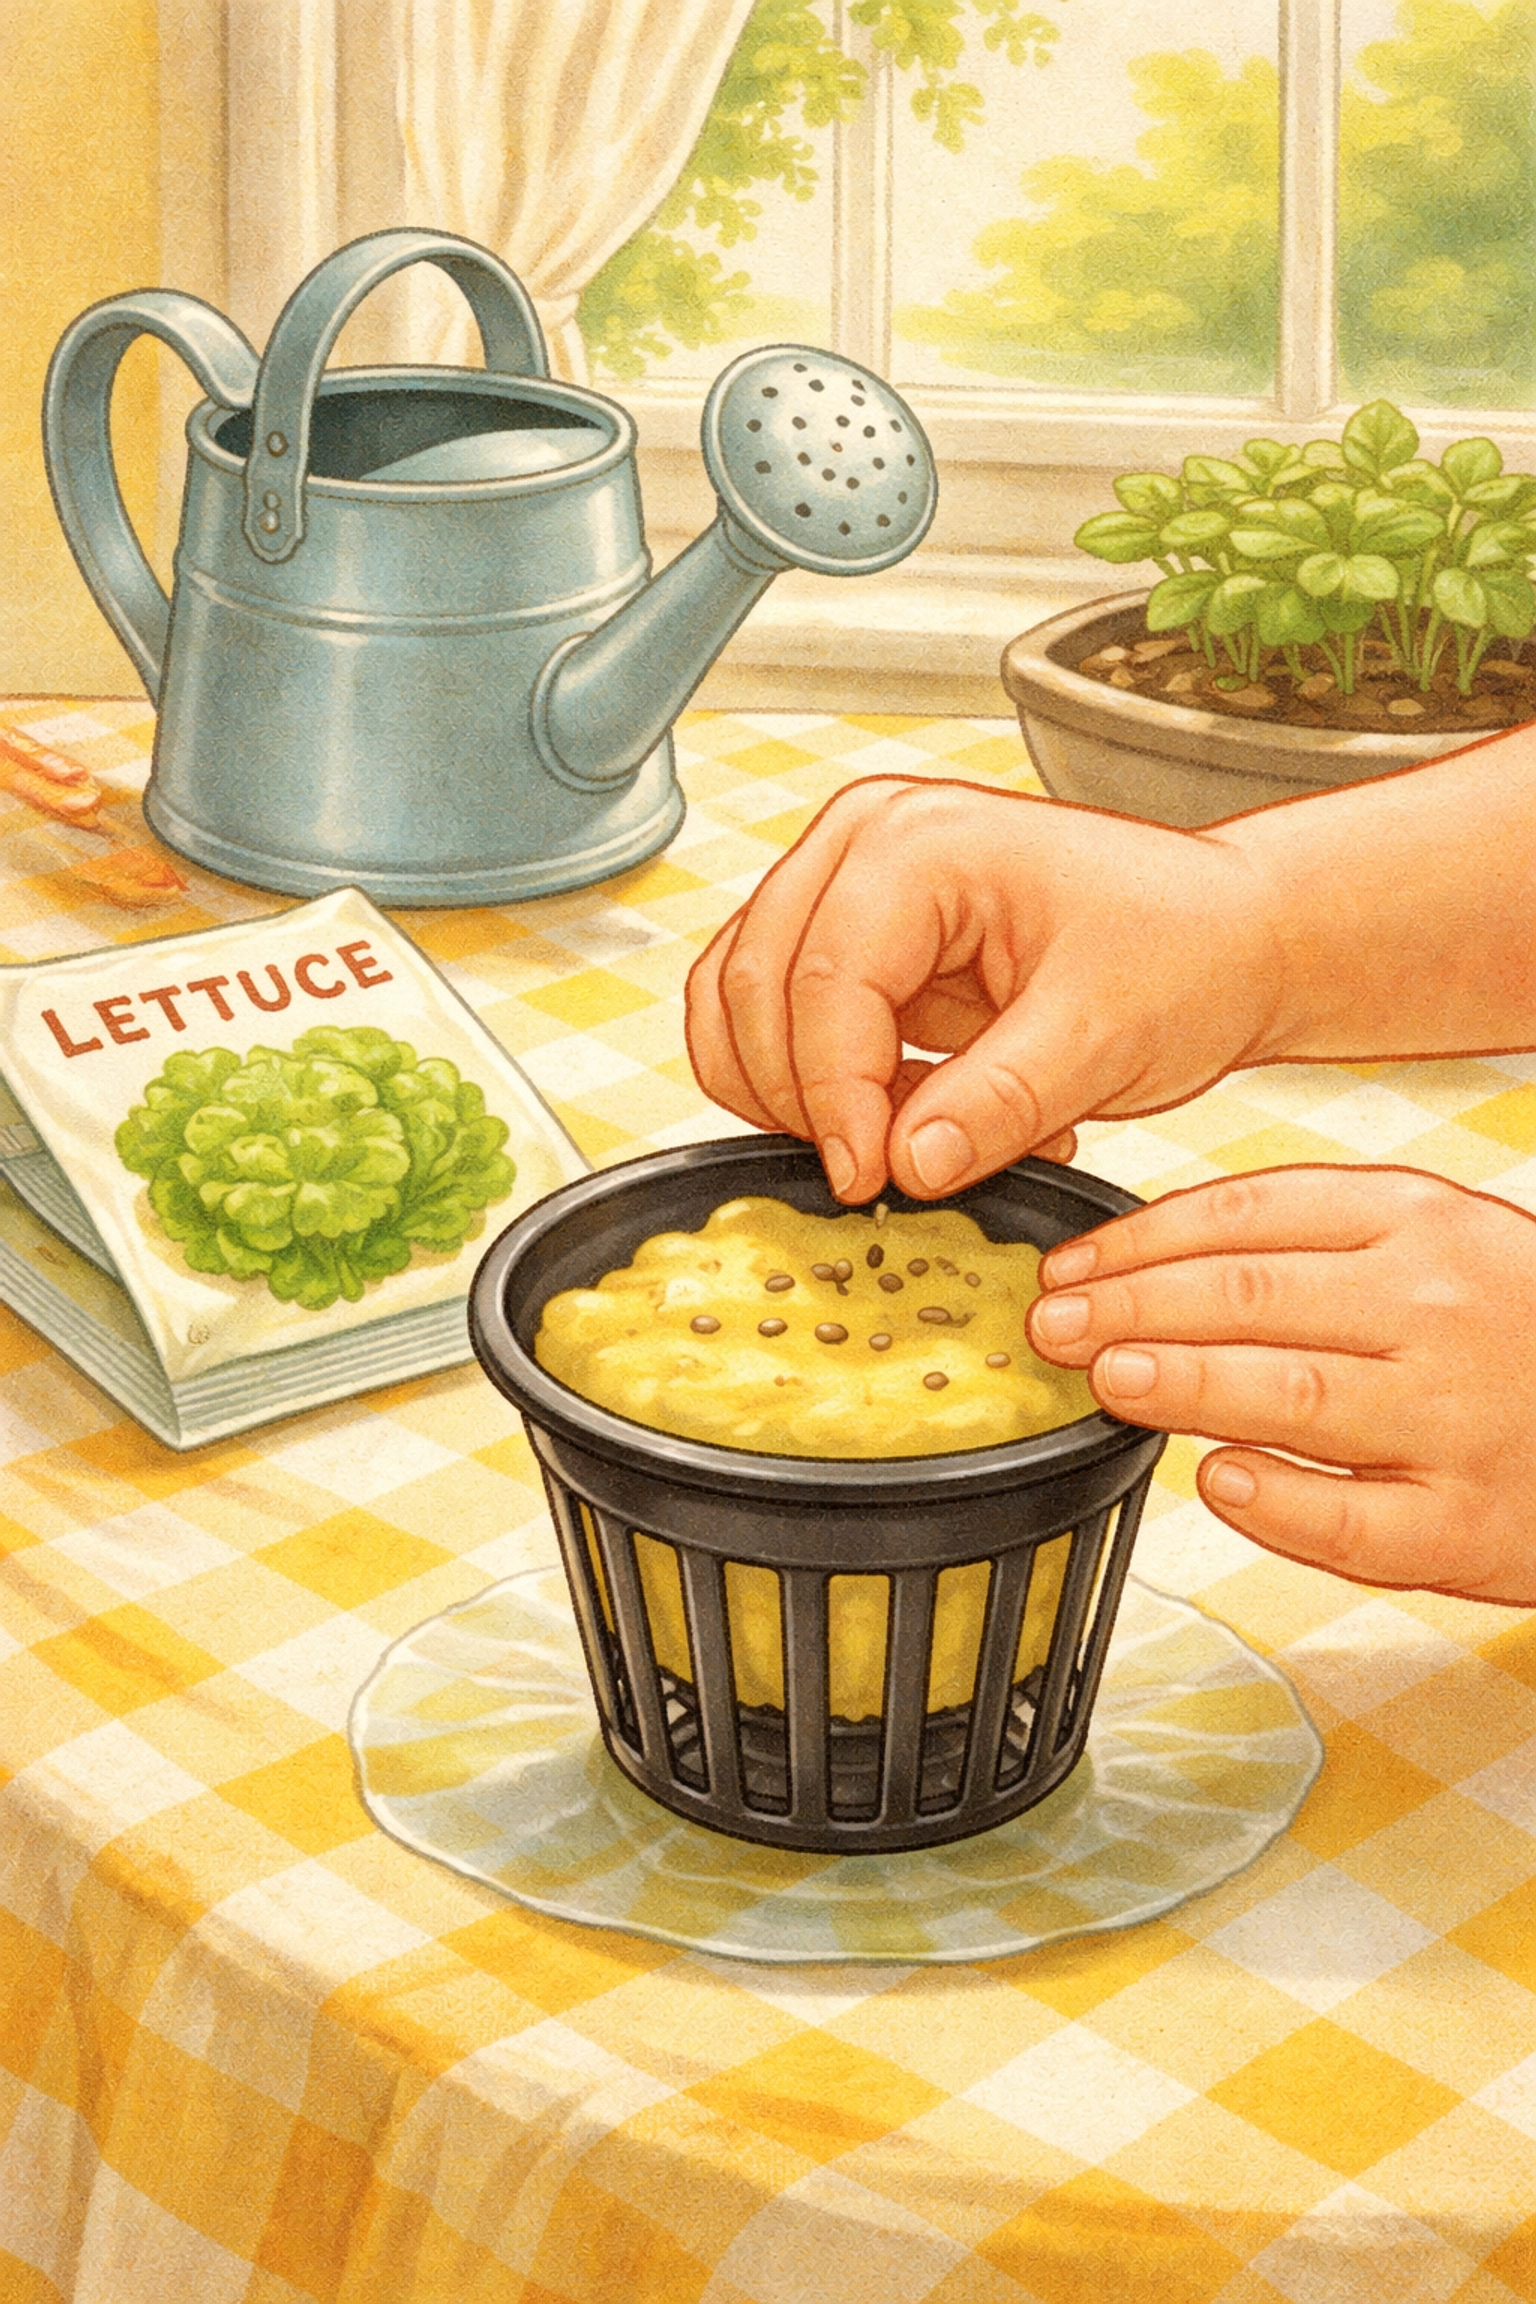
Step 2: Start Your Seeds
Fill your net cup with your chosen growing medium. If you're using a sponge, cut a small slit in the top.
Place 2–3 lettuce seeds on top of the medium or tucked into the sponge slit. Lettuce seeds need light to germinate, so don't bury them too deep.
Moisten the medium with plain water and place the net cup in a warm, bright spot. Keep the medium damp (but not soaking) until the seeds sprout, usually within 5–10 days.
Step 3: Mix Your Nutrient Solution
Once your seedlings have sprouted and developed their first set of true leaves (the second pair that appears), it's time to move them into the Kratky system.
Fill your container with water and add hydroponic nutrients according to the package directions. Most solutions call for about 1–2 teaspoons per gallon of water, but always check your specific brand.
Step 4: Assemble the System
Place the net cup with your seedling into the hole in the lid. The bottom of the net cup, and the roots, should just barely touch the surface of the nutrient solution. About ¼ inch of contact is ideal.
Pop the lid onto the container, and you're done with the hard part!
Step 5: Find the Perfect Spot
Set your Kratky lettuce in a sunny window that gets at least 10 hours of light. If natural light is limited, a simple LED grow light can fill in the gaps.
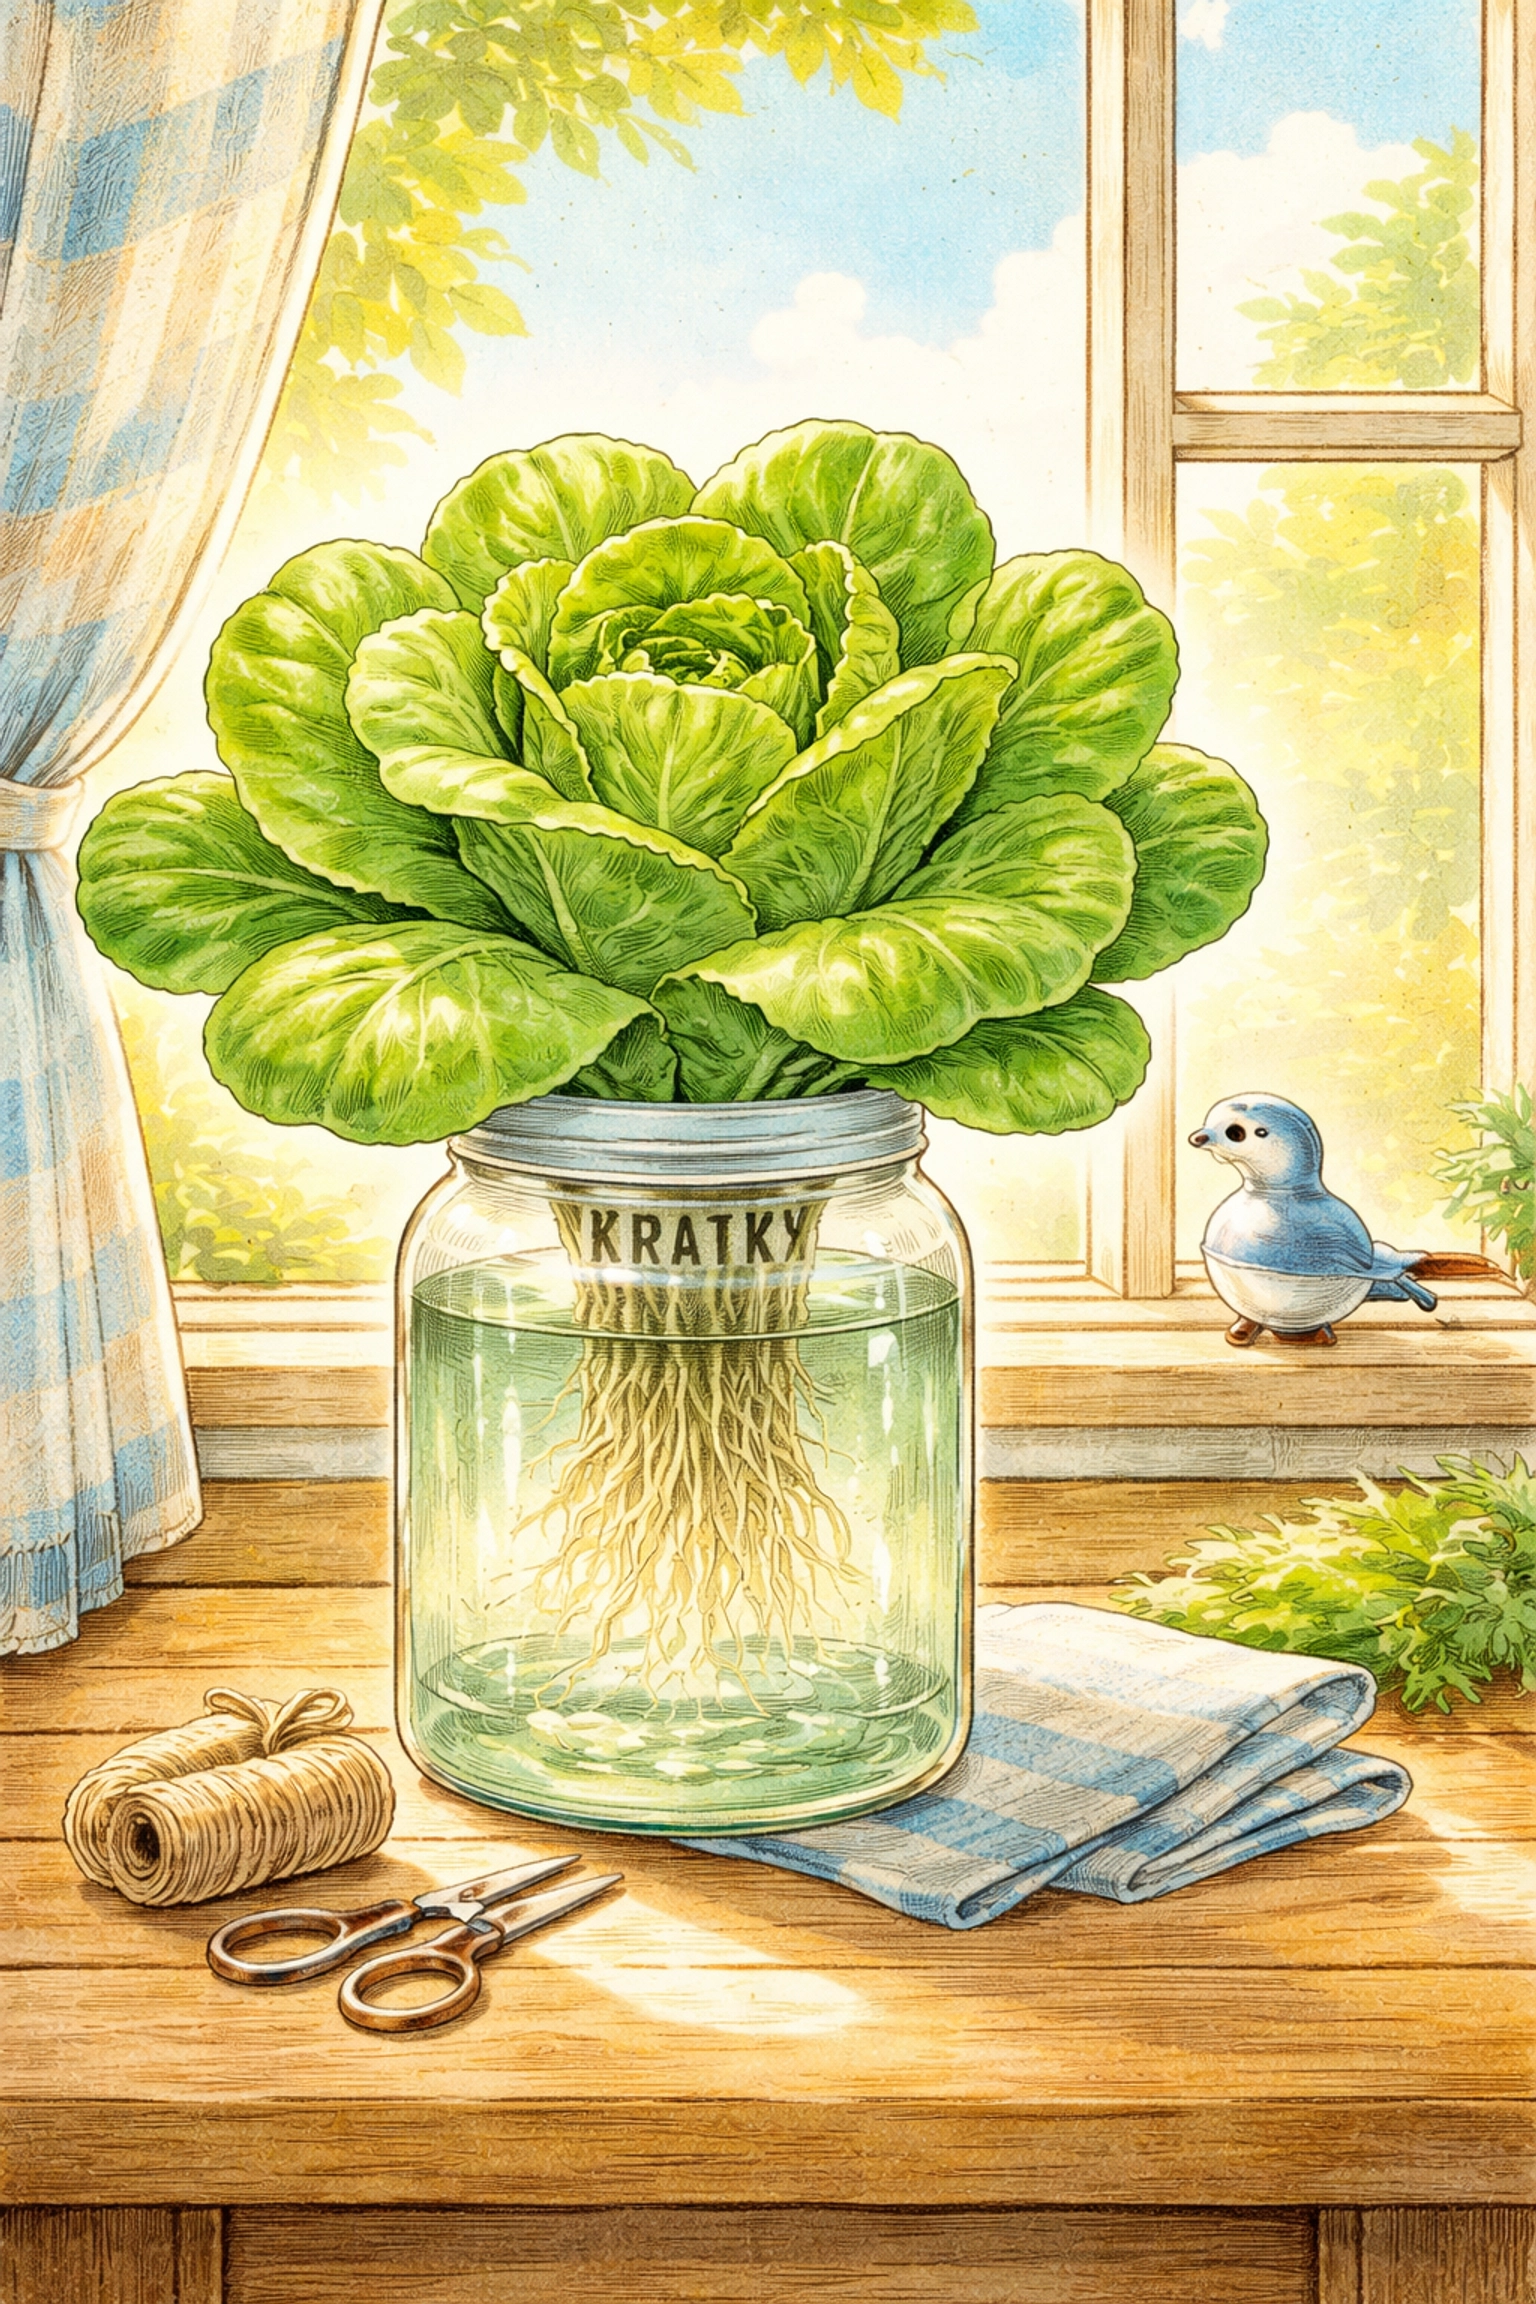
Step 6: Wait (Seriously, That's It)
Here's where the "set it and forget it" magic happens. Check on your plant every few days to admire its progress, but resist the urge to tinker. The water level will drop naturally as the plant drinks, and that's exactly what's supposed to happen.
In about 4–6 weeks, your lettuce should be full, fluffy, and ready for harvest.
Tips for Kratky Success
- Start small. Lettuce is forgiving. Once you've mastered it, you can try herbs like basil or mint.
- Don't top off the water. The air gap is essential. If you refill the reservoir, you can drown the air roots.
- Watch for algae. If you see green gunk forming, your container probably needs more light-blocking coverage.
- Use fresh nutrients. Old or improperly stored nutrient solutions can lose their effectiveness.
If you're looking for more budget-friendly hydroponic projects, check out our guide on how much space you need for a productive hydroponic garden or explore our full Kids Crafts library for over 100 hands-on STEAM activities.
Frequently Asked Questions
Can I grow anything besides lettuce with the Kratky Method?
Leafy greens and herbs work best because they grow quickly and don't need huge amounts of water. Lettuce, spinach, kale, basil, and mint are all great choices. Larger fruiting plants like tomatoes can be grown but require much bigger reservoirs and more advanced planning.
How long does it take for Kratky lettuce to grow?
Most lettuce varieties are ready to harvest in about 4–6 weeks, depending on the variety and how much light they receive.
Do I need special water?
Tap water works for most households. If your tap water is heavily chlorinated, let it sit out overnight before mixing in nutrients. Some growers prefer filtered or distilled water, but it's usually not necessary.
What if my roots aren't reaching the water?
In the early stages, you can use a small wick (like a strip of cotton fabric) to draw water up to the roots until they grow long enough to reach the solution on their own.
Can I reuse the nutrient solution?
It's generally better to start fresh for each new plant. Used solution may be depleted of nutrients or have an imbalanced pH.
Why is my lettuce bitter?
Bitterness in lettuce is often caused by heat stress or too much light. Try moving your setup to a slightly cooler spot or reducing light exposure to 10–12 hours per day.
Is the Kratky Method safe for kids?
Absolutely. There's no electricity involved, and the nutrient solutions used for leafy greens are generally non-toxic in the diluted amounts required. As always, supervise young children and wash hands after handling.
Can I do this project in a classroom?
Yes! The Kratky Method is a fantastic classroom project. It's low-maintenance, requires no outlets, and gives students a front-row seat to plant science.
References
- Kratky, B.A. (2009). "Three Non-Circulating Hydroponic Methods for Growing Lettuce." University of Hawaii at Manoa, College of Tropical Agriculture and Human Resources.
- University of Hawaii CTAHR. "A Suspended Pot, Non-Circulating Hydroponic Method."
- Oklahoma State University Extension. "Hydroponics." HLA-6442.


