


The magic milk experiment is a simple kitchen science activity where dish soap creates colorful swirling patterns in a shallow dish of milk. When soap touches milk that has drops of food coloring floating on top, the colors burst outward in mesmerizing patterns. It's a hands-on way to show kids how soap interacts with the fat molecules in milk: and it looks pretty spectacular while doing it.
This is one of those activities that tends to get genuine "whoa" reactions from kids. The setup takes just a few minutes, uses ingredients you likely have on hand, and delivers a visual payoff that feels like real magic (even though it's just chemistry doing its thing).
Quick Project Details
Skill Age Range: 4–6 years old (younger children can participate with guidance)
Enjoyment Age Range: 3–9 years old
Time to Complete: Around 10 minutes
Approximate Budget: $0–$4
Some sources suggest this activity works well for children as young as 3 with adult help, while others recommend starting around age 5 for independent participation. We'd say kids 4–6 can handle the steps with light supervision, but children from 3 to 9 tend to find it entertaining.
Materials You'll Need
Here's what you'll want to gather before starting. If you have a stocked kitchen, you may not need to buy anything at all.
| Material | Approximate Cost | Notes |
|---|---|---|
| Whole milk | $0–$2 | You only need about 1 cup; works best with higher fat content |
| Food coloring | $0–$2 | Liquid drops work better than gel for this experiment |
| Dish soap | $0 | A tiny amount: you likely have this already |
| Cotton swabs | $0 | 3–5 swabs per session is usually enough |
| Shallow dish or pie pan | $0 | A white dish shows colors best, but any will work |
| Paper towels | $0 | For cleanup |
Total Estimated Cost: $0 if you have supplies on hand, up to about $4 if you need to pick up milk and food coloring.
Step-by-Step Instructions
Here's how to run the magic milk experiment from start to finish. We've kept these steps simple so kids can follow along, though younger children will benefit from an adult handling the pouring.
Step 1: Pour Milk Into a Shallow Dish
Add enough whole milk to cover the bottom of your dish: usually about half an inch deep. You don't need much. A pie pan, baking dish, or even a large plate with a lip works well.
Tip: Whole milk tends to produce more dramatic results because it has more fat for the soap to interact with. Skim milk can work, but the effect may be less pronounced.
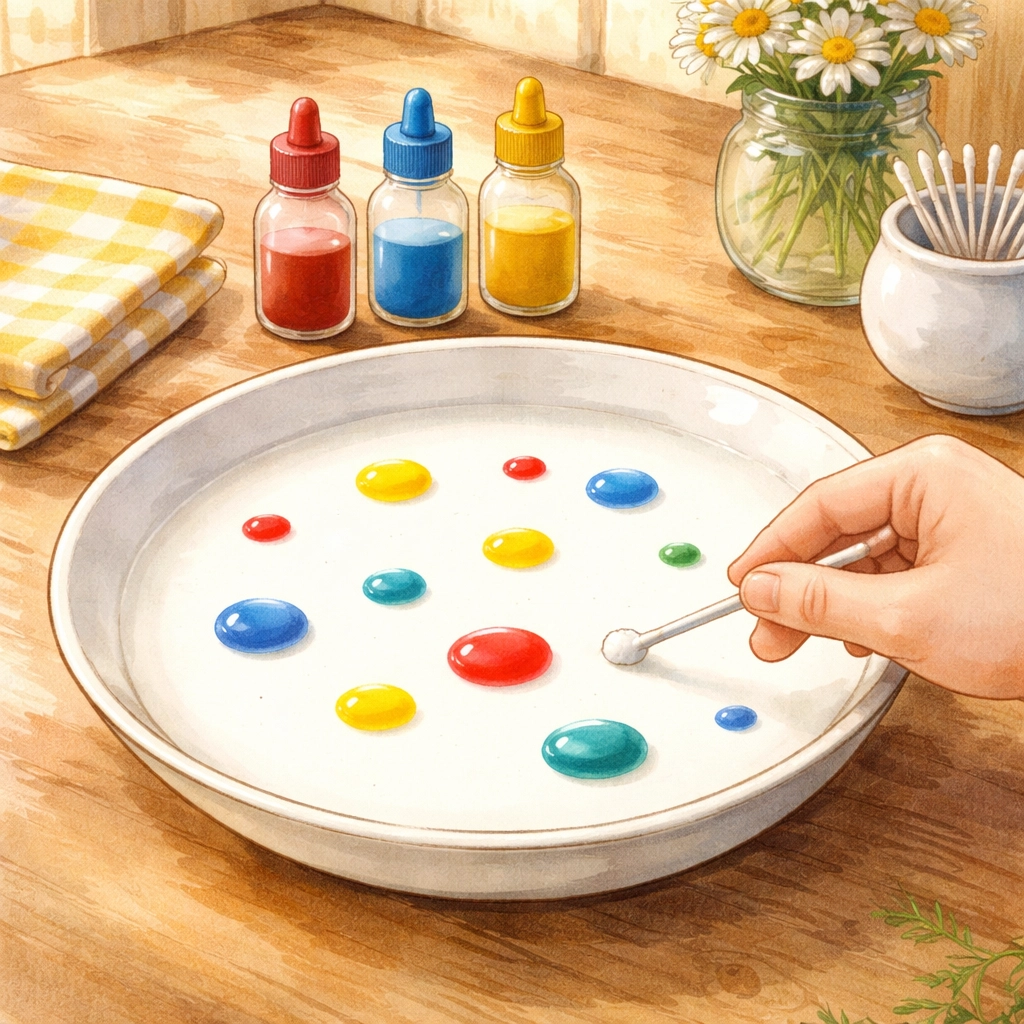
Step 2: Add Drops of Food Coloring
Let your child add several drops of food coloring to the surface of the milk. Space them out a bit: try putting different colors in different spots around the dish. Three to five drops of each color is usually plenty.
Don't stir the milk. You want the color drops just sitting on top, waiting for the soap to arrive.
Step 3: Dip a Cotton Swab in Dish Soap
Take a cotton swab and dip one end into liquid dish soap. You only need a small amount: the tip of the swab coated lightly is enough.
Step 4: Touch the Soapy Swab to the Milk
Here's where the fun happens. Have your child gently touch the soap-coated swab to the surface of the milk, right in the middle of a color drop or between colors. Hold it there for about 10–15 seconds.
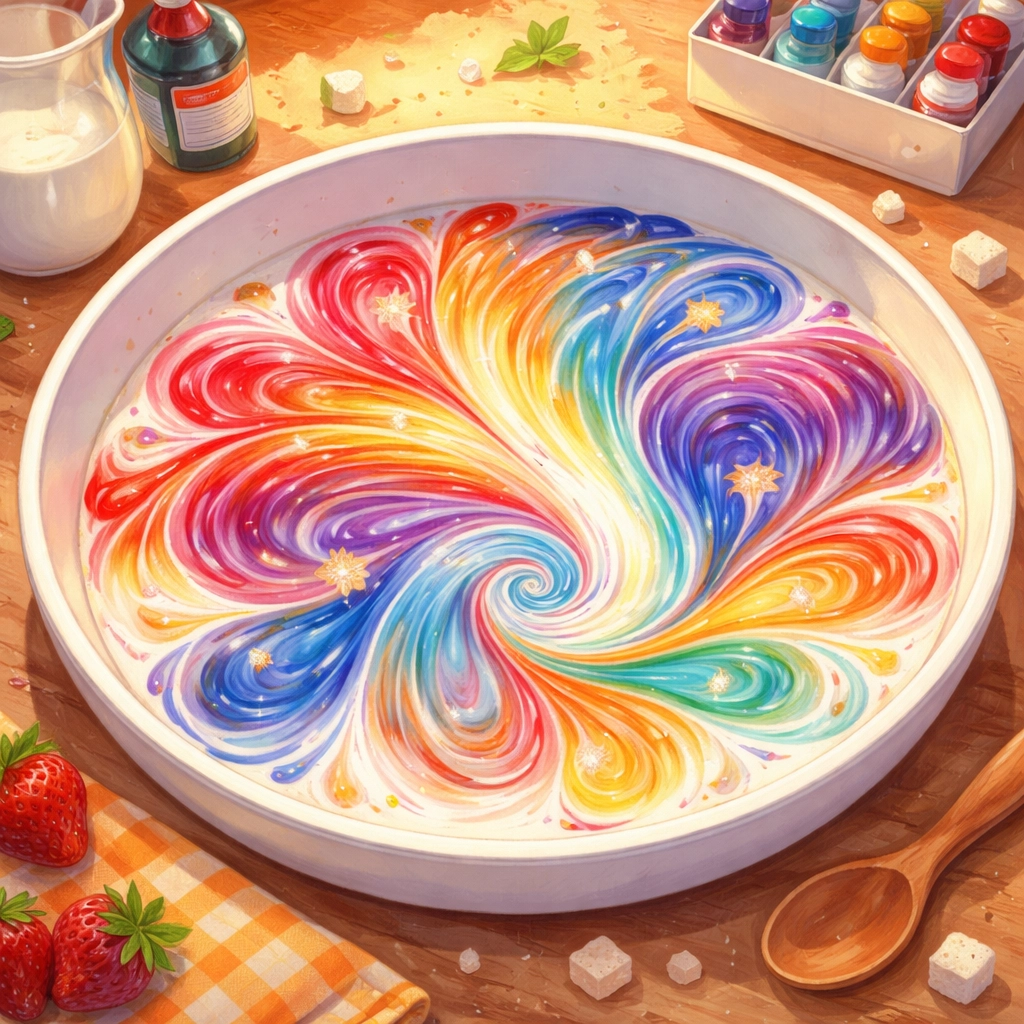
Step 5: Watch the Colors Burst
The colors should start swirling and pushing away from where the soap touched. Some kids describe it as an "explosion" of color. The movement can continue for several seconds as the soap spreads through the milk.
Step 6: Try Different Spots
Dip a fresh cotton swab in soap and touch a different area of the milk. You can repeat this several times: each new spot of soap tends to create more movement, though the effect may slow down as the soap spreads throughout the milk.
Why Does This Happen?
This is a great opportunity for a quick science chat, especially with kids in the 5–7 range who are starting to ask "why" questions.
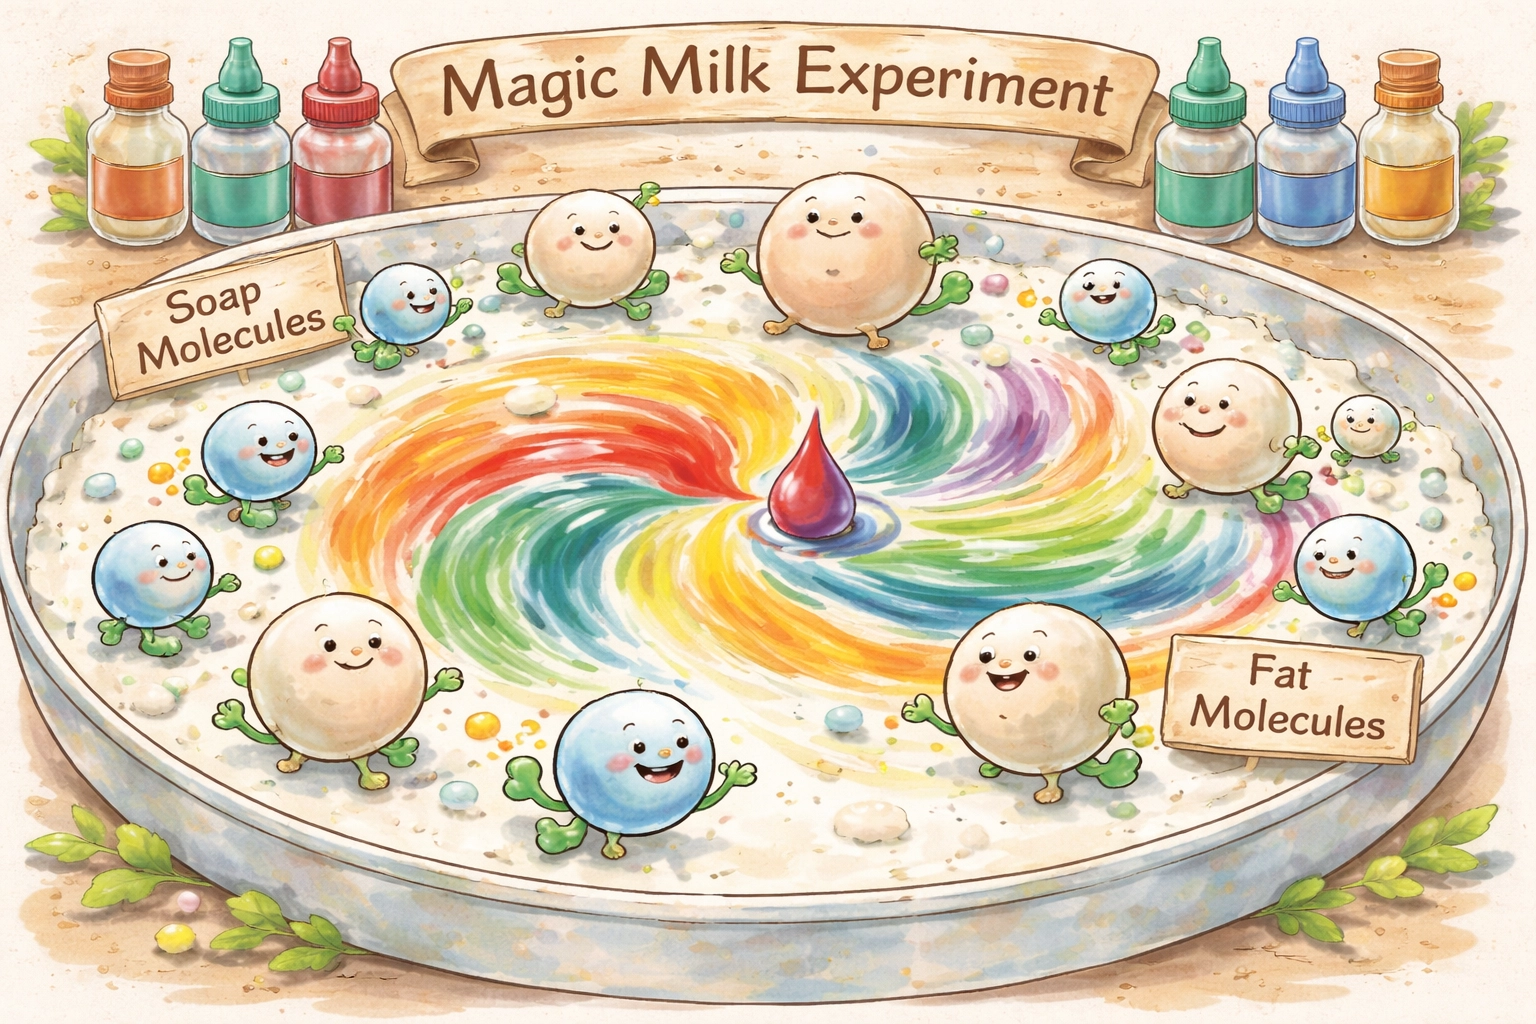
Milk contains fat molecules floating in water along with proteins and minerals. The surface of the milk has what scientists call "surface tension": kind of like a thin, stretchy skin on top.
When dish soap touches the milk, it breaks that surface tension. The soap molecules are attracted to fat molecules and rush toward them, pushing everything else out of the way. The food coloring gets caught up in all this movement, which is why you see those dramatic swirls and bursts.
The reaction continues until the soap has bonded with available fat molecules. That's why the effect slows down after a few tries: there's less "free" fat left for the soap to chase.
Tips for a Successful Experiment
Based on what tends to work well, here are a few suggestions:
Use whole milk when possible. The higher fat content creates more visible reactions. You can try the experiment with 2% or skim milk too, and compare results: that's actually a fun extension activity.
Liquid food coloring works better than gel. Gel food coloring is thicker and doesn't spread as easily on the milk's surface. Standard liquid drops from the grocery store baking aisle tend to give the best results.
White dishes show colors best. If you have a white pie plate or baking dish, the colors will pop more. Clear glass works too, but darker dishes can make the colors harder to see.
Have paper towels ready. This isn't a particularly messy activity, but milk can splash if kids get enthusiastic. A few paper towels nearby helps.
Don't overfill the dish. Half an inch of milk is plenty. Too much milk can dilute the effect and waste your supply.
Variations to Try
Once you've done the basic experiment, there are a few ways to extend the learning:
Compare milk types. Try skim milk, 2%, whole milk, and even heavy cream side by side. Ask your child to predict which will have the biggest reaction, then test it. (Spoiler: higher fat usually wins, but let them discover that.)
Try different soap amounts. What happens if you use more soap? Less soap? Does it change how the colors move?
Add glitter. For extra visual interest, sprinkle a tiny bit of fine glitter on the milk before adding the soap. The glitter moves with the colors and adds sparkle.
Make "magic milk art." Lay a piece of thick paper on top of the swirled milk for a few seconds, then lift it off. Some of the color pattern may transfer to the paper, creating a one-of-a-kind print. Results vary, but it's worth trying.
What to Expect
This experiment usually holds kids' attention for about 10 minutes, sometimes longer if they want to keep adding soap to see what happens. Cleanup is simple: just pour the milk down the drain and rinse the dish.
Some kids want to do this activity repeatedly over several days. Since it uses minimal supplies and creates minimal mess, that's pretty manageable.
The science concepts here: surface tension, fat molecules, chemical reactions: can be introduced at a basic level for younger kids or explored more deeply with older children. You don't need to turn it into a formal lesson; sometimes just watching colors swirl is enough.
Final Thoughts
The magic milk experiment is one of those rare activities that's genuinely simple to set up, inexpensive to run, and impressive enough to keep kids engaged. It's not going to take all afternoon, which is sometimes exactly what you need: a quick win that feels special without requiring a trip to the craft store.
If you're looking for more hands-on science and craft activities to try with your kids, check out our other DIY projects on the blog for ideas that fit different ages, budgets, and time frames.
FAQ
Is the magic milk experiment safe for toddlers?
Yes, it uses common kitchen items like milk, food coloring, and dish soap. Just make sure they don't drink the mixture, as the soap and food coloring aren't meant for consumption.
Does it matter what kind of milk I use?
High-fat milk (like whole milk) works best because the experiment relies on the fat molecules reacting with the soap. Lower-fat milks will still work, but the colors won't "dance" quite as much.
Why do the colors move in the milk?
It's a chemical reaction! The soap molecules are "chasing" the fat molecules in the milk. As they move to find the fat, they push the food coloring around, creating the swirling effect.


