


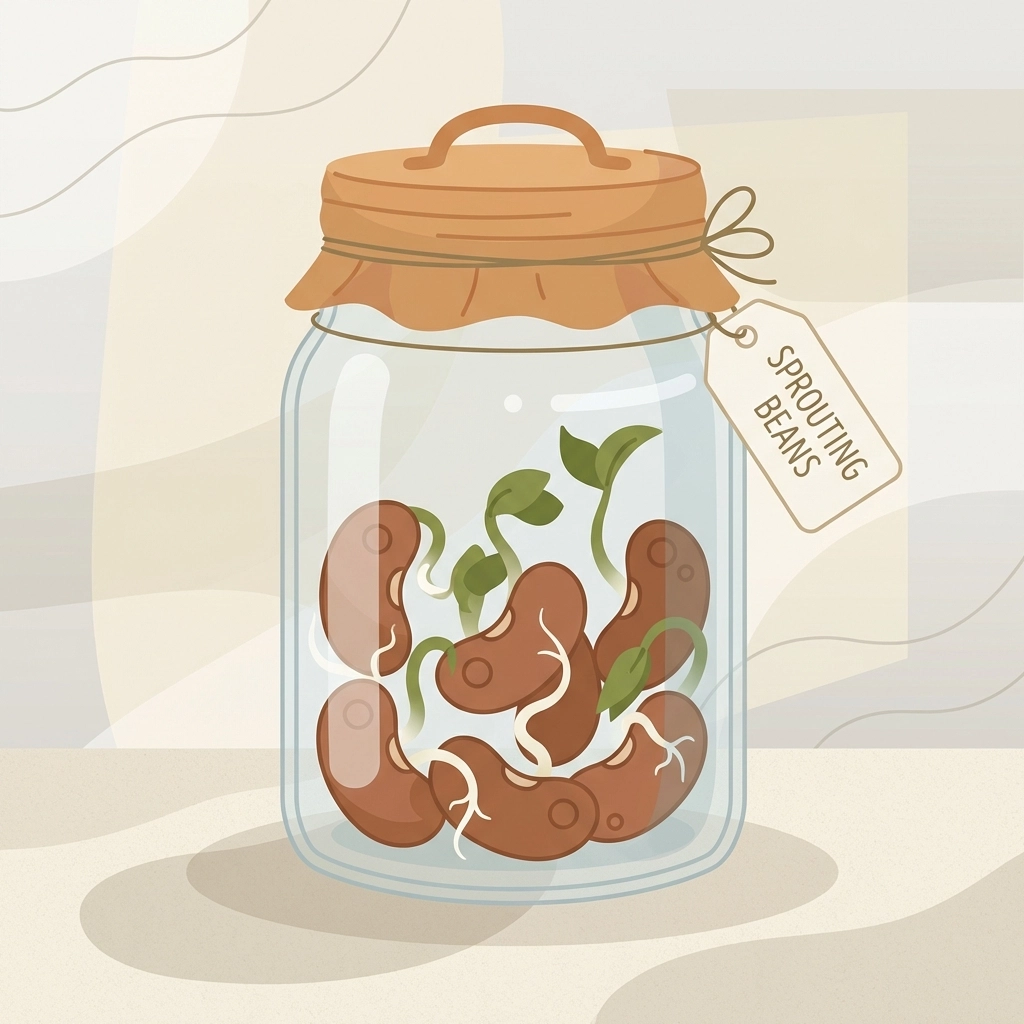
The simplest method uses a glass jar, damp paper towels, and dried beans. Place moistened paper towels inside the jar, add beans, cover loosely, and observe daily. Visible roots appear within one to six days depending on preparation. No soil required. No special equipment needed.
This project works for children ages 3–15.
Older kids manage the process independently.
Younger kids need adult supervision for setup.
The entire activity costs less than five dollars and uses common household items.
Why do beans sprout so well in jars?
Glass jars create a visible, contained environment.
Children see every stage of growth.
Roots push downward.
Stems reach upward.
The transparent walls hide nothing.
Beans contain all the nutrients needed for initial germination.
Water activates the process.
No fertilizer required at the start.
The jar traps moisture and warmth.
Both accelerate sprouting.
What supplies are needed for this project?
Gather these items before starting:
- Glass jar (mason jar, recycled pasta sauce jar, or similar)
- Paper towels (2–3 sheets)
- Dried beans (pinto beans work best)
- Water
- Lid or plastic wrap (optional for first few days)
Pinto beans germinate quickly.
Fast results keep young learners engaged.
Other bean varieties work but take longer.
Lima beans and kidney beans are slower alternatives.
Avoid beans treated with preservatives or sold for cooking in seasoned mixes.
Plain dried beans from the grocery store work perfectly.
How do kids prepare beans before planting?
Soaking beans overnight speeds up germination significantly.
Unsoaked beans take five to six days to show roots.
Soaked beans show roots in one to two days.
The overnight soak softens the outer seed coat.
Water penetrates faster.
The embryo inside activates sooner.
Soaking steps:
- Place dried beans in a bowl
- Cover with room temperature water
- Let sit for 8–12 hours (overnight works well)
- Drain before placing in jar
Skip soaking for a slower, extended observation project.
Include soaking for faster, more dramatic results.
What are the step-by-step instructions?
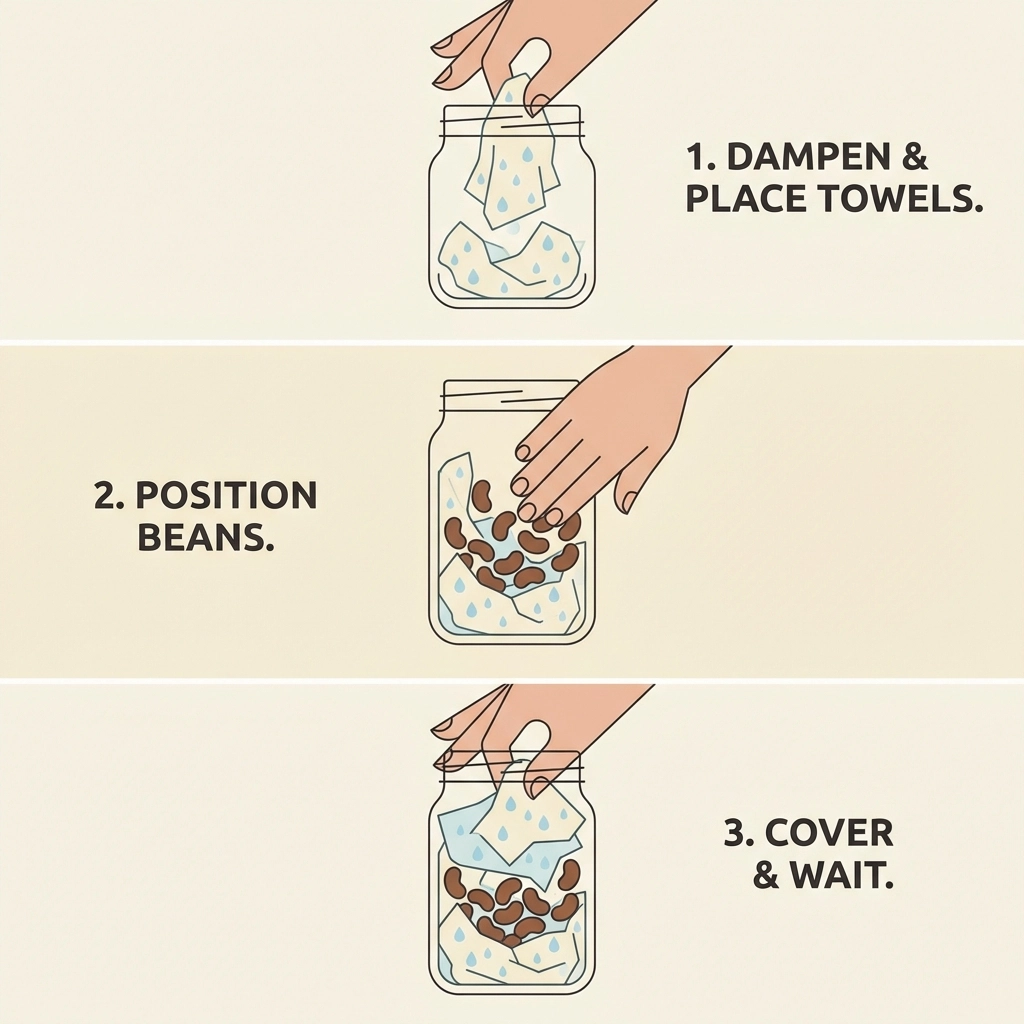
Step 1: Prepare the paper towels
Dampen 2–3 paper towels with water.
Wet but not dripping.
Excess water encourages mold.
Step 2: Line the jar
Place the damp paper towels inside the glass jar.
Press them gently against the sides.
Create a visible growing surface.
Step 3: Add the beans
Set 3–5 beans against the paper towel.
Position them where they touch the glass.
This allows clear observation of root development.
Step 4: Cover loosely
Place a lid on top or cover with plastic wrap.
Do not seal tightly.
Air circulation matters once sprouting begins.
Step 5: Find a location
Direct sunlight is not necessary.
A countertop or shelf works fine.
Room temperature is ideal.
Step 6: Maintain moisture
Check daily.
Add water if paper towels dry out.
Keep towels damp, never soaked.
Step 7: Remove covering once sprouts appear
Open the lid or remove plastic wrap.
Air circulation prevents mold.
Sprouts need ventilation to continue growing.
What happens during bean germination?
Day 1–2:
Beans swell as they absorb water.
The seed coat softens.
No visible root yet.
Day 2–4:
A small white root emerges.
This is the radicle.
It grows downward.
Day 4–6:
The stem begins to push upward.
First leaves (cotyledons) appear.
The plant has two distinct directions of growth.
Day 7+:
Leaves unfold.
Roots lengthen.
The seedling is fully established.
Each stage demonstrates a different biological process.
How can this project become educational?
Science connections:
- Seed anatomy (embryo, seed coat, cotyledons)
- Germination requirements (water, warmth, air)
- Plant growth direction (roots down, stems up)
Math connections:
- Measure root length daily
- Count number of sprouts
- Track days until first visible root
- Create growth charts
Language connections:
- Daily journal entries
- Vocabulary building (germination, radicle, cotyledon)
- Sequencing and timeline descriptions
Art connections:
- Sketch daily observations
- Photograph growth stages
- Create labeled diagrams

What mistakes should be avoided?
Too much water.
Soggy paper towels cause mold and rot.
Damp is correct.
Soaked is too much.
Sealed containers.
Airtight lids trap excess moisture.
Remove or loosen lids once sprouting starts.
Treated or old beans.
Beans past their freshness date may not germinate.
Seasoned or preserved beans contain chemicals that inhibit growth.
Direct harsh sunlight.
Intense light and heat can dry out paper towels quickly.
Indirect light or shade is sufficient for germination.
Impatience.
Some beans take a full week.
Daily observation builds anticipation.
What comes after the jar stage?
Sprouted beans can transfer to soil.
Transplanting steps:
- Fill a small pot with potting soil
- Create a 1-inch hole
- Place the sprouted bean with roots facing down
- Cover gently with soil
- Water lightly
- Place in a sunny location
Bean plants grow quickly in soil.
Flowers and bean pods may develop within weeks.
Not all sprouted beans survive transplanting.
That outcome is also educational.
Is this project safe for all ages?
Ages 3–5:
Adult handles all water and setup.
Child observes and adds beans.
Daily check-ins maintain interest.
Ages 6–10:
Child manages most steps independently.
Adult supervises water levels.
Journaling and measuring add depth.
Ages 11–15:
Full independence.
Experimentation encouraged.
Compare soaked vs. unsoaked beans.
Test different bean varieties.
No chemicals involved.
No sharp tools required.
No heat sources needed.
Safe, accessible, and endlessly repeatable.

Why does this project matter?
Watching a seed transform into a plant is foundational science.
Children witness cause and effect.
They practice patience.
They record observations.
They ask questions.
A jar, paper towel, and a handful of beans.
Simple materials.
Powerful learning.
Tierney Family Farms Disclaimer
This content is provided by Tierney Family Farms for educational and informational purposes only. Adult supervision is recommended for younger children. Results may vary based on bean quality, environmental conditions, and care. Tierney Family Farms is not responsible for project outcomes or any issues arising from the activity described.
References
- General Public Knowledge


