


What Is Shadow Tracing Art and How Do You Do It Indoors?
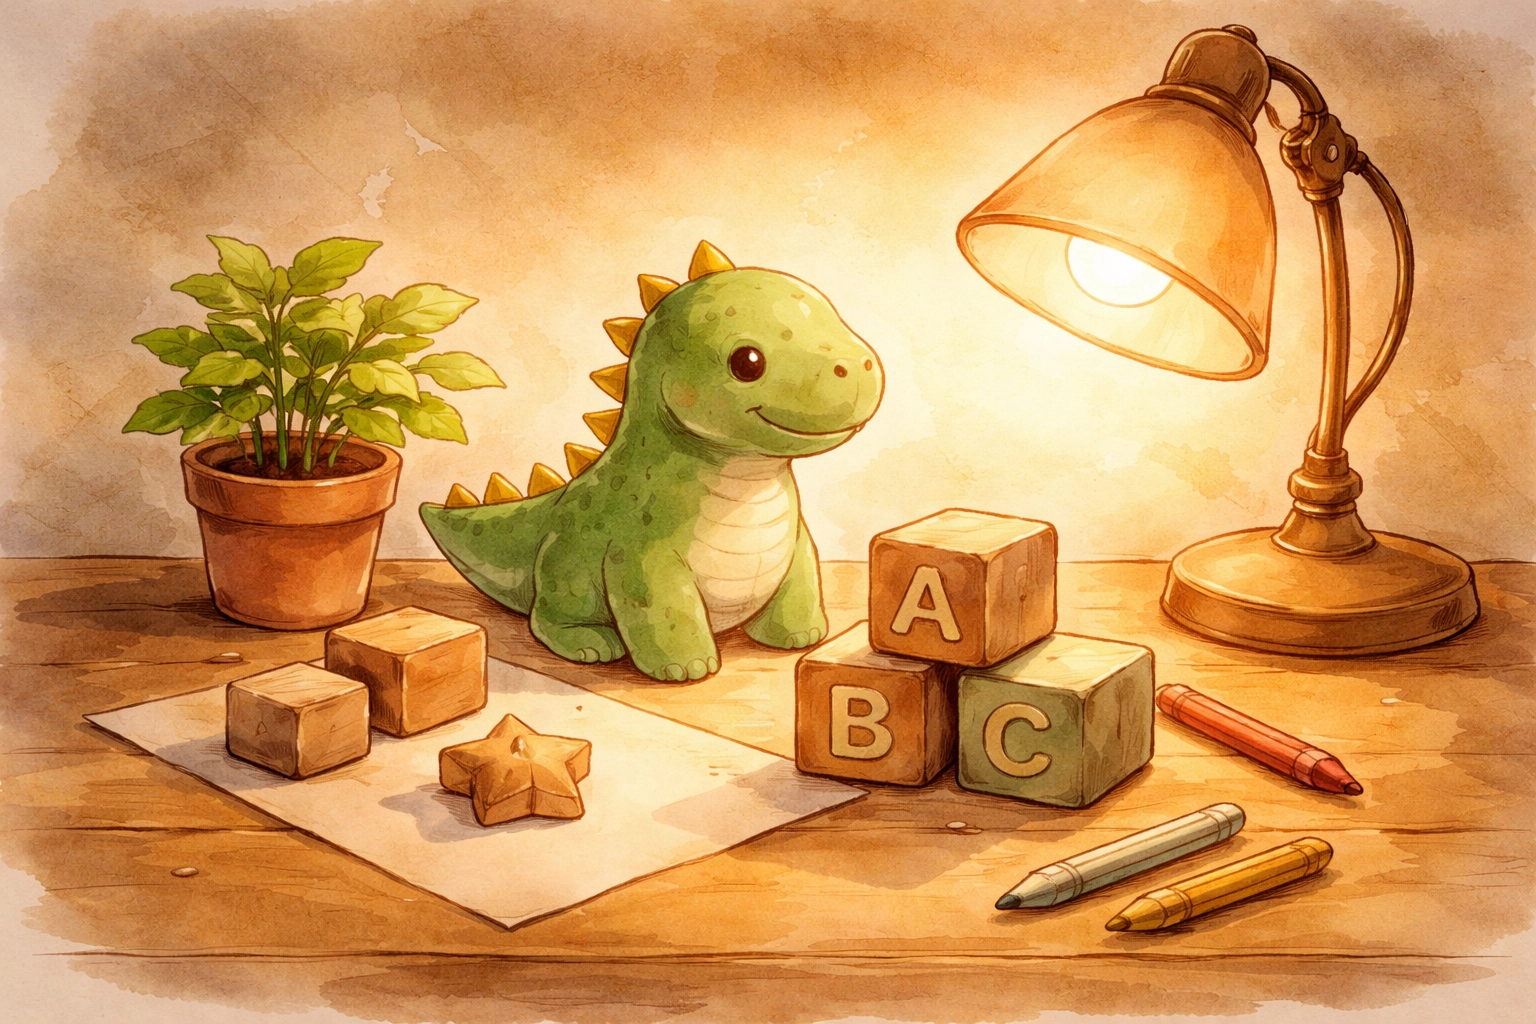
Shadow tracing art is a simple activity where kids use a lamp or flashlight to cast shadows of objects onto paper, then trace those shadows to create unique artwork. You can do this indoors anytime: no sunlight required: by positioning a desk lamp behind toys, figurines, or household items to project their silhouettes onto a flat surface.
This activity tends to work well for children who enjoy drawing, painting, or experimenting with light. It requires minimal supplies (many families have what they need already), and cleanup is typically quick since there's no glitter, slime, or major mess involved.
Quick Facts at a Glance
| Detail | Info |
|---|---|
| Skill Age Range | 4–7 years old |
| Enjoyment Age Range | 3–9 years old |
| Time to Complete | 15–30 minutes |
| Budget | $0 (using items around the house) |
A note on ages: Children around 4–7 often have the fine motor skills to trace shadow outlines independently. Kids as young as 3 can enjoy the activity with adult help holding objects steady or guiding their hand. Older kids (8–9) may still find it fun, especially if they add painting or more complex compositions.
Materials You'll Need
Good news: you likely have these items already. If not, the cost to gather them new is minimal.
| Material | Purpose | Estimated Cost |
|---|---|---|
| Desk lamp or flashlight | Creates the shadow | $0 (household item) |
| White paper (any size) | Surface for tracing | $0 (household item) |
| Pencil or pen | Tracing the outline | $0 (household item) |
| Tape | Secures paper in place | $0 (household item) |
| Small toys or objects | Creates interesting shadow shapes | $0 (household item) |
| Crayons, markers, or paint (optional) | Decorating the traced art | $0 (household item) |
Total estimated cost: $0
If you need to purchase paper or a simple flashlight, expect to spend around $3–5, though many households can complete this activity without buying anything.
Step-by-Step Instructions
Step 1: Gather Your Supplies
Collect a lamp (a desk lamp with an adjustable neck works well), some paper, a pencil, and tape. Then let your child pick out a few small objects to trace. Good options include:
- Toy dinosaurs or animals
- Action figures
- Building blocks
- Leaves or flowers (if you have some indoors)
- Kitchen utensils like spatulas or whisks
- Small stuffed animals
Avoid objects that are too large or have very fine details: simple, recognizable shapes tend to produce the clearest shadows for tracing.
Step 2: Set Up Your Workspace
Find a flat surface like a table, desk, or even the floor. Tape a piece of paper down so it won't slide around while your child traces. Position the lamp about 12–18 inches away from where you'll place the objects. The closer the lamp, the larger and softer the shadow; the farther away, the smaller and sharper the shadow.
Tip: Turn off overhead lights or close curtains to make the shadow more visible. A darker room produces crisper shadow edges.
Step 3: Position Your Object
Place the toy or object between the lamp and the paper. Adjust the angle until you see a clear shadow cast onto the paper. You may need to experiment a bit: tilting the lamp up or down, moving the object closer or farther: until the shadow looks the way your child wants it.
For younger kids (ages 3–4), an adult might need to hold the object steady. Older children can usually manage this on their own.

Step 4: Trace the Shadow
Have your child use a pencil or pen to carefully trace around the shadow's outline. Encourage them to work at a comfortable pace. If the shadow shifts slightly (lamps can wobble, objects can tip), that's okay: the lines don't need to be perfect. The charm of shadow art often comes from its slightly imperfect, organic shapes.
For very young artists: If tracing feels tricky, try using a thicker marker or crayon. The broader tip can be easier to control.
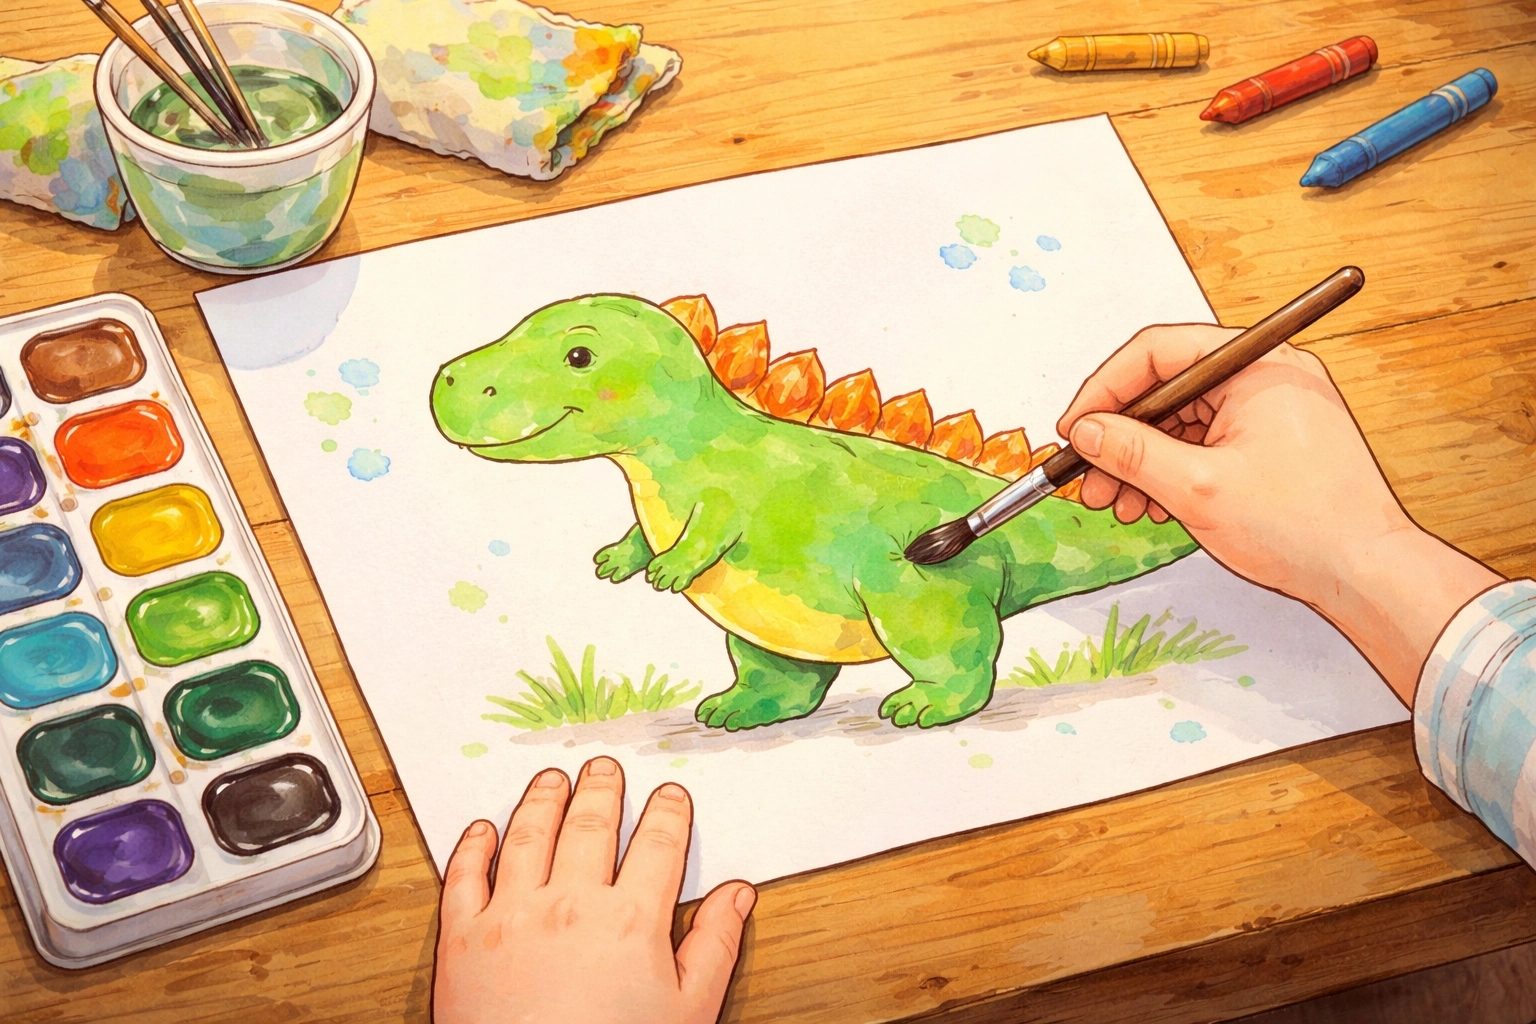
Step 5: Decorate the Traced Art
Once the outline is complete, remove the object and lamp from the equation. Now your child has a blank silhouette to fill in however they like:
- Color it in with crayons or markers
- Paint it with watercolors or tempera paint
- Add patterns, textures, or details inside the shape
- Cut it out and glue it onto colored construction paper
This decorating phase is where kids can really make the artwork their own. Some children spend just a few minutes coloring; others may want to add elaborate details. Both approaches are valid.
Variations to Try
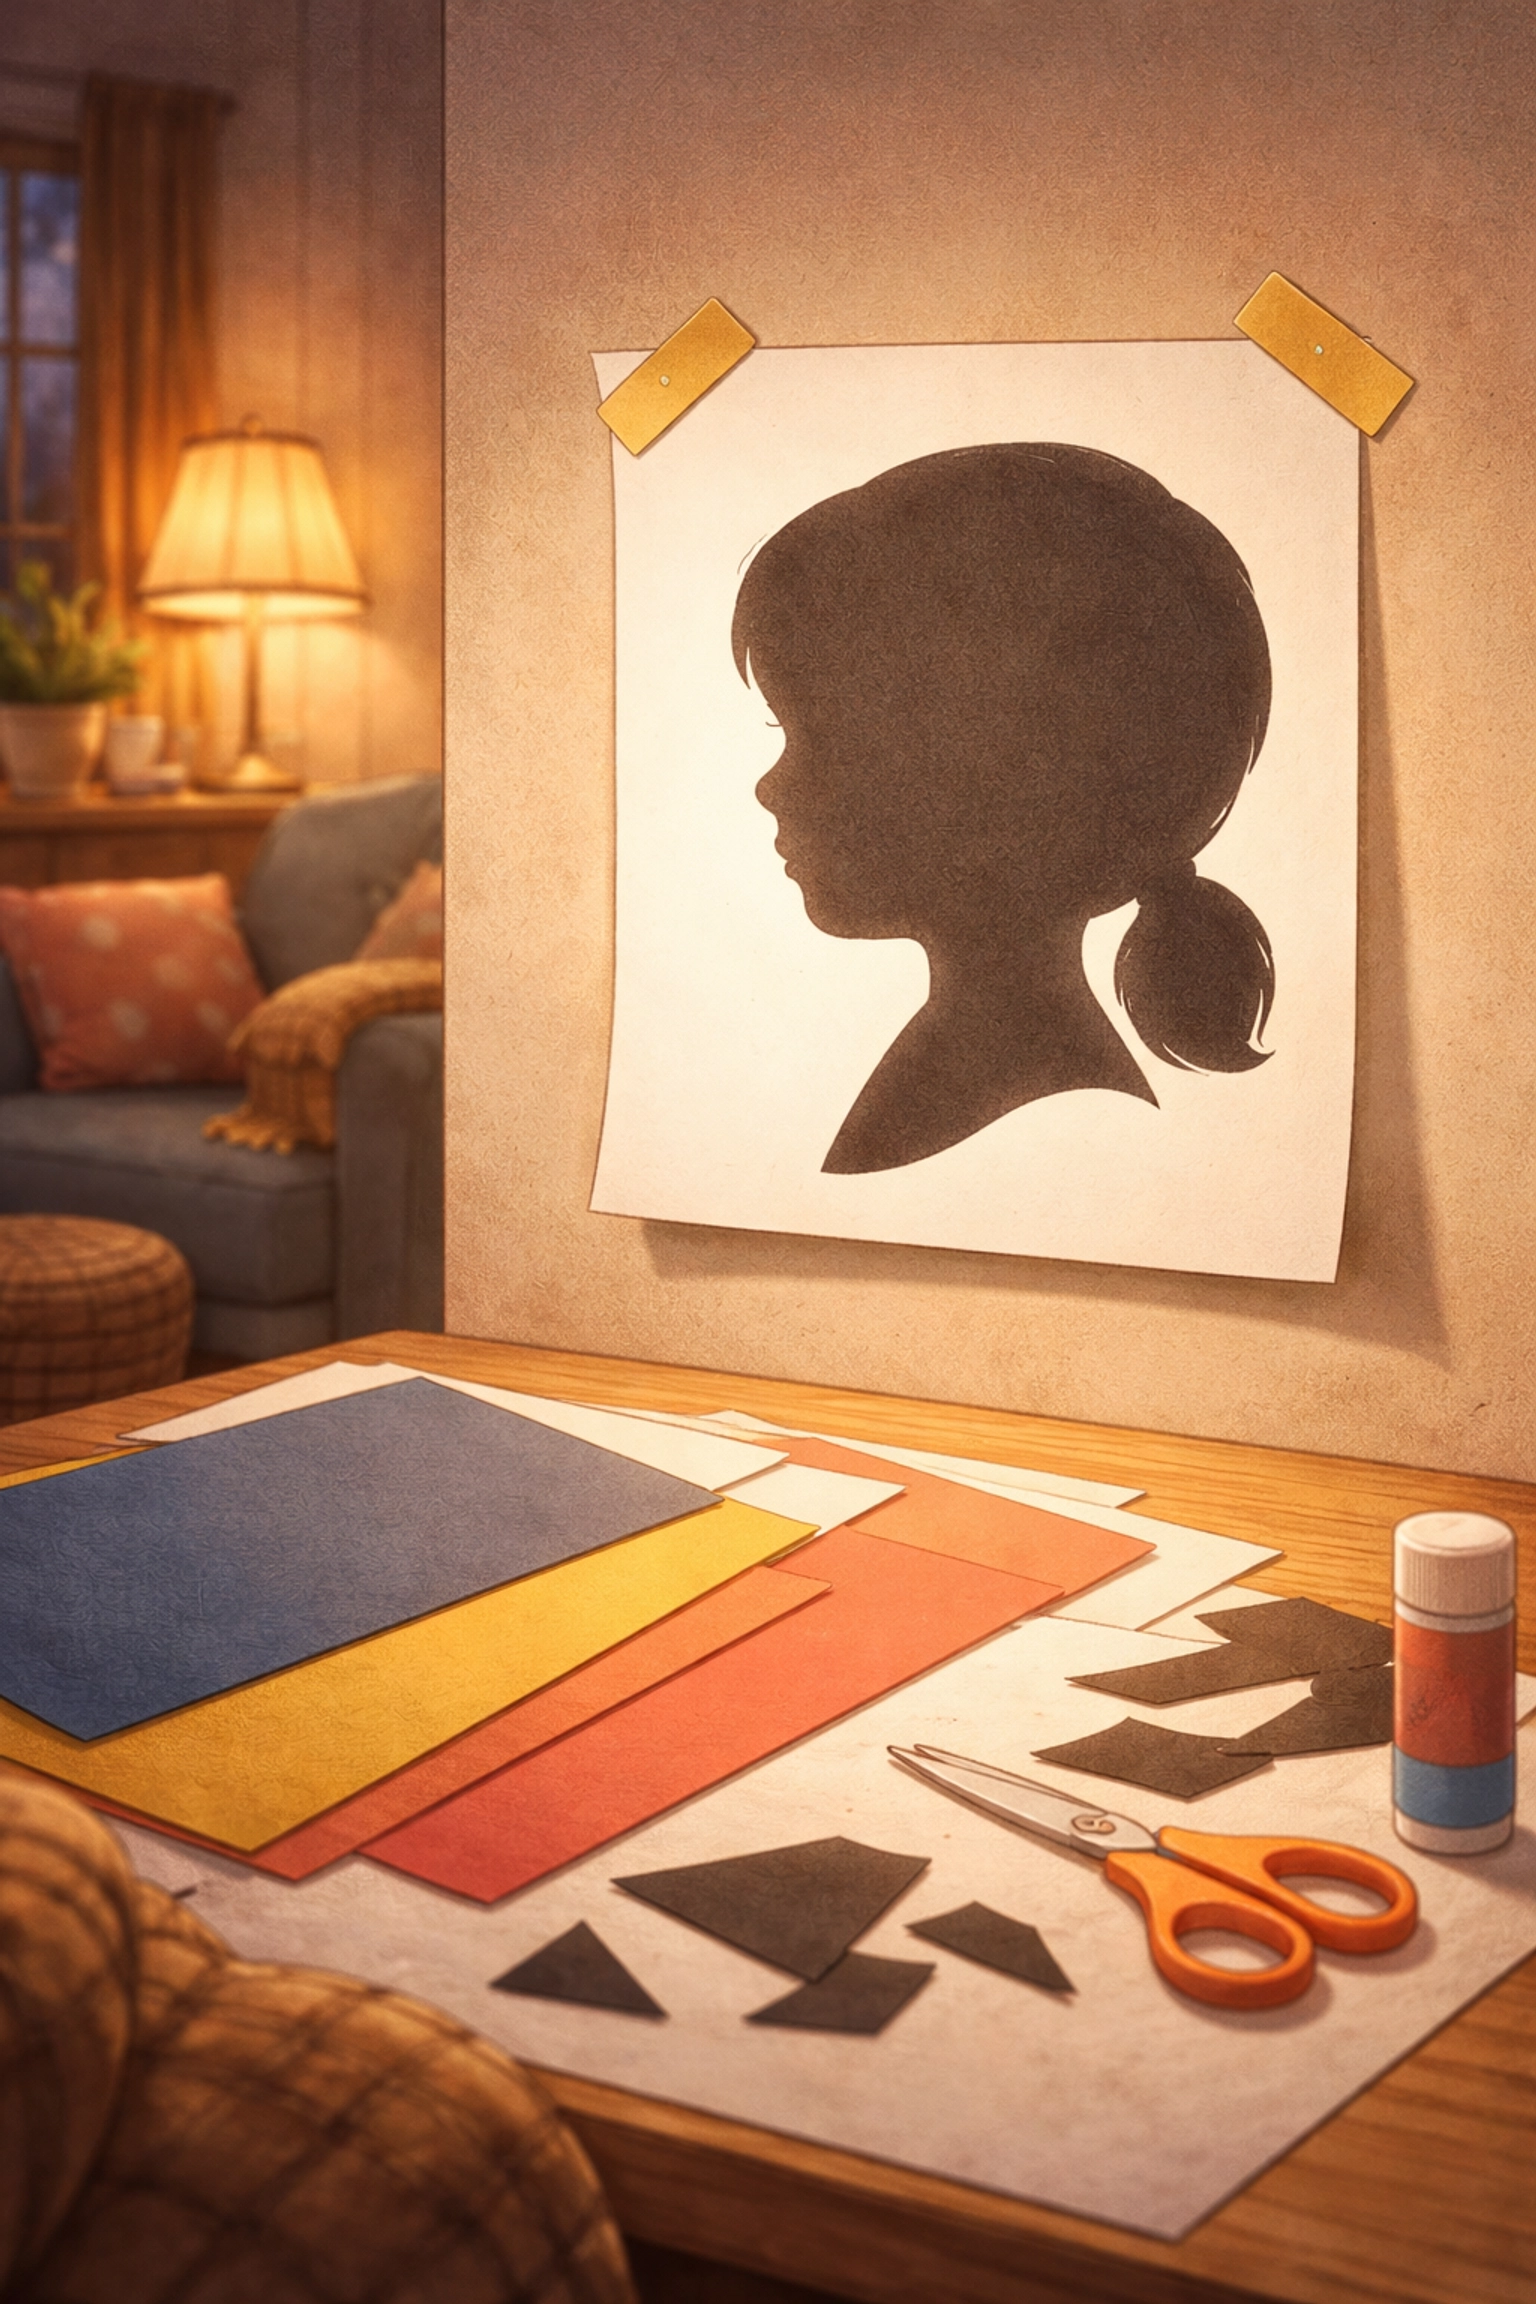
Portrait Silhouettes
For a fun twist, tape paper to a wall and have your child sit sideways in a chair, positioned between the lamp and the paper. The lamp will cast their profile shadow onto the paper. An adult (or older sibling) can trace the outline of their face, hair, and shoulders.
Once traced, your child can cut out the silhouette and mount it on contrasting paper. These make thoughtful keepsakes or gifts for grandparents.
Note: This works best with children who can sit relatively still for a minute or two. Wiggly younger kids may find it challenging, so adjust expectations accordingly.
Layered Shadow Scenes
Instead of tracing one object, try creating a whole scene. Arrange multiple toys at different distances from the lamp to create overlapping shadows. Trace them all, then paint or color each section a different shade. The result can look like a layered landscape or a crowded jungle of creatures.
Shadow Puppet Stories
Before tracing, let your child experiment with moving the objects around to "act out" a quick story. Then, choose a favorite moment from the story to trace and preserve as artwork. This adds a narrative element that some kids find more engaging than static tracing.
Tips for Success
Work in short sessions. While the activity can take 15–30 minutes total, some younger children may lose interest after 10 minutes. That's perfectly fine: you can always come back to it later.
Experiment with light distance. Moving the lamp closer makes shadows bigger (and sometimes blurrier). Moving it farther away makes shadows smaller and sharper. Let your child play with this to see what they prefer.
Don't stress about perfection. Wobbly lines and slightly distorted shapes are part of the process. Shadow tracing is more about exploration and creativity than producing gallery-ready art.
Use what you have. There's no need to buy special supplies. Flashlights, phone lights, and even candles (with very close adult supervision) can create traceable shadows.
Why Kids Tend to Enjoy This Activity
Shadow tracing combines a bit of science (how light and shadows work) with hands-on art. For many children, there's something almost magical about watching a familiar toy transform into a flat silhouette on paper. The activity encourages observation, patience, and creativity: without requiring advanced artistic skills.
It's also relatively calm and contained, making it a solid option for rainy days, quiet afternoons, or when you need an activity that won't leave your living room looking like a craft store exploded.
Cleanup Notes
Since this activity uses basic drawing and optional painting supplies, cleanup is usually straightforward. Cap your markers, rinse your brushes, and recycle any paper scraps. If you used tape on your table or wall, remove it promptly to avoid residue.
FAQ
What kind of lamp works best for shadow tracing?
A desk lamp with an adjustable neck is ideal because you can move the light to change the size and angle of the shadow. A bright flashlight or even a phone light also works well.
Can we use colored pencils or paint for this activity?
Absolutely. Once the outline is traced in pencil, kids can use markers, colored pencils, or watercolors to fill in the shapes and add their own creative touches.
What objects make the best shadows for tracing?
Toys with clear, simple silhouettes like plastic dinosaurs, action figures, or building blocks work best. Avoid objects that are too detailed or fuzzy, as they won't cast a crisp shadow.
References
- Research on shadow tracing methods using artificial light sources and various household objects for children's art activities.
Looking for more hands-on projects to try with your kids? Check out our guide on how to build a mini windmill from recycled materials for another budget-friendly family activity.


