


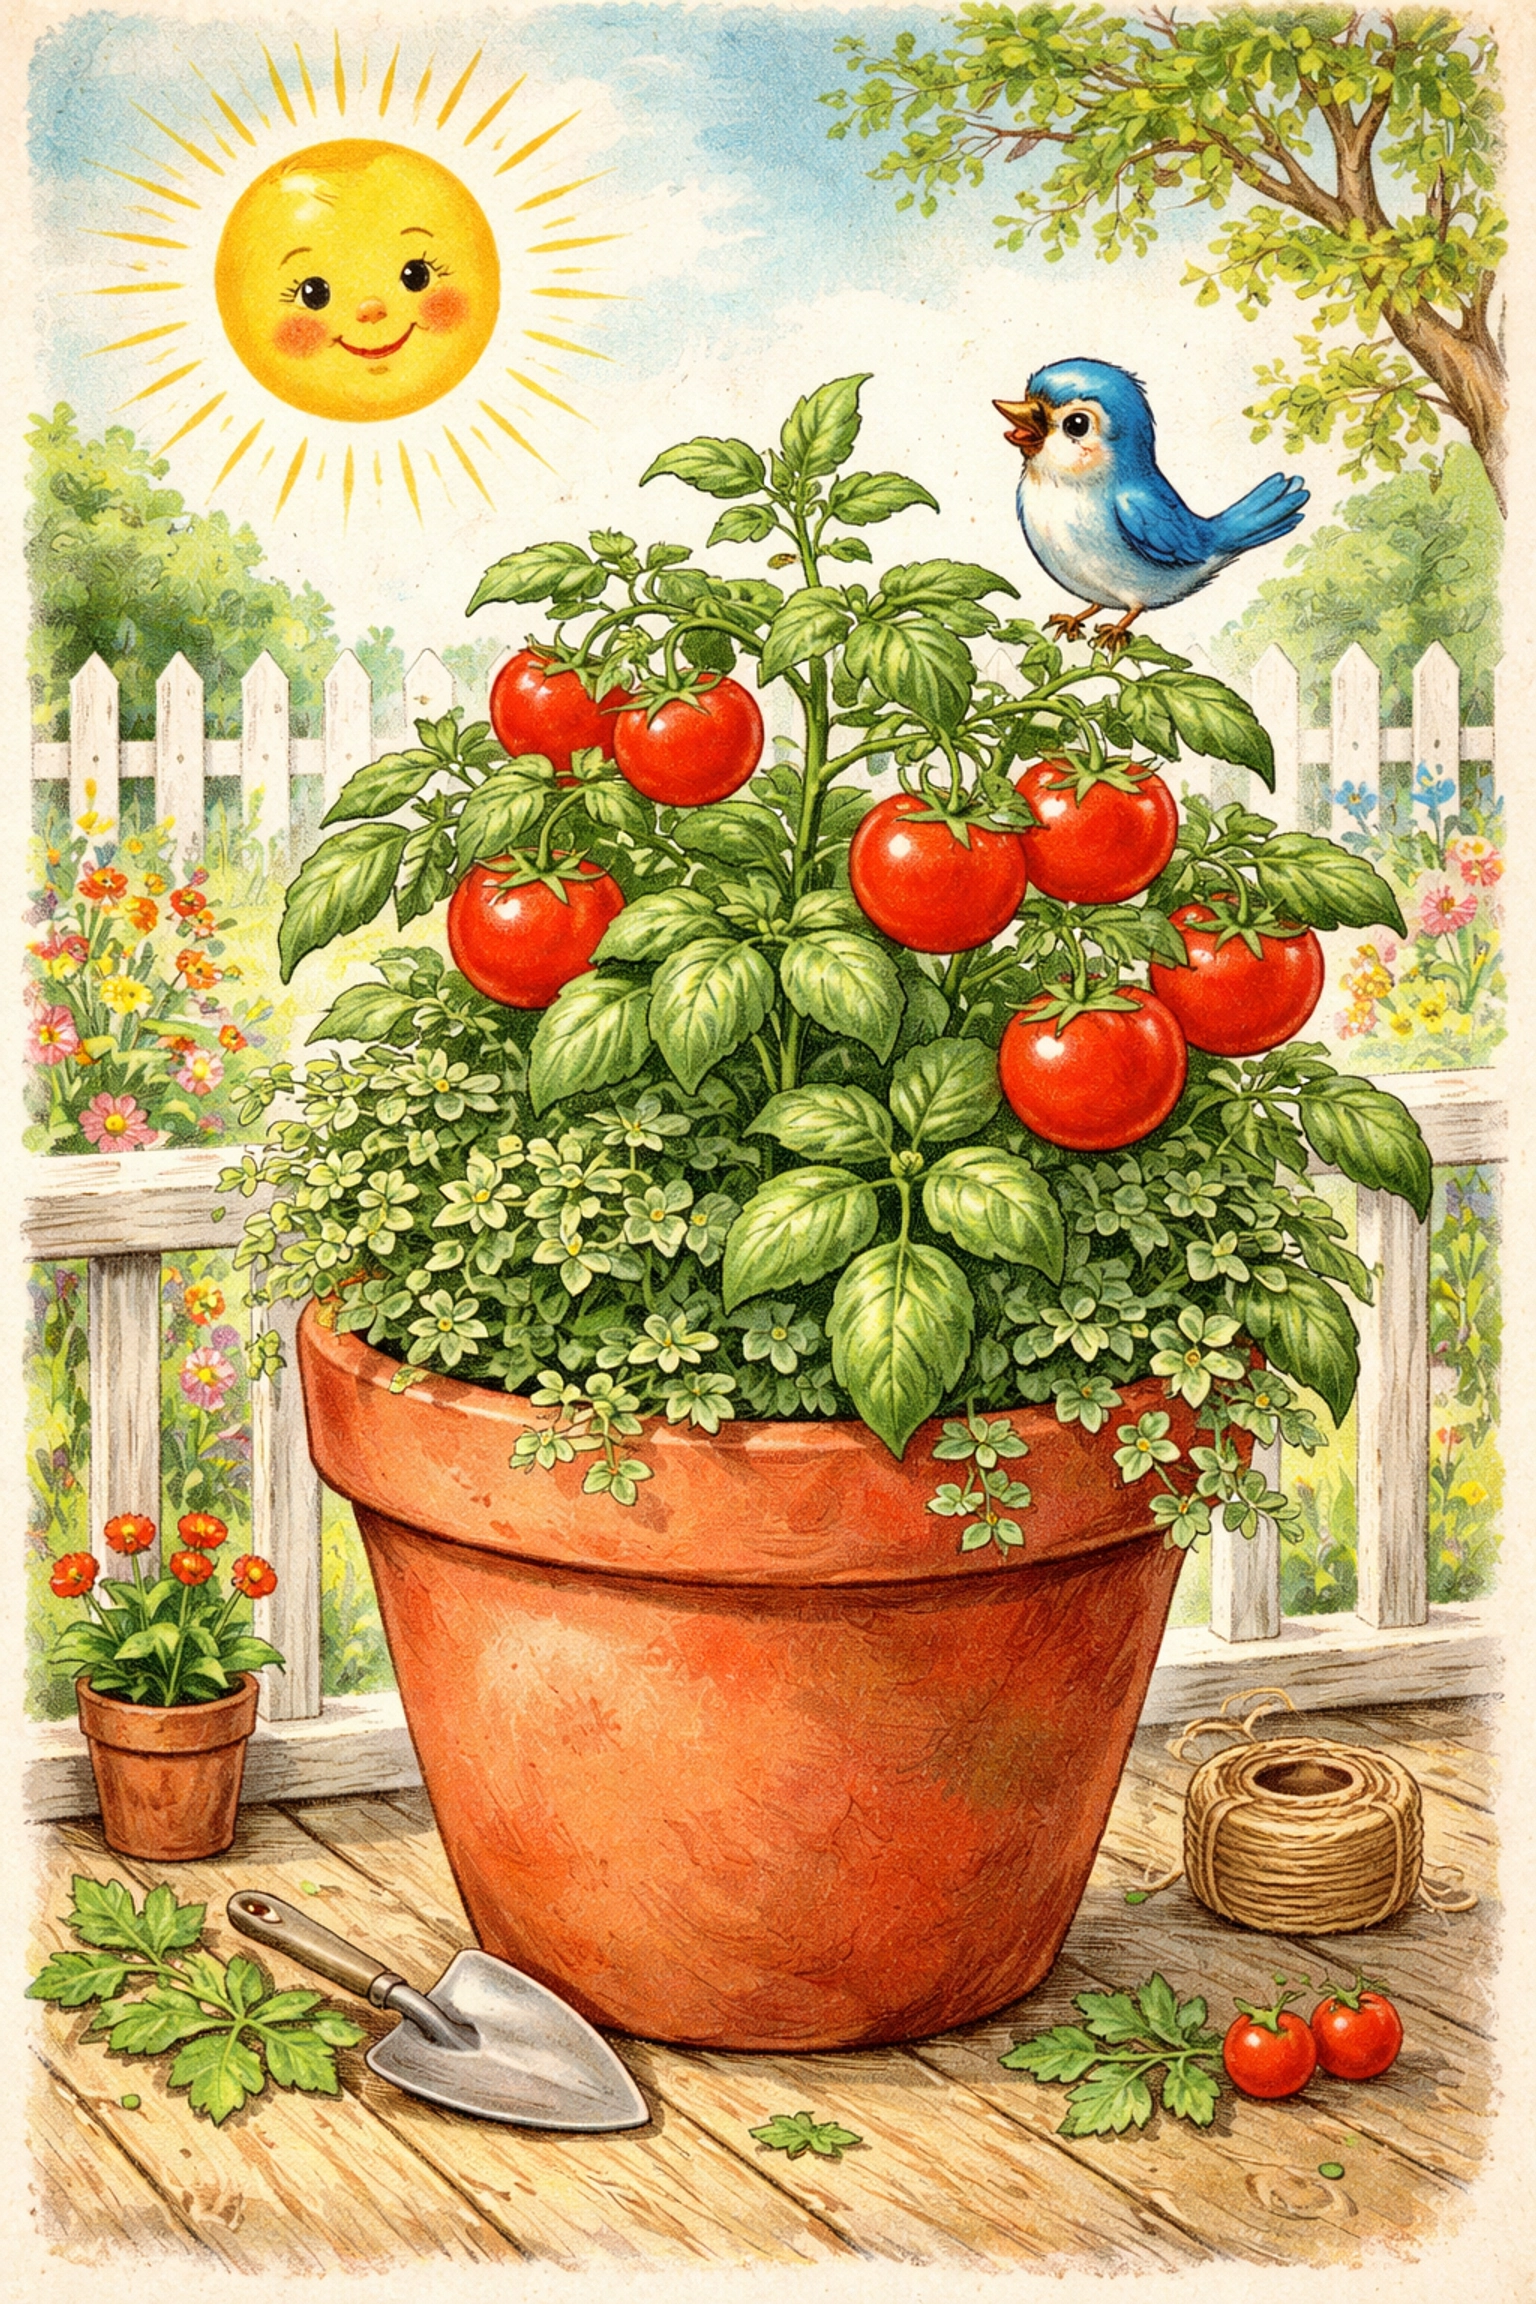
Direct Answer: Yes, you can absolutely grow a "Pizza Garden" in a single pot! Choose a large container (at least 18 inches wide), fill it with quality potting soil, and plant a compact tomato variety in the center surrounded by basil and oregano around the edges. Place in full sun (6–8 hours daily), water regularly, and in about 8–12 weeks, your family will be harvesting fresh pizza toppings straight from your patio or windowsill.
What Exactly Is a "Pizza Garden"?
A Pizza Garden is exactly what it sounds like, a container garden designed to grow the fresh herbs and vegetables you would toss on a homemade pizza. We're talking tomatoes, basil, and oregano: the holy trinity of pizza flavor.
The beauty of this project is that it teaches kids where their food actually comes from while keeping the whole operation contained in one manageable pot. No sprawling backyard required. No complicated irrigation systems. Just dirt, seeds (or seedlings), sunshine, and a little patience.
It's a fantastic STEAM activity because it combines biology (watching plants grow), chemistry (understanding soil nutrients), and even a little math (measuring water and spacing). Plus, the payoff is delicious.
Why Tomatoes, Basil, and Oregano?
These three plants are what gardeners call companion plants, they actually help each other thrive when grown together. Basil, for example, is believed to improve the flavor of tomatoes and may help repel certain pests like aphids and whiteflies. Oregano is a hardy, low-maintenance herb that fills in the gaps and adds that classic Italian aroma.
Here's the lineup:
| Plant | Role | Flavor Profile |
|---|---|---|
| Tomato | The star of the show | Sweet, tangy, rich |
| Basil | Aromatic sidekick | Fresh, peppery, slightly sweet |
| Oregano | Ground cover hero | Earthy, warm, savory |
Together, they create a mini-ecosystem that looks adorable and smells like a pizzeria on a summer afternoon.
Budget Breakdown: Can You Really Do This for Under $10?
You bet. Here's a realistic breakdown using common prices from garden centers and hardware stores:
| Item | Estimated Cost |
|---|---|
| Large pot or container (upcycled bucket works great!) | $0 – $5 |
| Potting soil (small bag) | $3 – $5 |
| Tomato seedling (1) | $2 – $4 |
| Basil seedling or seed packet | $1 – $3 |
| Oregano seedling or seed packet | $1 – $3 |
| Total | $7 – $20 |
Pro Tip: If you already have an old 5-gallon bucket, a large planter from last year, or a sturdy storage bin, you can easily keep this project under $10. Drill a few drainage holes in the bottom, and you're in business.
Check out our DIY Kitchen Scrap Regrow Garden for another ultra-budget-friendly growing project!
Materials You'll Need
Before you dig in (pun intended), gather these supplies:
- 1 large container – At least 18 inches in diameter and 12 inches deep. Bigger is better for tomatoes.
- Potting soil – Choose a quality mix with good drainage. Avoid heavy garden soil.
- 1 tomato seedling – Look for a compact or "determinate" variety like Roma, Patio, or Tiny Tim.
- 1 basil seedling (or a seed packet)
- 1 oregano seedling (or a seed packet)
- Slow-release fertilizer – Optional but helpful for heavy feeders like tomatoes.
- A small tomato cage or wooden stake – To support your tomato as it grows.
- Watering can or hose
- A sunny spot – 6 to 8 hours of direct sunlight is ideal.
Step-by-Step Instructions
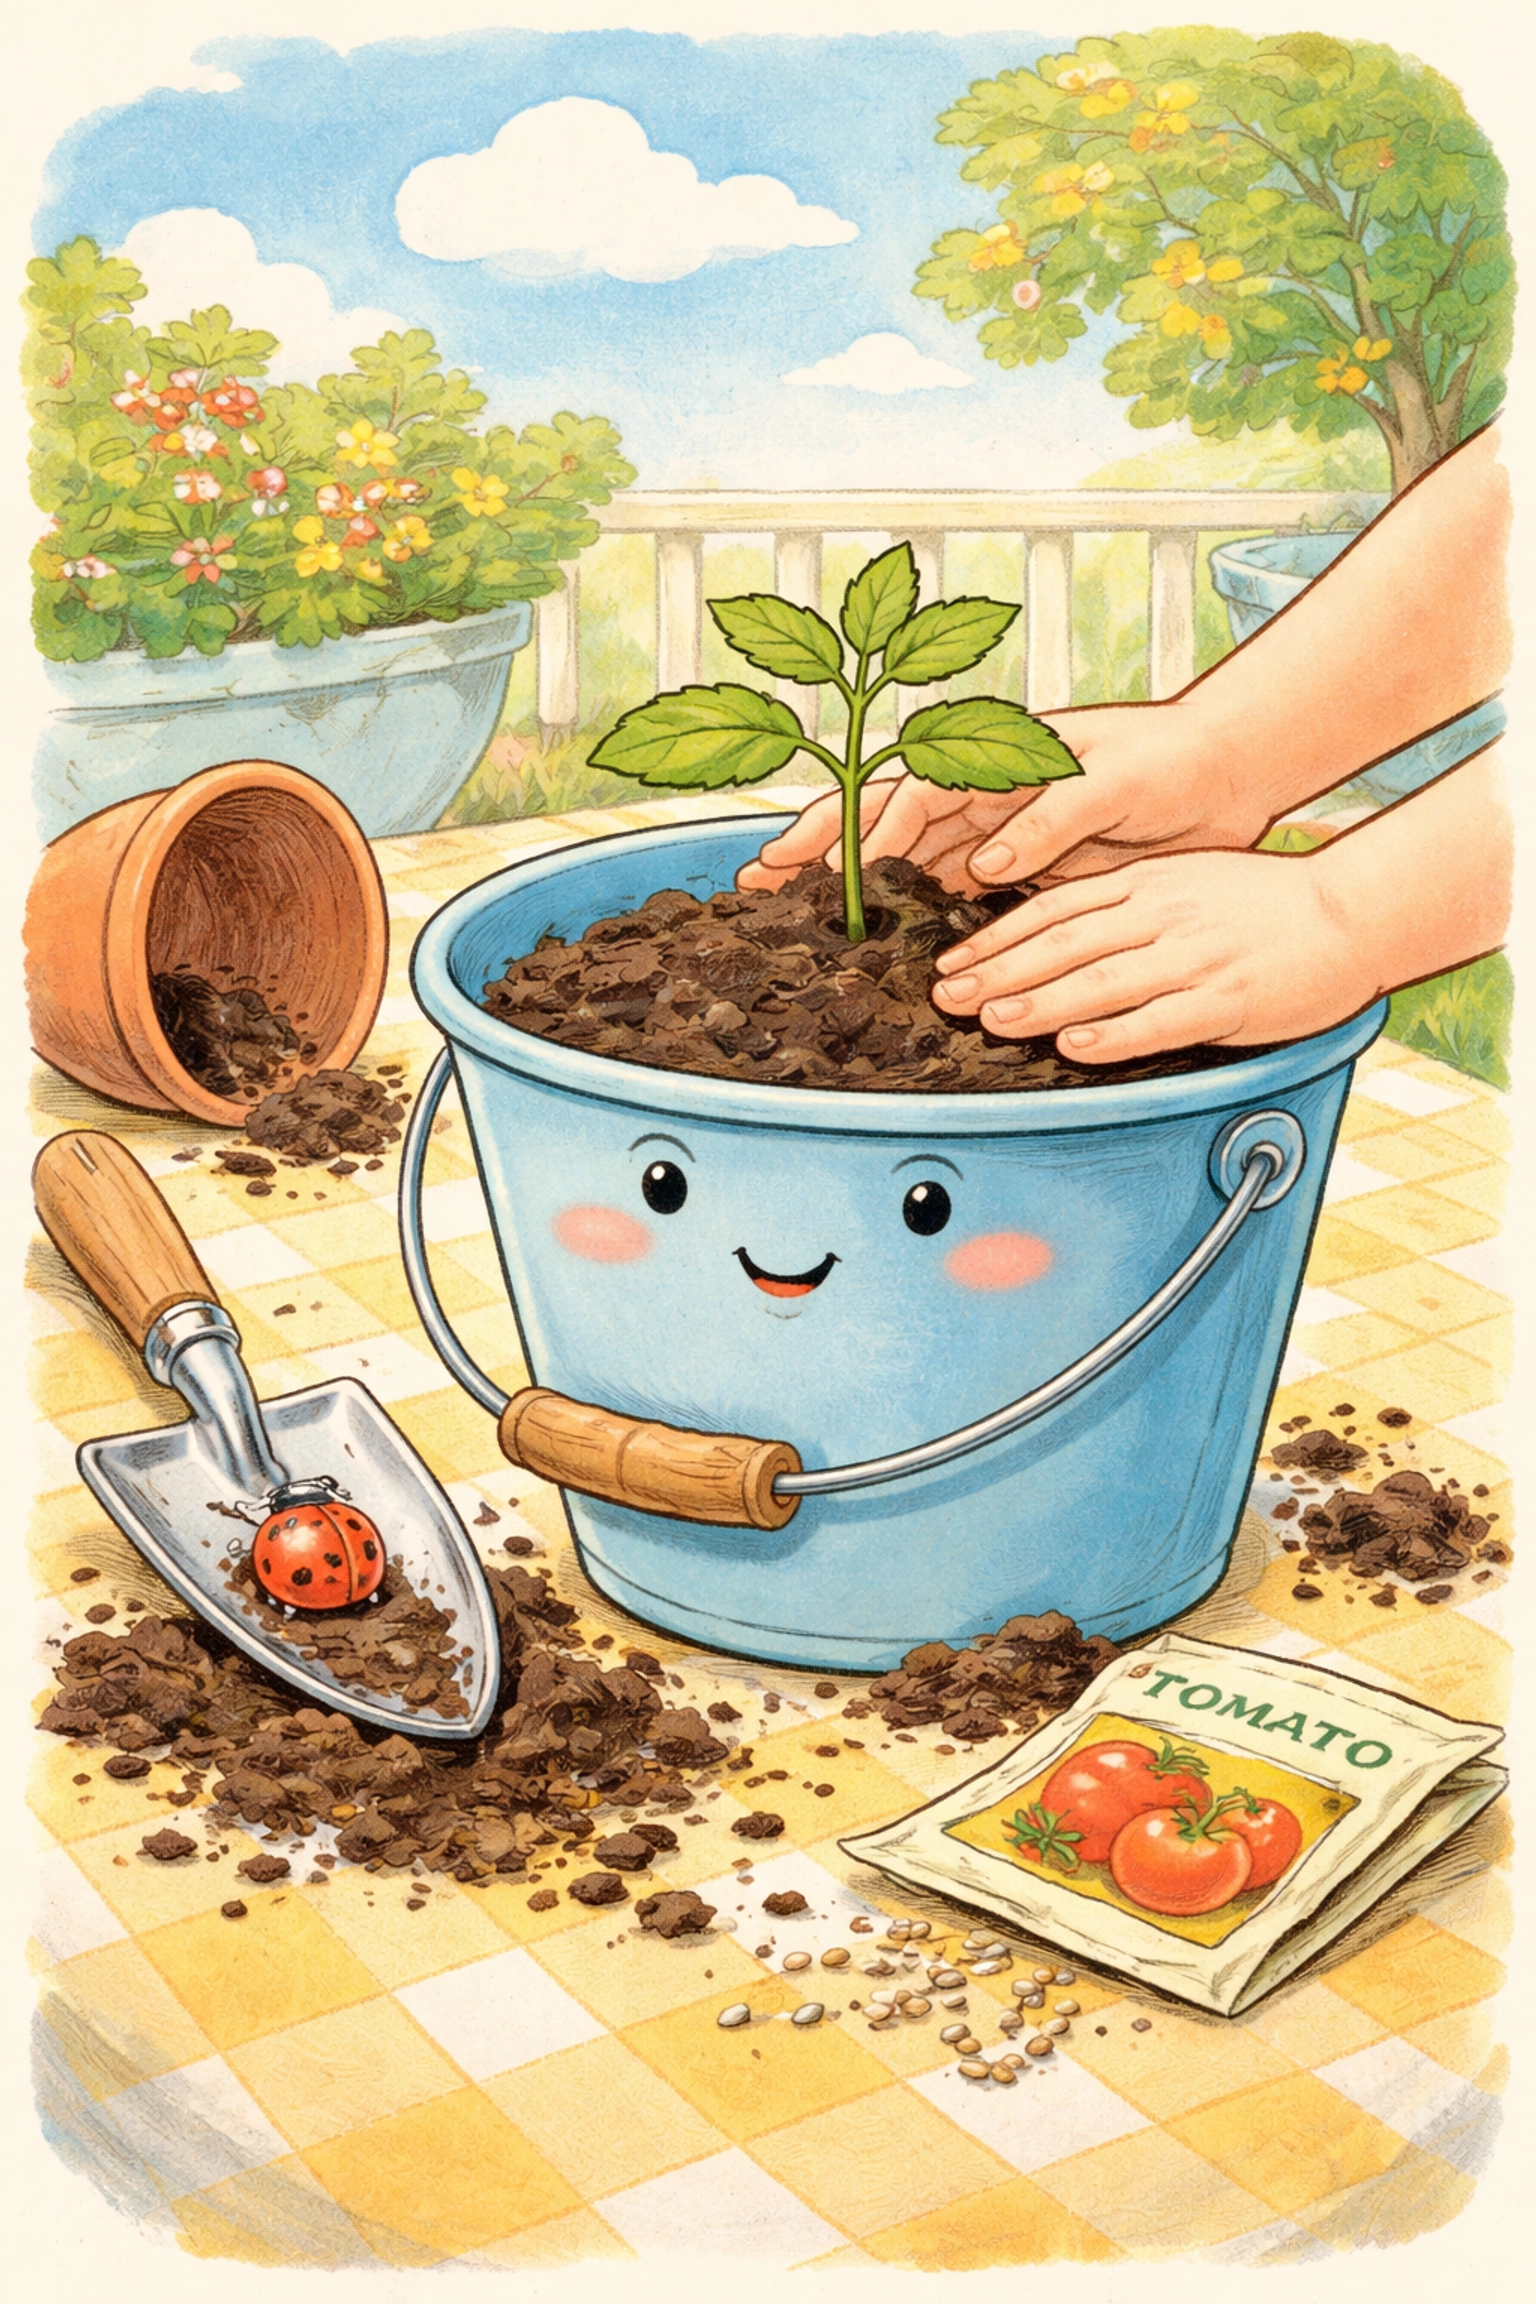
Step 1: Prep Your Container
Grab your pot and make sure it has drainage holes at the bottom. Tomatoes hate "wet feet," and standing water can lead to root rot. If you're upcycling a bucket or bin, drill 4–6 holes in the bottom using a power drill (adult job!).
Give the container a quick rinse if it's been sitting outside.
Step 2: Fill with Potting Soil
Fill your container about ¾ full with potting soil. If you have slow-release fertilizer granules, now is the time to mix a small handful into the top few inches of soil. This gives your plants a steady supply of nutrients over the growing season.
Leave a couple of inches of space at the top so water doesn't overflow when you irrigate.
Step 3: Plant Your Tomato in the Center
Your tomato is the biggest plant, so it gets the prime real estate right in the middle. Dig a hole deep enough to bury the root ball plus an extra inch or two of the stem. Tomatoes can sprout roots from their buried stems, which makes for a sturdier plant.
Gently place the seedling, backfill with soil, and press down lightly to remove air pockets.
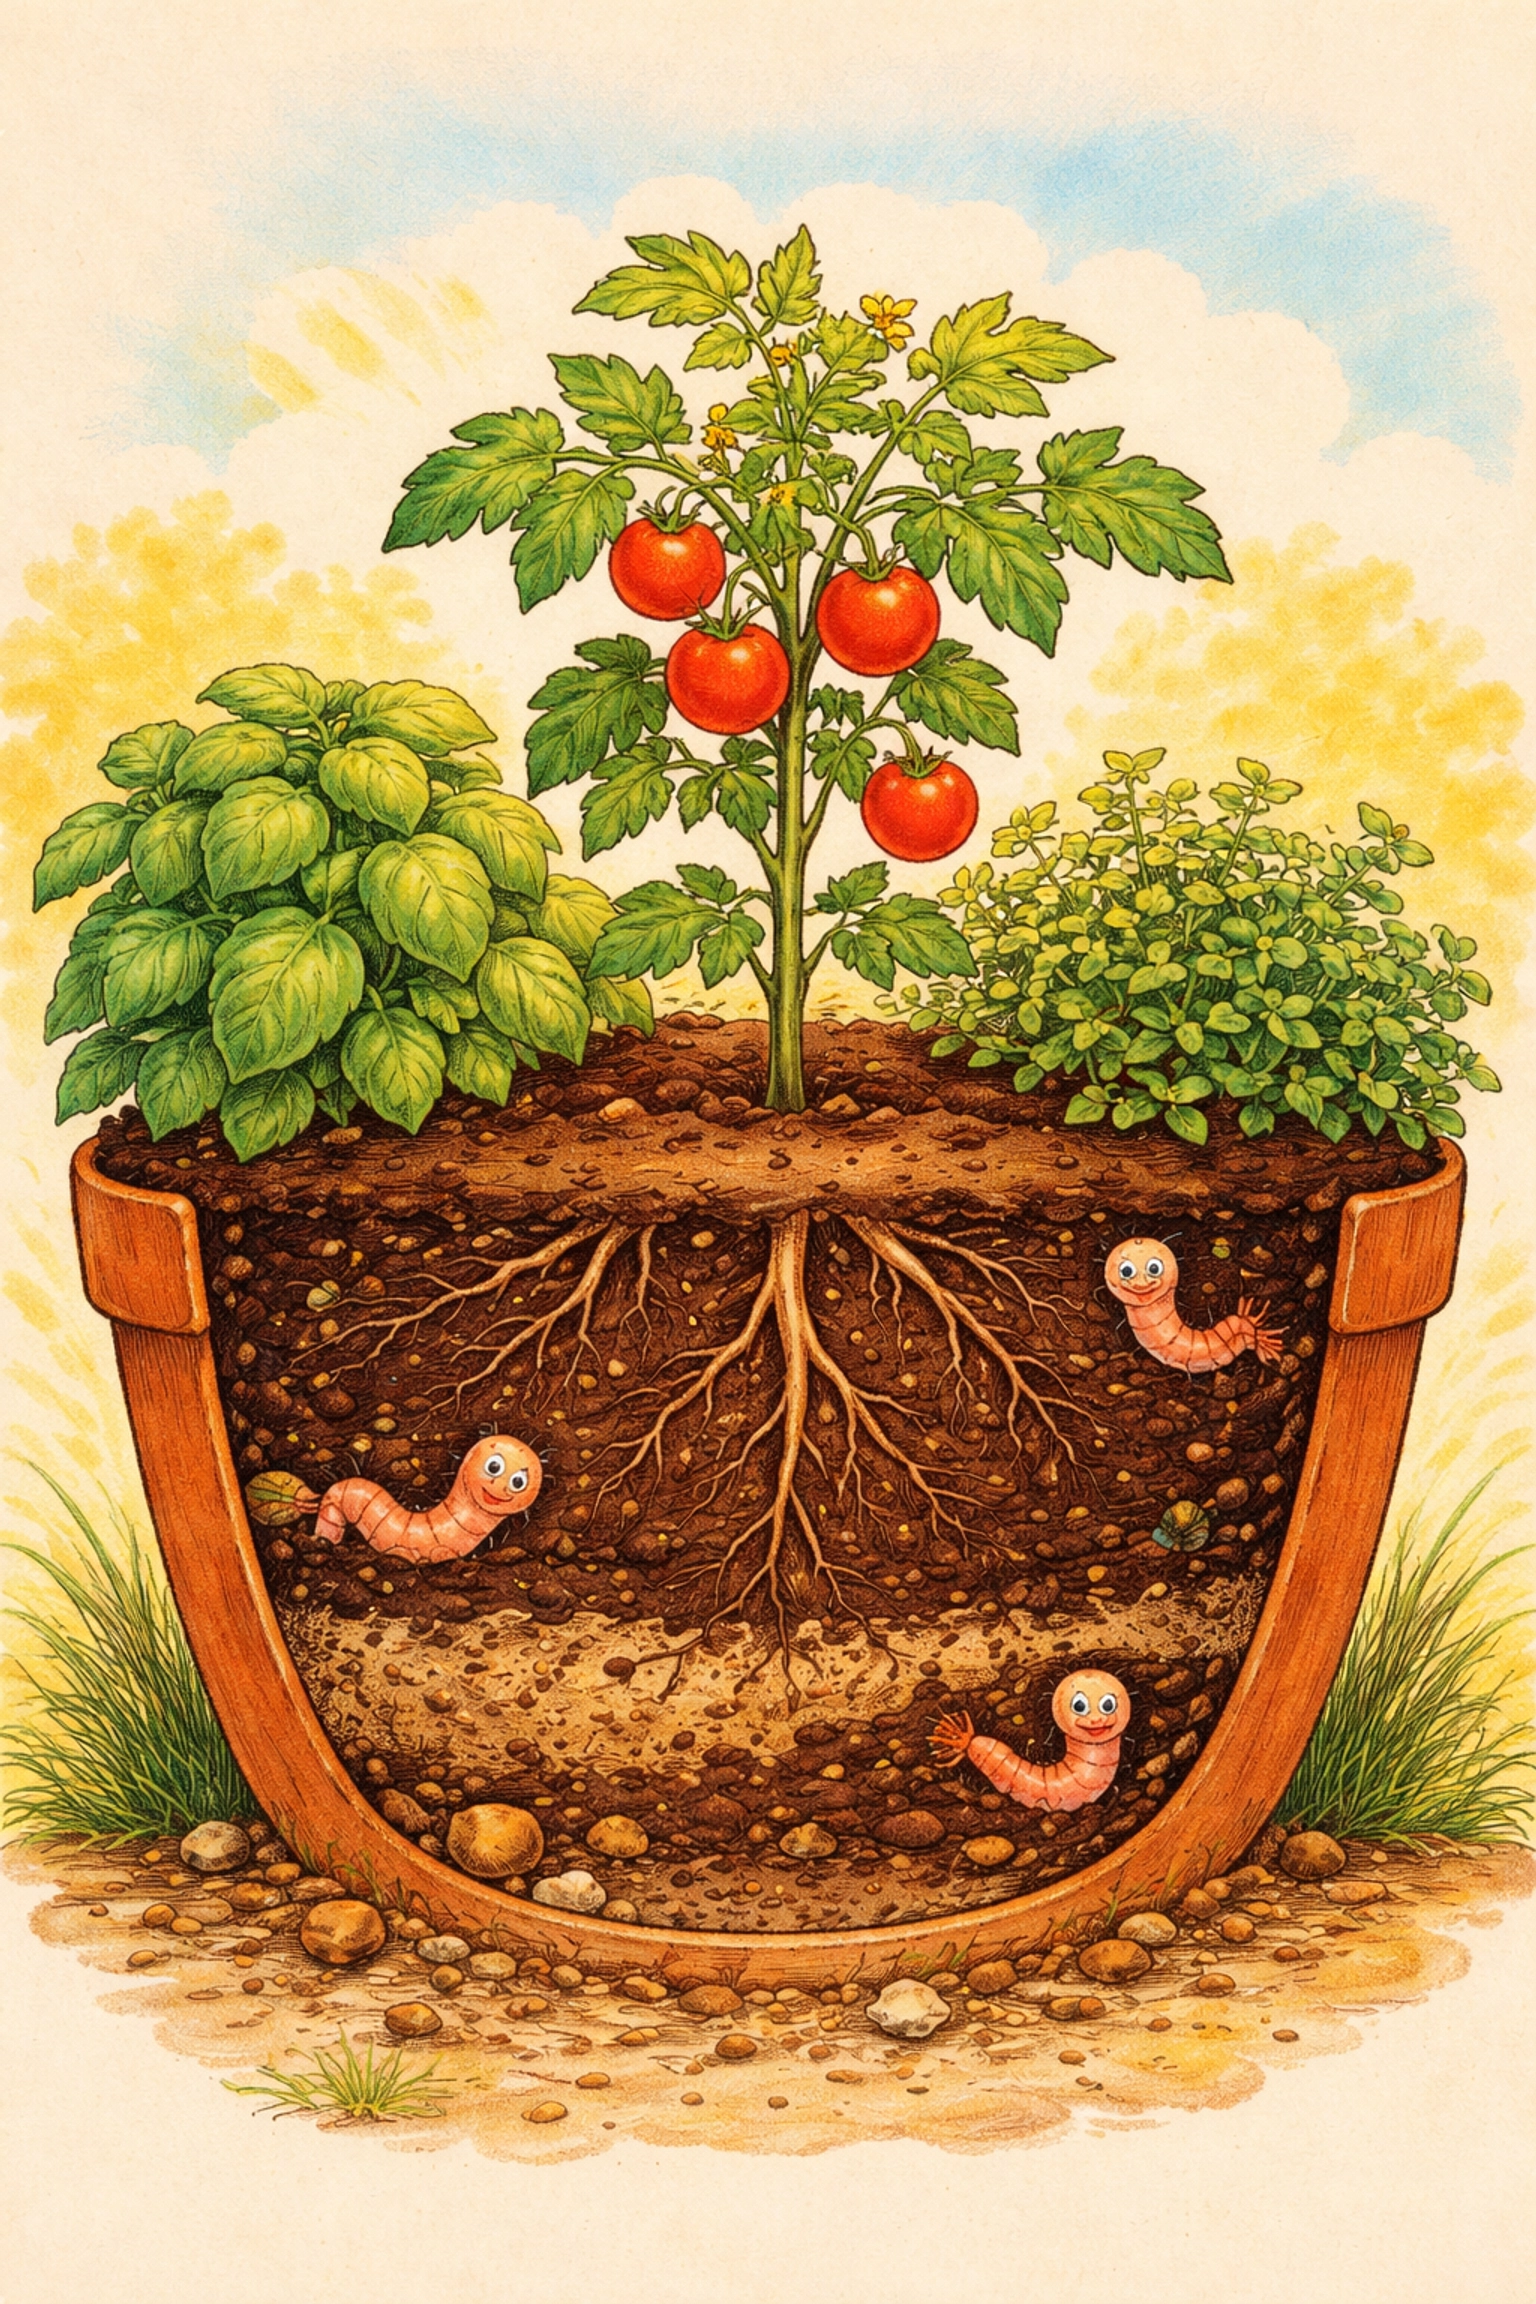
Step 4: Add Your Herbs Around the Edges
Now for the supporting cast! Plant your basil and oregano seedlings around the outer edge of the pot, spacing them about 4–6 inches from the tomato and from each other. If you're starting from seed, sprinkle a few seeds in each spot and thin them out later once they sprout.
Basil likes to be near the tomato (they're best friends, remember?), and oregano is happy to sprawl along the rim.
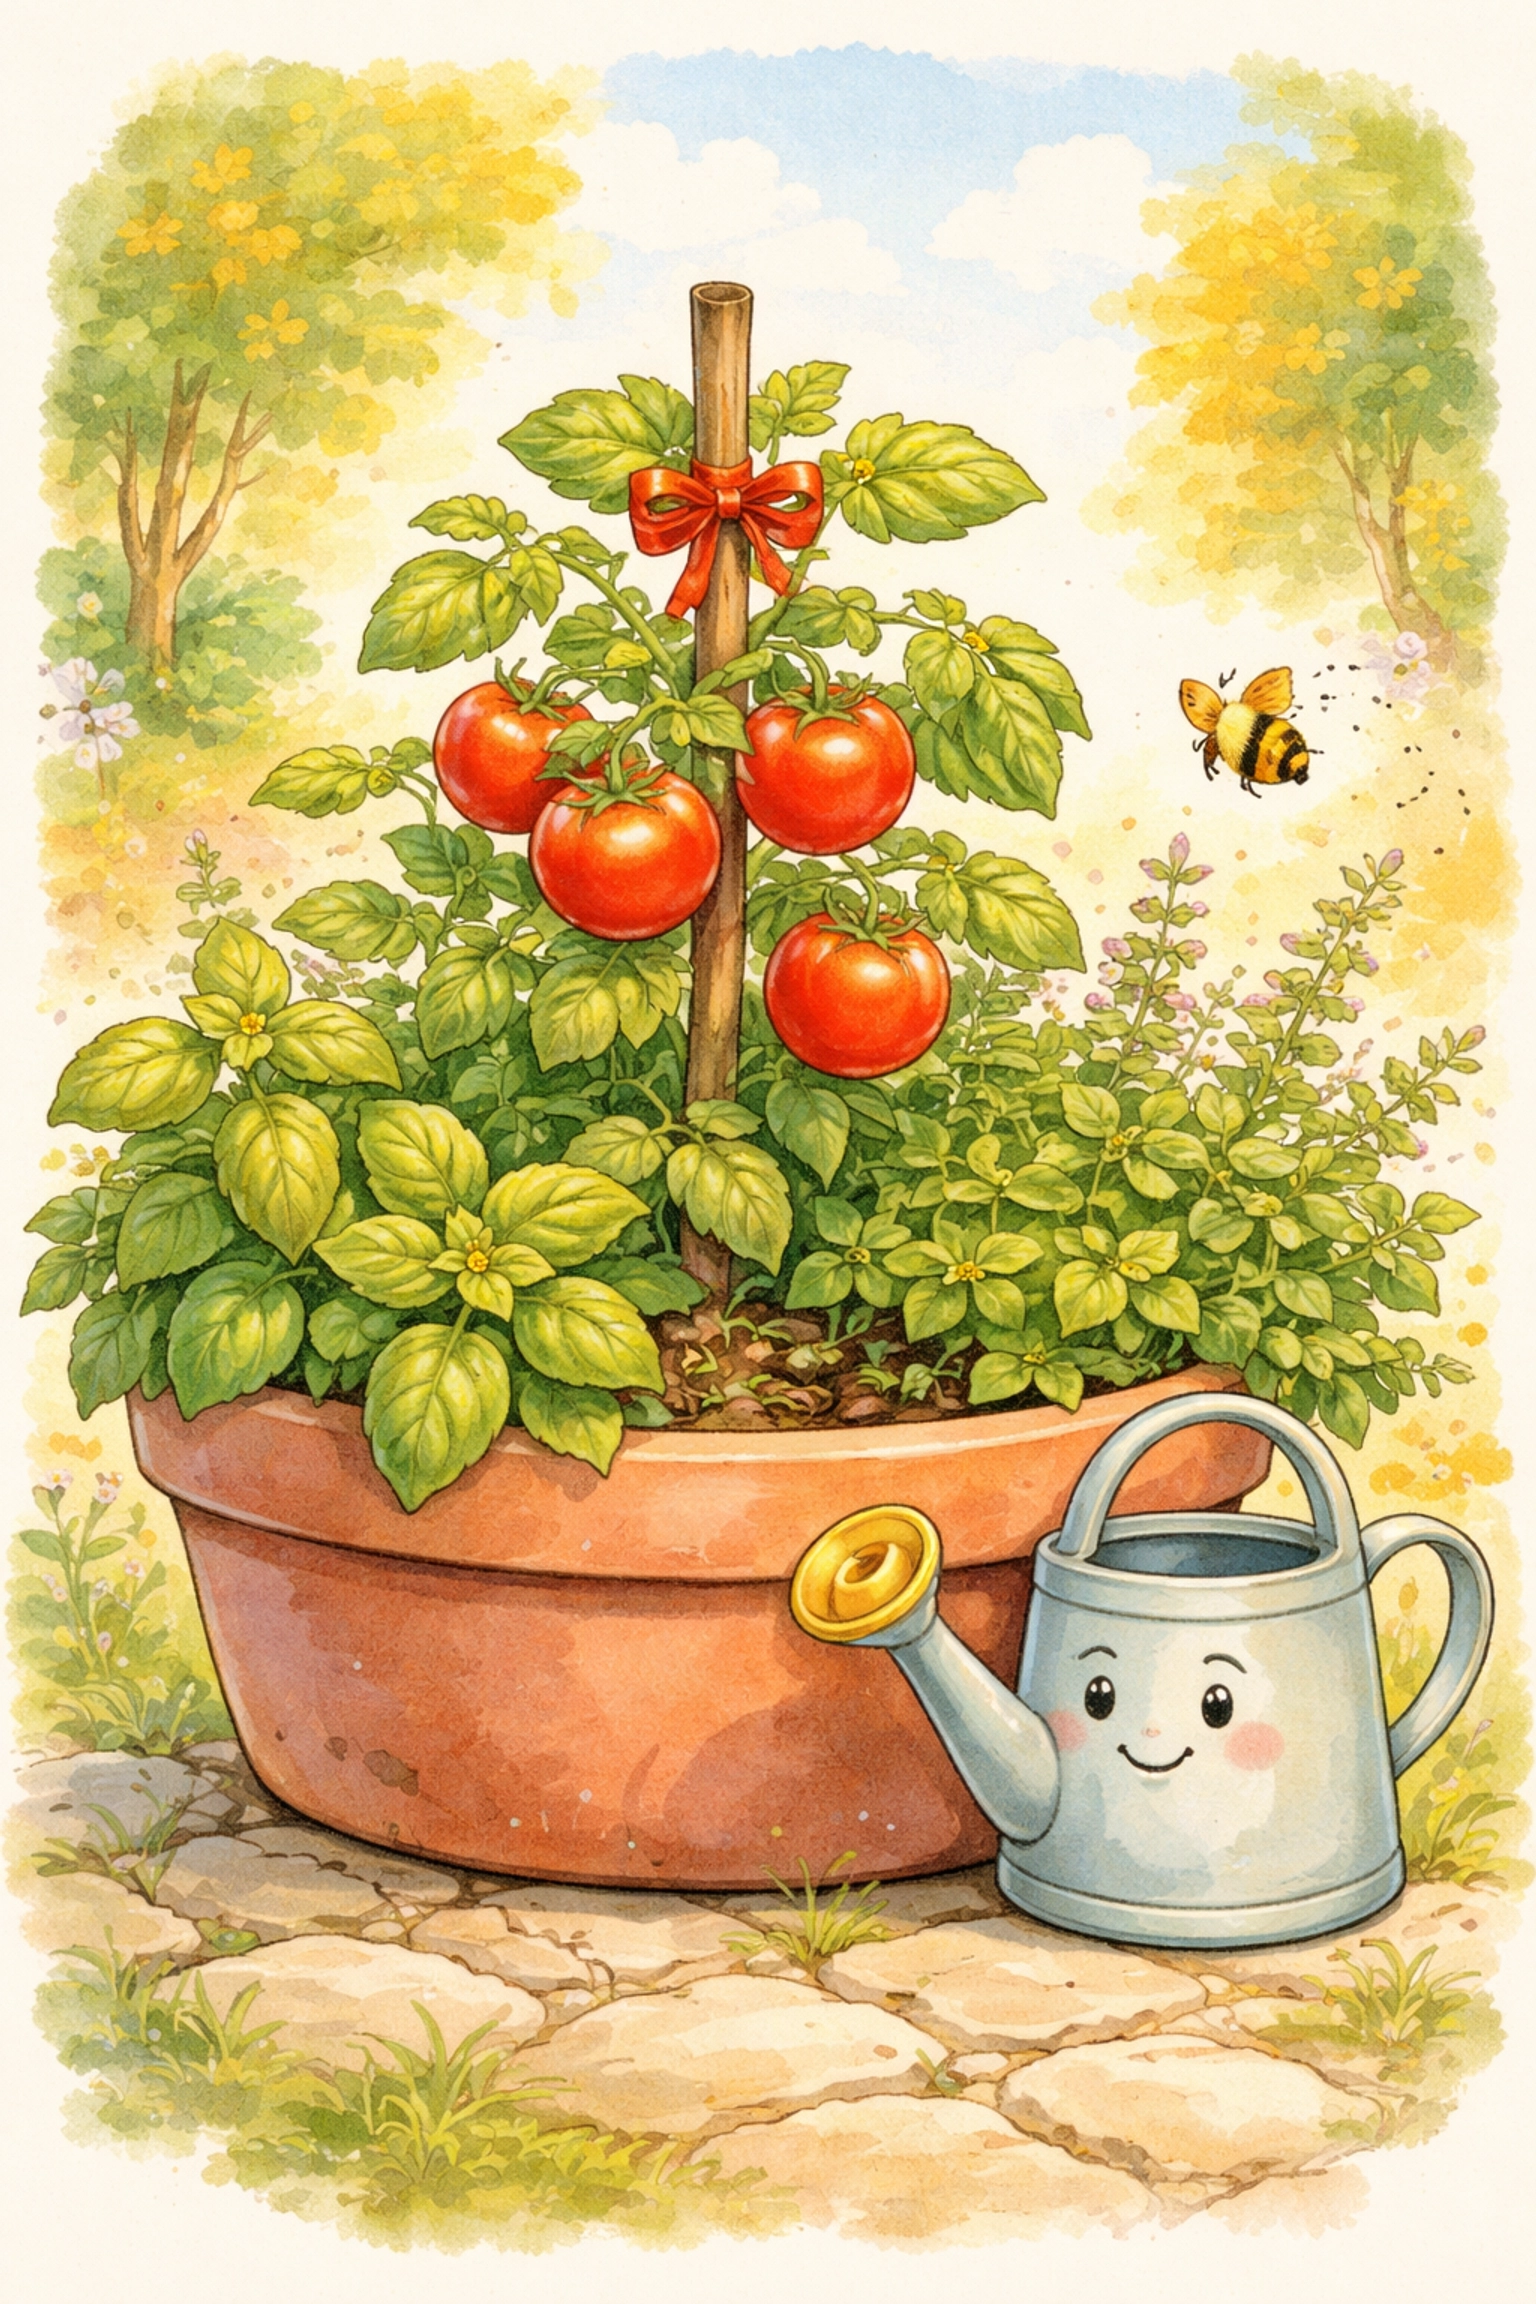
Step 5: Install Support for the Tomato
Even compact tomato varieties benefit from a little support. Insert a small tomato cage or a wooden stake into the soil next to the tomato plant. As the plant grows, you can gently tie the stem to the stake with soft string or garden tape.
This keeps the plant upright and prevents branches from snapping under the weight of ripening fruit.
Step 6: Water Thoroughly
Give your freshly planted Pizza Garden a deep, slow drink. Water until you see it draining out of the bottom holes. This settles the soil and helps the roots make contact with their new home.
Going forward, check the soil moisture every day or two. Stick your finger about an inch into the soil, if it feels dry, it's time to water. Tomatoes are thirstier than herbs, so err on the side of consistent moisture.
Step 7: Find the Sunniest Spot
Carry your pot to its permanent home. A south-facing patio, balcony, or driveway usually works great. These plants crave sunshine, aim for at least 6 hours of direct sun per day. More is even better.
If you're growing indoors, a sunny windowsill can work for the herbs, but tomatoes really prefer to be outside.
Ongoing Care Tips
- Water consistently. Tomatoes can get cranky (and develop problems like blossom end rot) if they go through cycles of too wet and too dry.
- Fertilize mid-season. Once your tomato starts flowering, switch to a liquid fertilizer every couple of weeks to keep the nutrients flowing.
- Pinch basil regularly. Harvesting basil actually encourages bushier growth. Pinch off the top leaves and use them on your pizza!
- Watch for pests. Keep an eye out for aphids or caterpillars. A strong spray of water can knock off most soft-bodied pests.
If you're planning a vacation, check out our guide on keeping plants watered when kids are away so your Pizza Garden survives the trip.
Harvest Time: From Garden to Pizza Night
Depending on your tomato variety, you can expect ripe fruit in about 60–80 days from transplanting. Cherry and grape tomatoes tend to ripen faster than larger varieties.
Basil and oregano can be harvested as soon as the plants are established and have plenty of leaves, usually within 3–4 weeks. Snip what you need, and the plants will keep producing all season long.
When pizza night arrives, head outside with the kids, pick your fresh ingredients, and enjoy the fruits (and herbs!) of your labor. There's nothing quite like a homemade pizza topped with ingredients you grew yourself.
Frequently Asked Questions
1. How big does my pot need to be for a Pizza Garden?
Aim for at least 18 inches in diameter and 12 inches deep. Tomatoes have large root systems, and cramped roots lead to smaller harvests.
2. Can I grow a Pizza Garden indoors?
Herbs like basil and oregano can do well indoors with bright light, but tomatoes typically need more sun than most windows provide. A grow light can help if outdoor space isn't an option.
3. What type of tomato is best for container gardening?
Determinate or "bush" varieties like Roma, Patio, or Tiny Tim stay compact and work well in pots. Indeterminate varieties can get very tall and may outgrow a single container.
4. How often should I water my Pizza Garden?
Check the soil daily. Water when the top inch feels dry. In hot weather, you may need to water every day.
5. Can I use garden soil instead of potting soil?
It's not recommended. Garden soil is too dense for containers and can lead to poor drainage and compacted roots. Stick with a quality potting mix.
6. Why is my basil turning yellow?
Yellow leaves can indicate overwatering, nutrient deficiency, or too little sunlight. Check your watering habits first and make sure the pot drains well.
7. When can I start harvesting?
Basil and oregano can be harvested in 3–4 weeks. Tomatoes take longer, usually 60–80 days from transplanting, depending on the variety.
8. Is a Pizza Garden safe for kids to help with?
Absolutely! This is a great hands-on project for kids of all ages. Just supervise any steps involving sharp tools or heavy lifting.
9. Can I add other plants to my Pizza Garden?
Sure! Chives, parsley, or even a small pepper plant can join the party if your container is large enough. Just be mindful of spacing.
10. What do I do with my Pizza Garden at the end of the season?
Tomatoes and basil are annuals and will die back after frost. Oregano is a perennial and may survive winter in milder climates. Compost the spent plants and refresh the soil for next year!
References
- University of Minnesota Extension. "Growing Tomatoes in Home Gardens." https://extension.umn.edu
- The Old Farmer's Almanac. "Companion Planting Guide." https://www.almanac.com/companion-planting-guide-vegetables
- Penn State Extension. "Container Gardening." https://extension.psu.edu
- National Gardening Association. "Growing Herbs in Containers." https://garden.org
Explore more hands-on projects for kids at Tierney Family Farms Kids Crafts!


