


The Direct Answer: Starting seeds in a sponge is surprisingly simple! Soak an untreated kitchen sponge in water, squeeze out the excess moisture, press your seeds into the sponge's natural holes or crevices, and keep it consistently moist in a warm, well-lit spot. Within days, you'll see tiny sprouts emerge, no soil required! This method is perfect for beginners, costs almost nothing, and gives kids a front-row seat to watch roots develop in real time.
Why Start Seeds in a Sponge?
If you've ever tried starting seeds with your kids, you know the drill: dirt everywhere, mysterious puddles on the windowsill, and the eternal question of "Is anything even happening in there?"
Starting seeds in a sponge eliminates most of that mess while adding a huge dose of visual excitement. Because the sponge is porous and holds moisture so well, it creates an ideal environment for germination. And the best part? Kids can actually see the roots growing right before their eyes. No digging required.
This soil-free method is also a fantastic introduction to hydroponics, the science of growing plants in water instead of dirt. Once your little gardeners master the sponge technique, they'll be ready to level up to bigger hydroponic projects down the road.
What You'll Need (Budget Breakdown)
One of our favorite things about this project is how ridiculously affordable it is. You likely have most of these supplies sitting in your kitchen right now.
| Item | Estimated Cost | Notes |
|---|---|---|
| Untreated kitchen sponges (2-pack) | $1.00 – $2.00 | Avoid sponges with antibacterial coatings or detergent |
| Shallow tray or plate | $0.00 – $1.00 | Upcycle a takeout container or use a saucer |
| Seeds | $1.00 – $3.00 | Lettuce, basil, or chia work great |
| Spray bottle (optional) | $1.00 | For gentle misting |
| Plastic wrap (optional) | $0.00 – $1.00 | Helps retain humidity during germination |
Total Estimated Cost: $3.00 – $8.00
That's a full science experiment and gardening lesson for less than a drive-thru meal. Not bad!
Step-by-Step Instructions
Step 1: Choose the Right Sponge
This is the most important step, so don't skip it! You want a plain, untreated sponge, the kind without any scrubby pads attached or antibacterial chemicals added. Natural cellulose sponges work wonderfully, but a basic dollar-store sponge (without fancy coatings) will do the trick.
Why does this matter? Antibacterial compounds and detergents can prevent seeds from germinating or harm the delicate sprouts. When in doubt, give the sponge a good sniff. If it smells like cleaning solution, pick a different one.
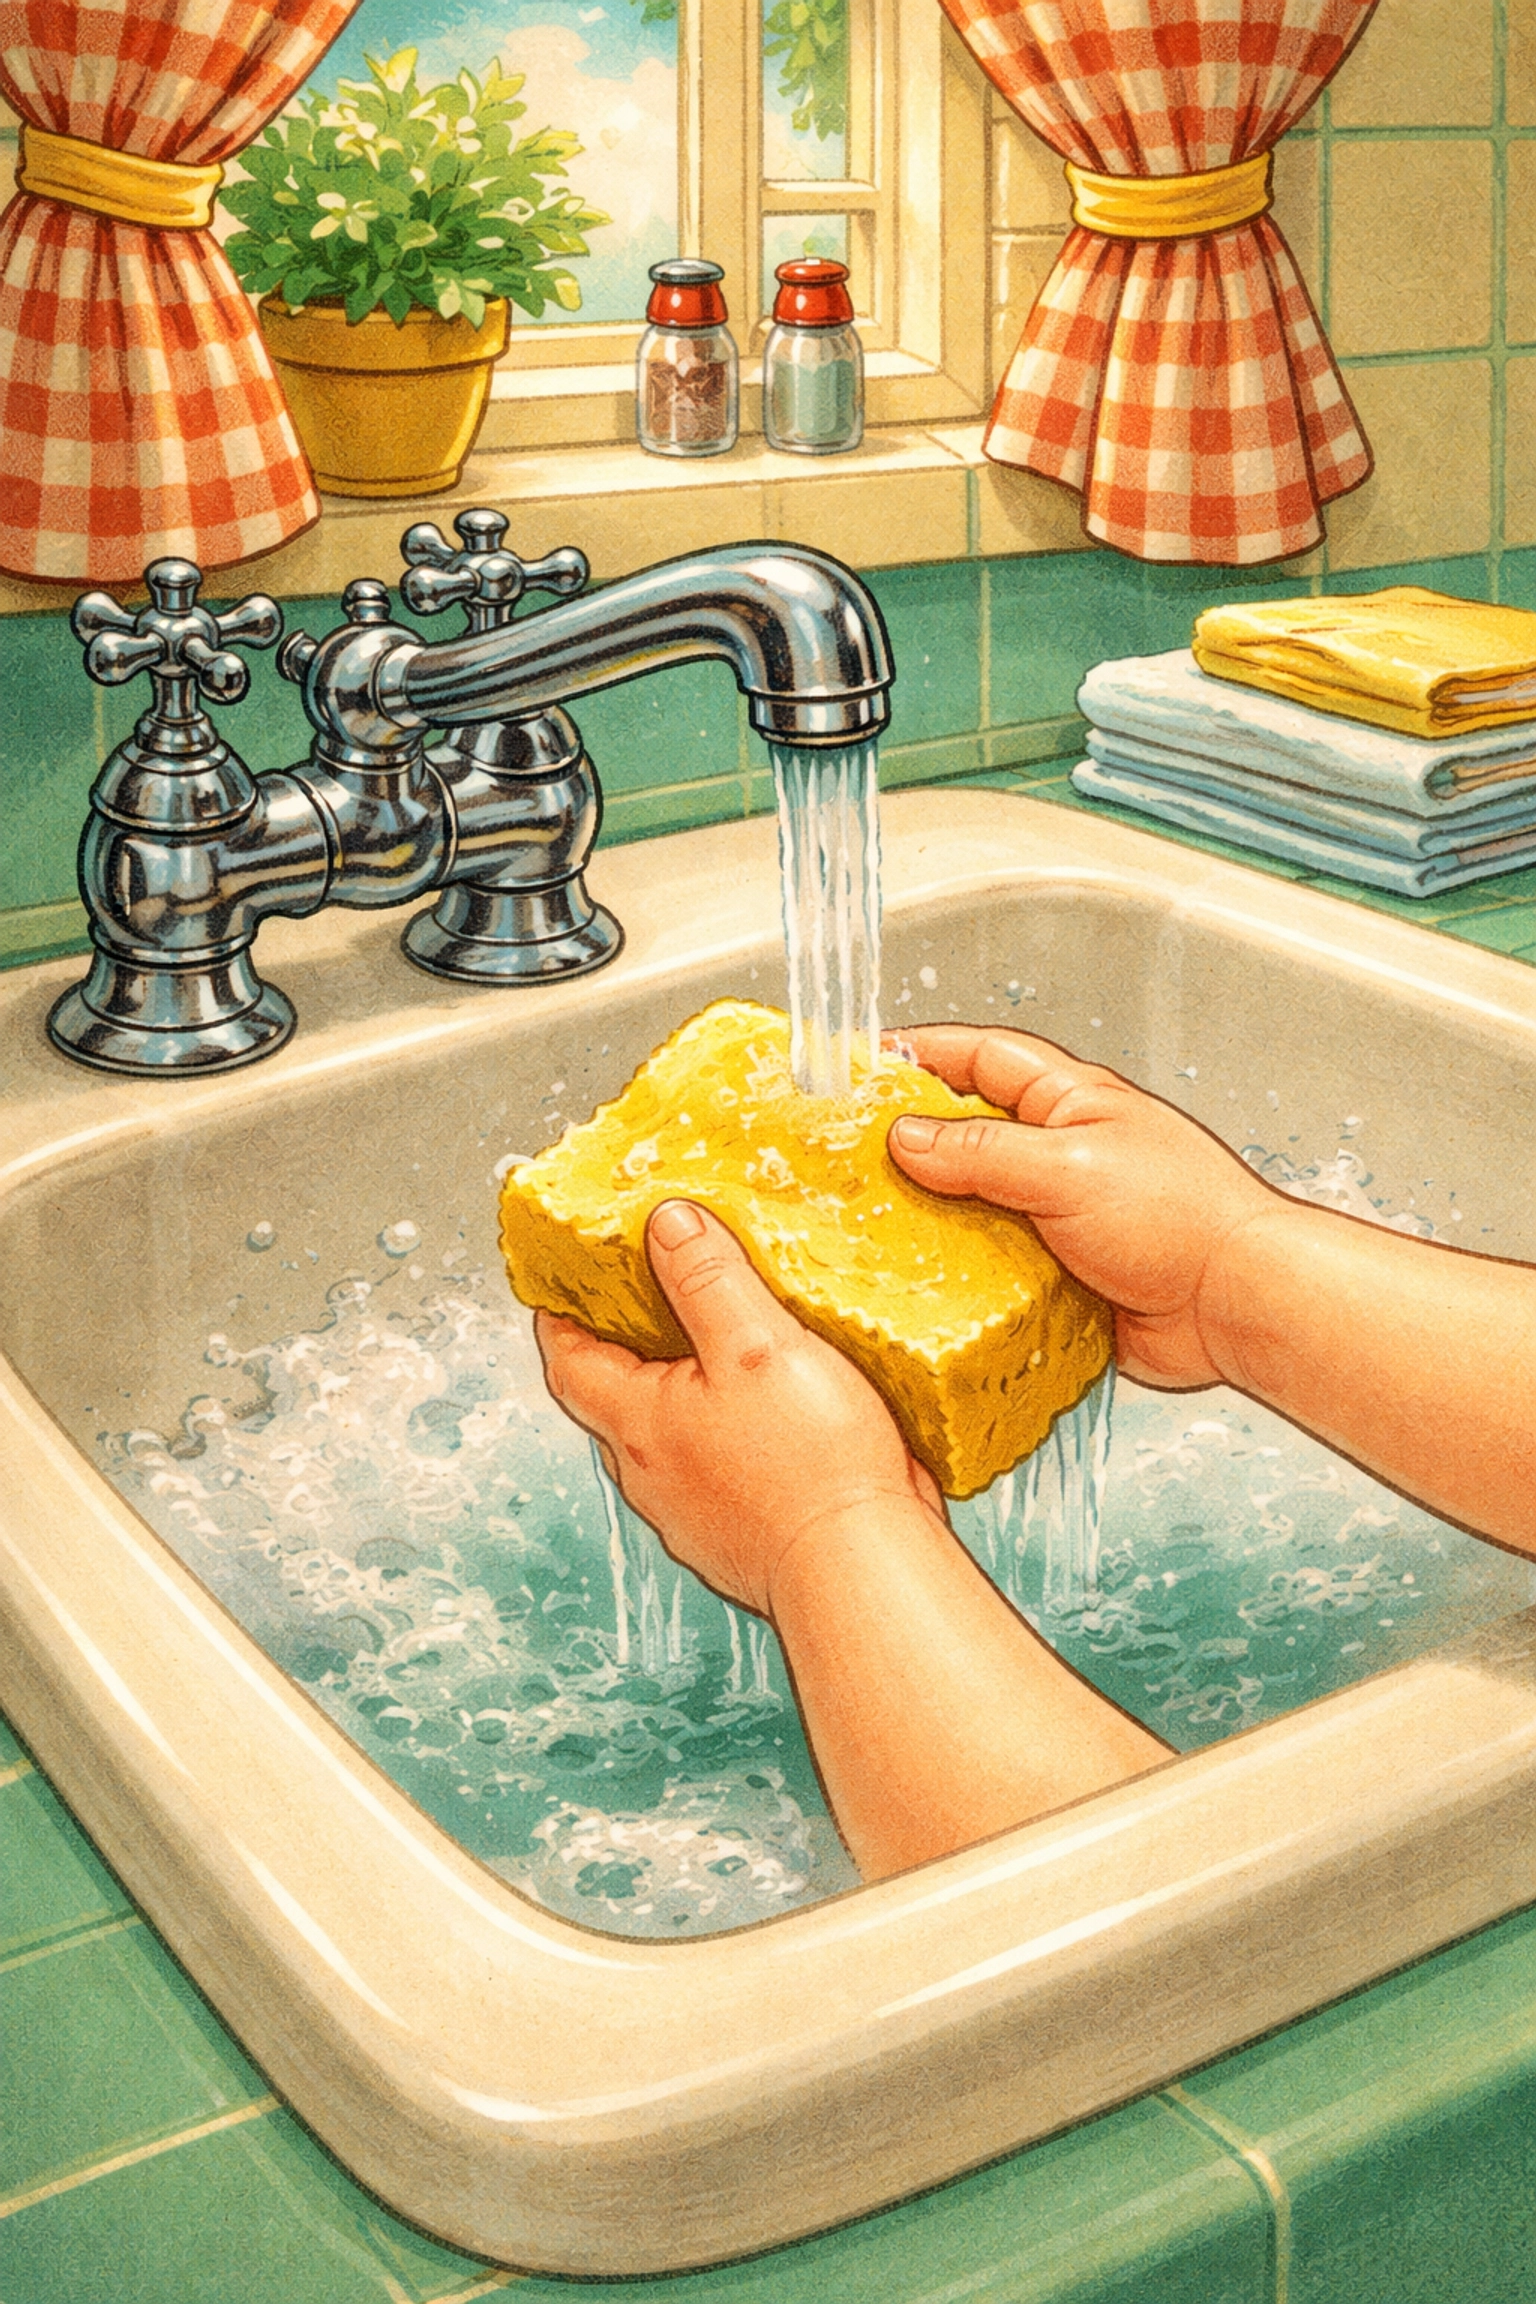
Step 2: Soak and Squeeze
Fill a bowl with room-temperature water and let your sponge soak for a minute or two until it's fully saturated. Then, gently squeeze out about half of the water. You want the sponge to be moist but not dripping wet.
Think of it like a wrung-out washcloth, damp enough to feel wet, but not so soggy that water pools underneath when you set it down.
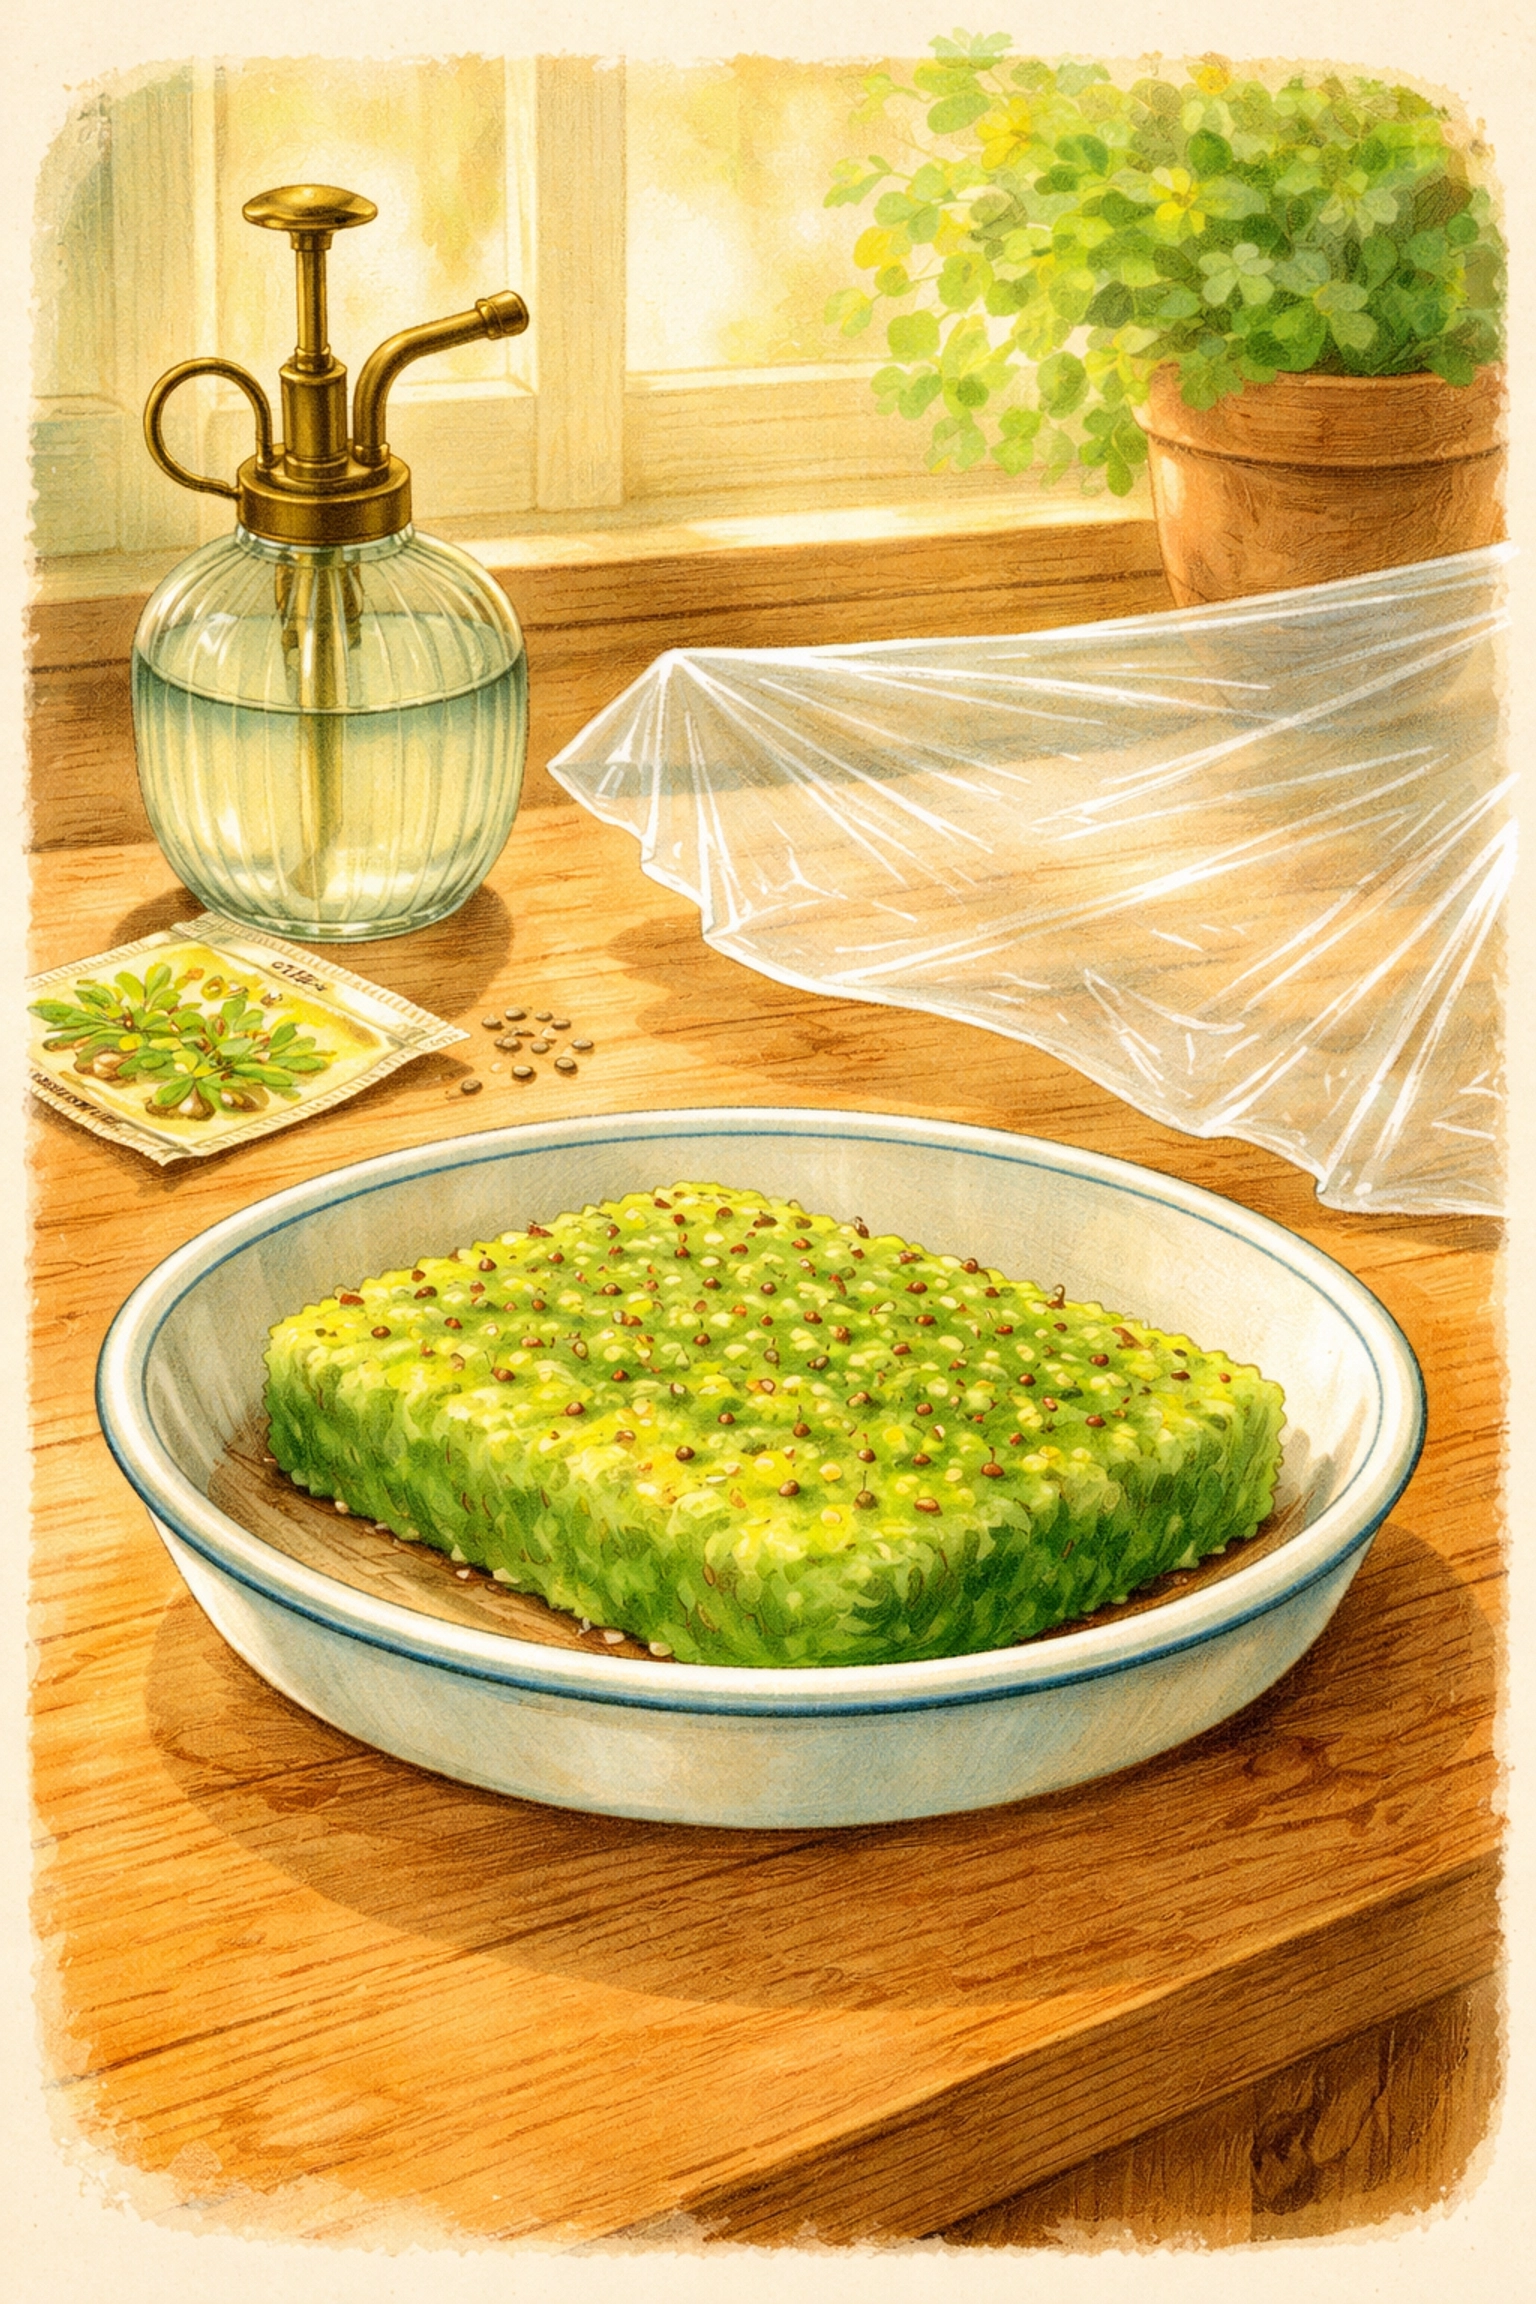
Step 3: Prep Your Seeds
Small seeds tend to work best for this method. Lettuce, basil, chia, broccoli, and even grass seeds are all excellent choices for beginners. Larger seeds (like beans or sunflowers) can work, but they may need a bit more coaxing.
If your sponge has natural holes and crevices, you can simply press the seeds directly into those little pockets. If your sponge is smooth, use a butter knife or your fingernail to create a few small slits or indentations to hold the seeds in place.
Pro tip: Don't bury the seeds too deep! Just press them gently into the surface so they make contact with the moist sponge.
Step 4: Find the Perfect Spot
Place your seeded sponge on a shallow tray or plate (to catch any drips) and move it to a warm location. Most seeds germinate best at temperatures between 65°F and 75°F.
Here's where it gets interesting: some seeds prefer darkness for the first day or two, while others need light right away. As a general rule, covering the sponge loosely with plastic wrap for the first 48 hours can help lock in humidity and kickstart germination. After that, move it to a sunny windowsill or under a grow light.
Step 5: Keep It Moist (But Not Soaked)
This is where most beginners stumble. The sponge needs to stay consistently moist throughout the germination process. If it dries out, the seeds will stop sprouting. If it's too wet, you risk mold growth.
Check your sponge at least once a day. A quick mist from a spray bottle is usually all it takes to keep things happy. If you notice standing water in your tray, pour it off.
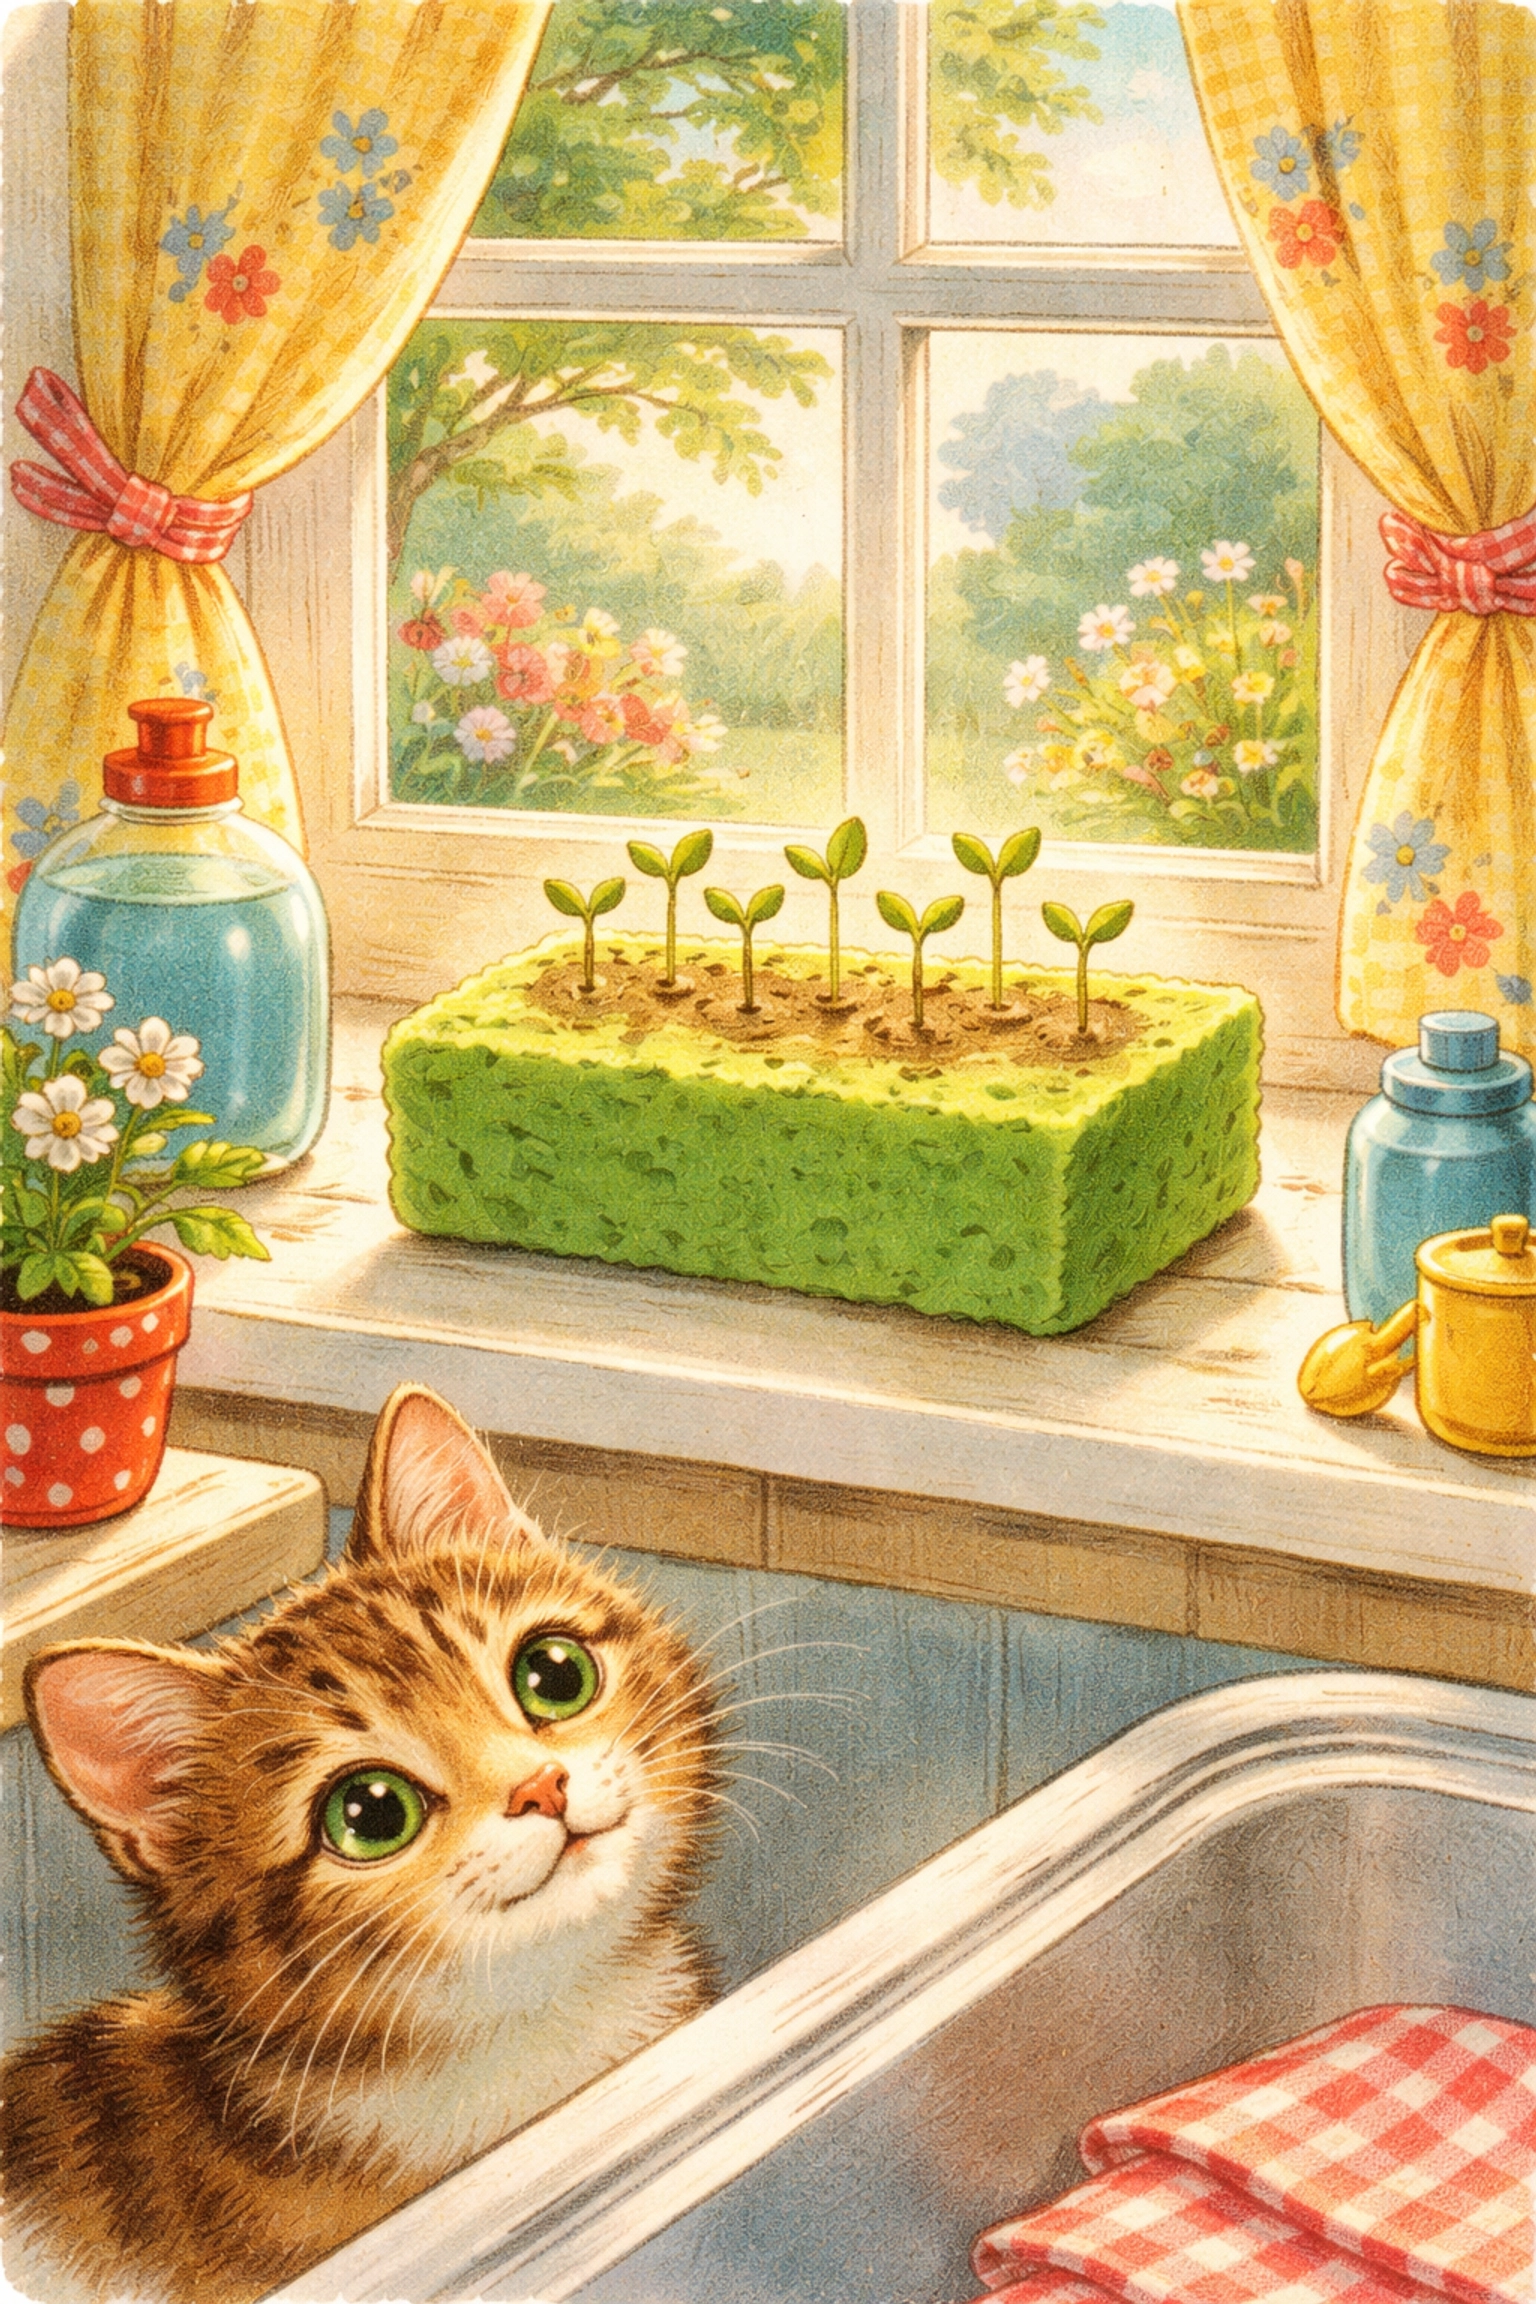
Step 6: Watch the Magic Happen
Within 3 to 10 days (depending on the seed type), you should start seeing tiny sprouts emerge. And here's the really cool part, if you look closely at the sponge, you may be able to see the white roots threading their way through the material. It's like a little science experiment happening right on your windowsill!
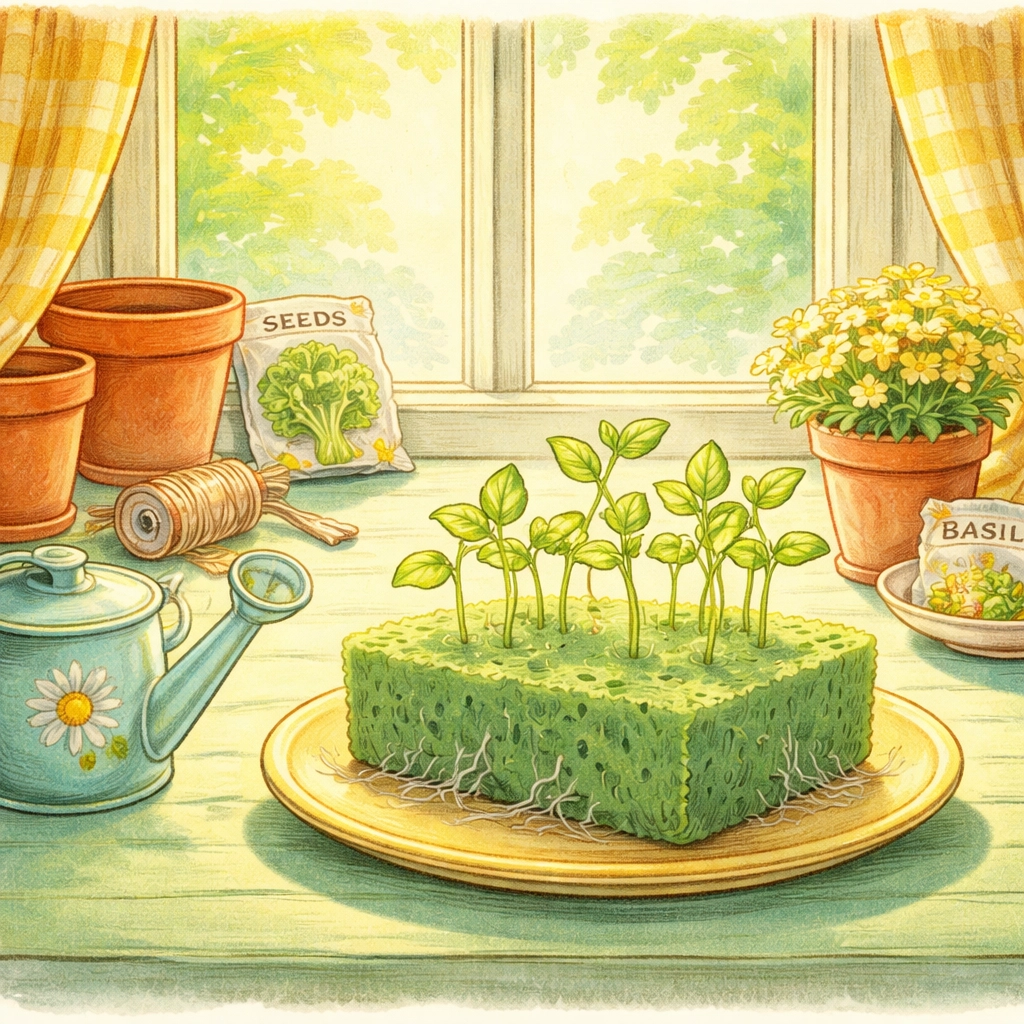
Step 7: Transplant Your Seedlings
Once your seedlings have developed their first set of "true leaves" (the second pair of leaves that appear after the initial sprout), they're ready to move to their forever home.
You have two options here:
- Gently remove the seedling from the sponge and transplant it into soil or a hydroponic system.
- Trim the sponge around the roots and plant the whole thing if the roots are too delicate to separate. The sponge will eventually break down, and the roots will continue to grow.
If you're interested in keeping things soil-free, check out our guide on How Much Space Do You Need for a Productive Hydroponic Garden? for your next steps!
Tips for Success
- Reuse your sponges: Once your seedlings have moved on, rinse out the sponge, let it dry completely, and use it again for the next batch.
- Try a sponge "nursery": Cut one sponge into smaller cubes and start multiple seed varieties at once. Label each cube with a toothpick flag!
- Avoid direct sunlight initially: Intense sun can dry out your sponge too quickly. Bright, indirect light is usually best until the seedlings are established.
- Pair with a self-watering system: Once your seedlings are ready to transplant, a DIY self-watering planter can help keep them thriving with minimal effort.
Best Seeds to Start in a Sponge
Not all seeds are created equal when it comes to sponge starting. Here are some beginner-friendly options:
- Lettuce – Fast germination, shallow roots
- Basil – Aromatic and fun to grow
- Chia – Sprouts in just a few days
- Broccoli – Great for microgreens
- Grass seeds – Perfect for a "Chia Pet" style project
Frequently Asked Questions
Can I use any type of sponge?
You'll want to avoid sponges with antibacterial treatments, detergents, or scrubby pads attached. Plain cellulose or natural sponges tend to work best.
How long does it take for seeds to sprout in a sponge?
Most small seeds will germinate within 3 to 10 days, depending on the variety and growing conditions.
Do I need special lights?
Not necessarily! A sunny windowsill usually provides enough light for germination. However, a basic grow light can help if your home doesn't get much natural sunlight.
Can I grow the plants in the sponge forever?
The sponge is best used as a starting medium. Once seedlings develop true leaves, they generally do better transplanted into soil or a hydroponic system.
What if mold starts growing on my sponge?
Mold can happen if the sponge stays too wet or doesn't get enough airflow. Remove any affected areas, reduce watering, and make sure the sponge isn't sitting in standing water.
Is this method safe for kids?
Absolutely! It's mess-free, uses common household items, and gives children a hands-on way to learn about plant biology.
Can I reuse the sponge after the seedlings are transplanted?
Yes! Rinse it thoroughly, let it dry completely, and it's ready for another round.
What's the best temperature for germination?
Most seeds prefer temperatures between 65°F and 75°F. A warm kitchen counter or sunny windowsill usually does the trick.
References
- Gardening Know How. "Seed Starting In A Sponge." https://www.gardeningknowhow.com
- Epic Gardening. "How To Start Seeds In A Sponge." https://www.epicgardening.com
- University of Maryland Extension. "Starting Seeds Indoors." https://extension.umd.edu
Ready to explore more budget-friendly projects with your kids? Browse our full library of DIY Kids Crafts & STEAM Activities for your next adventure!


