


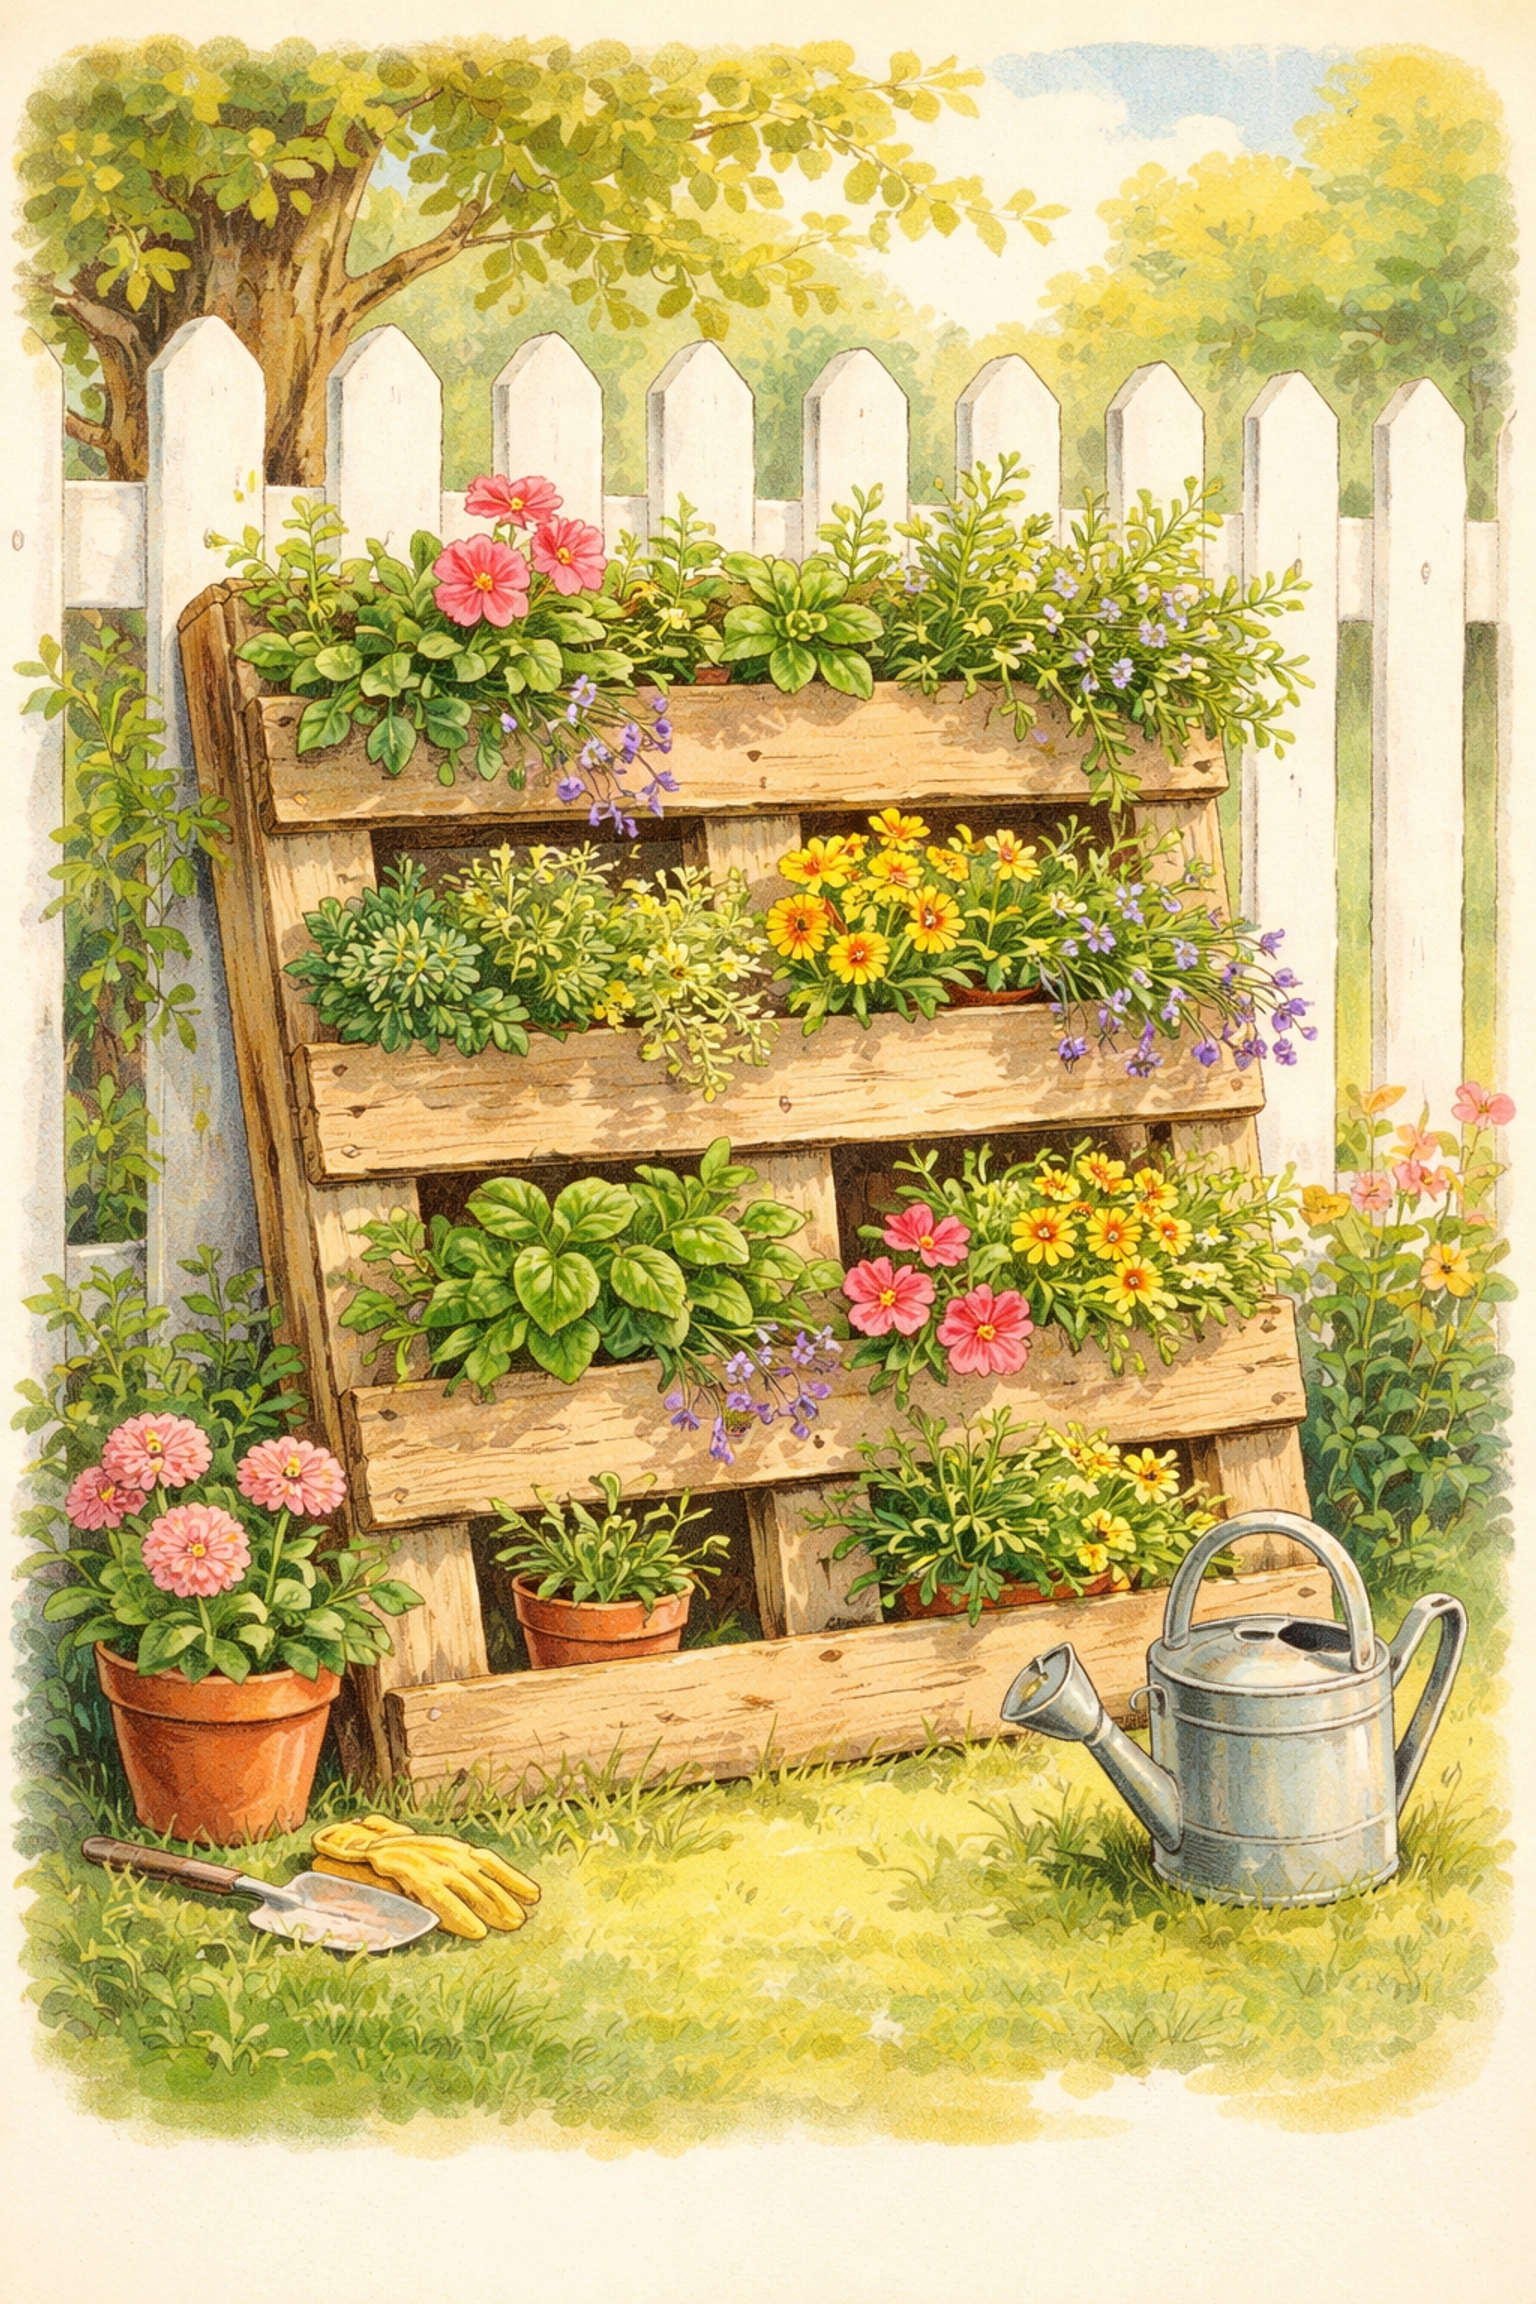
A DIY pallet garden is a vertical planter made from a repurposed wooden pallet that lets you grow herbs, lettuce, flowers, and succulents in a small footprint. You can build one in a single afternoon using materials you likely already have, or can source for free. This project transforms an old shipping pallet into a rustic, space-saving garden perfect for patios, balconies, or small backyards. Best of all, the whole thing can cost you less than ten bucks.
If you've been eyeing vertical farming but don't want to invest in fancy systems, this is your gateway project. It's hands-on, beginner-friendly, and gives you a functional garden you can actually harvest from.
Why Pallet Gardens Work for Vertical Farming
Pallet gardens are essentially ready-made planting structures. The slats create natural pockets for soil, and when you stand the pallet upright, you've got vertical real estate for growing. This approach is ideal when ground space is limited, think apartment balconies, rental properties, or crowded suburban yards.
The rustic aesthetic is a bonus. A weathered pallet leaning against a fence looks charming, not cobbled together. And because pallets are designed to hold heavy loads, they're surprisingly sturdy once converted into planters.
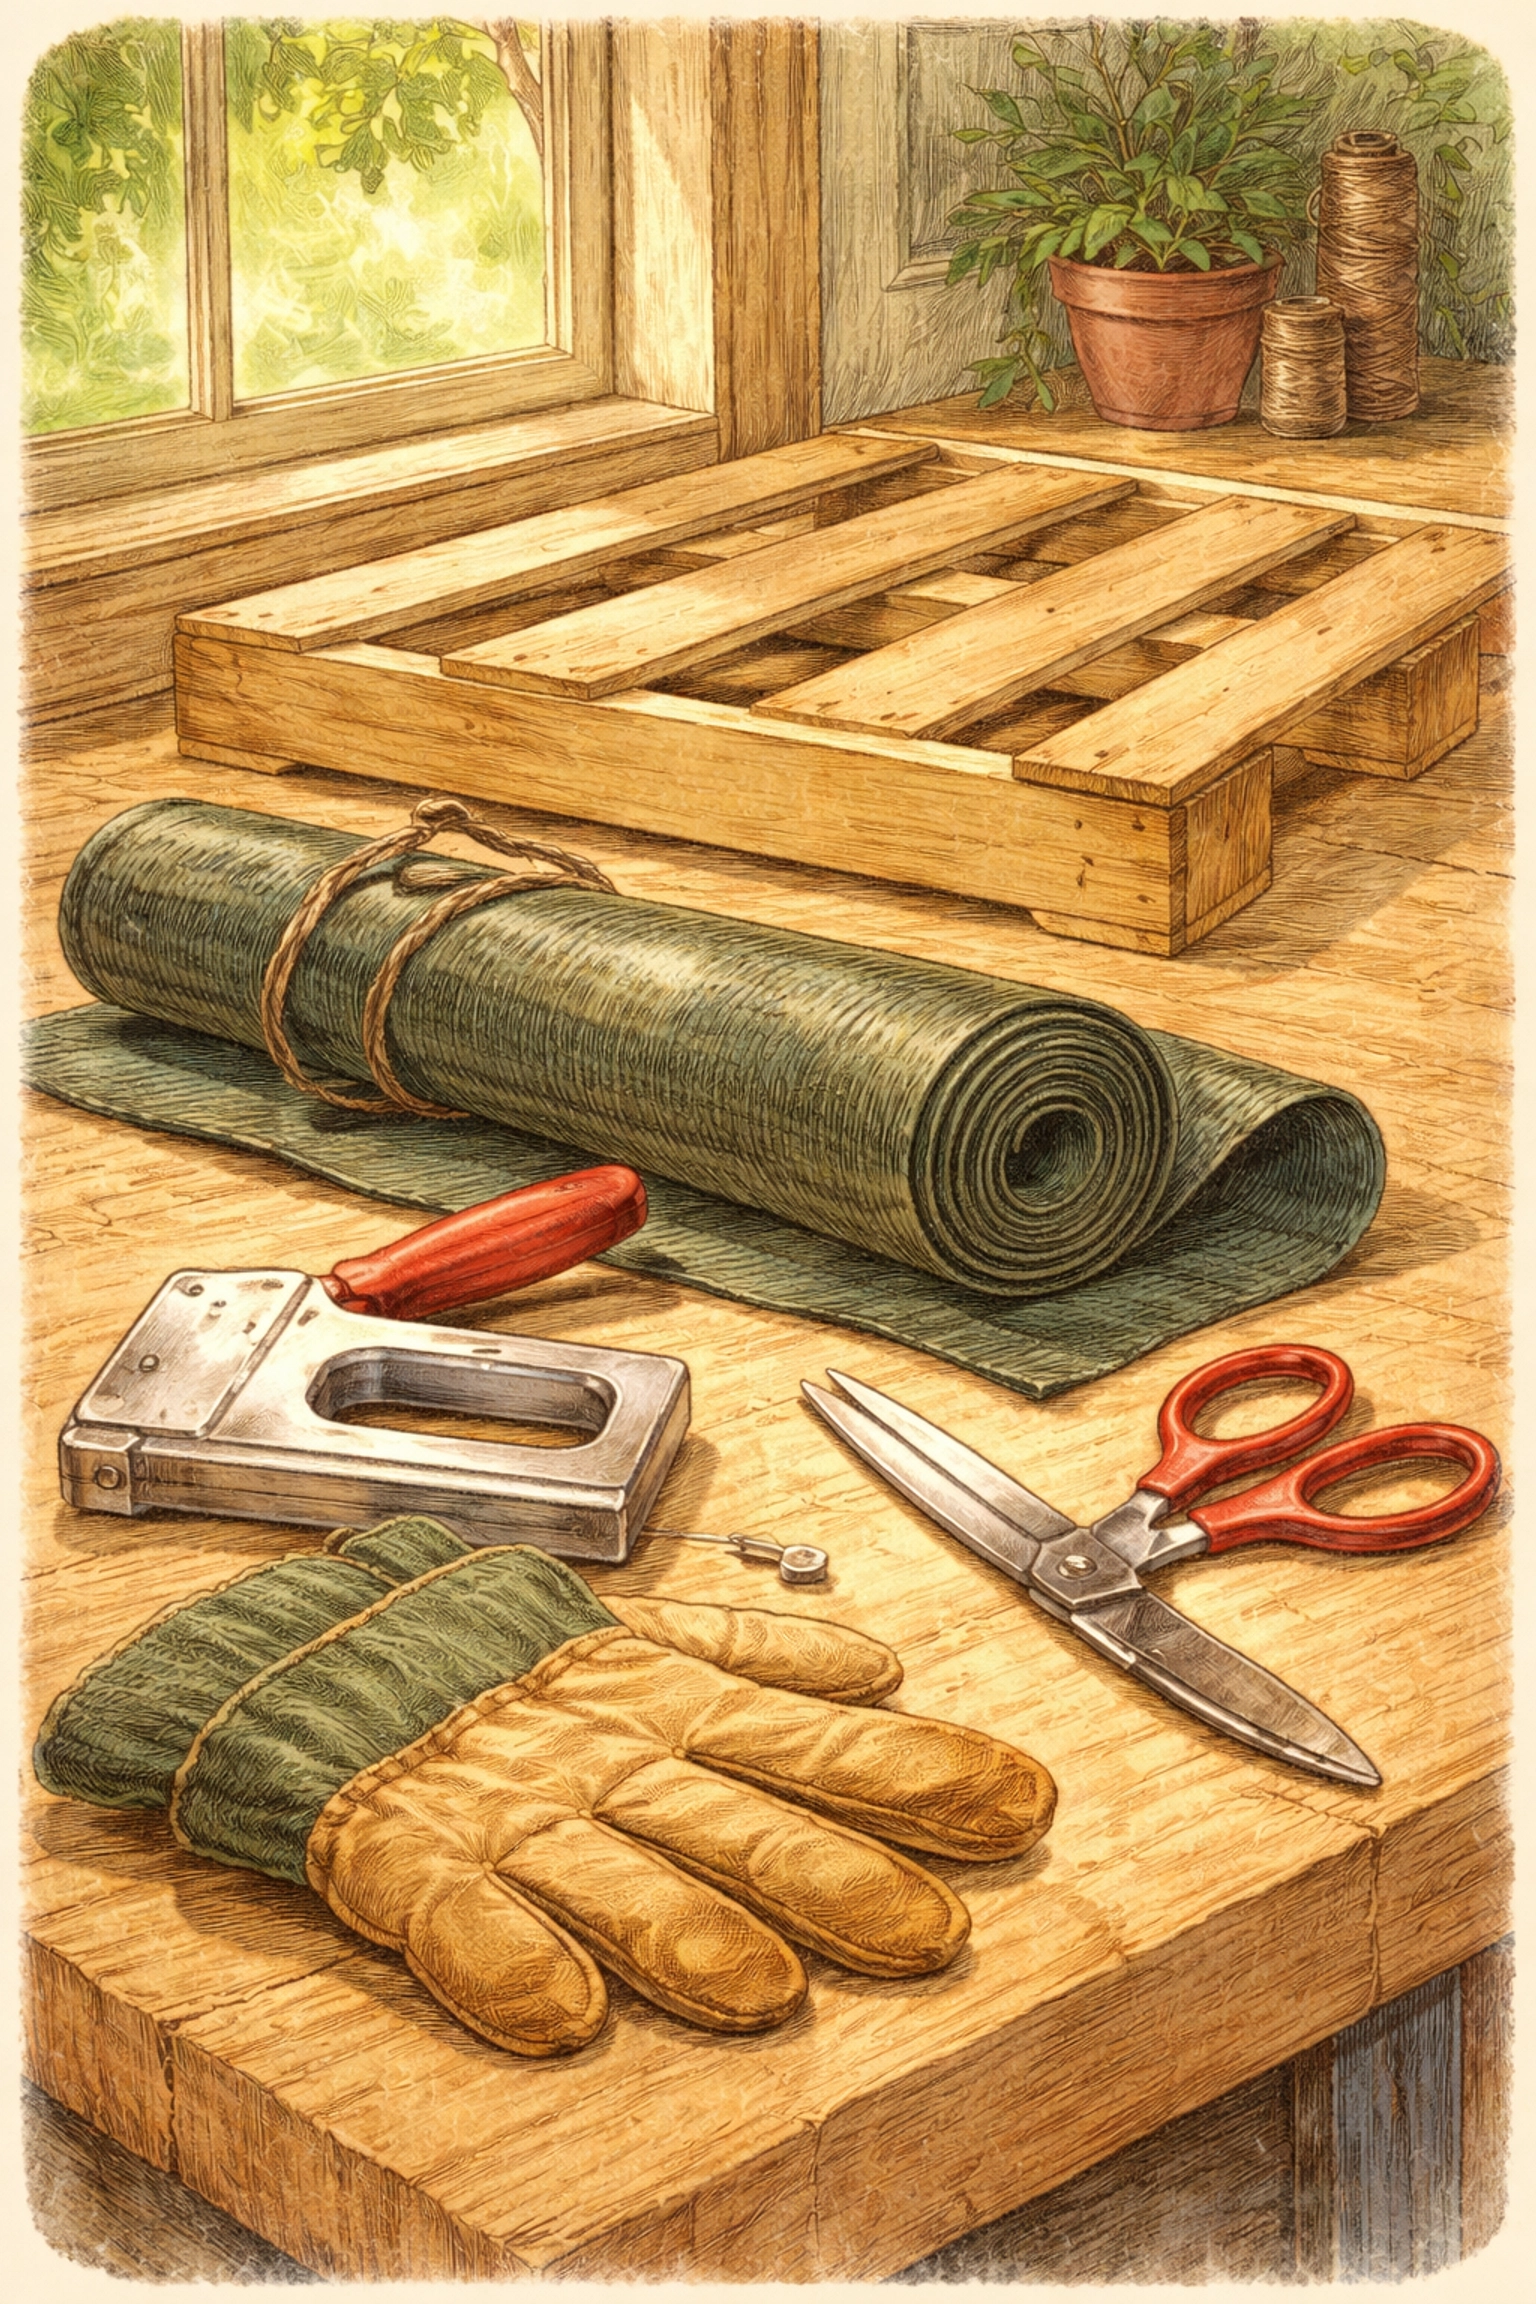
What You'll Need: Materials and Tools
Here's everything required to build your pallet garden. Most items can be scavenged, borrowed, or purchased cheaply.
Materials List
| Item | Estimated Cost | Notes |
|---|---|---|
| Wooden pallet | Free – $5 | Check local hardware stores, garden centers, or online marketplaces |
| Landscaping fabric (3 yards) | $3 – $5 | Also called weed barrier fabric |
| Potting soil (1 cubic foot) | $2 – $4 | Standard potting mix works fine |
| Staples for staple gun | Free – $2 | You likely have these already |
| Plants or seeds | Variable | Start with what you have or swap with neighbors |
Total estimated cost: Under $10 (assuming you source a free pallet)
Tools Required
- Staple gun
- Scissors or utility knife
- Sandpaper (optional, for splinter-prone pallets)
- Measuring tape
- Work gloves
Step-by-Step Instructions
Step 1: Find and Inspect Your Pallet
Not all pallets are created equal. Look for one stamped with "HT" (heat-treated) rather than "MB" (methyl bromide treated). Heat-treated pallets are safe for gardening; chemically treated ones are not.
Check for:
- Solid structural integrity (no cracked or rotting boards)
- Minimal splinters
- A relatively flat surface
Good places to find free pallets include local hardware stores, nurseries, and online community groups. Many businesses are happy to give them away rather than pay for disposal.
Step 2: Prep Your Pallet
If your pallet is rough, give it a light sanding to prevent splinters, especially if kids will be helping with planting and watering. Wipe down the wood to remove dirt and debris.
Decide whether you want to keep all the slats or remove alternating ones to create larger planting pockets. For most herb and lettuce gardens, keeping all slats works perfectly since these plants don't need deep root space.
Step 3: Attach the Landscaping Fabric
This is where your pallet transforms into an actual planter. The landscaping fabric creates pockets that hold soil while allowing water to drain through.
- Lay your pallet face-down on a flat surface
- Roll out the landscaping fabric across the back
- Staple the fabric securely to the back of the pallet, pulling it taut
- Wrap the fabric around the bottom and both sides, stapling as you go
- Leave the top and front open, this is where you'll add soil and plants
Use plenty of staples. The fabric will be holding the weight of wet soil, so don't skimp here. Aim for staples every 2-3 inches along all edges.
Step 4: Fill With Soil
Keep the pallet lying flat (front facing up) for this step. Pour potting soil into the pallet through the front slats, working it into all the fabric pockets. Use your hands to push soil into corners and ensure even distribution.
Fill the pallet completely, then water it lightly. The soil will settle. Add more soil to top it off, then water again. Repeat until the soil level stays consistent.
Pro tip: Let the filled pallet sit flat for 24-48 hours before standing it upright. This settling period helps prevent soil from washing out once you go vertical.

Step 5: Plant Your Garden
Once the soil has settled, it's planting time. You have two options:
Option A: Plant while flat
Keep the pallet horizontal and plant directly into the soil between slats. This works well for seedlings and transplants. Let plants establish roots for a week or two before standing the pallet up.
Option B: Plant after going vertical
Stand your pallet up first, then use a utility knife to cut small X-shaped slits in the fabric at the front. Tuck plants into these slits, adding a bit of extra soil around the roots.
For the top row of slats, you can plant directly into the open soil like a traditional planter.
Step 6: Position and Secure Your Pallet Garden
Lean your finished pallet garden against a fence, wall, or other sturdy support. For extra stability, you can:
- Screw the pallet directly into a fence
- Use L-brackets at the bottom to anchor it
- Lean it at a slight angle rather than fully vertical
Choose a location based on your plants' sunlight needs. Most herbs and lettuces prefer 4-6 hours of sunlight daily.
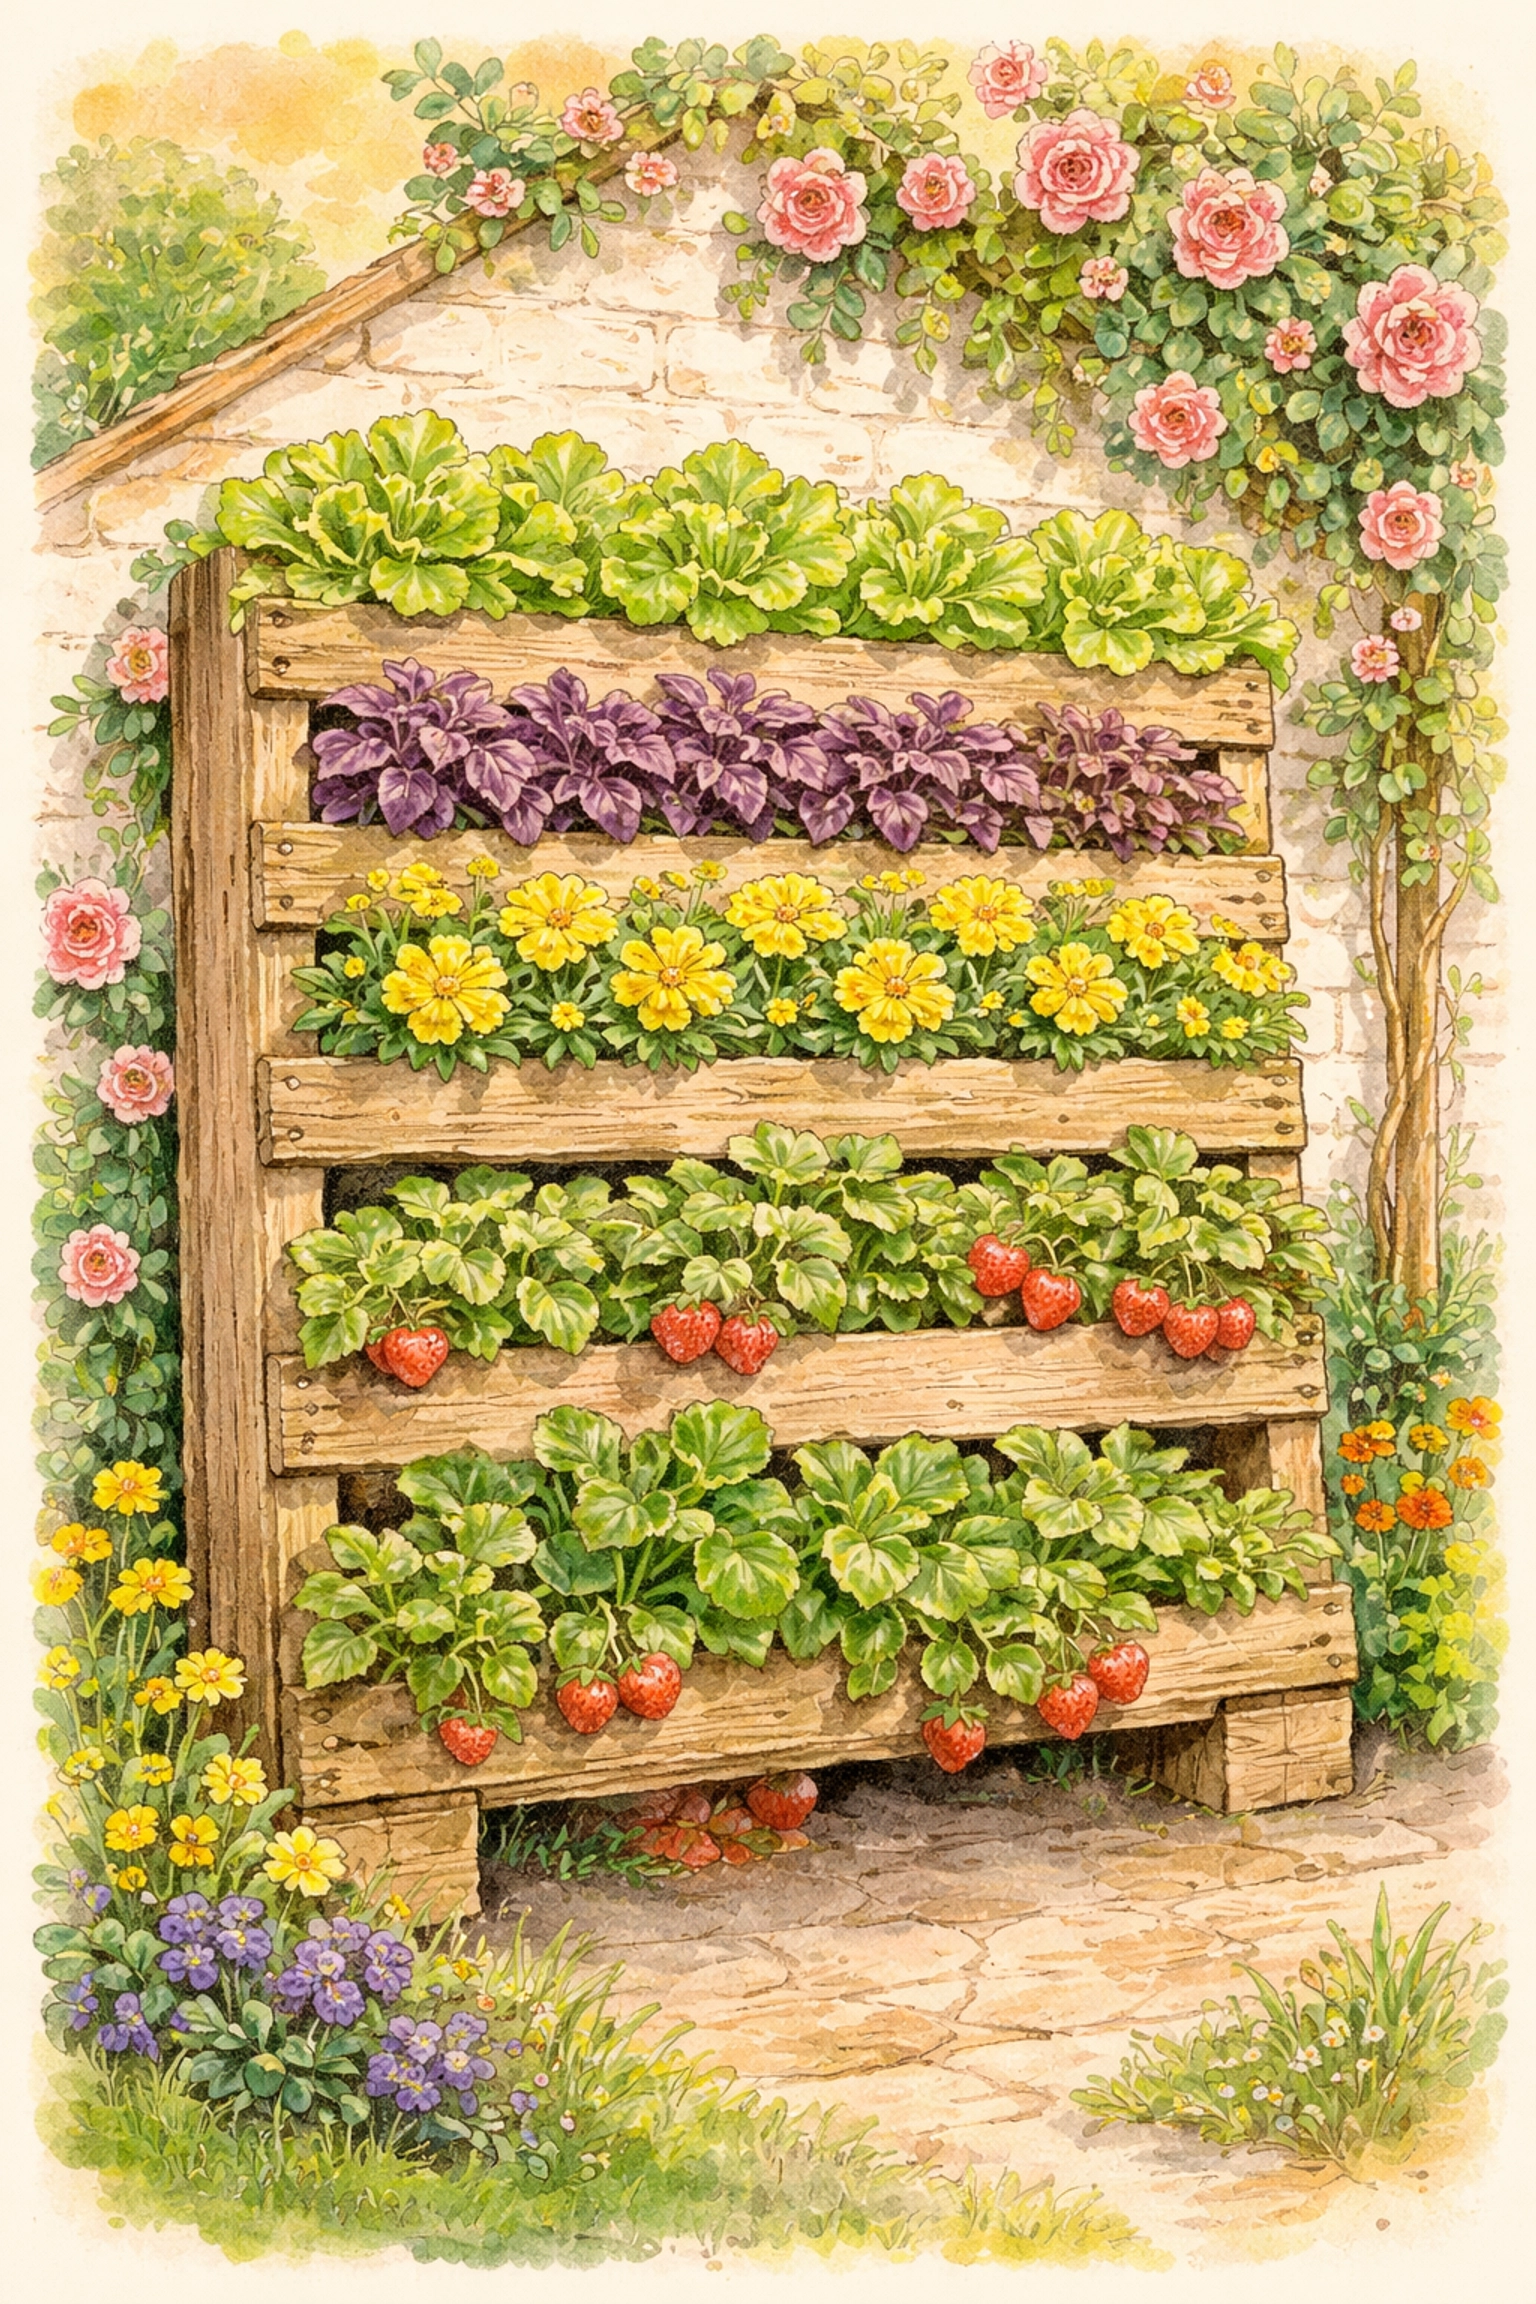
Best Plants for Pallet Gardens
The shallow soil depth in pallet planters limits your options, but plenty of plants thrive in these conditions:
Herbs: Basil, thyme, oregano, mint, parsley, cilantro, and chives all do wonderfully in pallet gardens. Plant herbs along the top row where they'll get the most root space.
Leafy greens: Lettuce, spinach, and arugula are perfect for the front pockets. Their shallow roots and quick harvest cycle make them ideal candidates.
Flowers: Petunias, pansies, marigolds, and nasturtiums add color and attract pollinators. Mix them with your edibles for a productive and pretty display.
Succulents: If your pallet garden is in a hot, dry location, succulents are nearly foolproof. They need minimal water and love the excellent drainage.
Avoid: Root vegetables, tomatoes, peppers, and anything that needs deep soil or heavy staking.
Maintenance Tips
Pallet gardens are low-maintenance, but they do have one quirk: they dry out faster than traditional planters. Here's how to keep yours thriving:
- Water daily during hot weather. The vertical orientation and exposed soil mean faster evaporation.
- Check moisture levels by sticking your finger into the soil. If it's dry an inch down, water thoroughly.
- Reduce watering during rainy periods or cooler seasons.
- Fertilize monthly with a diluted liquid fertilizer during the growing season.
- Harvest regularly to encourage continued production, especially with lettuce and herbs.
For more tips on keeping plants watered, especially during vacations, check out our guide on easy DIY plant watering solutions.
Frequently Asked Questions
How long does it take to build a pallet garden?
The construction takes about one afternoon (2-3 hours). Planting adds another hour. If you include the optional settling period, plan for the whole project to span a weekend.
Can I use any pallet for gardening?
No. Only use pallets stamped "HT" (heat-treated). Avoid pallets marked "MB" (methyl bromide) as they've been chemically treated and aren't safe for growing food.
How much soil does a pallet garden need?
A standard pallet requires approximately 1 cubic foot of potting soil, though this varies based on pallet size and how many slats you keep.
Will the wood rot?
Eventually, yes. Most pallet gardens last 2-4 years depending on weather exposure and wood quality. You can extend lifespan by using exterior wood stain or positioning the pallet under partial cover.
Can I grow vegetables in a pallet garden?
You can grow leafy greens and some herbs successfully. However, vegetables needing deep roots (carrots, potatoes) or heavy support (tomatoes, peppers) won't work well.
How often should I water my pallet garden?
Daily during warm weather. The vertical design and exposed soil lead to faster evaporation than ground-level gardens.
Can kids help with this project?
Absolutely. Kids can help with sanding, filling soil, and planting. Just supervise staple gun use and handle any sharp utility knife work yourself.
Where should I place my pallet garden?
Against a sturdy fence or wall in a spot that gets 4-6 hours of sunlight for most edibles. Succulents can handle full sun; lettuce prefers some afternoon shade.
References
- Instructables. "Pallet Garden." Retrieved January 2026.
- The Spruce. "How to Make a Pallet Garden." Retrieved January 2026.
- Better Homes & Gardens. "Vertical Pallet Gardening Ideas." Retrieved January 2026.
- Family Handyman. "DIY Pallet Planter Projects." Retrieved January 2026.
- University of Missouri Extension. "Container Gardening." Retrieved January 2026.


