


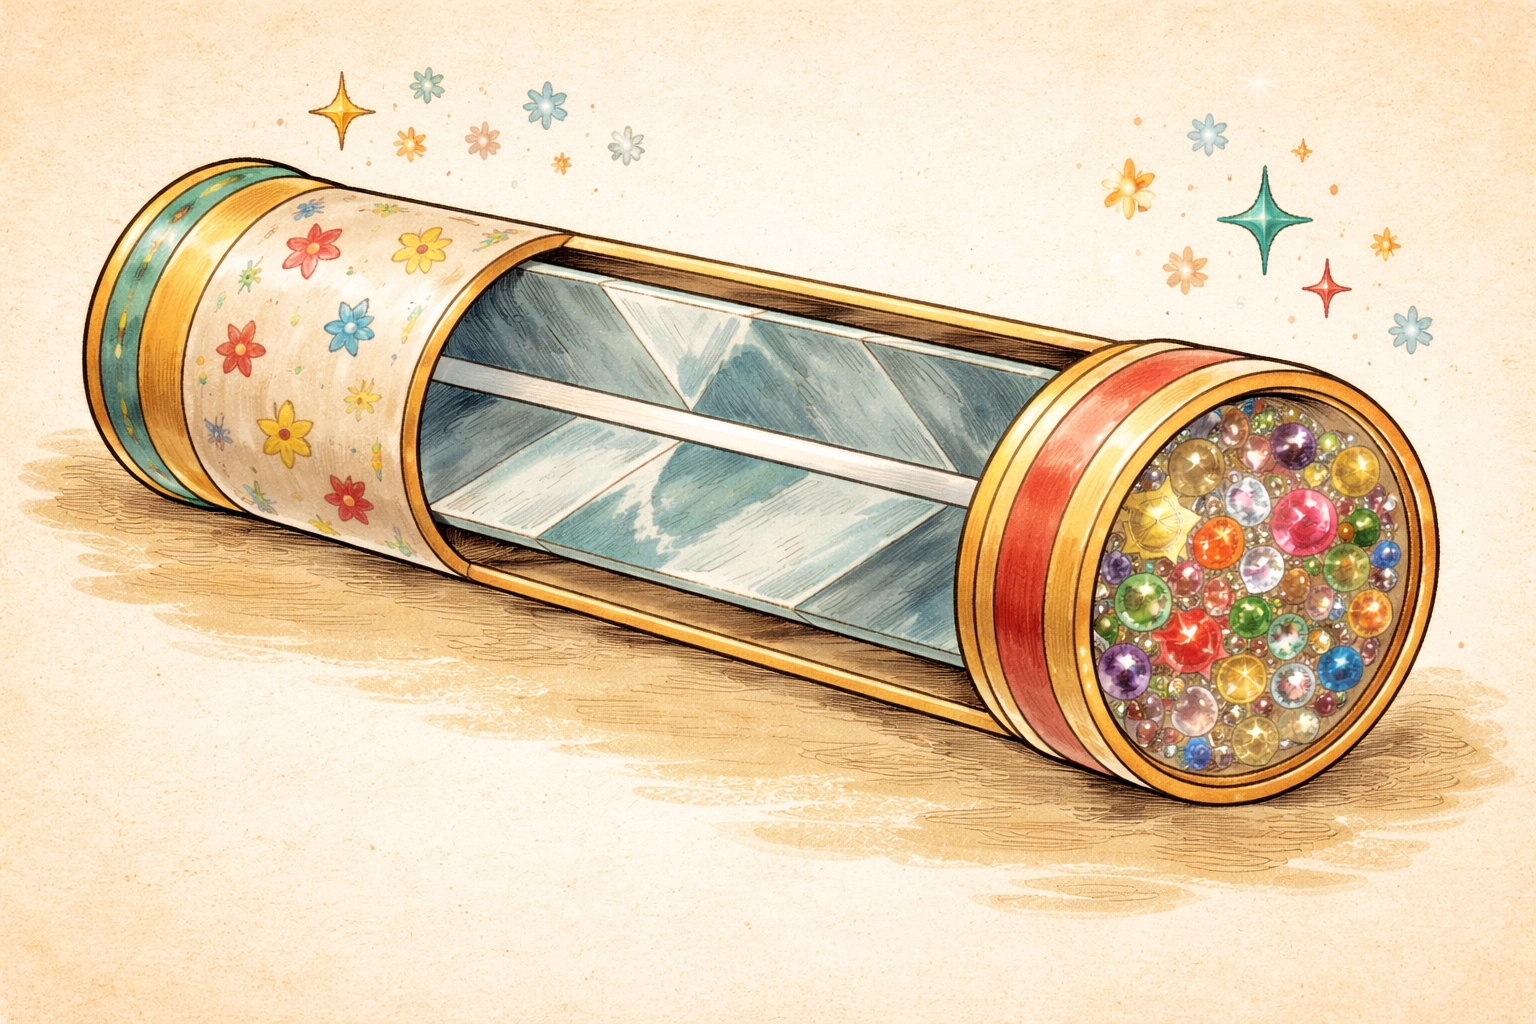
To make a paper tube kaleidoscope with kids, you'll need an empty cardboard tube, reflective Mylar sheets folded into a triangular prism, clear plastic circles, and colorful beads or sequins. The whole project typically takes about 20–30 minutes and costs well under ten dollars using materials you likely already have around the house. It's a fantastic way to introduce little ones to basic concepts about light, reflection, and symmetry: all while creating something genuinely magical to play with.
There's something almost enchanting about holding a kaleidoscope up to the light and watching those swirling, ever-changing patterns dance before your eyes. And the best part? Kids get even more excited when they've built the thing themselves.
Quick Project Overview
| Detail | Info |
|---|---|
| Best Age Range | 4–10 years (younger kids may need more hands-on help) |
| Time to Complete | 20–30 minutes |
| Difficulty | Easy to Moderate |
| Estimated Cost | Under $10 (often free with household items) |
Materials You'll Need
Here's everything you'll want to gather before you start. Most families already have many of these items tucked away in junk drawers or recycling bins.
| Material | Notes | Estimated Cost |
|---|---|---|
| Empty paper towel or toilet paper tube | The main body of your kaleidoscope | Free |
| Mylar sheets or reflective mirror paper | Creates the mirrored prism effect | $3–$5 for a pack |
| Clear plastic sheets | Cut from food containers or use stiff plastic wrap | Free or under $1 |
| Beads, sequins, buttons, or glitter | The colorful "magic" inside | $1–$3 |
| Clear tape or double-sided tape | For assembly | Usually on hand |
| Scissors | Kid-safe versions work great | Usually on hand |
| Decorative supplies (optional) | Paint, markers, stickers, or wrapping paper | Optional |
Pro tip: If you don't have Mylar sheets, some families have had good luck using heavy-duty aluminum foil wrapped around cardstock, though Mylar tends to produce clearer reflections.

Step-by-Step Instructions
Step 1: Decorate Your Tube (Optional But Fun)
Before you dive into the technical bits, let kids go wild decorating the outside of their cardboard tube. Paint it, wrap it in colorful paper, cover it with stickers: whatever makes them happy.
This step isn't strictly necessary for function, but it gives younger kids something creative to do while older siblings or parents prep the trickier mirror components. Plus, a beautifully decorated kaleidoscope feels more like a treasured toy than a science experiment.
Set the tube aside to dry if you've used paint.
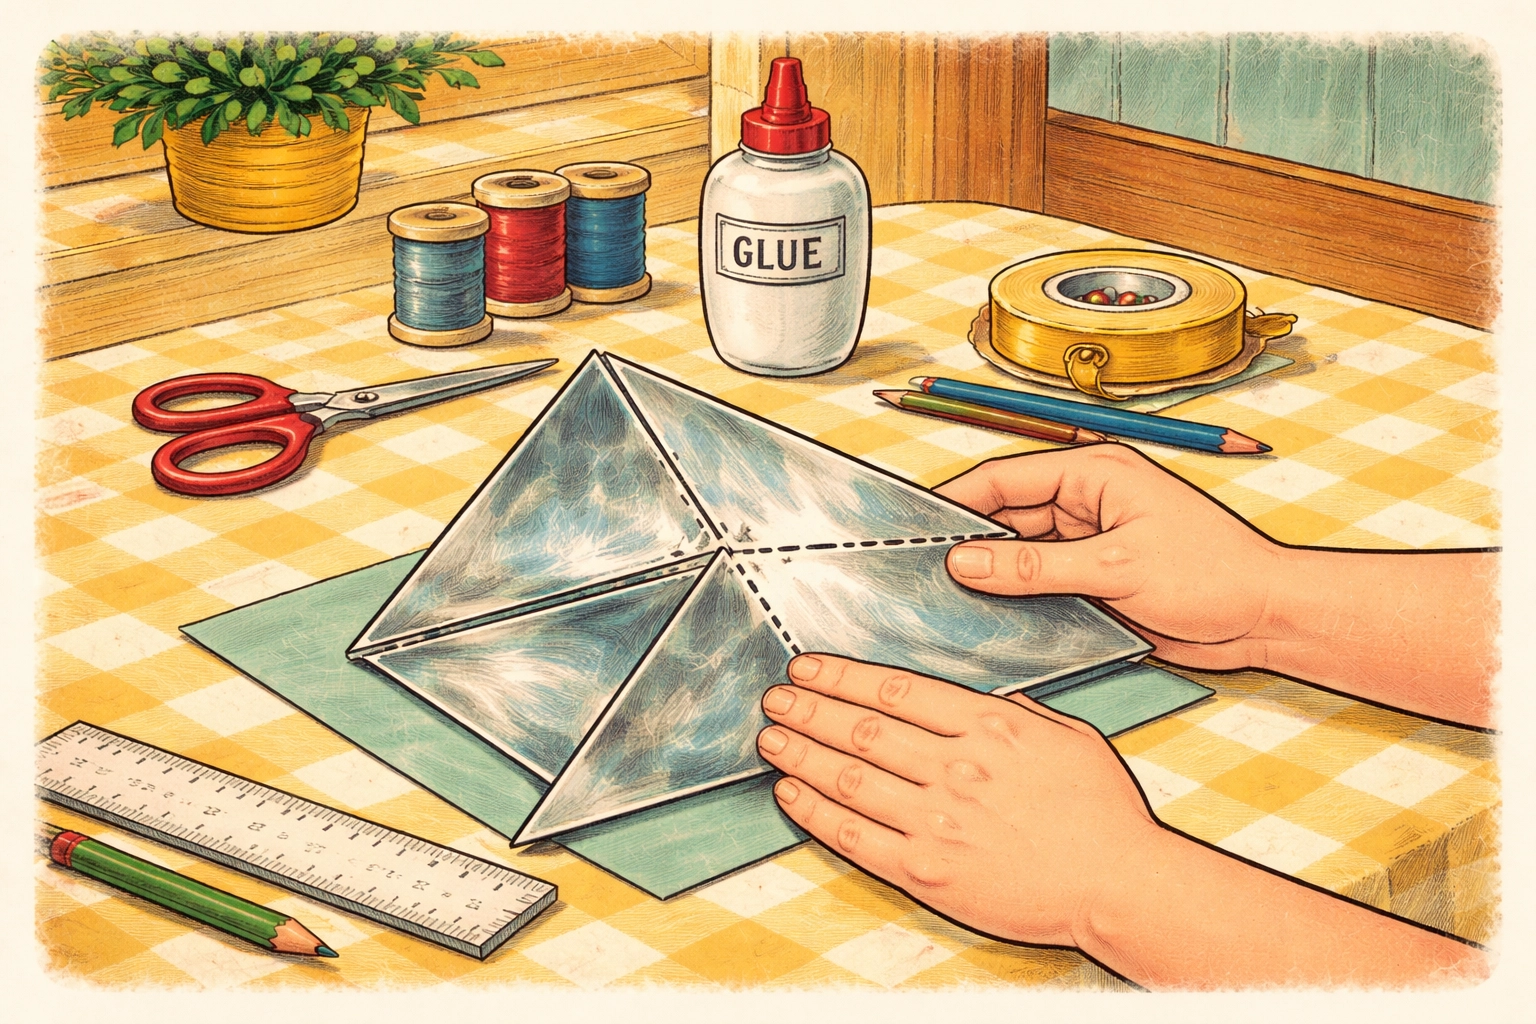
Step 2: Create the Mirror Prism
This is where the real magic happens. The triangular mirror prism is what creates those mesmerizing kaleidoscope patterns.
- Cut three equal strips from your Mylar or reflective mirror sheet. Each strip should be slightly narrower than your tube's diameter and roughly the same length as your tube.
- Lay the strips shiny-side down on a flat surface, leaving tiny gaps between each strip (just a millimeter or two).
- Tape along the gaps to connect all three strips into one long piece.
- Fold into a triangle by bringing the edges together, shiny sides facing inward.
- Secure with tape at both ends to hold the triangular shape.
You should now have a triangular tube that fits snugly inside your cardboard tube. If it's a bit too long, simply trim it down.
Step 3: Insert the Prism Into Your Tube
Gently slide your triangular mirror prism into the cardboard tube. It should fit fairly snugly: if it's loose, you can add a small piece of tape to hold it in place.
The prism should sit close to one end of the tube, which will become the "viewing end" or eyepiece.
Step 4: Create Your Viewing Circles
You'll need two clear plastic circles for this step:
- Trace around the end of your tube onto your clear plastic sheet.
- Cut out two circles, making each one just slightly larger than the tube opening (maybe a quarter-inch bigger all around).
These circles will sandwich your colorful bits and seal the ends of your kaleidoscope.
Step 5: Assemble the Bead Chamber
Now for the sparkly stuff!
- Tape one clear plastic circle securely to the bottom end of your tube (the end opposite from where you'll look through).
- Add your beads, sequins, and colorful items on top of this circle. Don't overfill: you want enough room for pieces to tumble around freely. A small handful usually works well.
- Place the second clear plastic circle on top of the beads.
- Secure with tape around the edges.
Some crafters create a rotating outer ring using a thin strip cut from another cardboard tube, but for younger kids, a simpler fixed chamber works beautifully.
Step 6: Create the Eyepiece
The viewing end needs to let light in while giving your child a clear way to peek inside.
If you want a simple approach, just leave the top end open. For a slightly fancier version:
- Cut a small circle of cardstock or construction paper.
- Cut a small hole in the center (big enough to look through comfortably).
- Tape it to the viewing end of your kaleidoscope.
This helps focus the view and makes the patterns appear more vivid.
Step 7: Test It Out!
Hold your finished kaleidoscope up to a window, lamp, or any good light source. Look through the eyepiece while slowly rotating the tube.
Watch those beautiful, symmetrical patterns shift and change as the beads tumble around inside. Every turn creates something brand new: that's the joy of kaleidoscopes.

Tips for Success
- Translucent items work best. Clear or semi-transparent beads let more light through, creating brighter patterns than opaque objects.
- Don't skip the Mylar. Regular paper or dull materials won't create the reflective effect needed for true kaleidoscope magic.
- Let it dry. If you painted the tube, make sure it's completely dry before handling: nothing ruins a craft project like smudged artwork.
- Supervise younger kids with scissors. The Mylar and plastic cutting is generally best handled by an adult or older child.
Why Kids Love This Project
Beyond just being a fun craft, building a kaleidoscope introduces children to some genuinely cool science concepts:
- Light and reflection: They'll see firsthand how mirrors bounce light around.
- Symmetry: Those repeating patterns are a visual introduction to mathematical concepts.
- Cause and effect: Rotating the tube changes the pattern: kids quickly learn they're in control of the magic.
It's the kind of project that feels like pure play but sneaks in plenty of learning along the way.
For more hands-on STEM-ish projects, you might also enjoy our guide on how to build a mini windmill from recycled materials.
Frequently Asked Questions
Can I use aluminum foil instead of Mylar sheets?
You can try it! Aluminum foil wrapped tightly around cardstock can work in a pinch, though the reflections tend to be less crisp than with actual Mylar. For best results, smooth out any wrinkles.
What age is this project best suited for?
Kids as young as four can enjoy this craft with plenty of adult help, while children around seven or eight can often handle most steps independently. Even older kids and teens tend to find the finished product surprisingly satisfying.
How long does a paper tube kaleidoscope typically last?
With gentle use, a well-constructed kaleidoscope can last for months. The tube and tape may eventually wear out, but that just means you get to make another one!
What if I don't have beads or sequins?
Get creative! Small buttons, bits of colorful cellophane, tiny pieces of tissue paper, or even broken crayon bits can work. Anything small, colorful, and able to tumble freely is worth a try.
Why aren't my patterns very clear?
The most common culprits are dull or wrinkled reflective surfaces and too many items stuffed in the bead chamber. Try smoothing your Mylar and removing some beads to let pieces move more freely.
Can this be a group activity for a party or classroom?
This project works wonderfully for groups. Pre-cut the Mylar strips and plastic circles ahead of time, and kids can handle the assembly and decorating themselves.
Is this project messy?
Not particularly! The messiest part is usually decorating the tube with paint. If you skip paint and use stickers or markers instead, cleanup is minimal.
Where can I find Mylar sheets?
Most craft stores carry reflective Mylar in their paper or specialty sections. You can also find it online or sometimes in party supply stores (emergency blankets are essentially Mylar and can work too).
Happy crafting, and enjoy watching those little eyes light up when they see their very own kaleidoscope in action!


