

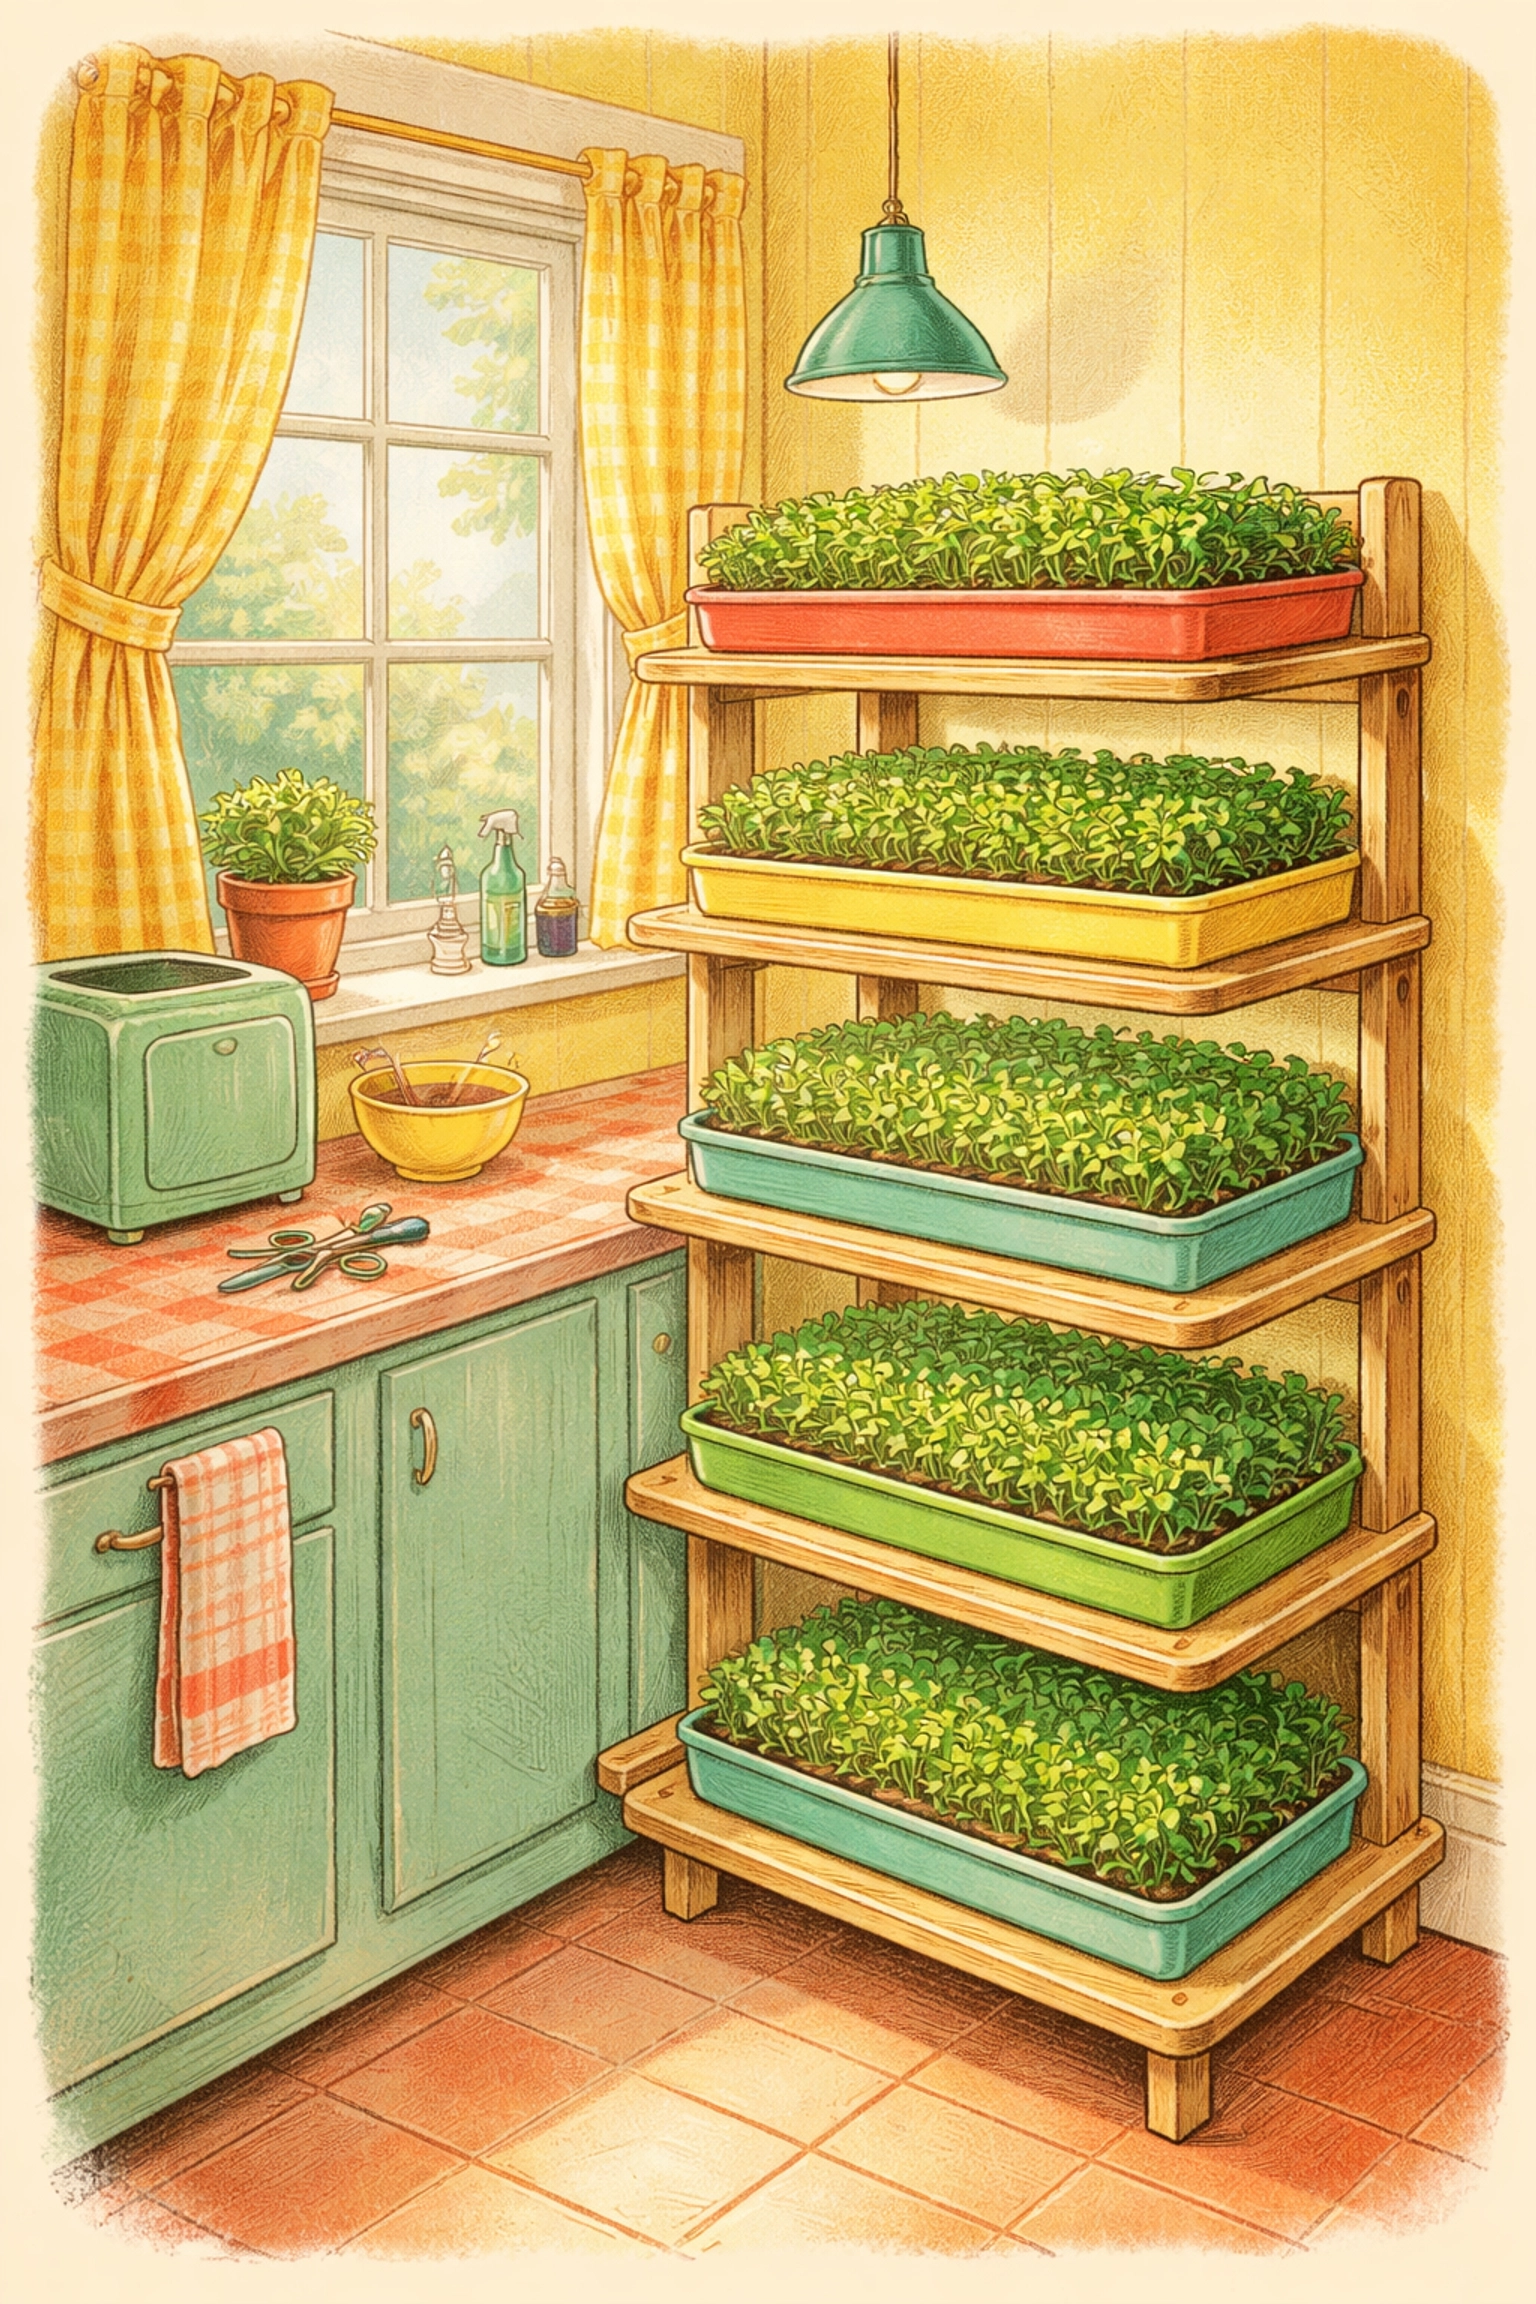
Growing Microgreens in a Vertical Tray System
Quick Answer: Yes, you can absolutely grow microgreens in a vertical tray system, and it's one of the smartest ways to maximize your harvest in a tiny space! By stacking standard 10" x 20" trays on a simple shelving unit, you can turn 8 square feet of floor space into 32 square feet of growing area. The whole setup costs under $10 if you use recycled materials, and you'll be harvesting fresh, nutrient-packed greens in just 7–14 days.
Let's walk through exactly how to build your own vertical microgreen system with your family, step by step.
Why Grow Microgreens Vertically?
Microgreens are tiny powerhouses of nutrition, packed with vitamins, minerals, and flavor that far exceed their full-grown counterparts. But here's the thing: they don't need much root space or light intensity to thrive, making them perfect candidates for vertical growing.
A vertical tray system lets you:
- Quadruple your growing space without taking over your kitchen or garage
- Harvest year-round, regardless of outdoor weather
- Involve kids in a fast, rewarding gardening project (they love watching seeds sprout in days, not weeks!)
- Save money on store-bought microgreens, which can cost $25–50 per pound
What You'll Need (Budget Table Under $10)
Here's a simple supply list using mostly items you probably already have at home:
| Item | Estimated Cost | Notes |
|---|---|---|
| Shallow trays (2–3) | $0–3 | Use takeout containers, recycled produce trays, or dollar store baking pans |
| Growing medium | $0–2 | Paper towels, coconut coir, or damp newspaper work great |
| Microgreen seeds | $2–4 | Start with fast-growers like radish, sunflower, or pea shoots |
| Spray bottle | $1 | For gentle watering |
| Simple shelf or crate stack | $0–2 | Repurpose a shoe rack, milk crates, or sturdy cardboard boxes |
| Total | Under $10 |
If you have leftover seeds from other projects, your cost drops even lower. Check out our post on making a DIY kitchen scrap regrow garden for more budget-friendly growing ideas.
Step-by-Step: Building Your Vertical Microgreen System
Step 1: Prepare Your Trays
Grab 2–3 shallow trays with a depth of about 1–2 inches. Standard 10" x 20" nursery trays work perfectly, but honestly, any flat container will do, think old baking sheets, plastic takeout containers, or those clear clamshell boxes from the grocery store.
If your container doesn't have drainage holes, that's okay for microgreens. You'll be misting rather than flooding, so drainage isn't critical.
Step 2: Add Your Growing Medium
Line each tray with your chosen substrate:
- Paper towels (2–3 layers): Cheapest option, great for beginners
- Coconut coir: Holds moisture well and is reusable for compost
- Hemp or jute mats: Clean and easy to harvest from
Saturate the medium completely with water before adding seeds. It should be damp like a wrung-out sponge, wet but not pooling.
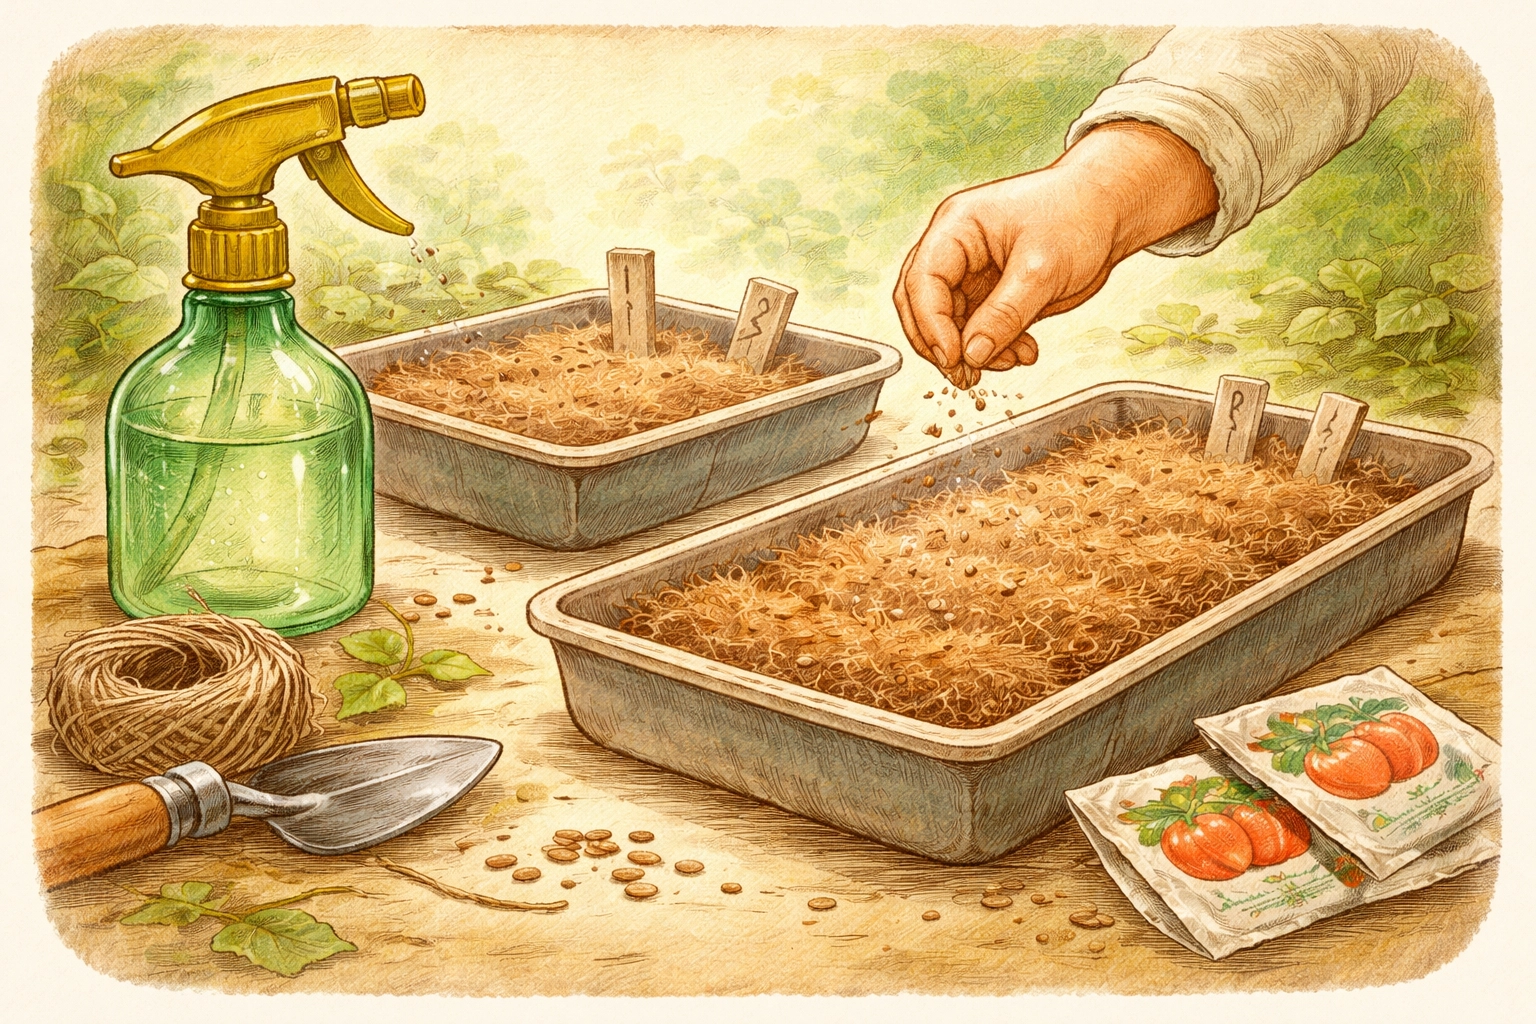
Step 3: Sow Your Seeds
Sprinkle your microgreen seeds evenly across the wet surface. Don't be shy, microgreens are planted much more densely than regular garden crops. You want the seeds close together but not piled on top of each other.
Pro tip: Some larger seeds like sunflower and pea benefit from a 6–12 hour soak before planting. Check your seed packet for specific instructions.
Step 4: Create a Blackout Period
Here's where the magic happens. Microgreen seeds germinate best in darkness with a little weight on top. This encourages strong root development and straight stems.
Cover your seeded tray with:
- An upside-down tray of the same size
- A piece of cardboard
- Another flat container
Place something lightweight on top (a small book or a can of beans works great) to provide gentle pressure. Leave this setup alone for 3–4 days in a dark spot.
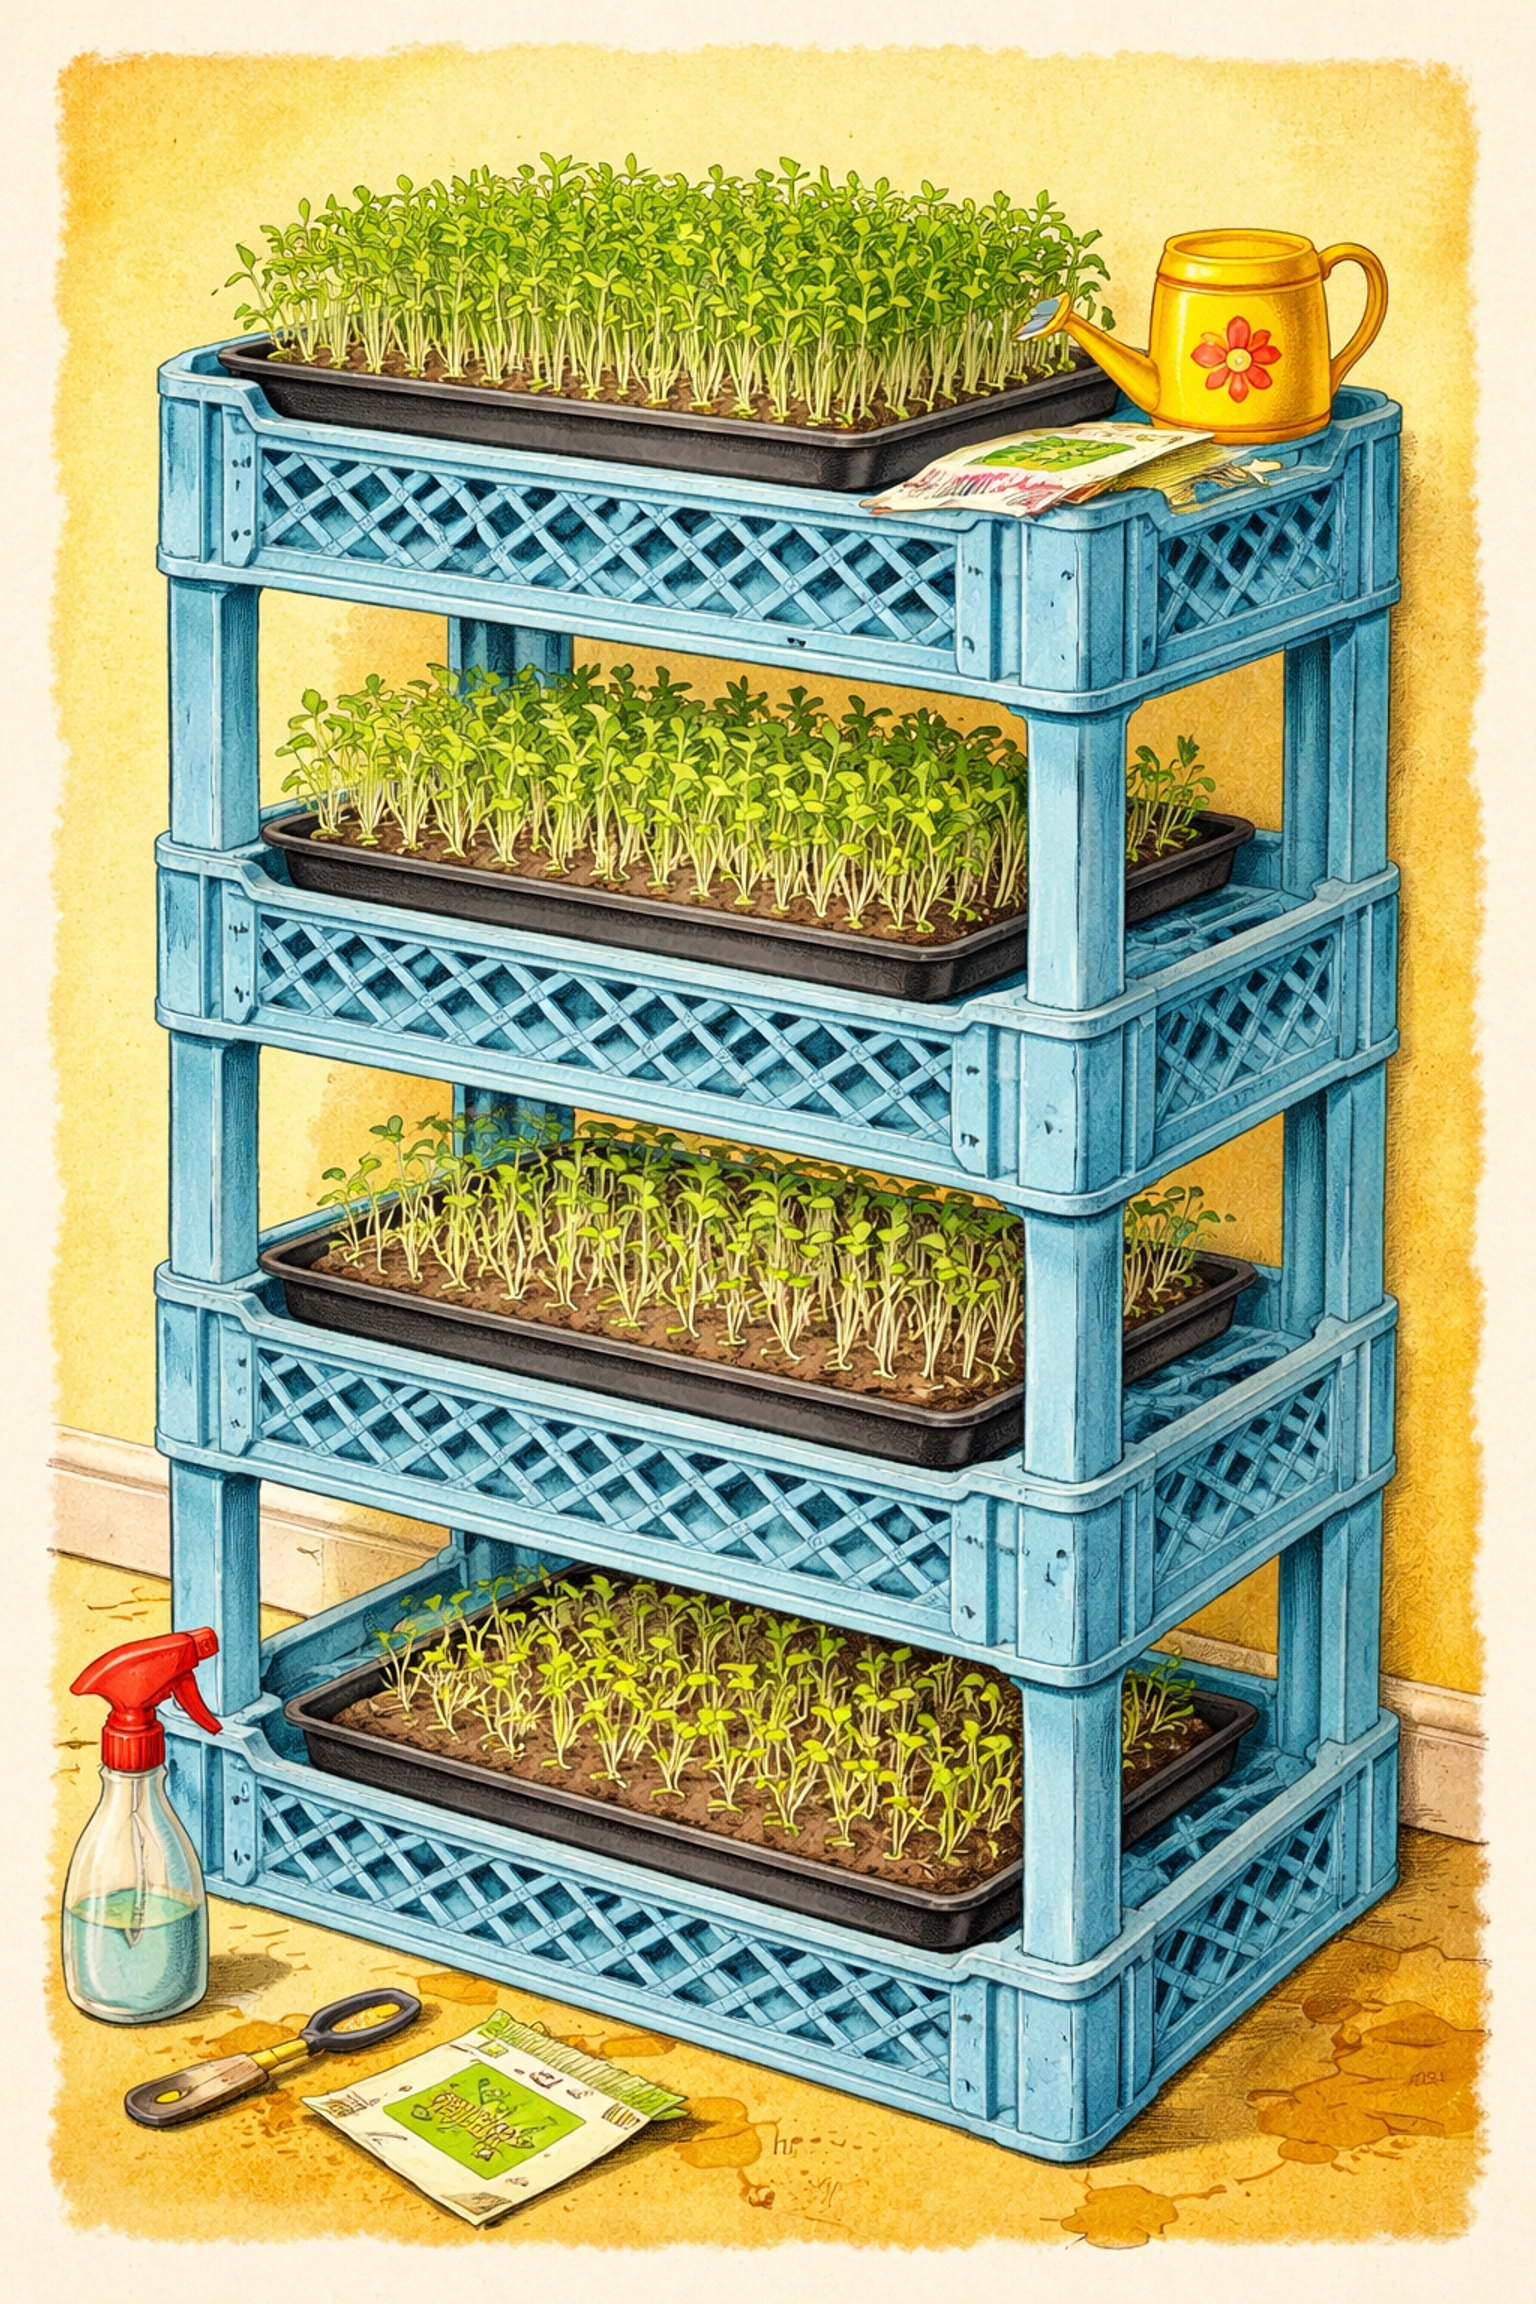
Step 5: Set Up Your Vertical Structure
While your seeds are germinating, build your vertical system. This can be as simple or fancy as you like:
DIY Budget Options:
- Stack milk crates on their sides
- Use an old shoe rack or small bookshelf
- Arrange sturdy cardboard boxes
- Lean a wooden pallet against the wall
The goal is creating 2–4 levels where trays can sit flat with 8–12 inches of clearance above each one for the greens to grow upward.
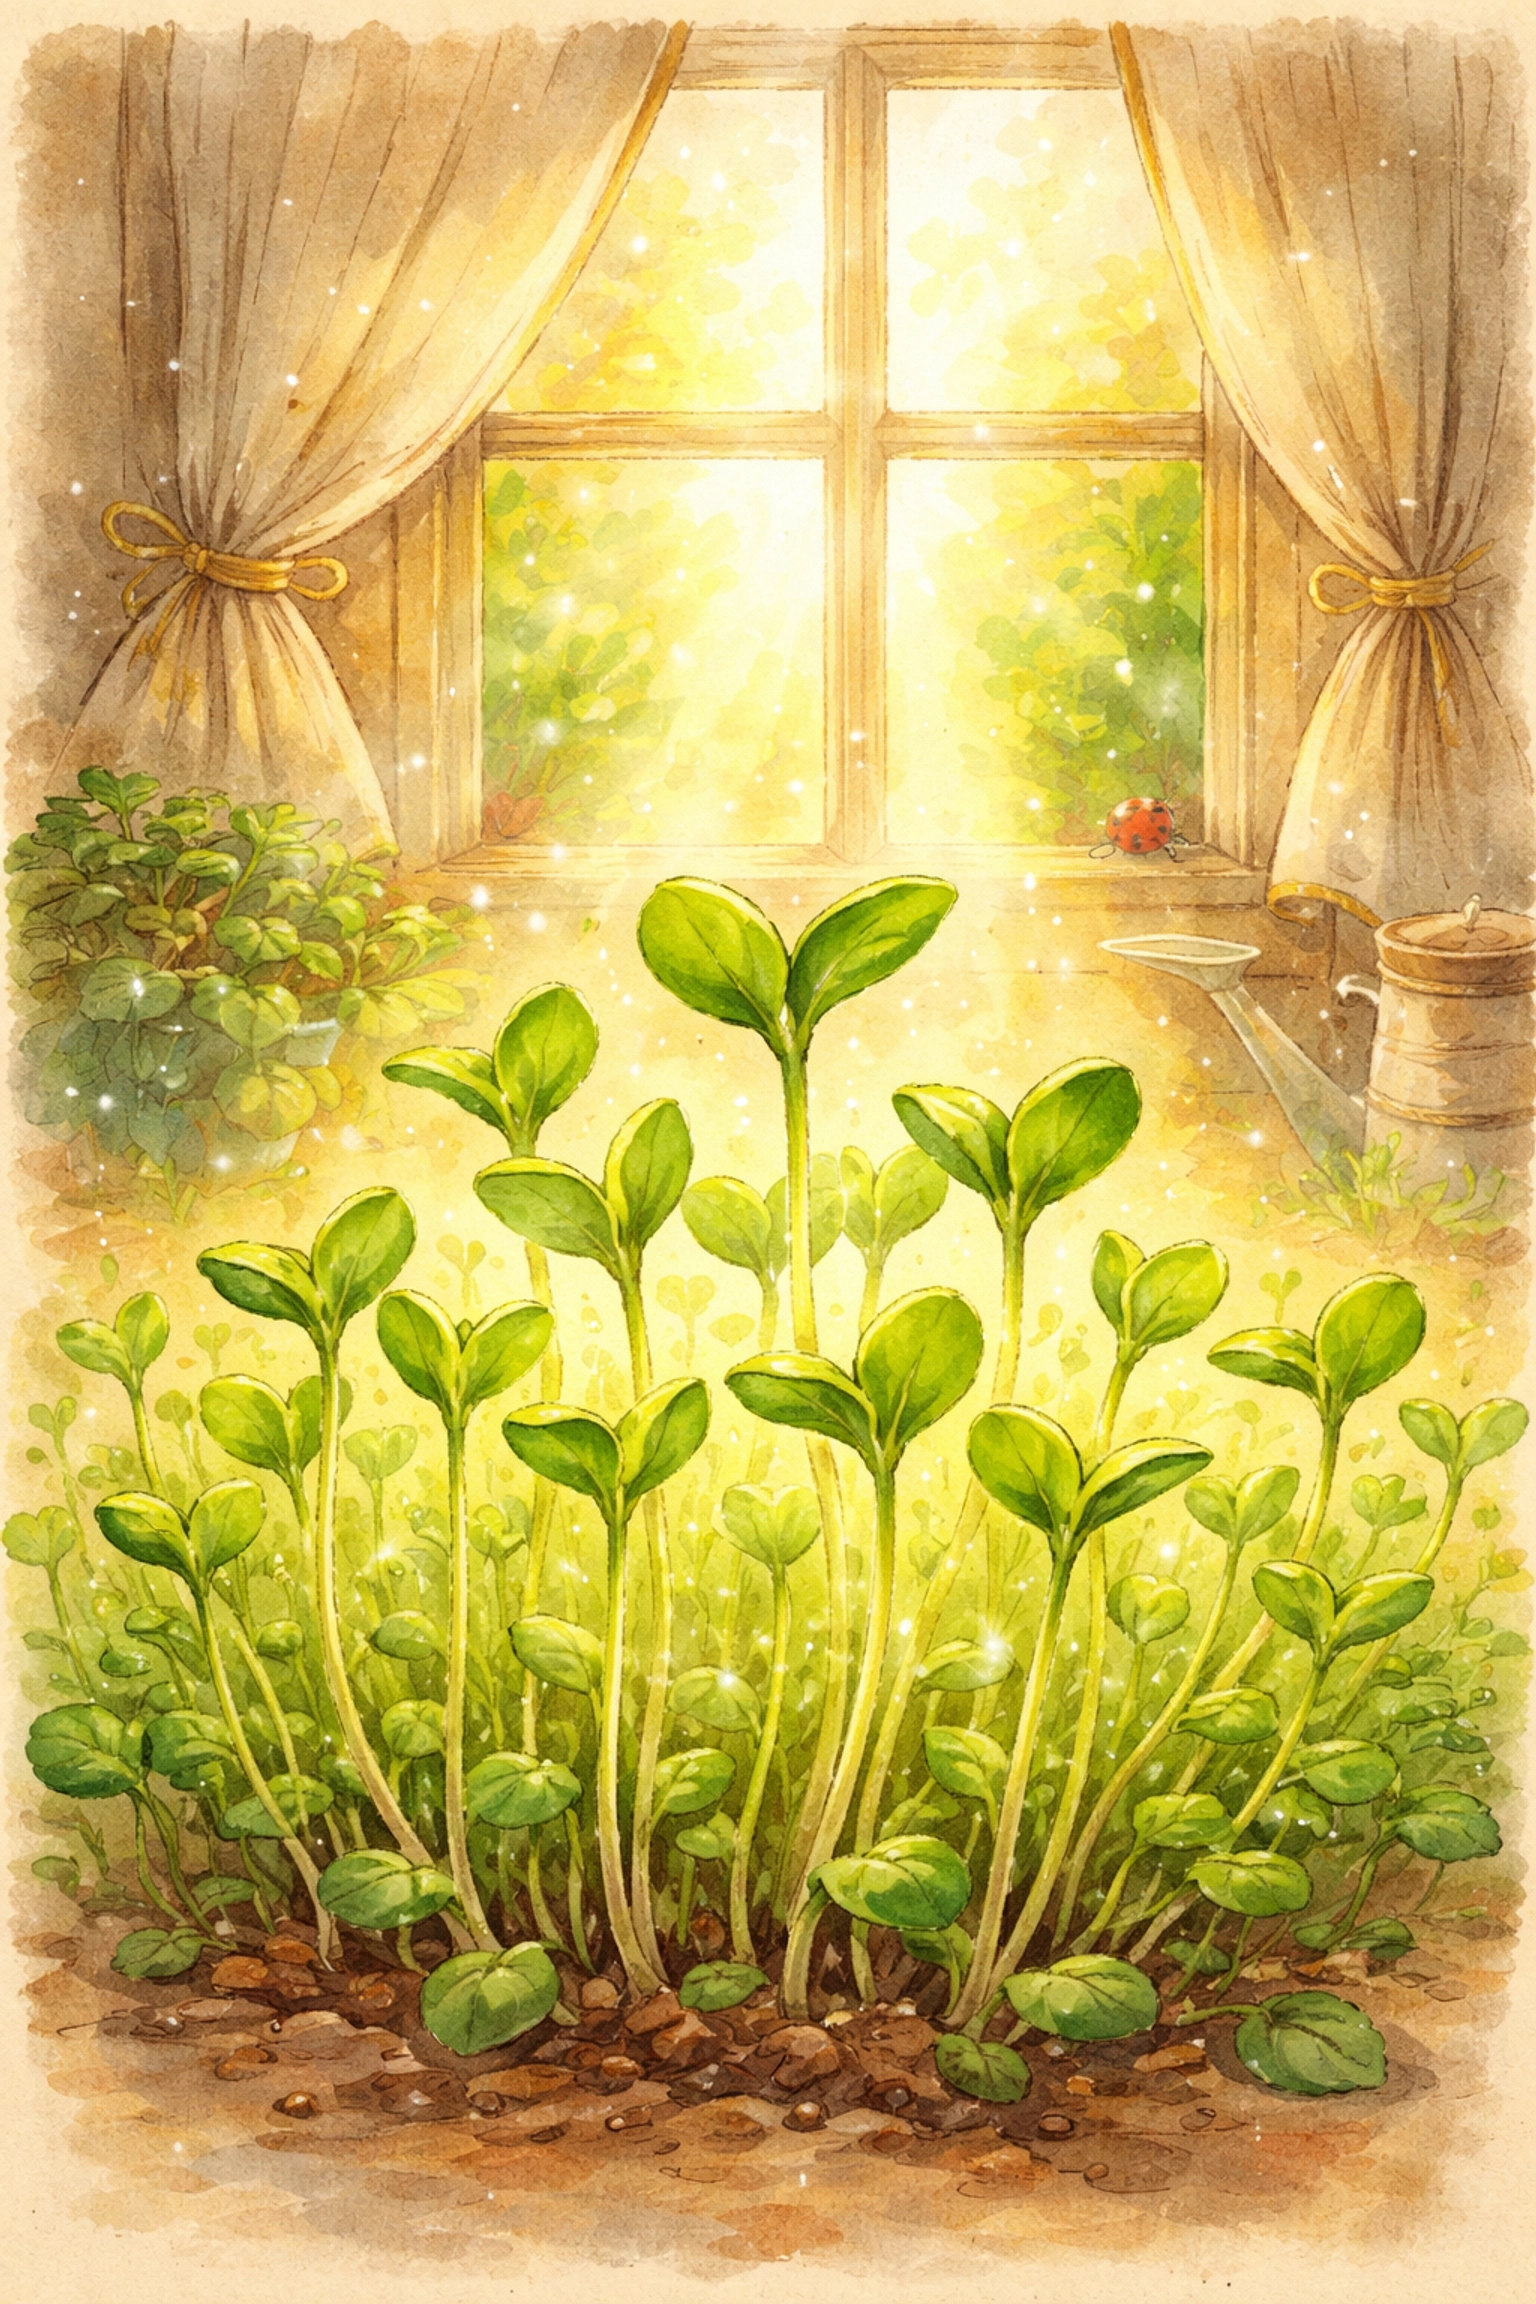
Step 6: Introduce Light
After 3–4 days, peek under your cover. You should see pale yellow sprouts reaching upward. Now it's time for light!
Move your trays to your vertical shelf system and provide one of these light sources:
- A sunny window: South-facing is ideal, giving 4–6 hours of direct light
- LED grow lights: Run them about 12–13 hours daily for best results
- Standard fluorescent bulbs: Position 4–6 inches above the trays
Your pale sprouts will turn vibrant green within 24–48 hours as they start photosynthesizing. It's honestly one of the coolest transformations to watch with kids!
Step 7: Water Consistently
Mist your microgreens 1–2 times daily to keep the growing medium moist but not soggy. A simple spray bottle works perfectly.
Signs you're overwatering: Mold growth, mushy stems, or a funky smell
Signs you're underwatering: Wilting, dry medium, or slow growth
If you're interested in automated watering options, capillary mat systems can reduce your daily effort significantly. We cover similar concepts in our guide on keeping plants watered when kids are away.
Step 8: Harvest Time!
Most microgreens are ready to harvest in 7–14 days, depending on the variety:
- Radish, arugula, mustard: 5–7 days
- Sunflower, pea shoots: 10–14 days
- Broccoli, kale, cabbage: 8–12 days
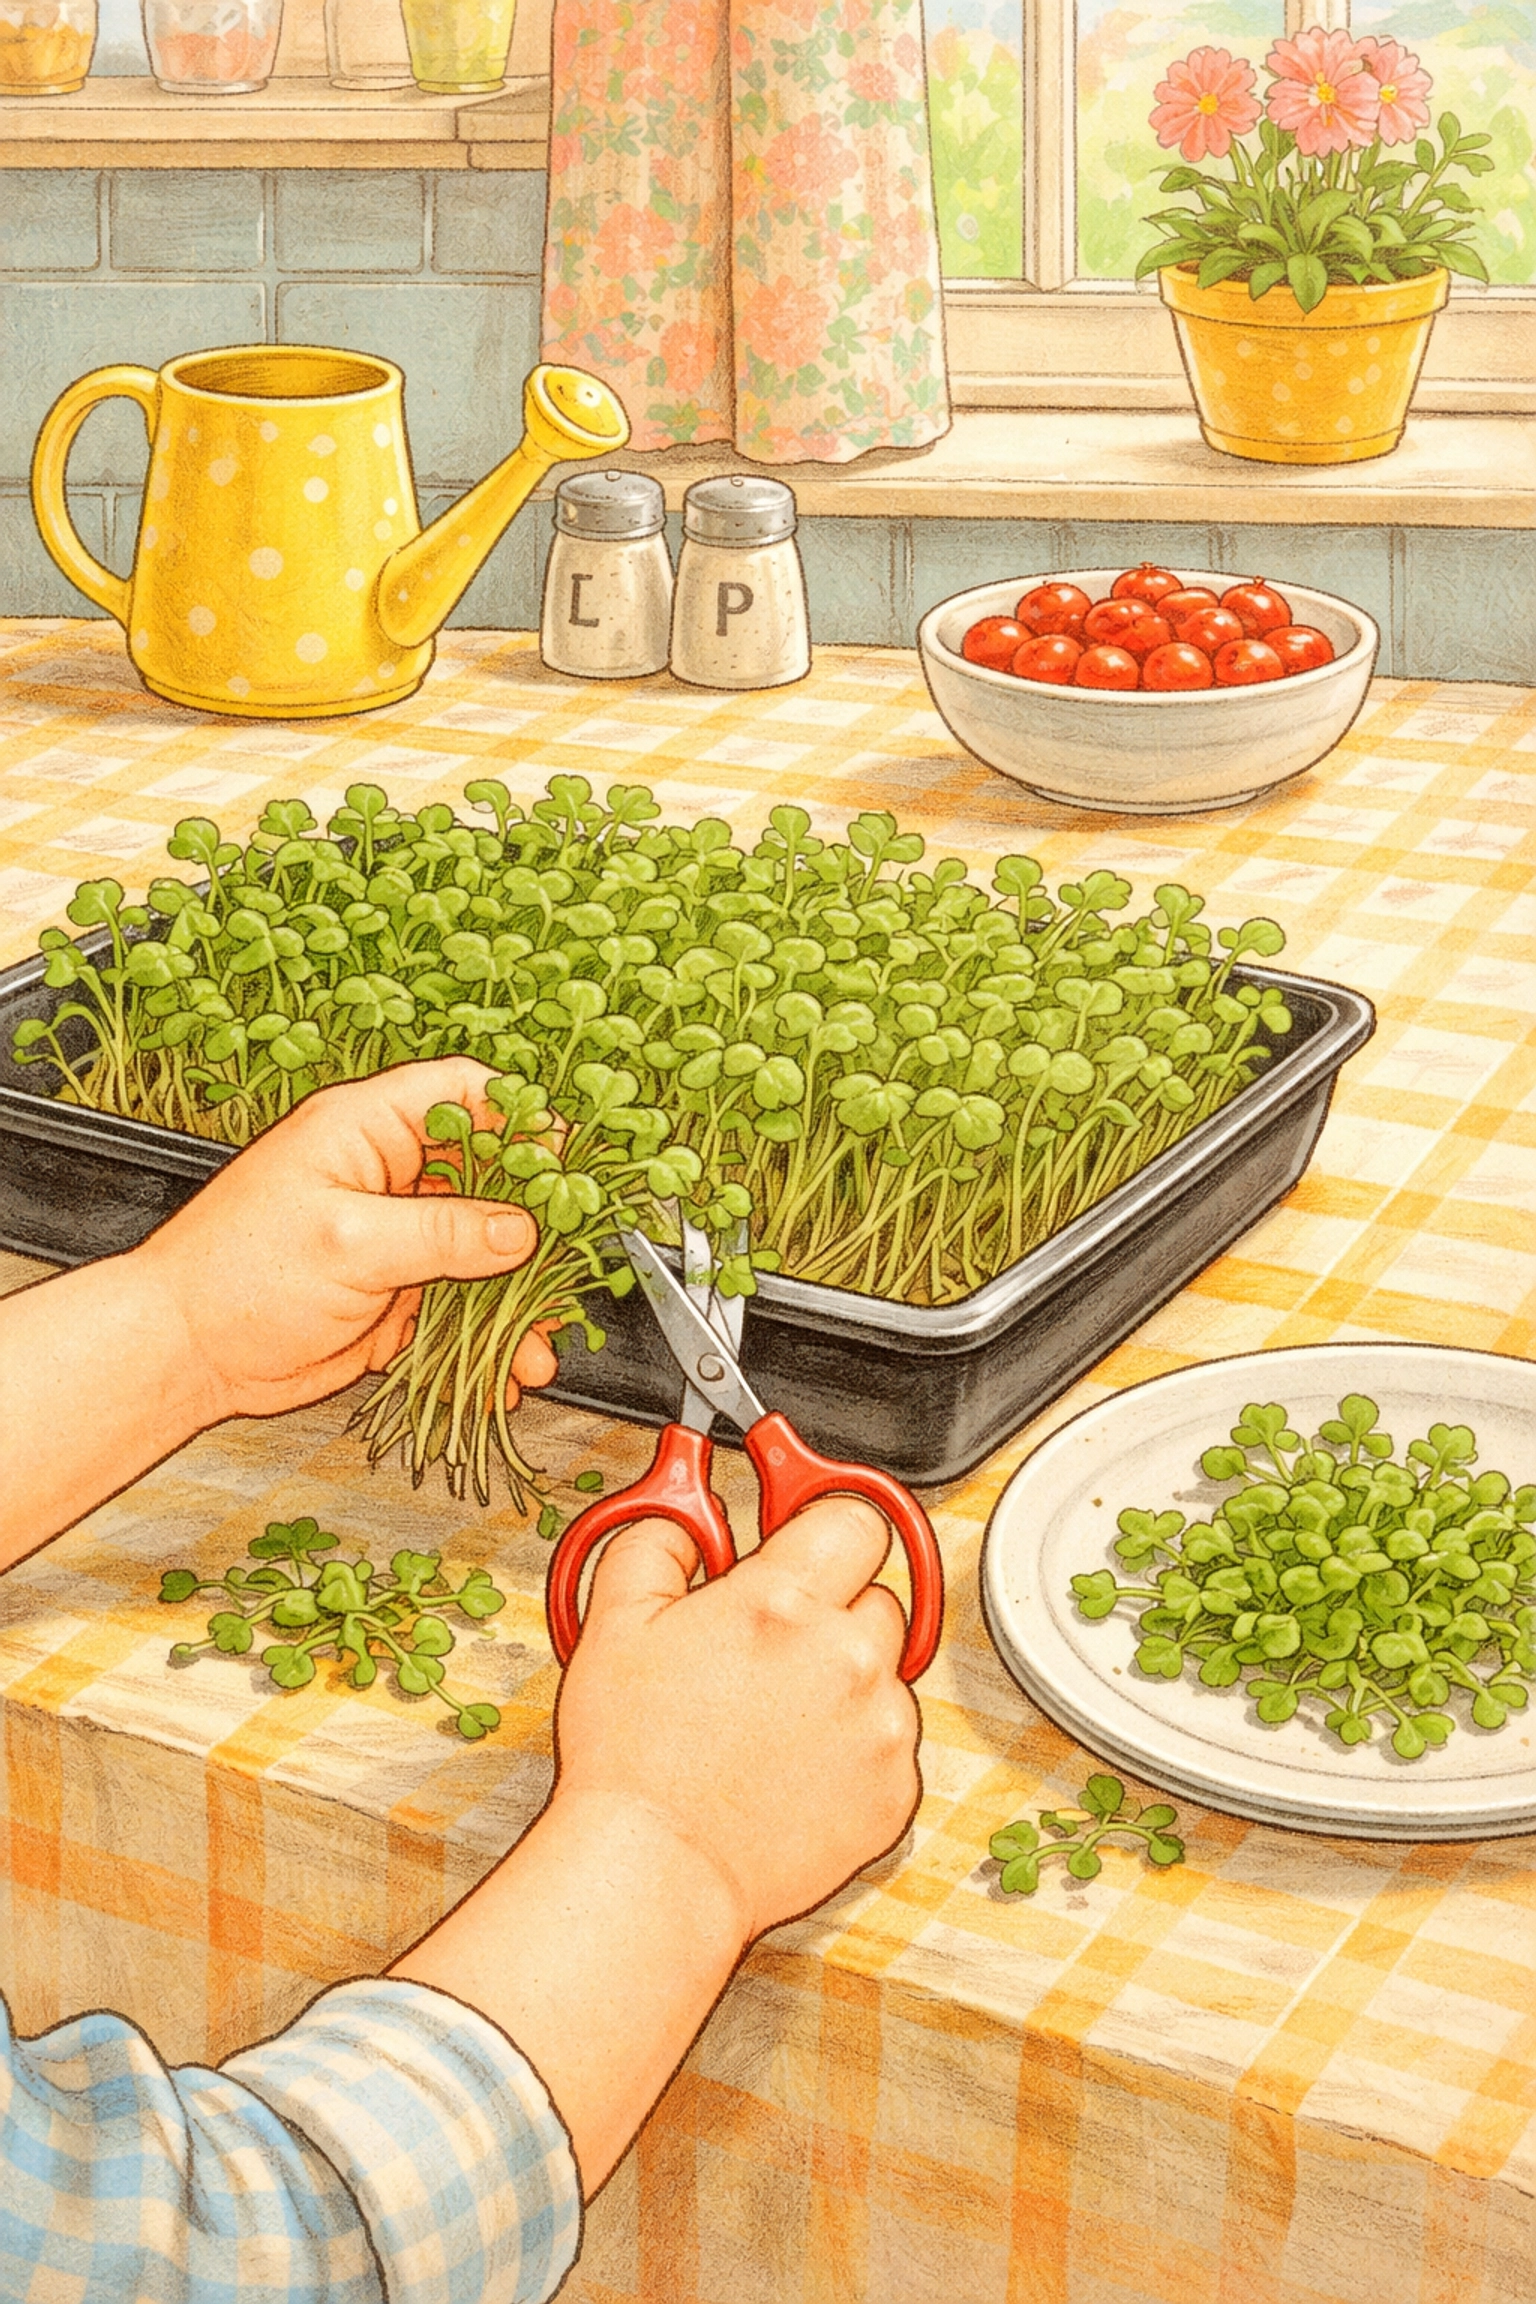
Harvest when your greens have developed their first set of true leaves (the second pair that looks different from the initial seed leaves). Use clean scissors to snip just above the soil line.
Rinse gently, pat dry, and enjoy immediately, or store in the fridge for up to a week.
Tips for Success with Kids
- Let them choose the seeds: Kids are more invested when they pick their own varieties
- Make a growth chart: Measuring daily progress teaches observation skills
- Taste test together: Compare homegrown microgreens to store-bought salads
- Rotate responsibilities: Assign watering duty on different days
Scaling Up Your System
Once you've got the basics down, a 6-layer vertical system can produce an impressive amount of greens. Commercial growers using modular systems can harvest hundreds of trays weekly from a single rack.
Frequently Asked Questions
What are the easiest microgreens for beginners to grow?
Radish, sunflower, and pea shoots are the most forgiving. They germinate quickly, grow fast, and are harder to mess up than more delicate varieties.
Do microgreens need special soil?
Nope! Microgreens grow happily on paper towels, coconut coir, hemp mats, or even moistened newspaper. You don't need actual soil at all.
How much light do microgreens really need?
Aim for 12–13 hours of light daily. A sunny windowsill often provides enough, but supplemental LED lighting ensures consistent results year-round.
Can I regrow microgreens after harvesting?
Unfortunately, most microgreens are one-and-done. Once harvested, they won't regrow. Simply compost the used medium and start fresh.
Why are my microgreens getting moldy?
Mold usually means too much moisture and not enough airflow. Reduce watering frequency and ensure your growing area has some air circulation.
How long do microgreens last after harvest?
Stored in a sealed container in the refrigerator, harvested microgreens stay fresh for 5–7 days.
Is it safe to eat microgreens grown on paper towels?
Yes, as long as you use plain, unbleached, undyed paper towels. Avoid anything with printed patterns or added fragrances.
What's the best temperature for growing microgreens?
Room temperature (65–75°F / 18–24°C) works perfectly. Avoid placing trays near heating vents or in cold drafts.
References
- Bootstrap Farmer. "How to Grow Microgreens." Bootstrap Farmer Growing Guides.
- Urban Vine. "Vertical Farming Microgreens Production Methods."
- Agritecture. "Space Efficiency in Vertical Microgreen Systems."
- Johnny's Selected Seeds. "Microgreens Growing Guide."
- True Leaf Market. "Smart Watering Systems for Microgreen Production."
Happy growing from all of us at Tierney Family Farms!