

CD Kaleidoscope: Turn an Old Disc Into a Light Show
That spindle of old, scratched CDs in the closet?
It's a kaleidoscope waiting to happen. A CD kaleidoscope swaps store-bought mirrors for strips cut from an old compact disc, which reflect light with a rainbow tint.
Key takeaway:
An old CD's reflective layer works as kaleidoscope mirrors. An adult cuts the disc into strips; kids assemble the rest. Expect rainbow-tinted patterns.
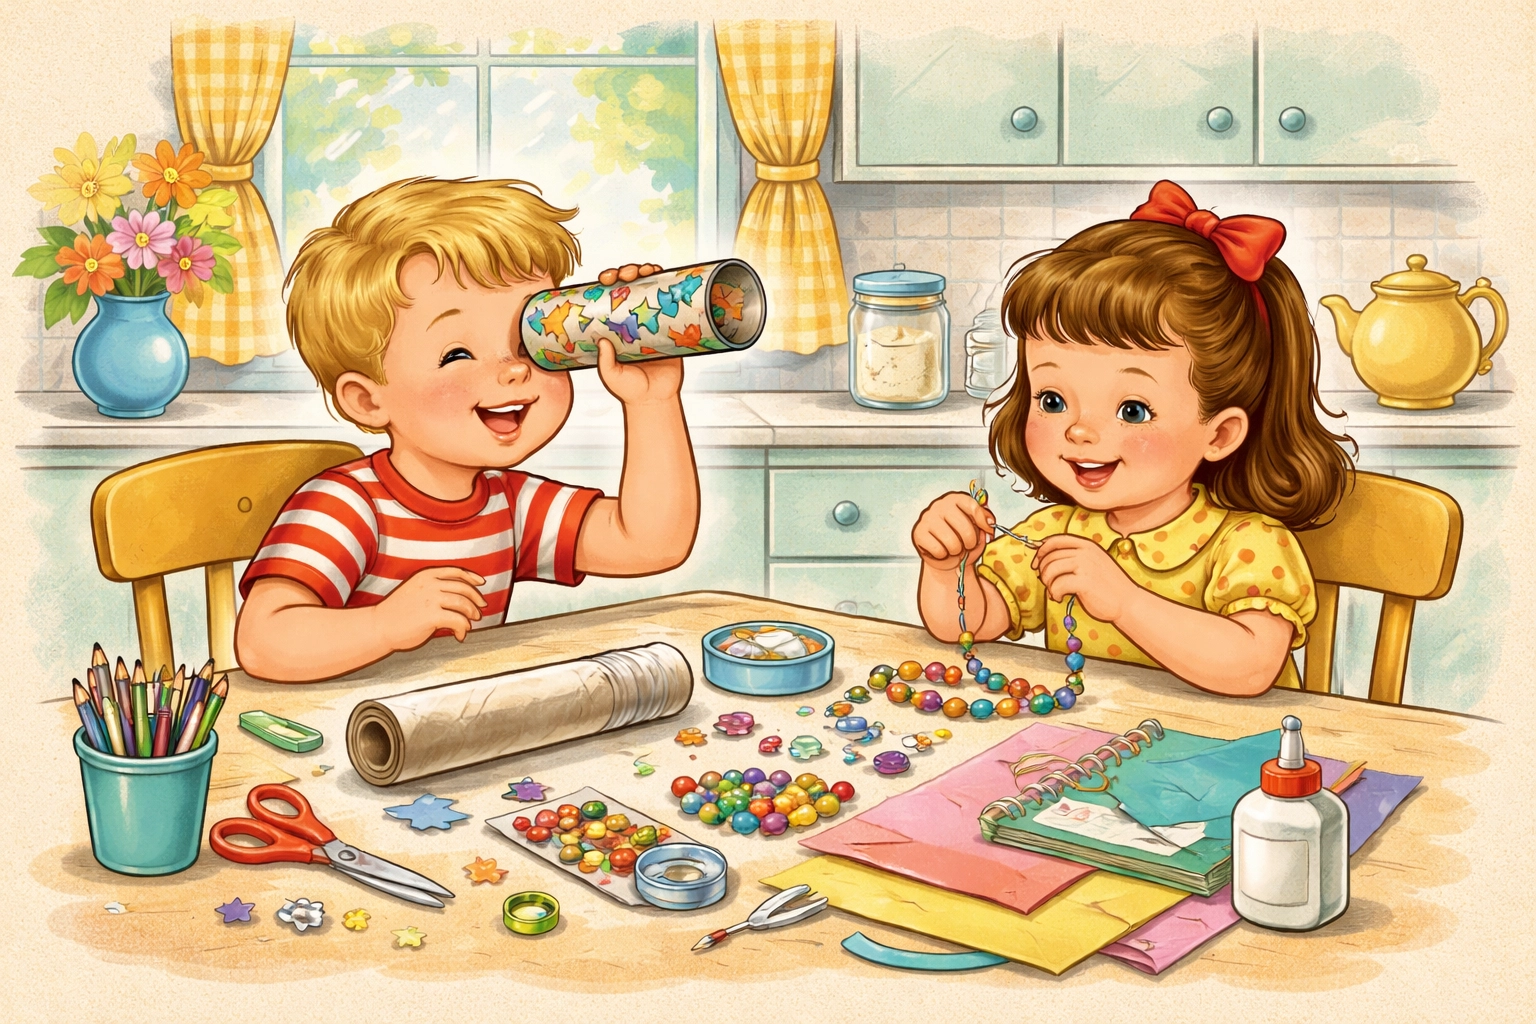
Kids do the building once an adult handles the cutting, and the finished scope turns forgotten discs into patterns that never repeat. It's a craft with science inside, and it lasts longer than most paper crafts because real optics do the work.
Materials You'll Need
Adults only: cutting the CD.
Cut CDs have sharp edges. An adult cuts the disc with heavy scissors while wearing safety glasses, tapes every cut edge, and keeps all shards away from children. Do not use discs with flaking or peeling layers. Kids handle assembly only after edges are taped.
Bead safety:
Small beads are a choking hazard for children under 3. Build the bead chamber for toddlers and seal it well.
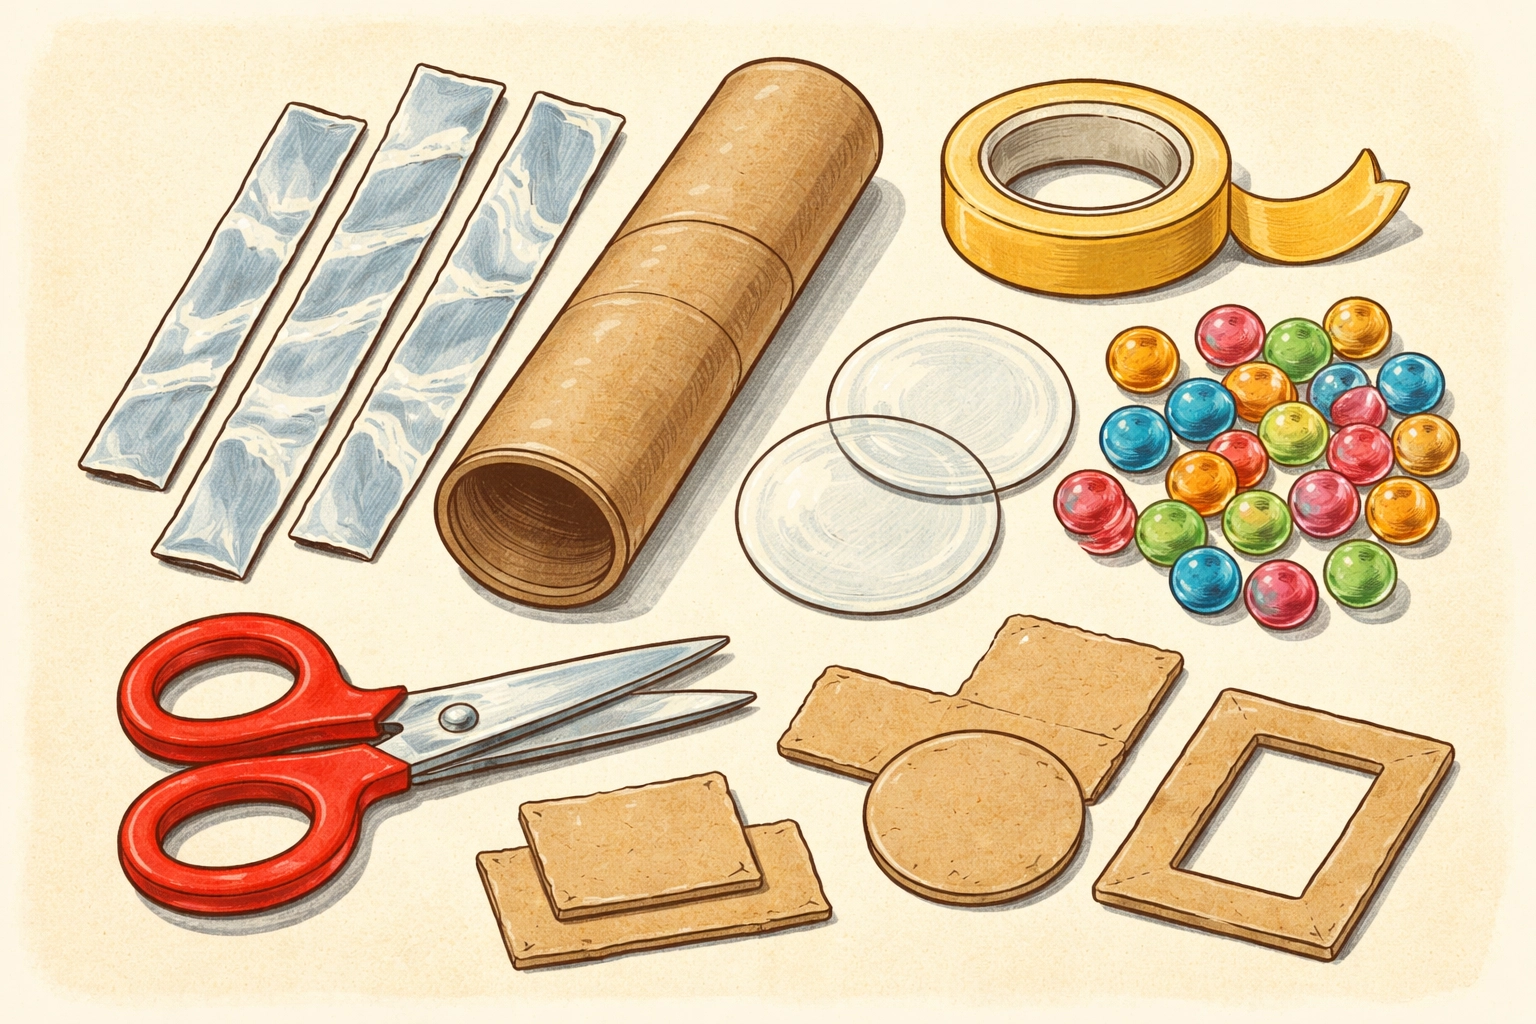
- Old, unwanted CD (a DVD works too)
- Cardboard tube (paper towel tube)
- Clear plastic sheet
- Beads or sequins
- Clear tape
- Heavy scissors (adult use only)
- Cardstock for the eyepiece
Step-by-Step Instructions
Step 1: Cut the CD (Adult Only)
Adults only: cutting the CD.
Cut CDs have sharp edges. An adult cuts the disc with heavy scissors while wearing safety glasses, tapes every cut edge, and keeps all shards away from children. Do not use discs with flaking or peeling layers. Kids handle assembly only after edges are taped.
An adult cuts the old CD into three equal strips with heavy scissors. Cut slowly. Tape every cut edge completely before kids touch the strips.
Step 2: Assemble the Prism
Tape the three strips edge to edge. Fold into a triangle with the shiny sides facing inward. Tape the seam to hold the shape.
Step 3: Insert the Prism in the Tube
Slide the CD-strip prism into the cardboard tube. It should fit snugly.
Step 4: Build the Bead Chamber
Tape a clear plastic circle over one end of the tube. Drop in a small handful of beads. Don't overfill; the pieces need room to tumble. Seal with a second plastic circle, taping all the way around the edges.
Step 5: Add the Eyepiece and Test
Cut a cardstock circle with a small peephole in the center. Tape it over the viewing end. Point the kaleidoscope at a window or lamp, look through, and rotate slowly.
Why the Rainbow?
A CD's surface is covered in microscopic grooves that split light into rainbow colors. Scientists call this a diffraction grating. That's the tint you see in every pattern.
Use Mylar for the clearest patterns; use a CD for the rainbow effect and the recycling win.
Frequently Asked Questions
Is it safe to cut a CD?
For an adult, yes, with care. Use heavy scissors, cut slowly, wear safety glasses, and tape every cut edge before kids touch the strips. Keep shards away from small children.
Why do the patterns look rainbow?
A CD's surface is a diffraction grating: microscopic grooves split light into rainbow colors. That's the tint you see.
Can I use a DVD instead?
Yes. DVDs have a similar reflective layer and behave the same way.
Will it be as clear as a Mylar kaleidoscope?
No. CD mirrors are dimmer and rainbow-tinted. Choose Mylar for clarity, CD for the rainbow effect and the recycling win.
More kaleidoscopes
- 15-Minute Paper Tube Kaleidoscope
- Spinning Disk Kaleidoscope
- How Kaleidoscopes Work: Symmetry and Reflections
A good use for the scratched discs in your junk drawer.
Be safe and have fun!