

15-Minute Paper Tube Kaleidoscope
To make a paper tube kaleidoscope with kids, you'll need an empty cardboard tube, reflective Mylar sheets folded into a triangular prism, clear plastic circles, and colorful beads or sequins. The whole project takes about 15 minutes and costs well under ten dollars with materials you likely already have around the house. It teaches little ones the basics of light, reflection, and symmetry, all while they make something fun to play with.
Key takeaway:
Three mirrored strips folded into a triangle bounce light into six-fold patterns. A paper tube, foil, and beads are enough to build one in about 15 minutes.
There's something special about holding a kaleidoscope up to the light and watching those swirling, ever-changing patterns dance before your eyes. And the best part? Kids get even more excited when they've built the thing themselves.
Quick Project Overview
| Detail | Info |
|---|---|
| Best Age Range | 4–10 years (younger kids may need more hands-on help) |
| Time to Complete | About 15 minutes |
| Difficulty | Easy to Moderate |
| Estimated Cost | Under $10 (often free with household items) |
Materials You'll Need
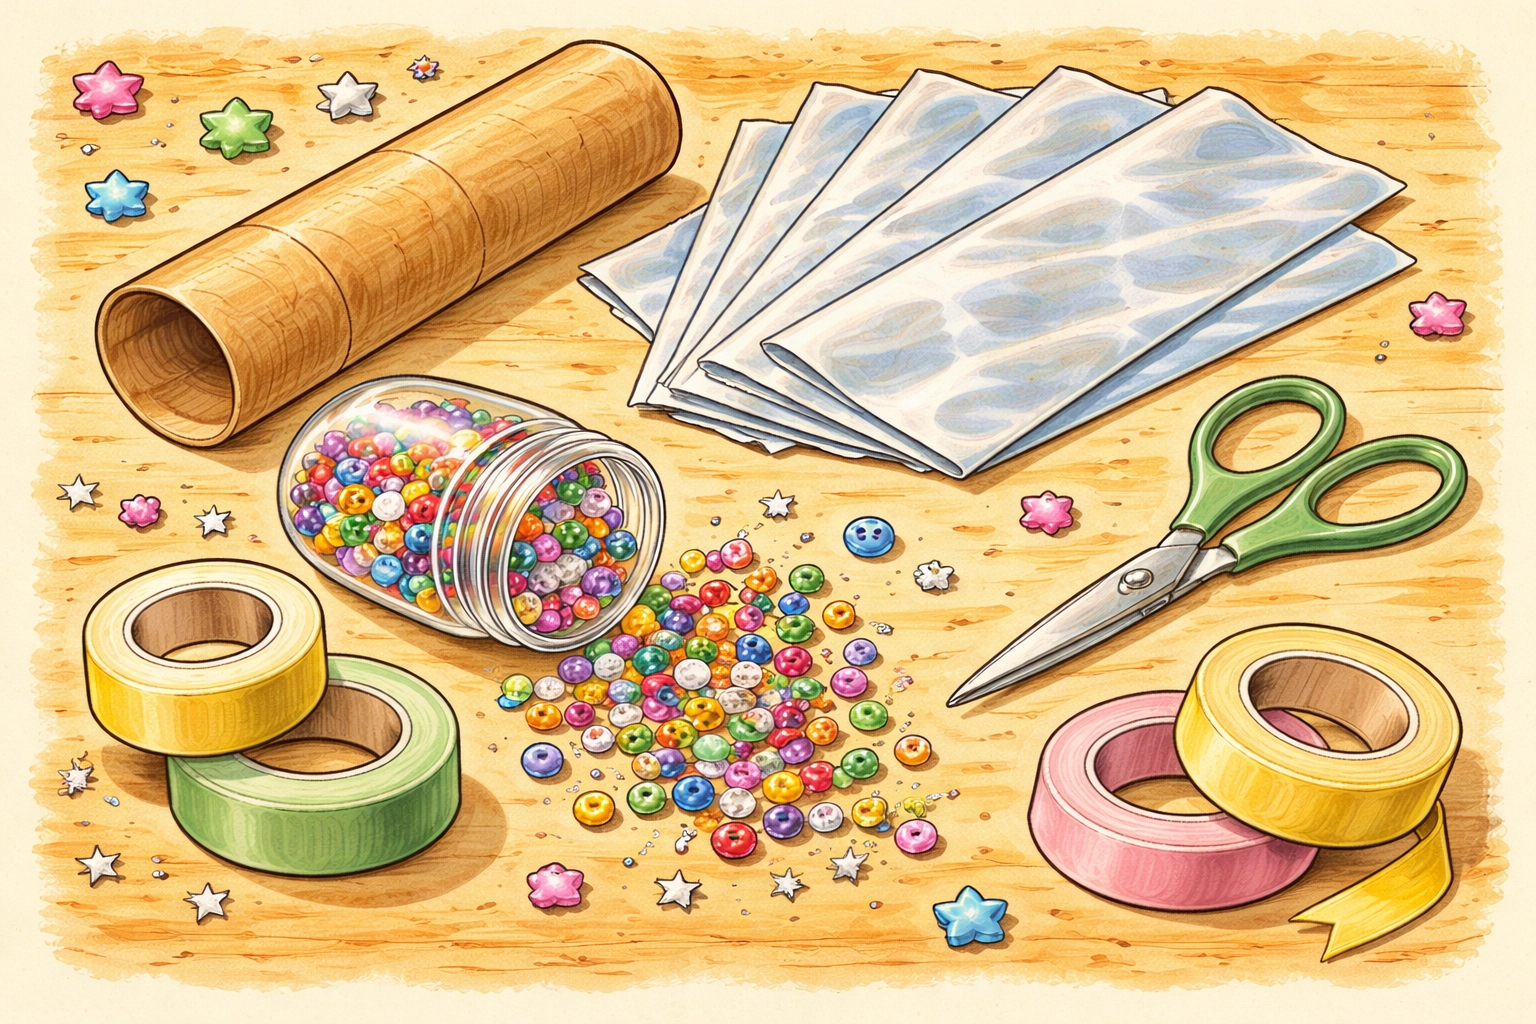
Here's everything you'll want to gather before you start. Most families already have many of these items tucked away in junk drawers or recycling bins.
| Material | Notes | Estimated Cost |
|---|---|---|
| Empty paper towel or toilet paper tube | The main body of your kaleidoscope | Free |
| Mylar sheets or reflective mirror paper | Creates the mirrored prism effect | $3–$5 for a pack |
| Clear plastic sheets | Cut from food containers or use stiff plastic wrap | Free or under $1 |
| Beads, sequins, buttons, or glitter | The colorful bits inside | $1–$3 |
| Clear tape or double-sided tape | For assembly | Usually on hand |
| Scissors | Kid-safe versions work great | Usually on hand |
| Decorative supplies (optional) | Paint, markers, stickers, or wrapping paper | Optional |
Bead safety:
Small beads are a choking hazard for children under 3. Build the bead chamber for toddlers and seal it well. Cutting: an adult cuts the Mylar and plastic circles; kid-safe scissors handle paper and tape only.
Step-by-Step Instructions
Step 1: Decorate Your Tube (Optional)
Let kids paint, sticker, or wrap the outside of the cardboard tube. Set it aside to dry before moving on.
Step 2: Build the Mirror Prism
This is where the magic happens. The triangular mirror prism is what creates those mesmerizing patterns of color.
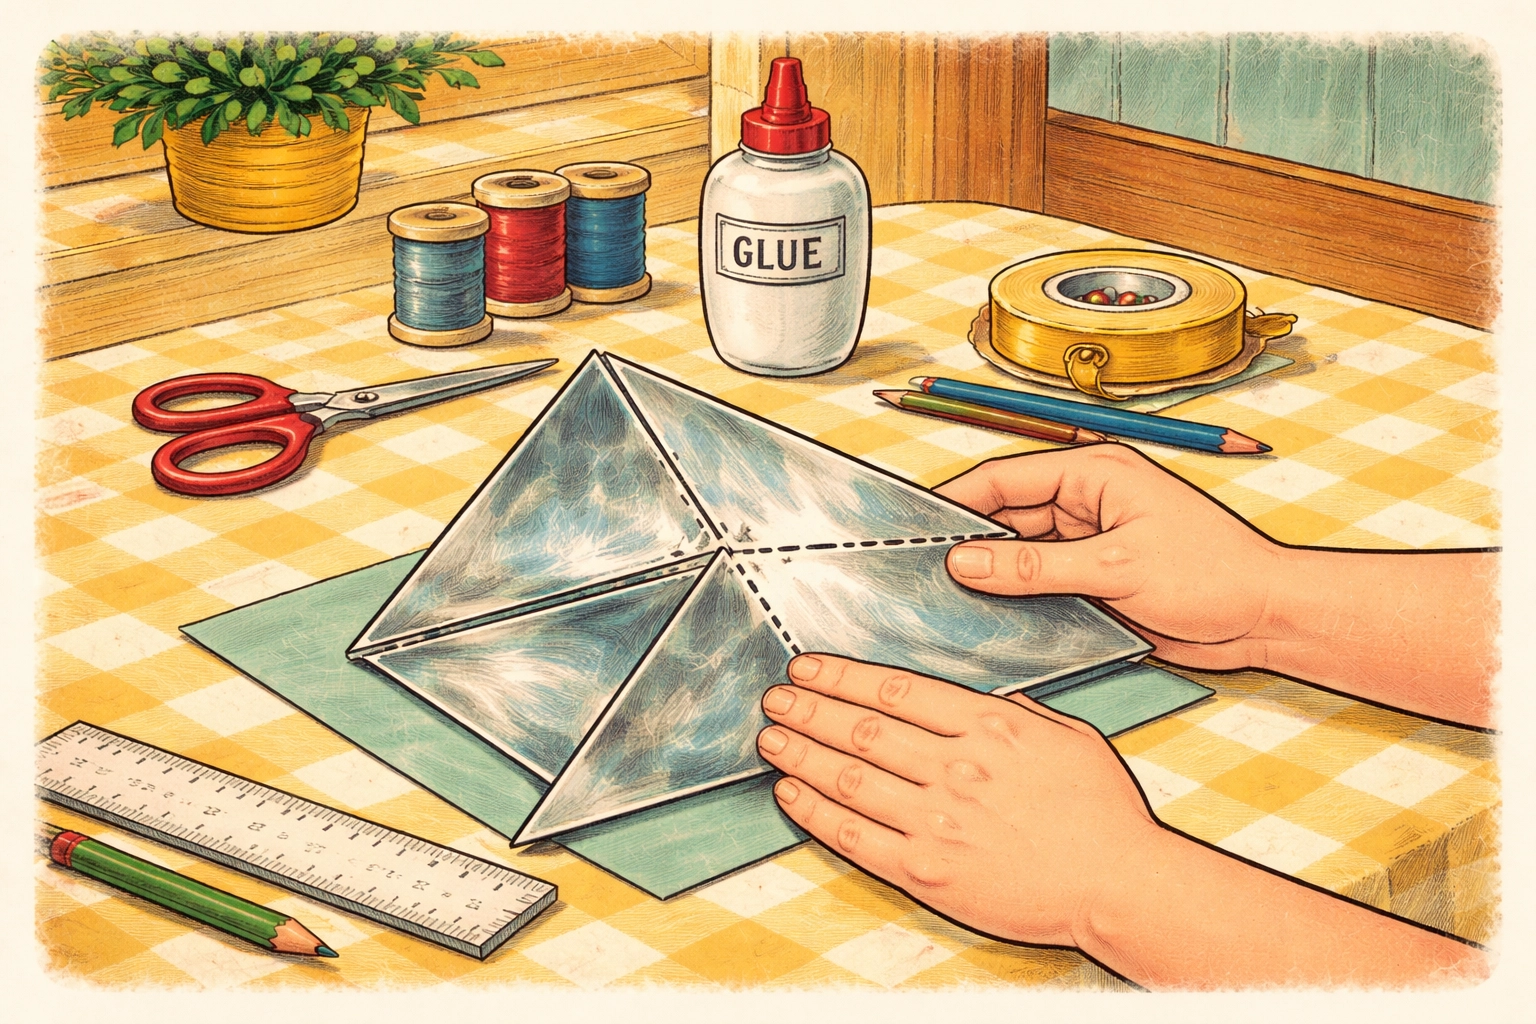
- Cut three equal strips from your Mylar or reflective sheet. Each strip should be slightly narrower than your tube's inner width.
- Lay the strips shiny-side down on a flat surface, leaving tiny gaps between each strip.
- Tape along the gaps to connect all three strips into one long piece.
- Fold into a triangle with the shiny sides facing inward. Tape the ends to hold the shape.
Safety tip:
Bead safety: Small beads are a choking hazard for children under 3. Build the bead chamber for toddlers and seal it well. Cutting: an adult cuts the Mylar and plastic circles; kid-safe scissors handle paper and tape only.
Step 3: Insert the Prism and Seal One End
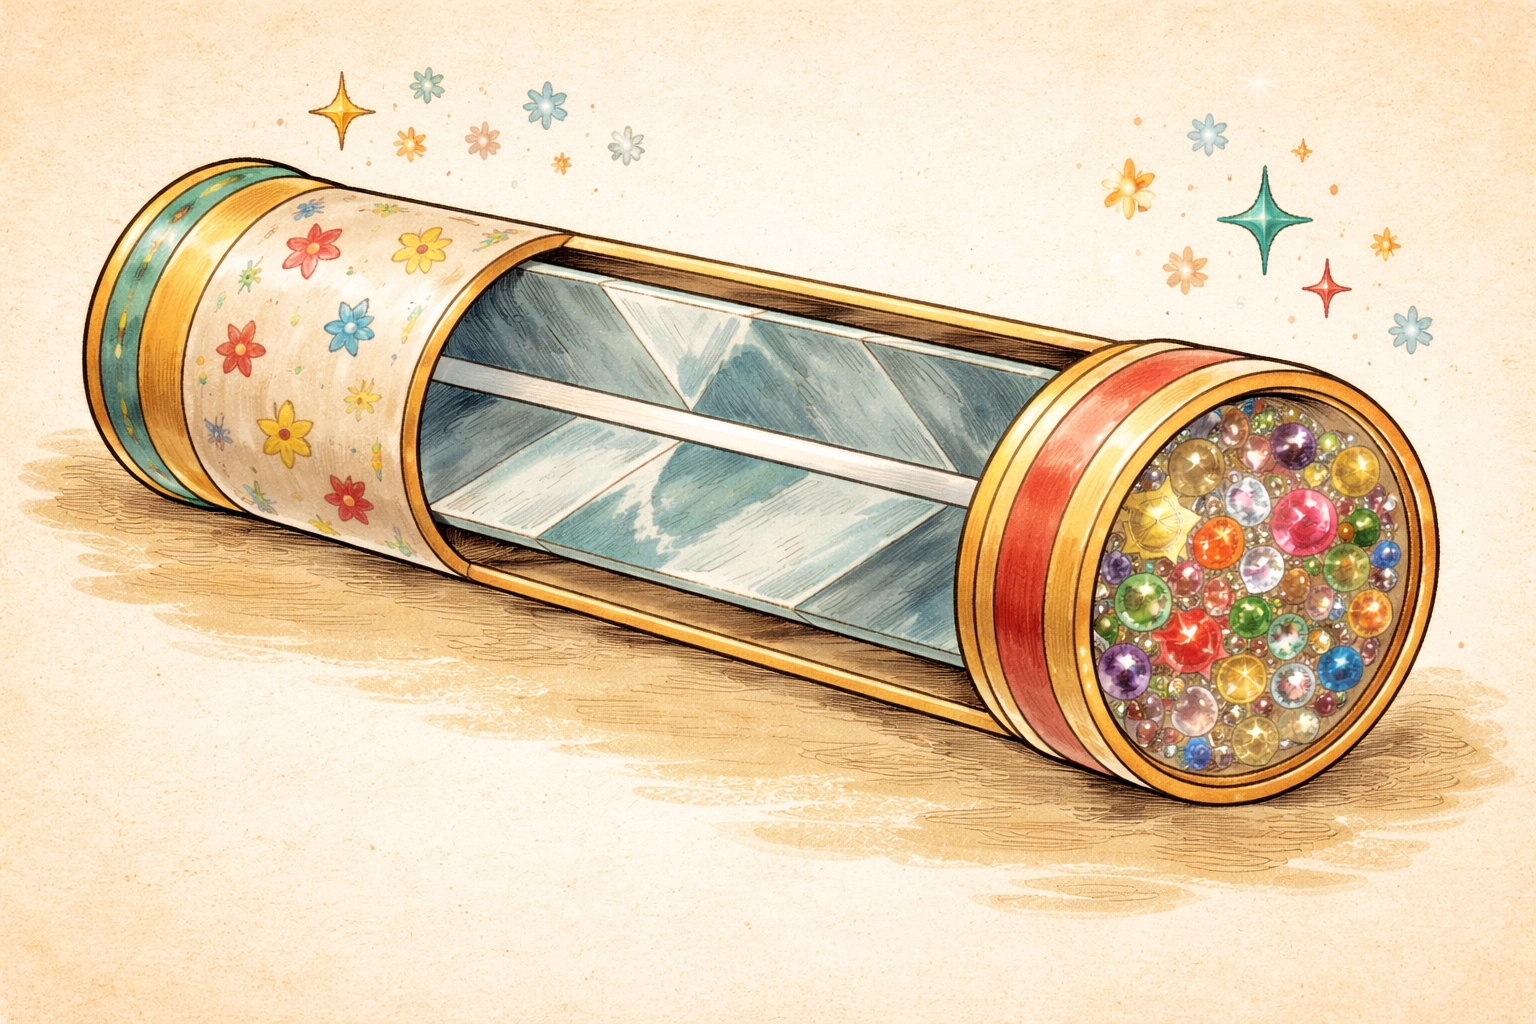
Slide the triangular prism into the tube so it fits snugly. Trace the tube end on clear plastic and cut a circle slightly larger than the opening. Tape the circle over one end of the tube.
Step 4: Add Beads and Seal the Chamber
Drop a small handful of beads and sequins onto the plastic circle. Don't overfill. The pieces need room to tumble freely. Cover them with a second plastic circle and tape all the way around the edges.
Step 5: Make the Eyepiece and Test
Cut a cardstock circle with a small viewing hole in the center. Tape it over the viewing end. Hold the kaleidoscope up to a window or lamp, look through the hole, and slowly rotate the tube. Watch the shifting patterns change as the beads tumble inside.

The Science Inside
A kaleidoscope is a tube with angled mirrors inside that multiplies reflections of small colorful objects into symmetrical patterns. The three mirrored strips bounce light back and forth, and each reflection gets reflected again. That's how a few beads turn into rich, six-fold patterns.
Why Kids Love This Project
- Reflection: They'll see firsthand how mirrors bounce light around.
- Symmetry: Those repeating patterns are a visual introduction to symmetry.
- Cause and effect: Rotating the tube changes the pattern. Kids quickly learn they're in control.
It's the kind of project that feels like pure play but teaches while they play.
Frequently Asked Questions
Can I use aluminum foil instead of Mylar?
Yes. Wrap it tightly around cardstock, shiny side out, and smooth every wrinkle. Mylar gives crisper reflections, but foil works.
What age is this best for?
Ages 4 and up with adult help on cutting; ages 7-8 can handle most steps alone. Small beads are a choking hazard for under-3s.
What if I don't have beads?
Buttons, cellophane bits, tissue paper scraps, or broken crayon pieces all work. Anything small, colorful, and able to tumble.
Why aren't my patterns clear?
Wrinkled foil or an overstuffed bead chamber are the usual causes. Smooth the foil and remove beads until pieces tumble freely.
More kaleidoscopes
- CD Kaleidoscope: Turn an Old Disc Into a Light Show
- Spinning Disk Kaleidoscope
- How Kaleidoscopes Work: Symmetry and Reflections
A solid pick for a gray Columbus afternoon when everyone's stuck inside.
Be safe and have fun!