


Quick Answer: Building a DIY stick raft for kids is easy, just gather 10-12 sticks, some twine, and a fabric scrap for a sail. Tie the sticks together in a simple lattice pattern, add a mast, attach your sail, and you've got a floating vessel ready for creek adventures in about 15 minutes!
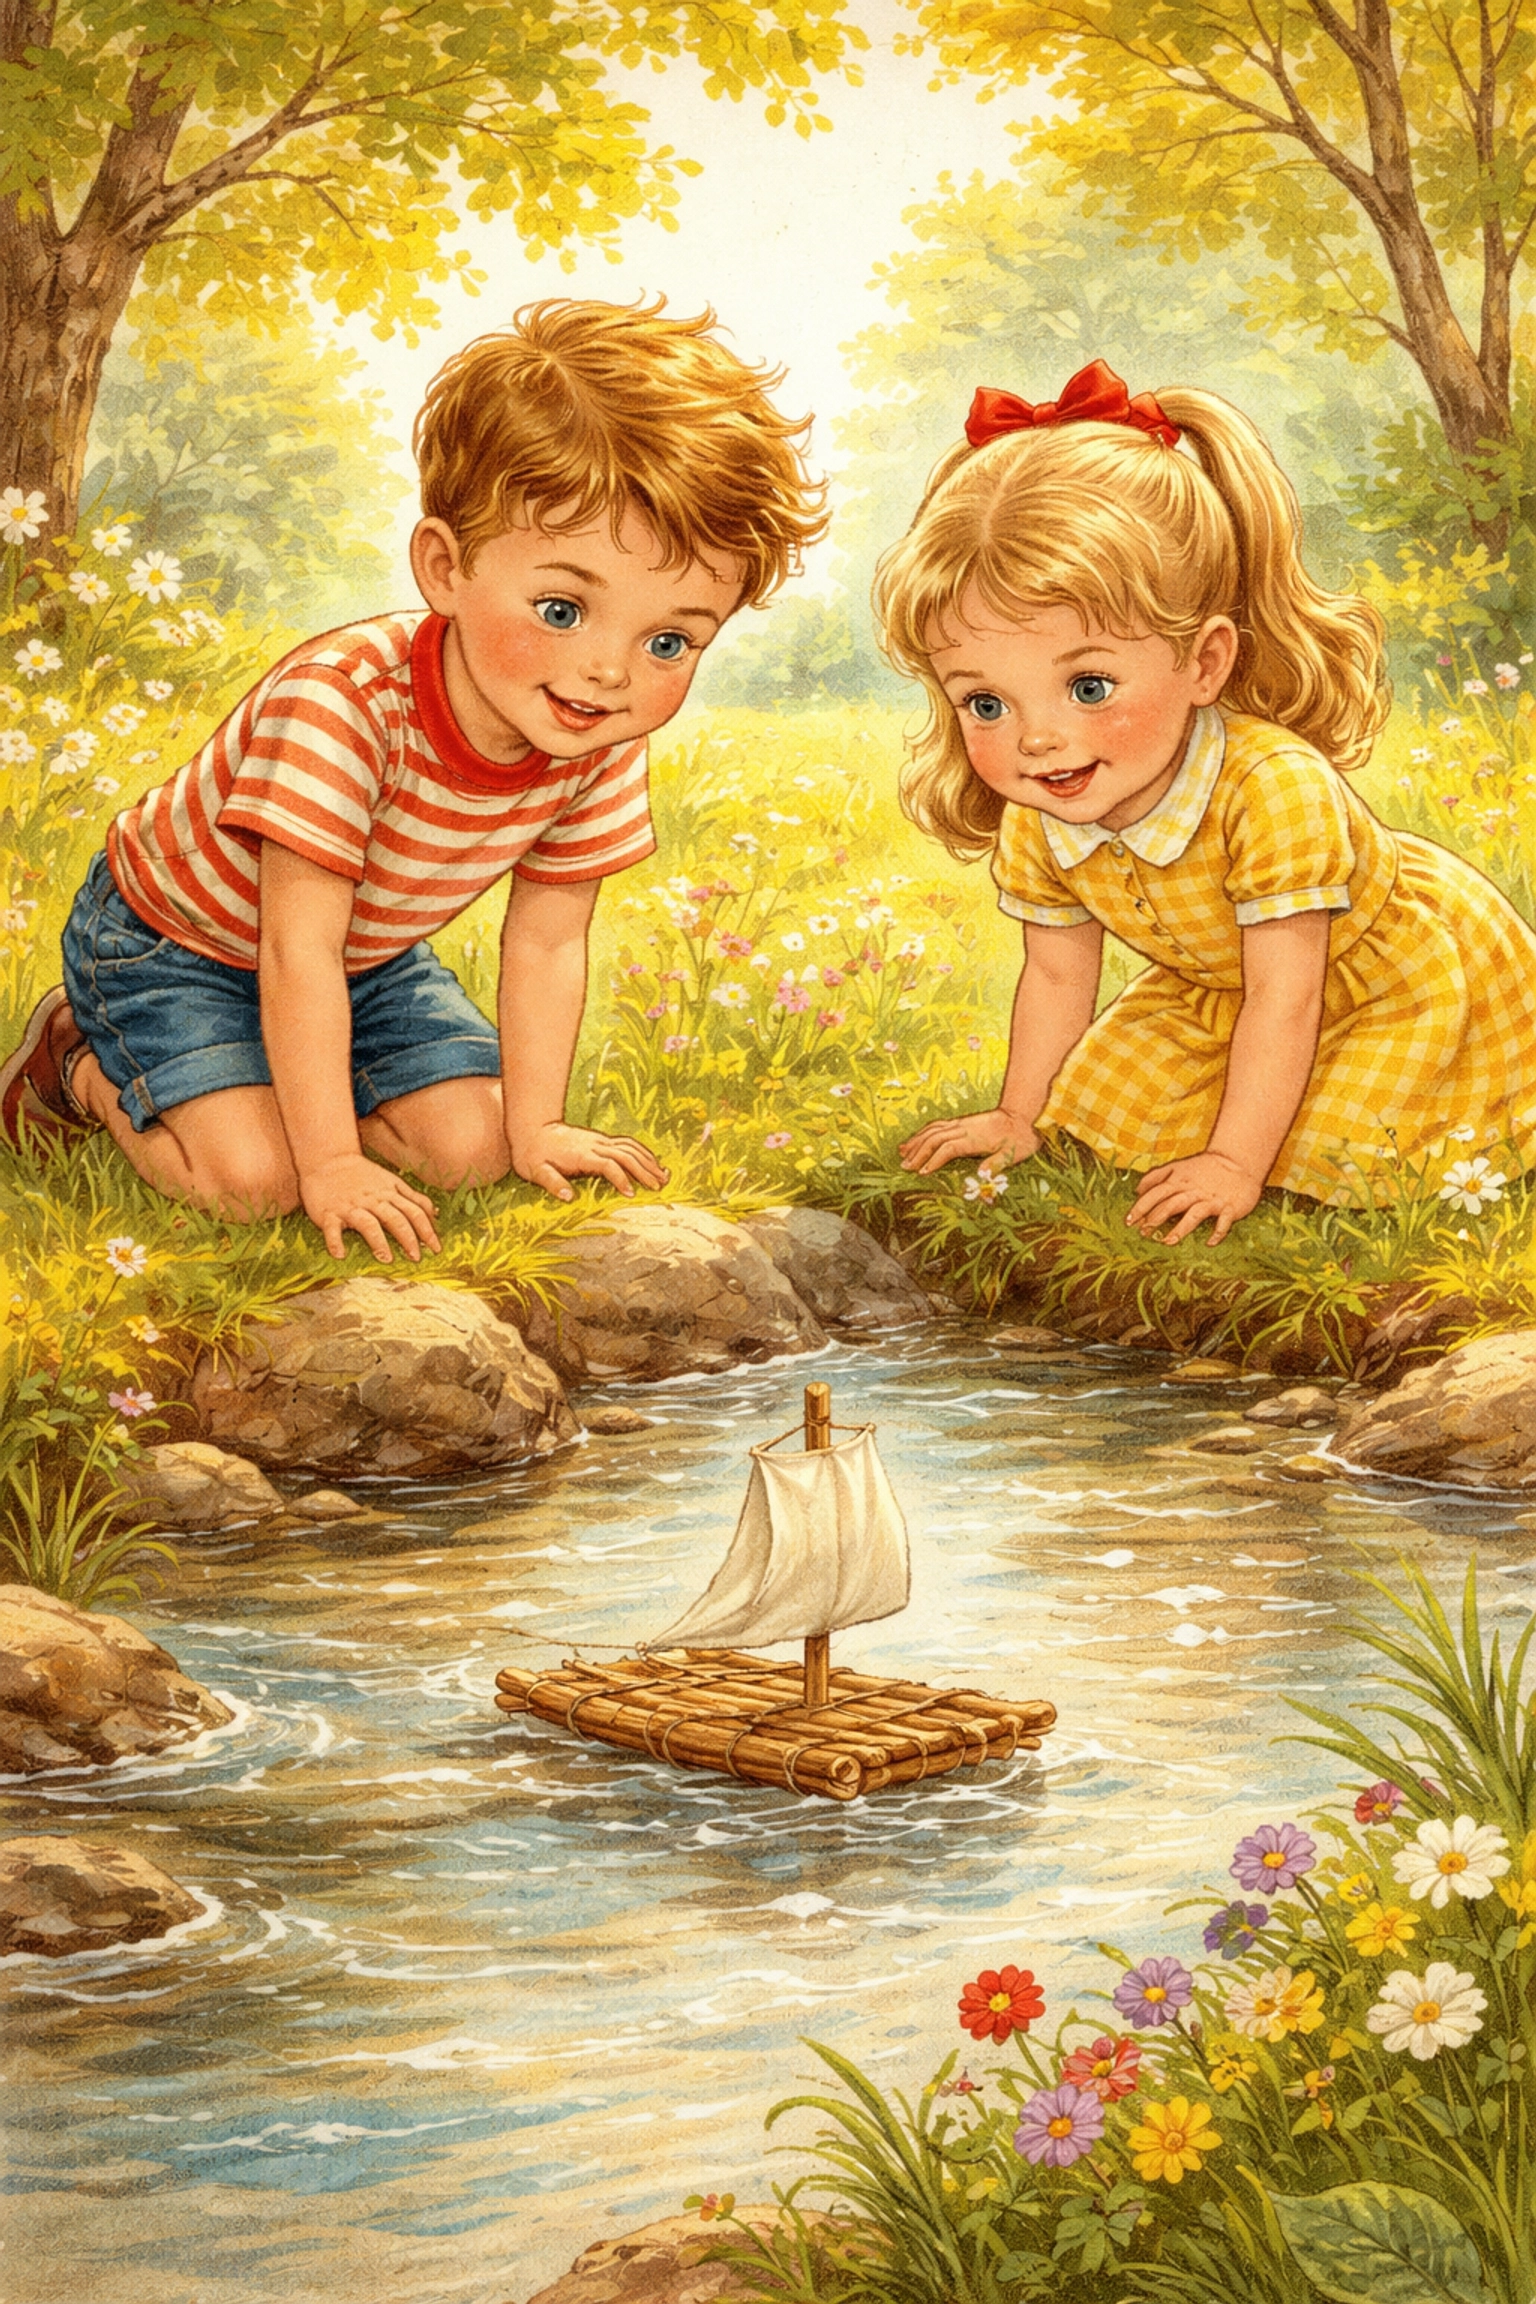
This classic outdoor play activity combines nature exploration with hands-on engineering, making it one of our favorite STEM activities for kids here at Tierney Family Farms. Whether you're heading to a local stream, testing it in a kiddie pool, or racing rafts in rain puddles, this project delivers hours of imaginative play with materials you can find right in your backyard.
Why Stick Rafts Are Perfect for Young Builders
There's something magical about watching a handmade creation actually float. Stick rafts tap into that primal curiosity kids have about how things work, and they do it without screens, batteries, or complicated instructions.
This project hits multiple learning targets at once:
- Engineering basics: Kids learn about buoyancy, weight distribution, and structural stability
- Fine motor skills: All that tying and weaving strengthens hand coordination
- Nature connection: Gathering materials gets kids outside exploring their environment
- Problem-solving: When the first raft sinks (and it might!), kids troubleshoot and try again
Best of all, stick rafts encourage outdoor play that's self-directed and open-ended. Once the raft is built, the adventures are entirely up to your child's imagination.
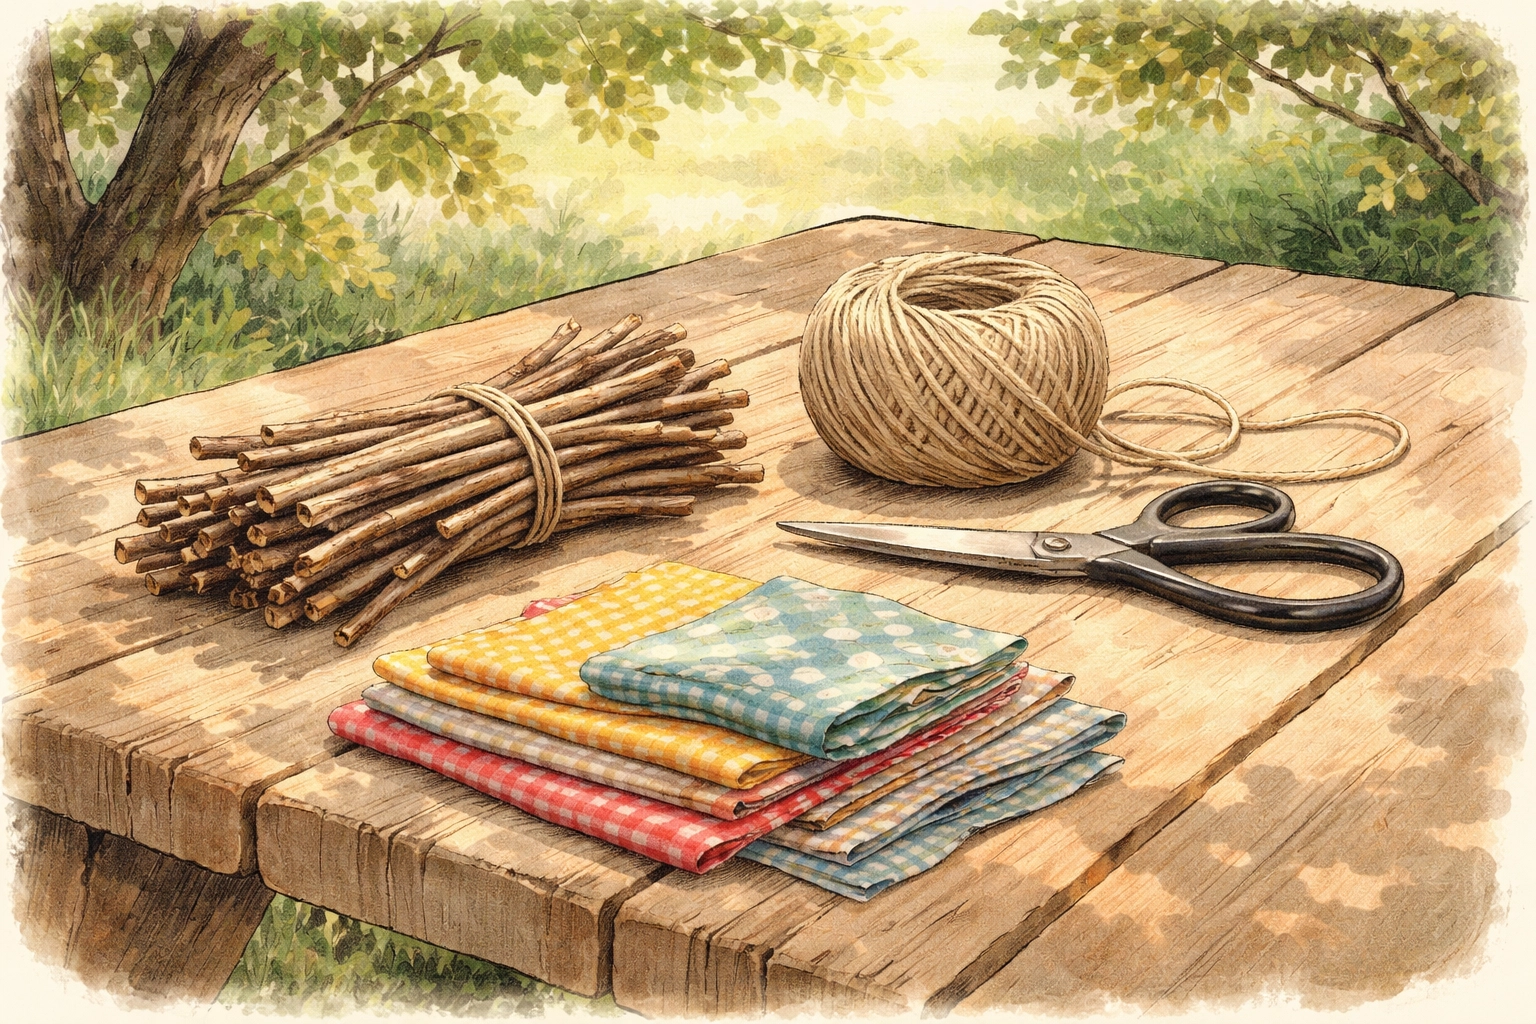
Materials You'll Need
Before you head outside, here's everything you'll need to gather. Most of these items can be found in your yard or on a short nature walk.
| Material | Quantity | Notes |
|---|---|---|
| Thick base sticks | 2 | About 20cm long, straight and sturdy |
| Deck sticks | 10-12 | Roughly 16cm long, similar thickness |
| Mast twig | 1 | Thin but sturdy, about 15cm tall |
| Twine or baker's string | 2-3 meters | Natural fiber works best |
| Fabric scrap or paper | 1 piece | For the sail, about 10cm x 10cm |
| Scissors | 1 pair | For cutting twine and sail material |
| Craft glue (optional) | As needed | Low-temp hot glue works for waterproofing |
Pro tip: Dry sticks float better than fresh-cut green ones. If you've got a stick pile from yard cleanup, that's your treasure trove!
Step-by-Step Building Instructions
Step 1: Gather and Prepare Your Sticks
Head outside with your little one and hunt for the perfect sticks. Look for pieces that are relatively straight and similar in thickness. Avoid anything rotten or too bendy, these won't hold up once they hit the water.
Once you've collected your sticks, trim them to roughly the same length. You can use scissors for thin twigs or simply snap them to size. The deck sticks should be about 16cm long, while your two base sticks can be slightly longer (around 20cm).
Lay everything out on a flat surface so you can see what you're working with.
Step 2: Create Your Raft Base
Place your two thick base sticks parallel to each other, about 12-14cm apart. These will run underneath your raft and provide the main floating structure.
Now lay your deck sticks across the top, perpendicular to the base sticks. Space them evenly, leaving just a tiny gap between each one. The deck sticks should overhang the base sticks by about 1cm on each side.
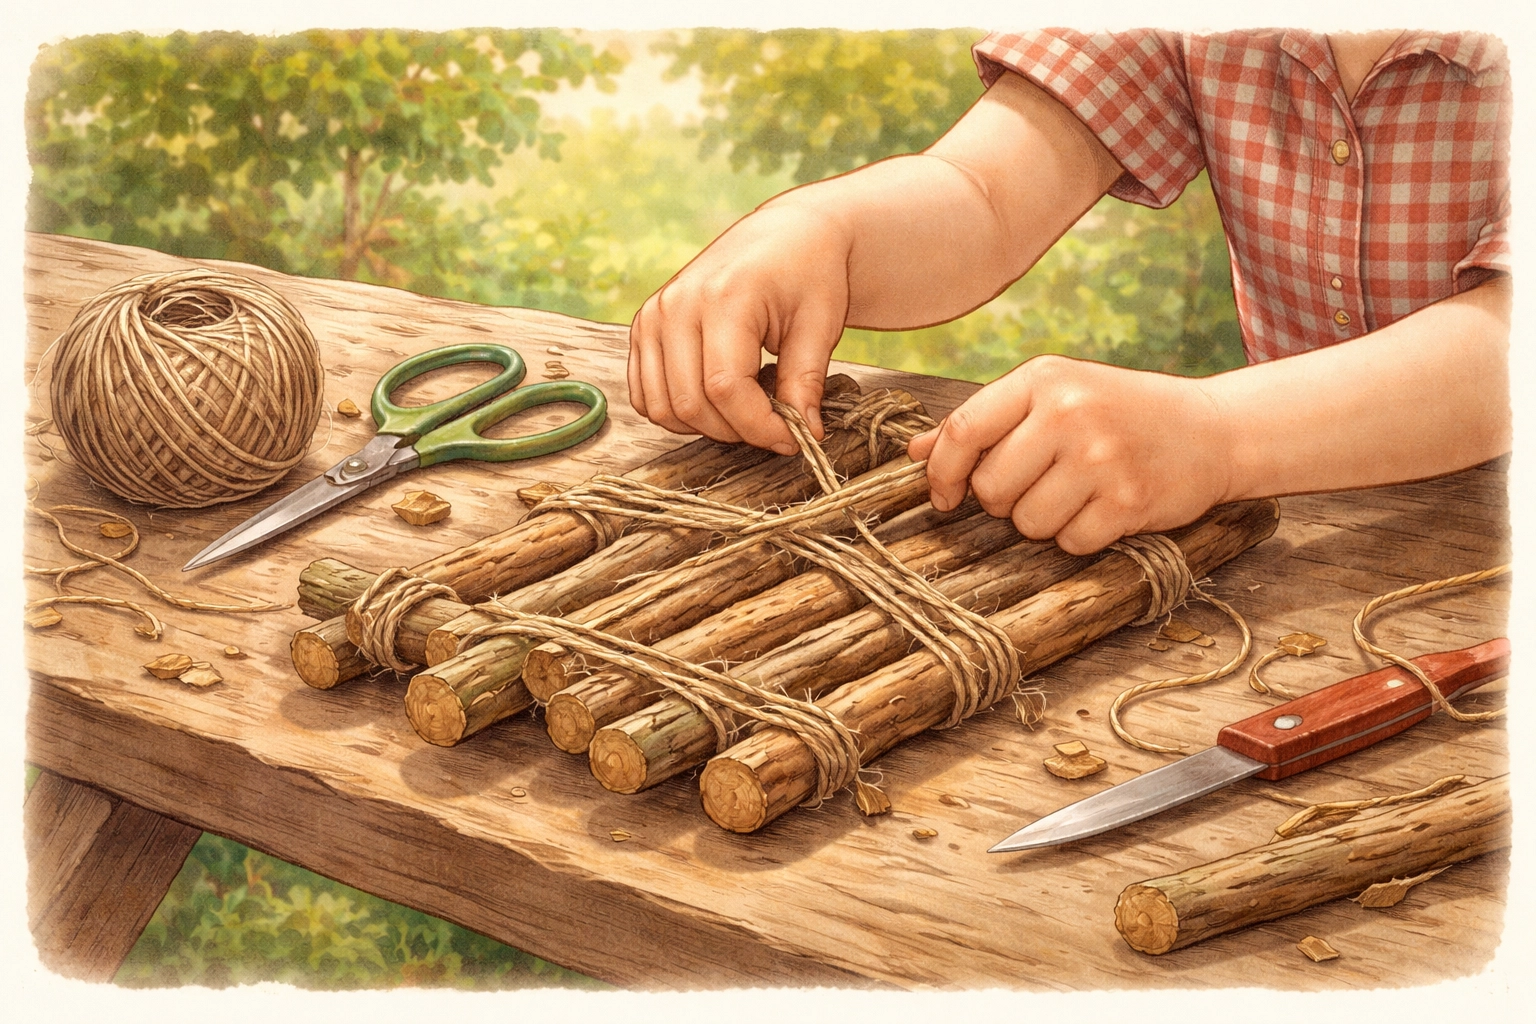
Step 3: Start Tying
Here's where the real building begins! Cut a long section of twine, at least one meter to start.
Beginning at one corner, tie the end of your twine to the first deck stick where it meets the base stick. Use a simple knot to secure it.
Now here's the trick that makes your raft sturdy: wrap the twine around twice in one direction, then twice in the opposite direction, creating an X pattern. This cross-wrap technique locks the sticks together much better than a simple wrap.
Pull the twine tight between each stick as you work your way along the base stick, securing each deck stick with the same X pattern.
Step 4: Secure the Second Side
Once you've tied all the deck sticks to one base stick, repeat the entire process on the opposite side with the second base stick.
Take your time here, this is what keeps your raft from falling apart in the water. If you run out of twine, just tie on a new piece and keep going.
Step 5: Add Cross Supports (Optional but Recommended)
For extra stability, attach a short stick across each end of your raft, running in the same direction as your base sticks. This creates a frame that helps the whole structure hold its shape.
Tie these cross supports using the same X-wrap technique you used for the deck.
Step 6: Install the Mast
Find the center of your raft and push a thin, straight twig between two of the deck sticks. Wiggle it down until it feels snug.
To secure the mast, wrap twine around the two deck sticks several times, then wrap around the mast itself. This creates a stable socket that will hold your sail upright.
Step 7: Attach Your Sail
Cut your fabric scrap or paper into a square or triangle shape, whatever looks most "raft-like" to your child!
Poke two small holes in the sail (one at the top, one at the bottom) and thread the mast through. Alternatively, you can fold the edge of the fabric over and glue it to create a pocket for the mast to slide through.
If you want a waterproof sail, use a low-temperature glue gun to seal the edges. Paper sails look charming but won't survive extended water play.
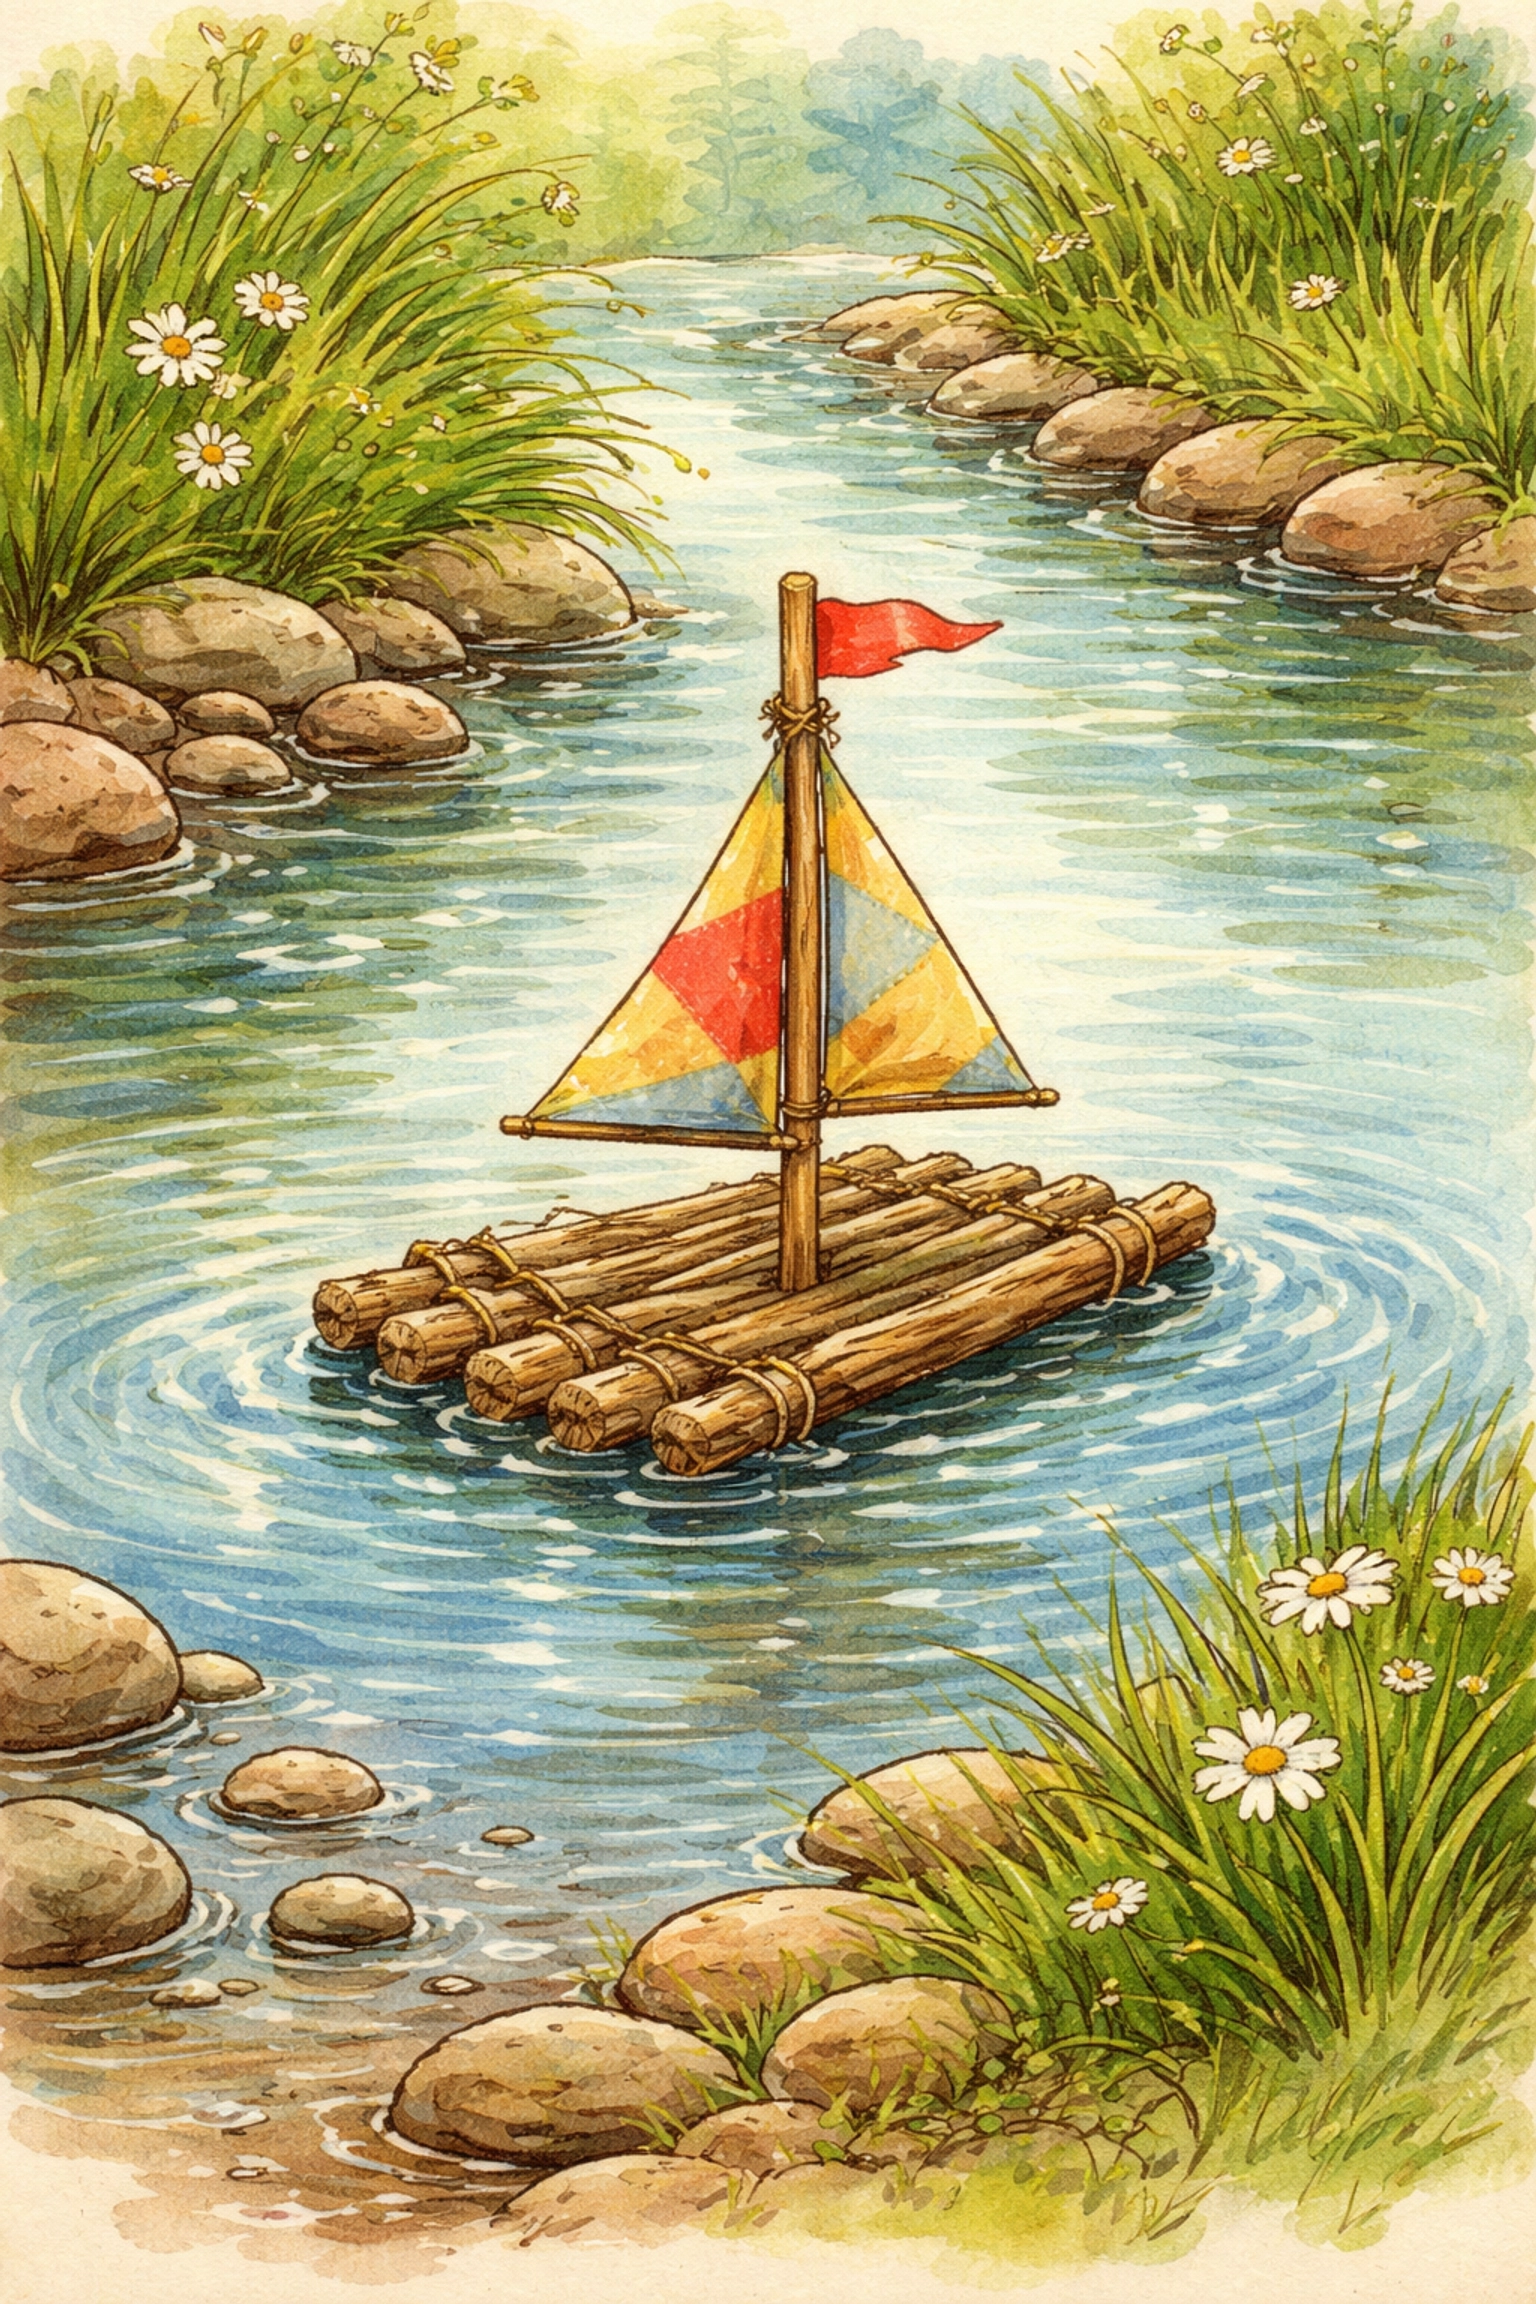
Testing Your Raft
The moment of truth! Fill a bucket, kiddie pool, or bathtub with water and gently place your raft on the surface.
A well-built raft should float level with the deck just above the waterline. If it tips to one side, check that your sticks are evenly spaced and your twine is equally tight on both sides.
Common issues and fixes:
- Raft sinks: Your sticks might be too wet or heavy. Try using drier, lighter wood.
- Raft flips over: Your sail is probably too large. Trim it down or remove it entirely.
- Raft falls apart: Your knots need tightening. Re-tie with the X-wrap technique and pull firmly.
Once your raft passes the float test, it's ready for real adventures! Head to a creek, pond edge, or anywhere with calm, shallow water for safe outdoor play.
Taking It Further
Once your kids master the basic raft, challenge them with these extensions:
- Cargo challenge: How many small pebbles can the raft carry before sinking?
- Speed test: Build two rafts and race them down a gentle stream
- Passenger transport: Can the raft carry a small action figure or toy animal?
- Design variations: Try different deck patterns or sail shapes and see what floats best
These challenges turn a simple craft into deeper STEM activities for kids, introducing concepts like load capacity, drag, and sail physics in a hands-on way.
For more outdoor building projects, check out our guide on how to build a mini windmill from recycled materials.
Frequently Asked Questions
How long does it take to build a stick raft with kids?
Most families can complete a basic raft in 15-20 minutes. Add extra time if you're including the nature walk to gather materials.
What age is this project appropriate for?
Kids ages 4 and up can participate with adult help. Children 7+ can often complete the project independently with supervision.
Will the raft actually float?
Yes! When built correctly with dry sticks and secure knots, these rafts float surprisingly well and can even carry small cargo.
What's the best twine to use?
Natural fiber twine like jute or cotton works great. Avoid slippery synthetic string, which tends to come untied in water.
Can we use glue instead of twine?
Twine creates a more durable and water-resistant bond. Glue can work for the sail, but stick with twine for the main structure.
How do I make the raft last longer?
Let it dry completely between uses and store indoors. A coat of outdoor wood sealer can extend its life if you want a permanent toy.
What if we can't find enough sticks?
Craft sticks or popsicle sticks work as a backup. The building process is the same, just on a smaller scale.
Is this safe for lakes and ponds?
Stick rafts are best for shallow, calm water where kids can easily retrieve them. Always supervise water play closely.
Can we decorate the raft?
Absolutely! Add flags, painted sails, or tiny passengers. Just keep decorations lightweight so the raft stays balanced.
What other outdoor STEM activities pair well with this project?
Try our DIY worm composting bin or explore more ideas in our kids crafts collection.


