


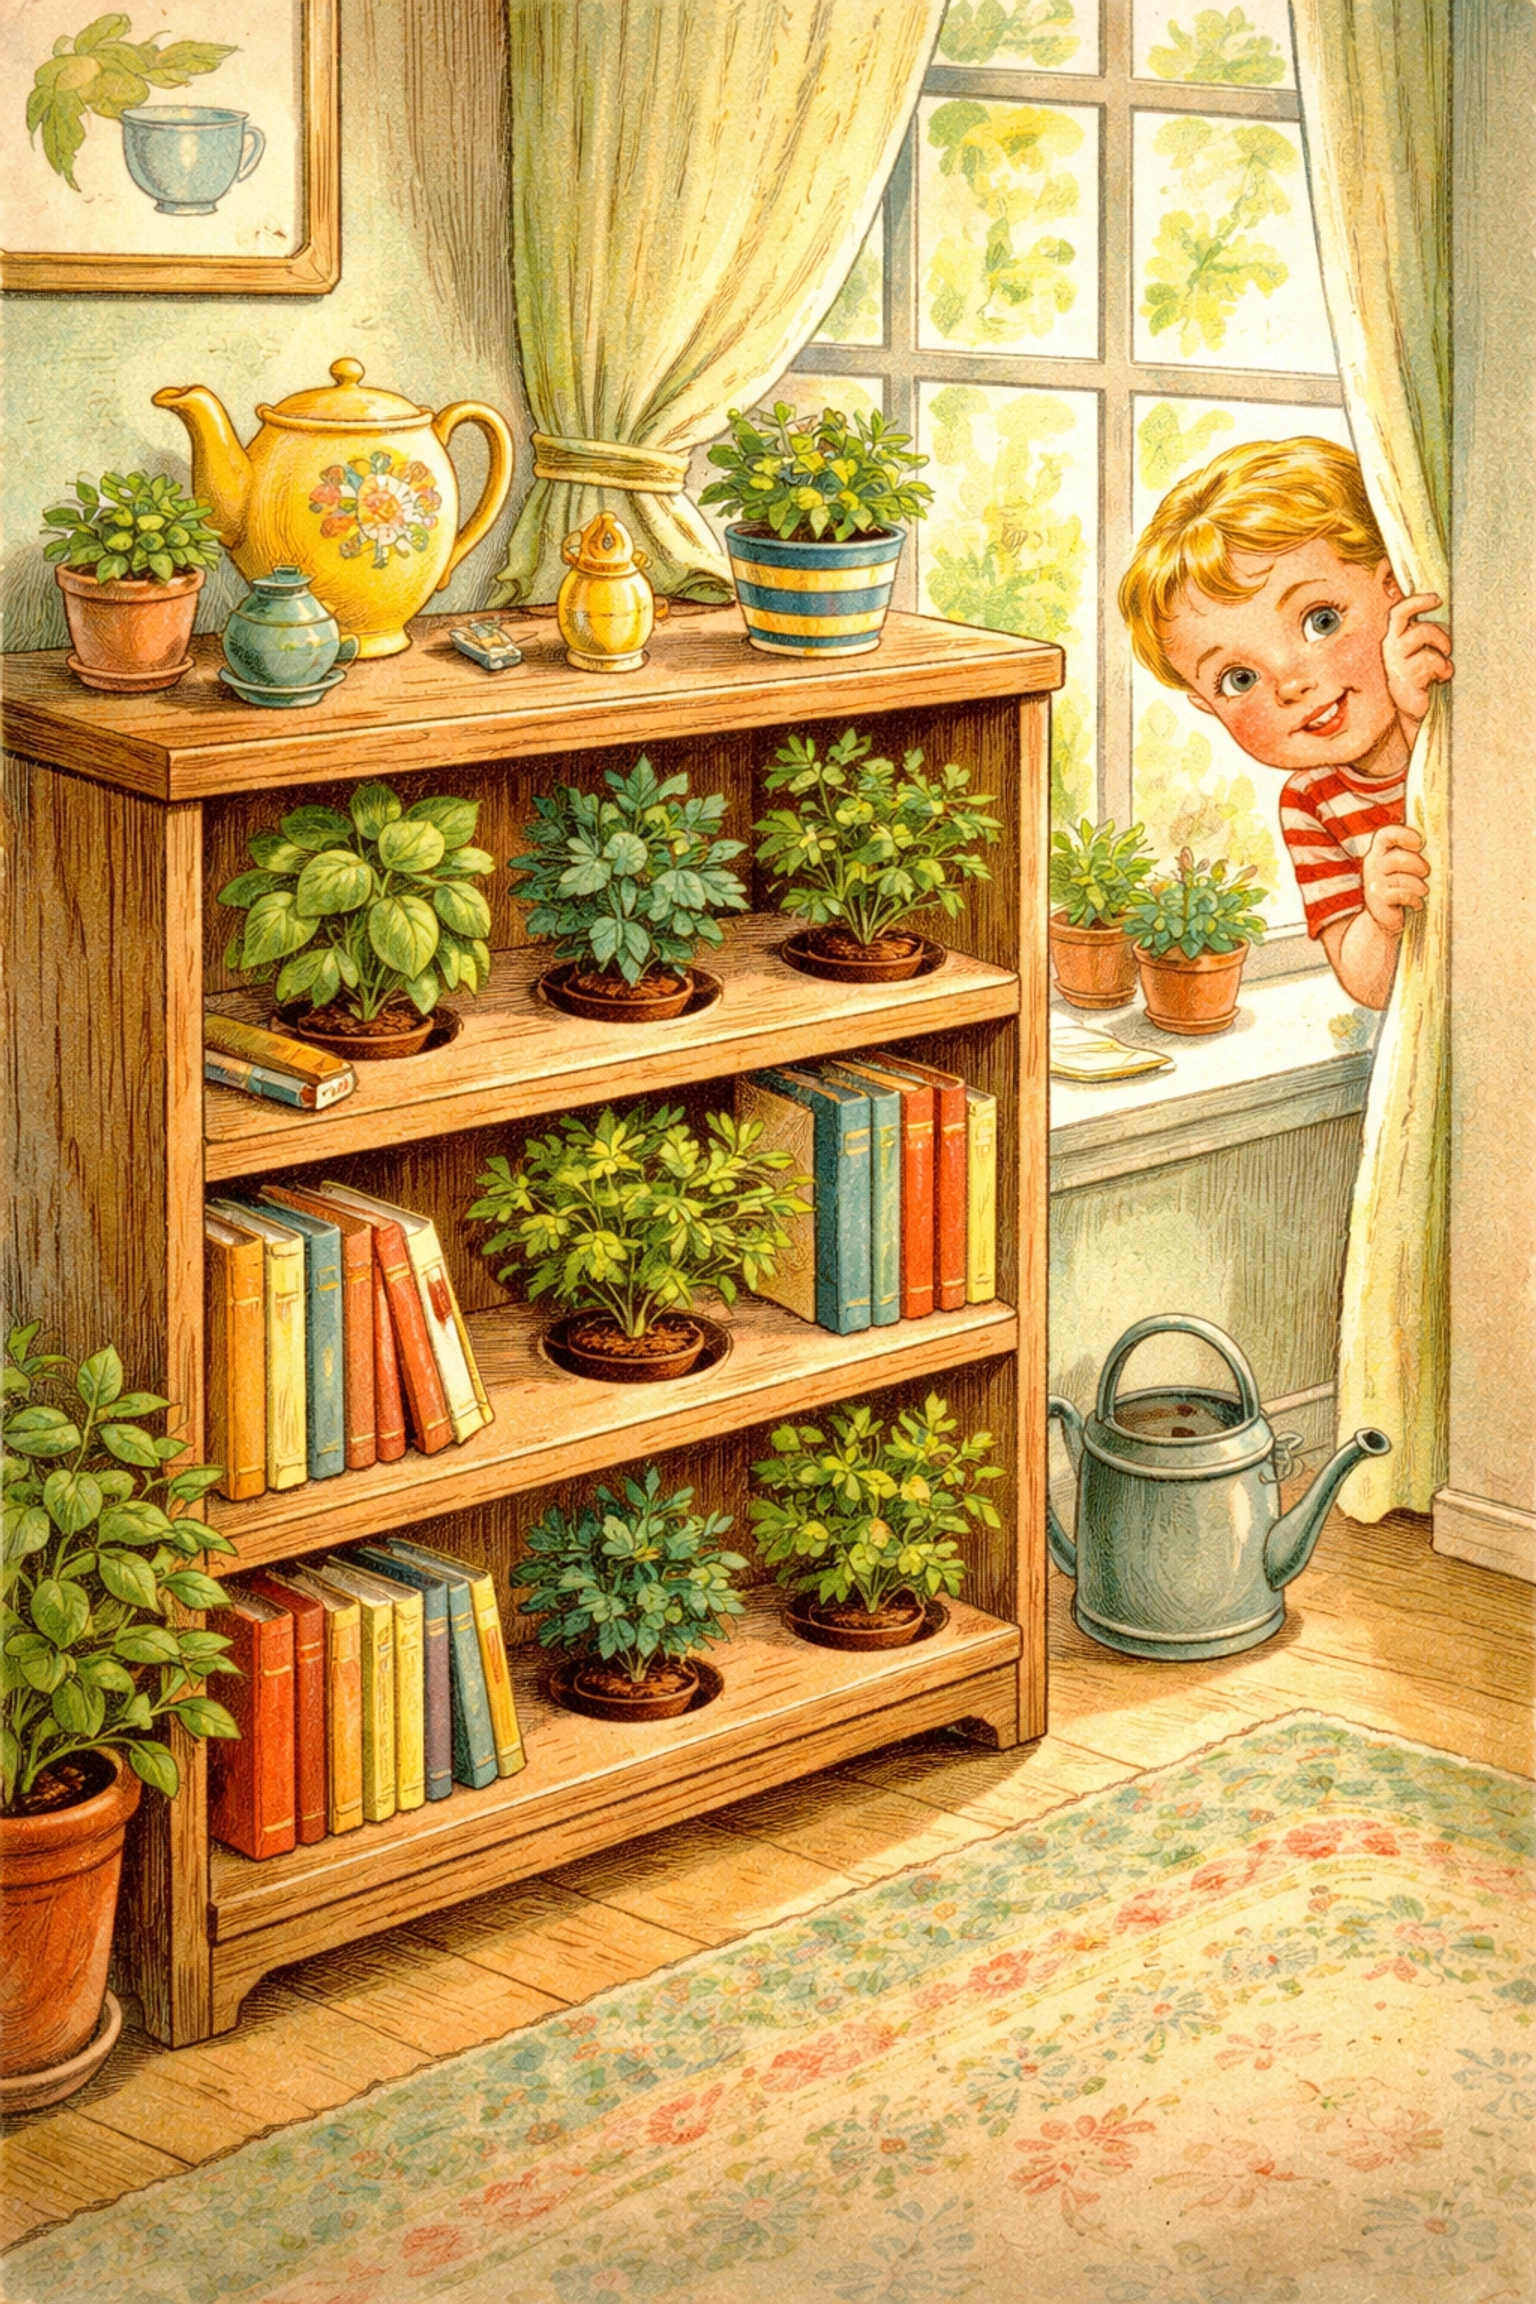
The Direct Answer: You can transform an old bookshelf into a hidden herb garden by cutting circular holes into the shelves to hold small pots, sealing the wood to protect it from moisture, and positioning it near a sunny window. The result? A functional piece of furniture that secretly grows fresh basil, mint, parsley, and more, right under everyone's noses!
This project is perfect for families with limited space, renters who want to keep things looking tidy, or anyone who loves the idea of herbs hiding in plain sight. Best of all, if you already have an old bookshelf collecting dust, you can likely complete this entire build for under $10.
Why Build a "Sneaky" Herb Garden?
Let's be honest, not everyone wants their living room to look like a greenhouse. And that's okay! A sneaky herb garden lets you enjoy fresh-picked herbs for cooking while keeping your space looking like, well, a cozy home with a nice bookshelf.
Here's why kids (and adults) tend to love this project:
- It's a secret garden. There's something magical about herbs growing inside furniture. Kids get a kick out of showing friends their "regular bookshelf" and then revealing the surprise.
- It teaches responsibility. Watering, pruning, and harvesting herbs is a gentle introduction to plant care.
- It's practical. Fresh herbs for dinner? Just walk over to the bookshelf and snip what you need.
- It's reversible. If you ever want your bookshelf back, simply remove the pots and cover the holes with decorative trays or small boards.
Materials You'll Need
Good news: this project doesn't require a trip to the fancy garden center. Most of these items can be found around your house, at a thrift store, or in your recycling bin.
| Item | Estimated Cost | Notes |
|---|---|---|
| Old bookshelf | $0 – $10 | Thrift stores, garage sales, or your own attic |
| Small terra cotta or plastic pots (3–6) | $0 – $5 | Dollar stores often sell these in packs |
| Herb seeds or starter plants | $1 – $4 | Basil, mint, parsley, and chives work great indoors |
| Potting soil | $2 – $4 | A small bag is plenty for this project |
| Polyurethane or wood sealant | $0 – $5 | Optional but recommended; you may already have some |
| Pencil and compass | $0 | For tracing pot outlines |
| Jigsaw or drill with hole saw attachment | $0 | Borrow if you don't own one |
| Sandpaper | $0 – $2 | For smoothing cut edges |
| Small stones or pebbles | $0 | For drainage; grab these from outside |
Estimated Total: $3 – $15 (Often under $10 if you already have a bookshelf and basic supplies!)
Step-by-Step Instructions
Step 1: Choose Your Bookshelf
Look for a sturdy wooden bookshelf with flat, solid shelves, not the kind with thin particle board that might crack when you cut into it. Thrift stores are goldmines for this. A three-shelf unit works wonderfully, but even a small two-shelf piece can hold 3–4 herb pots.
Pro tip: If the bookshelf has a backing, you can leave it on for stability or remove it to allow more airflow and light.
Step 2: Plan Your Pot Placement
Before you start cutting, grab your pots and set them on top of the shelves. Play around with the arrangement. You want enough space between pots for the herbs to grow without crowding each other.
Once you're happy with the layout, flip each pot upside down and trace around the rim with a pencil. This circle marks where you'll cut.
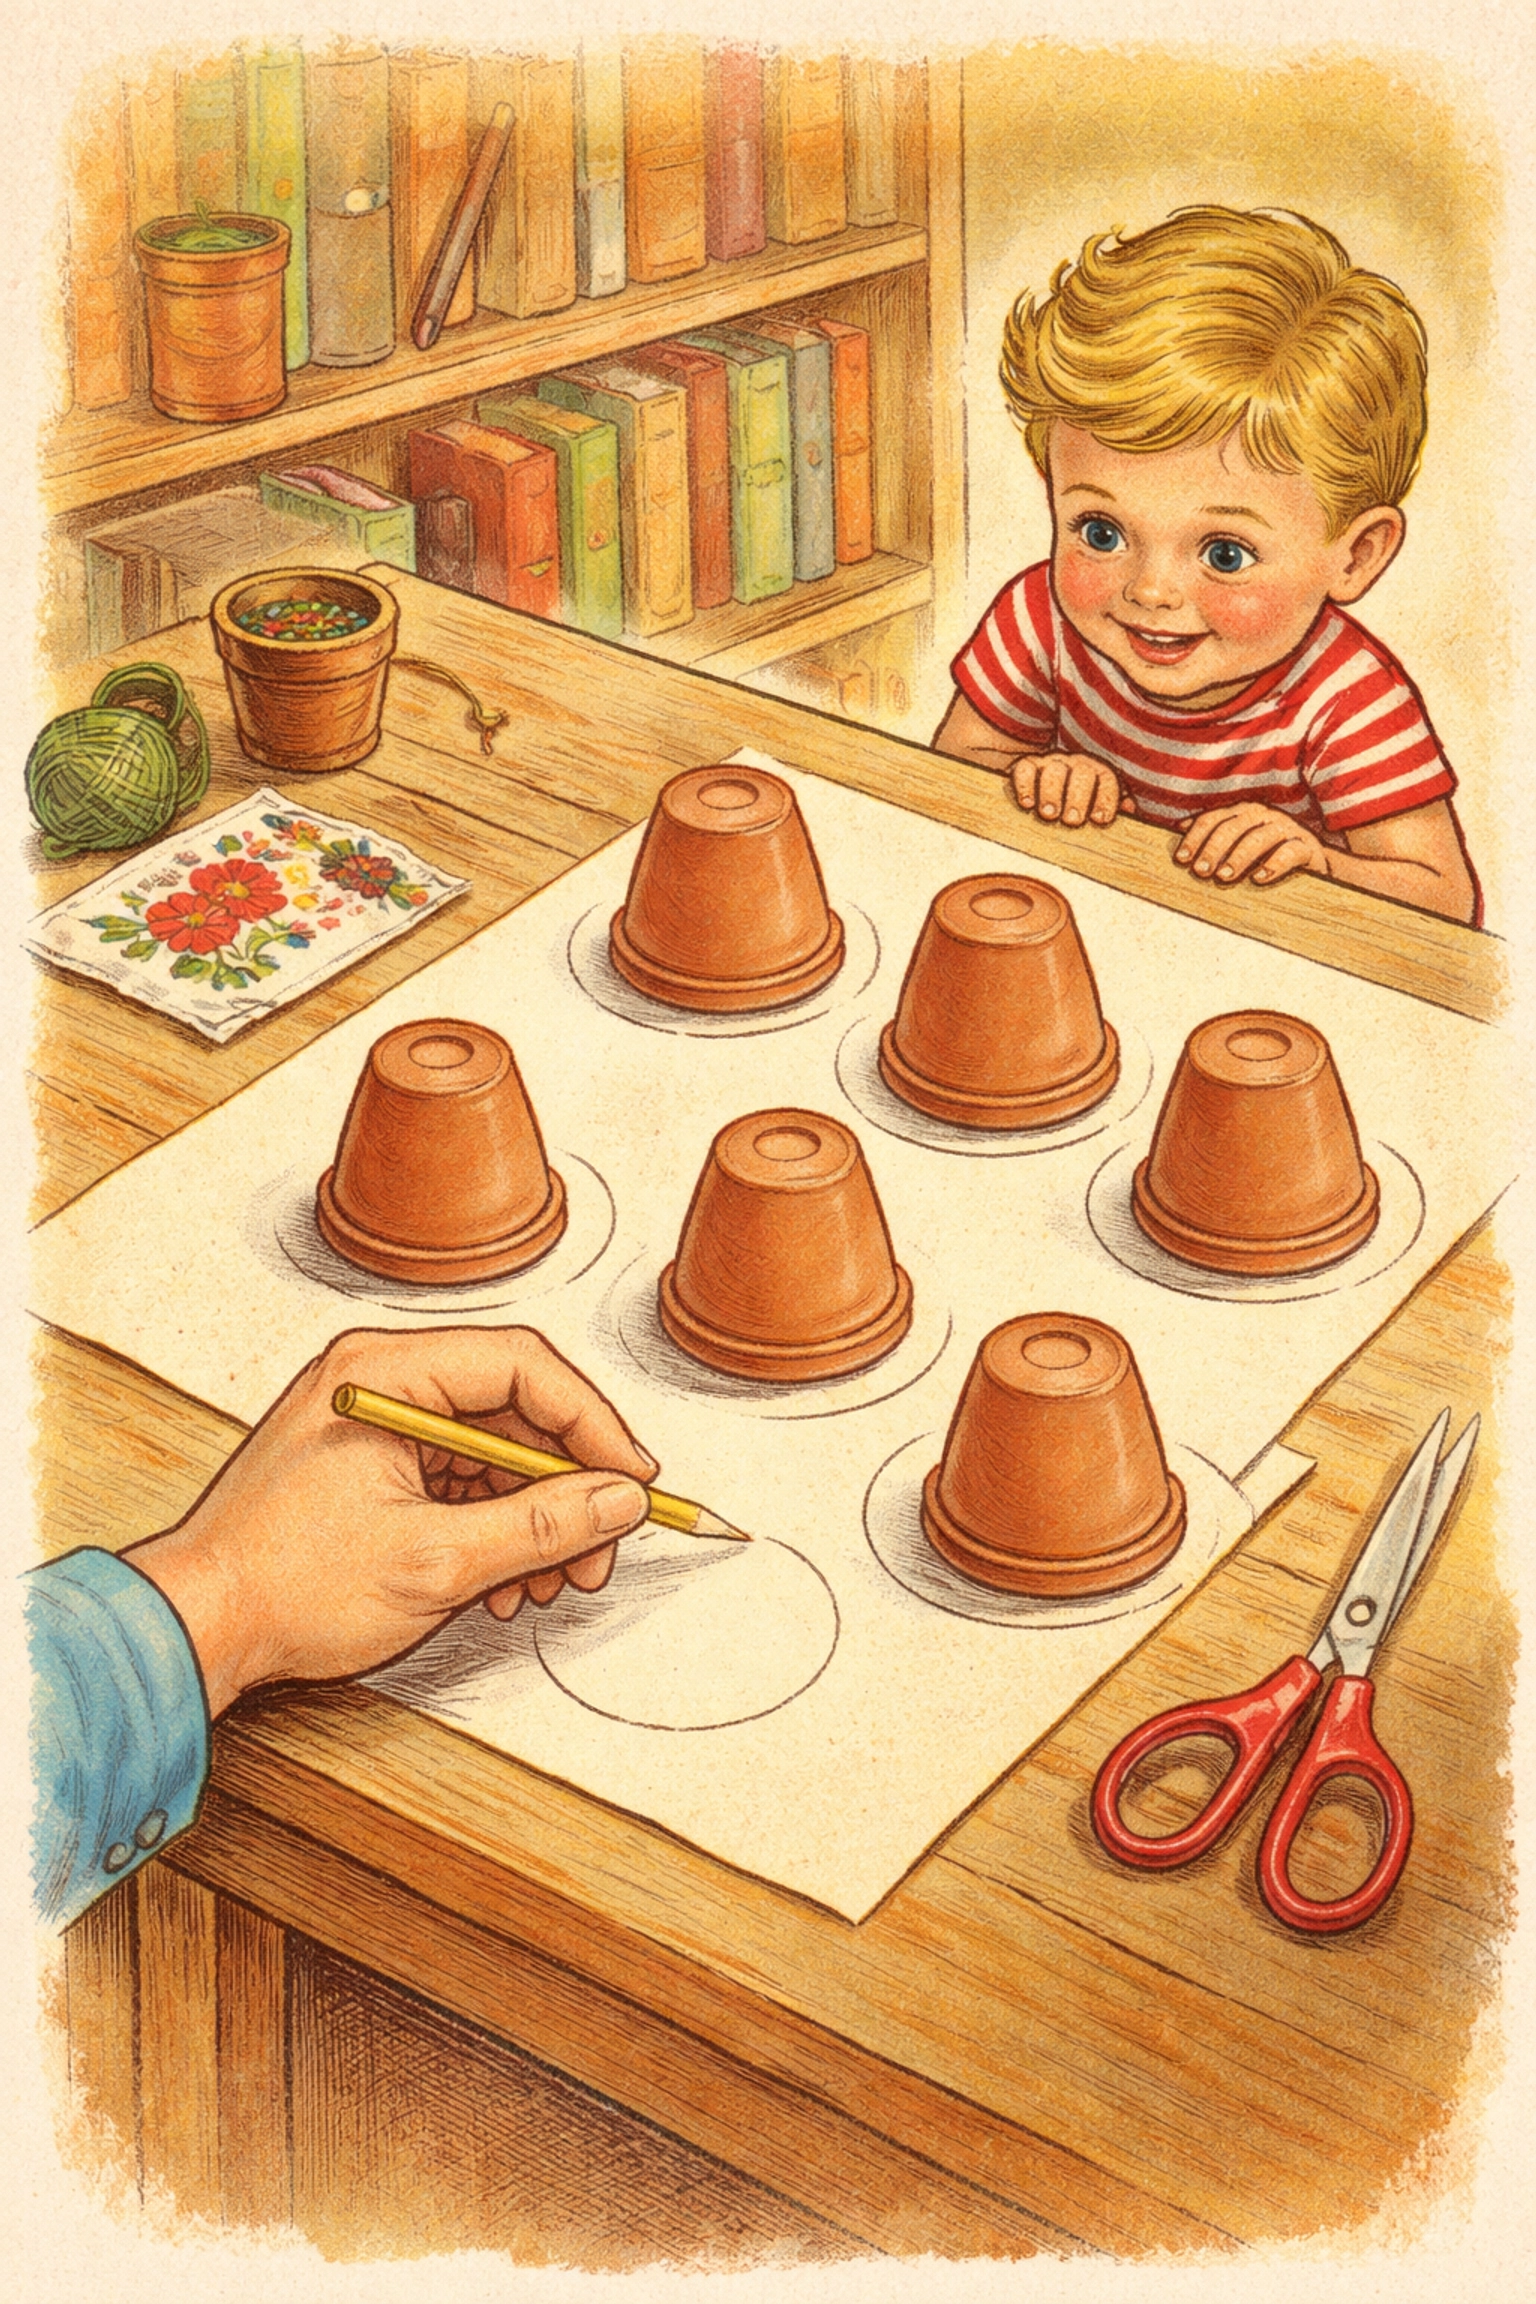
Step 3: Cut the Holes
Safety first! This step requires adult supervision (or an adult doing the cutting entirely).
Using a jigsaw or a drill with a hole saw attachment:
- Drill a starter hole just inside the pencil line.
- Insert the jigsaw blade and carefully cut along the traced circle.
- Remove the cut piece and test-fit your pot. The pot rim should rest on the shelf while the body hangs below.
If the hole is slightly too small, sand the edges until the pot fits snugly.
Step 4: Sand and Seal the Wood
Use sandpaper to smooth any rough edges around the holes. This prevents splinters and gives the bookshelf a polished look.
Next, apply a coat of polyurethane or wood sealant to the entire bookshelf, especially around the cut holes. Herbs need regular watering, and sealing the wood helps protect it from moisture damage over time. Let it dry completely (usually 24 hours) before adding any plants.

Step 5: Add Drainage and Soil
Place a small layer of pebbles or stones at the bottom of each pot. This helps with drainage so your herbs' roots don't sit in soggy soil.
Fill the pots with potting soil, leaving about an inch of space at the top.
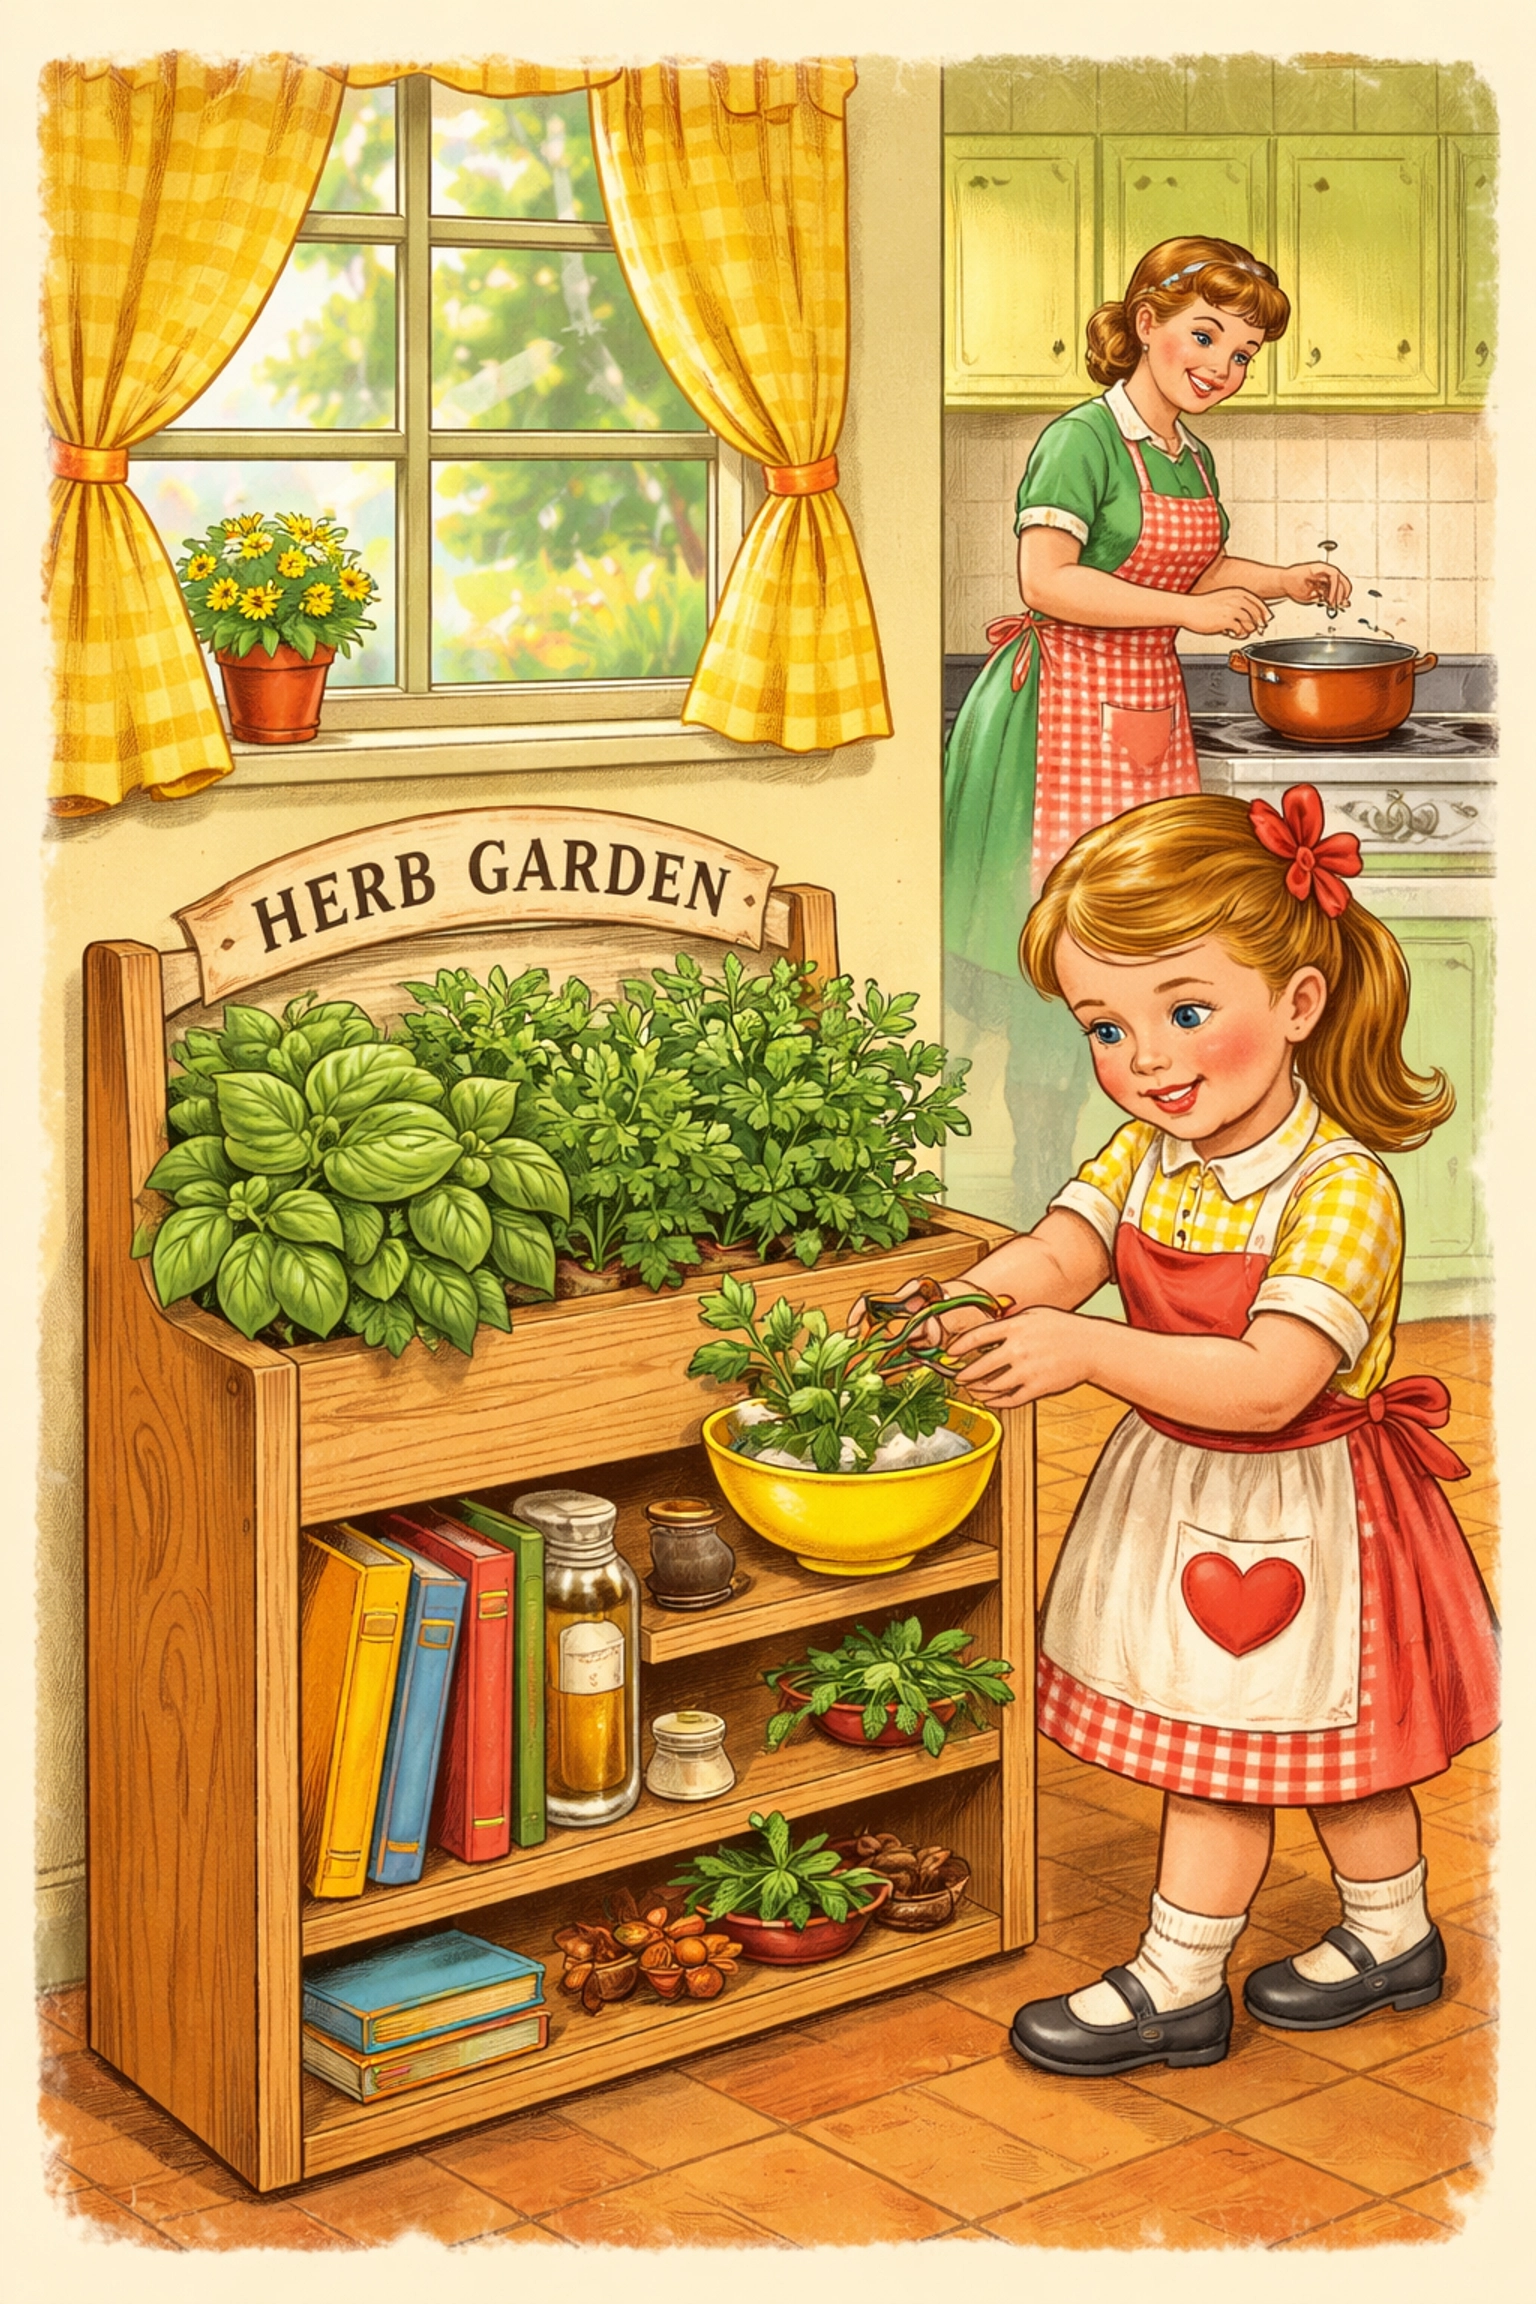
Step 6: Plant Your Herbs
Now for the fun part! Plant your herb seeds according to the packet instructions, or transplant starter plants into your pots.
Some beginner-friendly herbs for indoor growing include:
- Basil – Loves warmth and light
- Mint – Hardy and fast-growing (almost too easy!)
- Parsley – Tolerates lower light
- Chives – Low maintenance and kid-friendly
- Cilantro – Great for tacos, but prefers cooler temps
Step 7: Position Your Sneaky Garden
Carry your bookshelf to a spot near a sunny window. Most herbs prefer 4–6 hours of sunlight per day. A south-facing window is ideal, but east or west-facing windows can work too.
If natural light is limited, you can add a small grow light to one of the upper shelves. It doubles as a reading lamp!
Step 8: Water, Watch, and Harvest
Water your herbs when the top inch of soil feels dry. Overwatering is the most common mistake, so when in doubt, wait a day.
Within a few weeks, you'll have herbs ready to snip. Regular harvesting actually encourages bushier, healthier growth, so don't be shy about using them in your cooking!
Tips for Long-Term Success
- Rotate your pots every week so all sides of the plant get sunlight.
- Don't overcrowd. Give each herb breathing room to prevent mold and mildew.
- Label your herbs with small wooden stakes or painted rocks (kids love this part).
- Check for pests occasionally. Indoor herbs can still attract aphids or gnats.
If you're looking for more ways to keep your plants happy while the family is away, check out our guide on easy DIYs to keep plants watered when kids are away.
Frequently Asked Questions
What if my bookshelf is made of particle board?
Particle board can work, but it's more prone to cracking and water damage. If you go this route, seal it extra well with polyurethane and use plastic pots with saucers to catch drips.
Can I use this method for vegetables too?
Small vegetables like cherry tomatoes or peppers need more root space and light than most bookshelves provide. Stick with herbs for this project, they're much better suited for tight spaces.
How often should I water my indoor herbs?
Most herbs prefer to dry out slightly between waterings. Check the soil every 2–3 days and water when the top inch feels dry.
What if I don't have a jigsaw?
You can often borrow one from a neighbor, rent one from a hardware store, or ask a handy friend for help. Some hardware stores even offer cutting services.
Is this project reversible?
Yes! If you want your bookshelf back, remove the pots and cover the holes with decorative plates, small cutting boards, or fitted wood pieces.
Can I grow herbs without a sunny window?
Yes, but you'll likely need a small grow light. Many affordable clip-on grow lights work well for herb gardens.
What herbs should I avoid indoors?
Rosemary and oregano can be tricky indoors: they prefer drier conditions and lots of airflow. Start with basil, mint, or parsley for easier success.
How do I prevent water from damaging the bookshelf?
Seal the wood before planting, use pots with saucers, and avoid overwatering. A little prevention goes a long way.
Can kids help with this project?
Most of it is very kid-friendly: tracing, planting, watering, and harvesting. Just keep little ones away from the jigsaw step.
References
- University of Maryland Extension. "Growing Herbs Indoors." https://extension.umd.edu/resource/growing-herbs-indoors
- The Old Farmer's Almanac. "How to Grow Herbs Indoors." https://www.almanac.com/content/growing-herbs-indoors
- DIY Network. "How to Build an Herb Planter from a Bookshelf." General woodworking principles adapted for herb shelf construction.
Ready to start your sneaky garden? Grab that old bookshelf, round up the kids, and get planting. Before you know it, you'll be snipping fresh basil for pizza night( straight from your living room furniture.) 🌿


