


Short answer: You can build a simple vertical gutter garden for your porch by mounting vinyl rain gutters onto a wooden frame or directly to your porch railing. Add drainage holes, fill with soil, and plant shallow-rooted herbs, lettuces, or strawberries. The whole project takes about 2-3 hours and can cost under $10 if you salvage or repurpose materials.
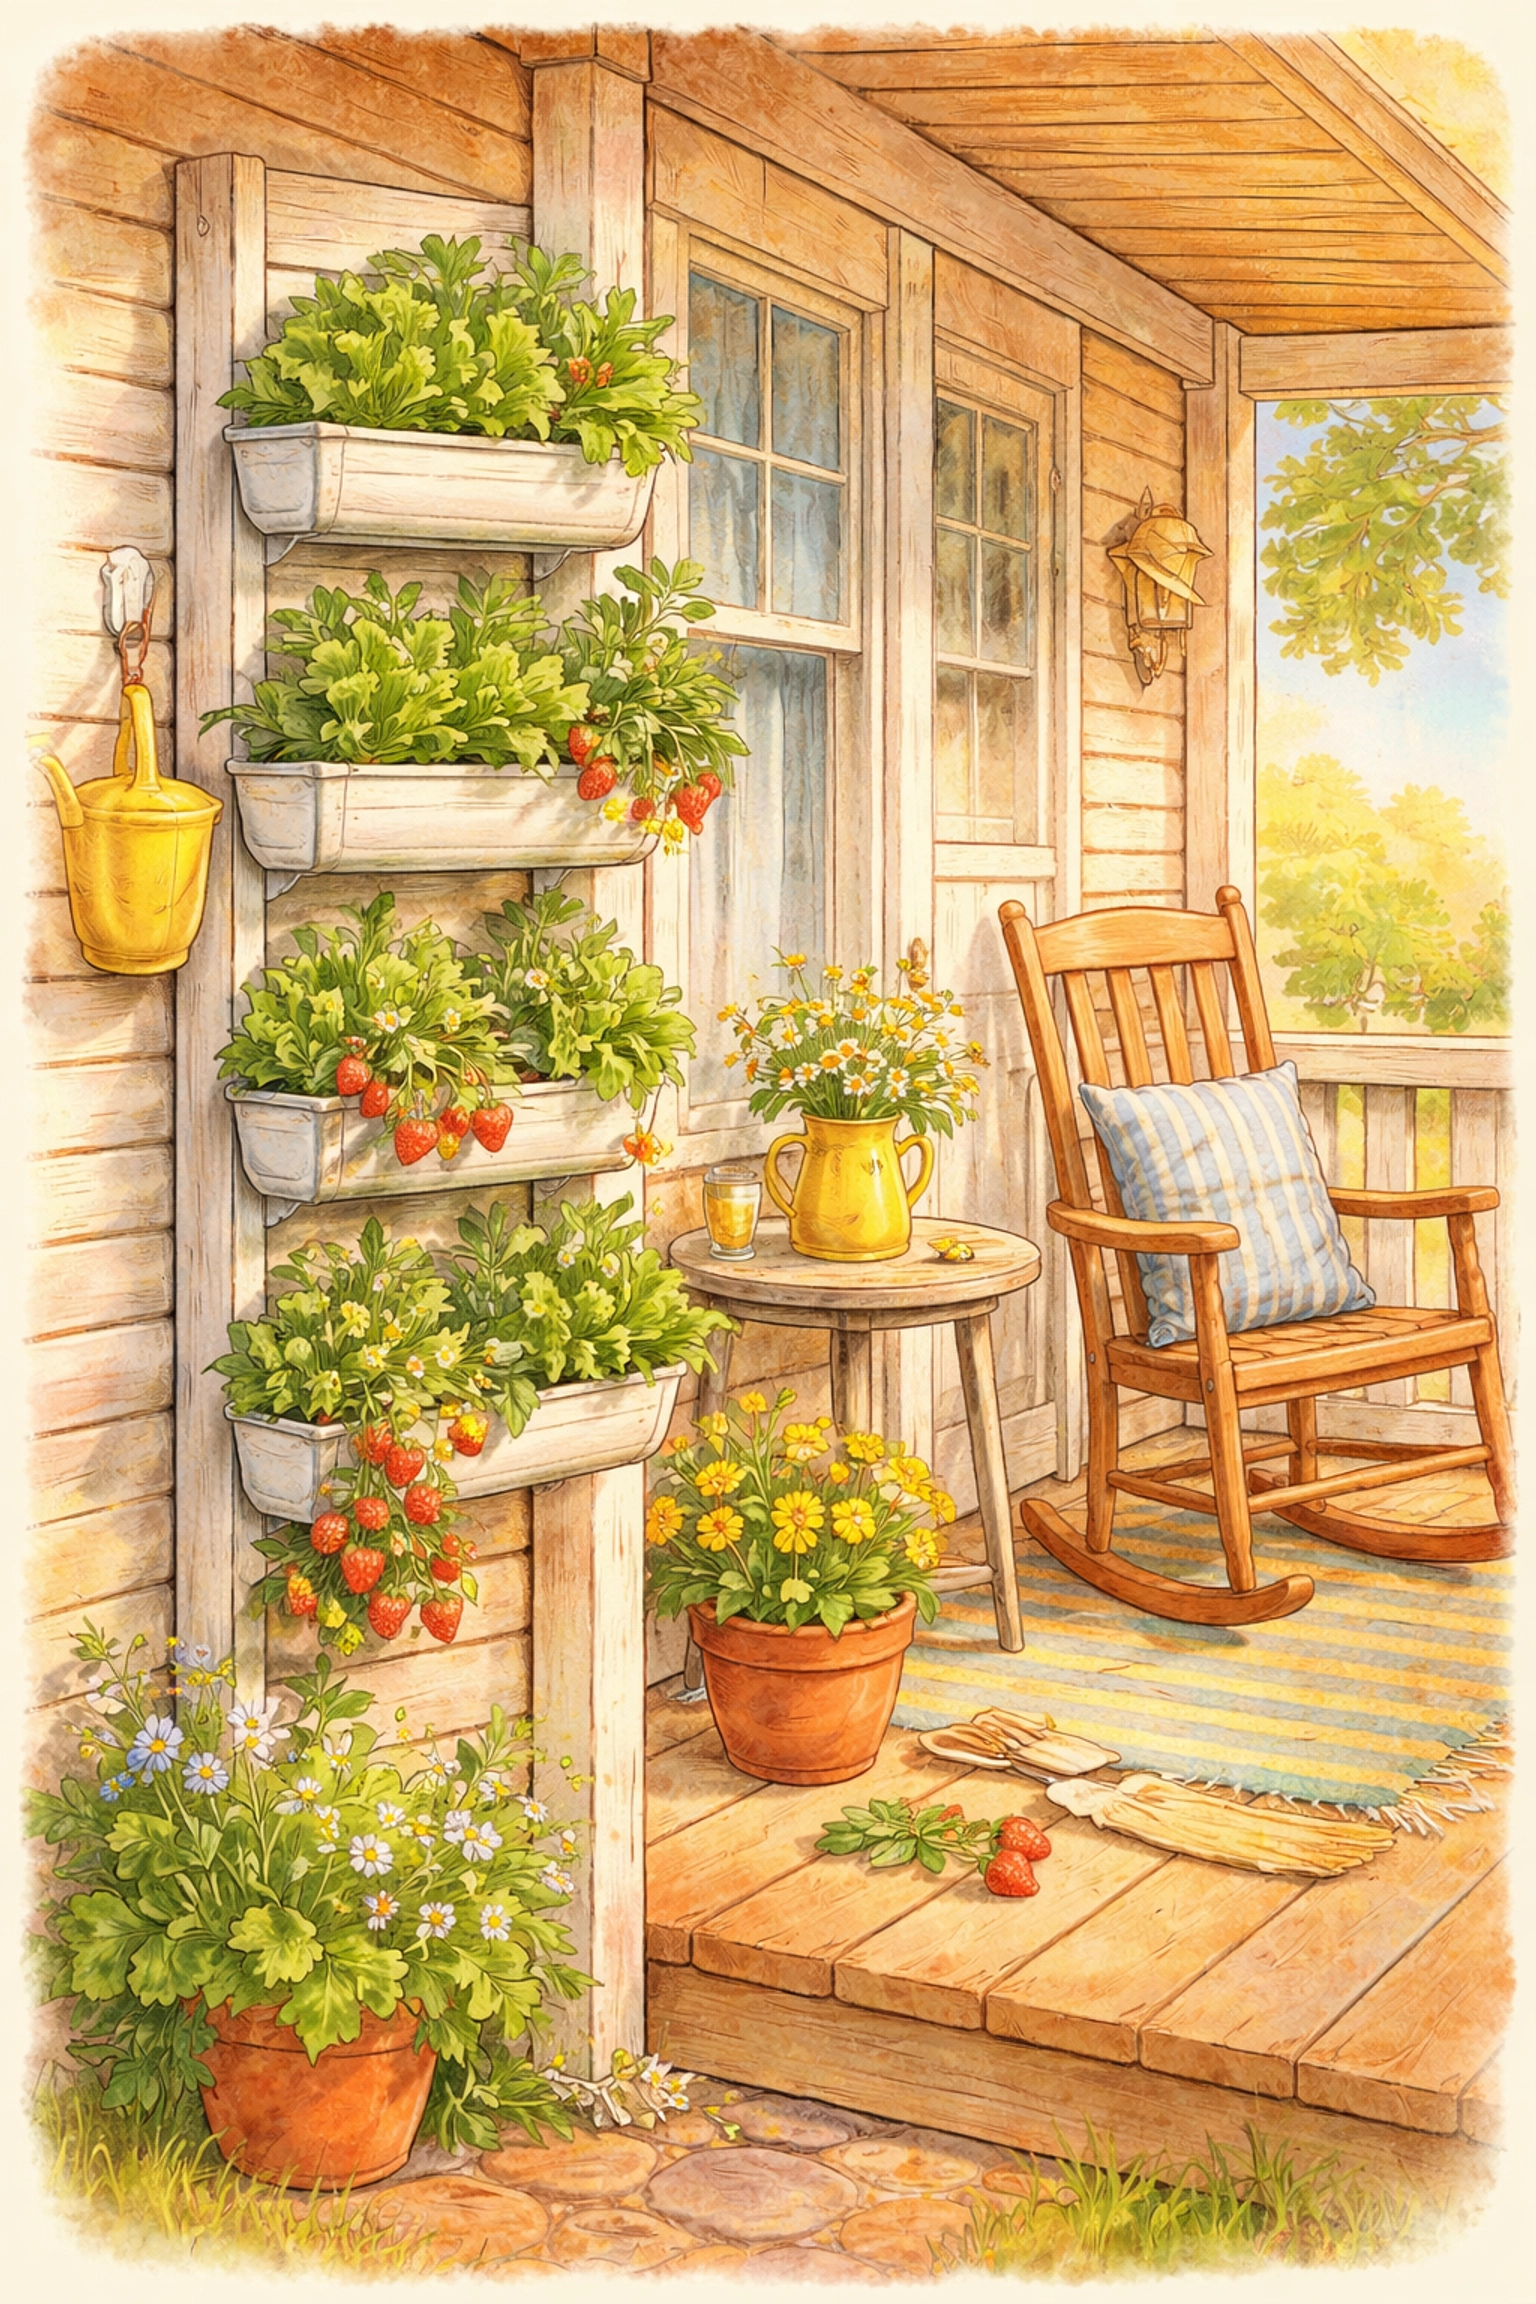
If you've been eyeing your small porch and wishing you had space for a garden, here's some good news: you already do. Vertical gutter gardens turn empty wall space or railing edges into productive growing areas. They're perfect for apartments, townhomes, or anyone who wants fresh herbs within arm's reach of the kitchen door.
This project is also fantastic for getting kids involved in gardening. The gutters are at manageable heights, the planting process is straightforward, and watching seeds sprout in an unexpected place makes the whole experience feel like a science experiment.
Let's build one together.
Why Gutter Gardens Work So Well
Rain gutters weren't designed for gardening, but they're accidentally perfect for it. They're lightweight, weather-resistant, and already shaped like long, shallow planters. The depth (usually 4-5 inches) is ideal for lettuce, spinach, herbs, strawberries, and other shallow-rooted plants that don't need deep soil.
Mounting them vertically means you can stack 3-4 growing levels in the same footprint as a single pot. That's a lot of salad greens in very little space.
What You'll Need
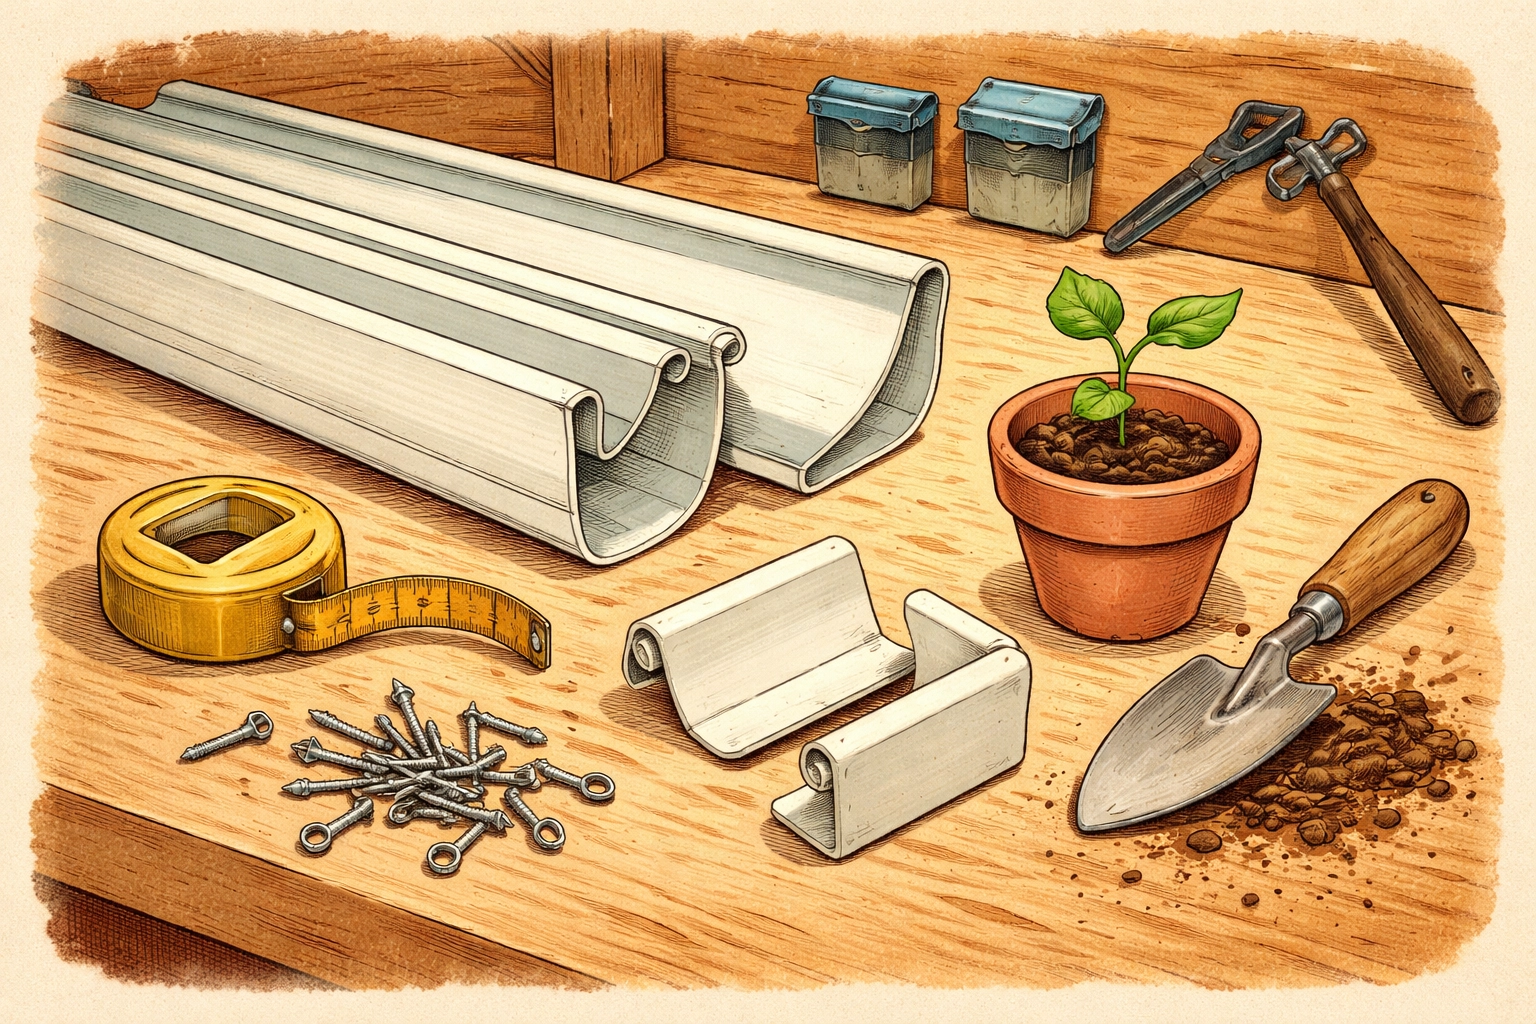
Here's your complete shopping and scavenging list:
Materials
- Vinyl rain gutters – One 10-foot section can be cut into multiple lengths (you'll want 2-4 pieces depending on your design)
- Gutter end caps – 2 per gutter section
- Mounting brackets or hooks – 2-3 per gutter
- Wooden boards – 2x4s or 1x4s for a freestanding frame, OR use existing railing
- Construction screws – 2½-inch length
- Screen material – Old window screen or landscape fabric scraps work great
- Potting soil – Lightweight, well-draining mix
Tools
- Drill with bits
- Hacksaw or circular saw (for cutting gutters and wood)
- Tape measure
- Level
- Pencil
Budget Breakdown (Under $10 Version)
The key to keeping this project ultra-affordable is sourcing materials creatively. Here's how to do it on the cheap:
| Item | New Price | Budget Option | Budget Cost |
|---|---|---|---|
| Vinyl gutters (10 ft) | $8-12 | Salvage from renovation sites, Facebook Marketplace, or leftover scraps | $0-3 |
| End caps (4) | $3-5 | Often included with salvaged gutters, or use waterproof tape + cardboard | $0-2 |
| Mounting brackets | $6-10 | Use heavy-duty zip ties, S-hooks, or scrap wood blocks | $0-2 |
| Screws | $5-8 | Raid your junk drawer or hardware stash | $0 |
| Screen material | $5-10 | Cut from old window screens or use coffee filters | $0 |
| Potting soil (small bag) | $4-6 | Mix garden soil with compost you've made | $0-3 |
| TOTAL | $31-51 | Salvaged/repurposed approach | $0-10 |
Pro tip: Drive around neighborhoods on bulk trash pickup days. You'll often find perfectly good gutter sections that were removed during roof replacements.
Step-by-Step Building Instructions
Step 1: Plan Your Layout
Before cutting anything, decide how you want to mount your gutters:
- Wall-mounted: Attach directly to your porch wall or the side of your house
- Railing-mounted: Hang from an existing porch railing using hooks
- Freestanding frame: Build a simple ladder-style wooden structure
For beginners, railing-mounted is the easiest. For the most growing space, build a freestanding A-frame that can hold gutters on both sides.
Measure your space and sketch a quick plan. Standard gutter sections work well at 3-4 foot lengths for porches.
Step 2: Cut Your Gutters to Size
Using a hacksaw, cut your 10-foot gutter section into your desired lengths. Smooth any rough edges with sandpaper so little hands won't get scraped during planting.
A single 10-foot section typically yields:
- Two 4-foot sections, or
- Three 3-foot sections
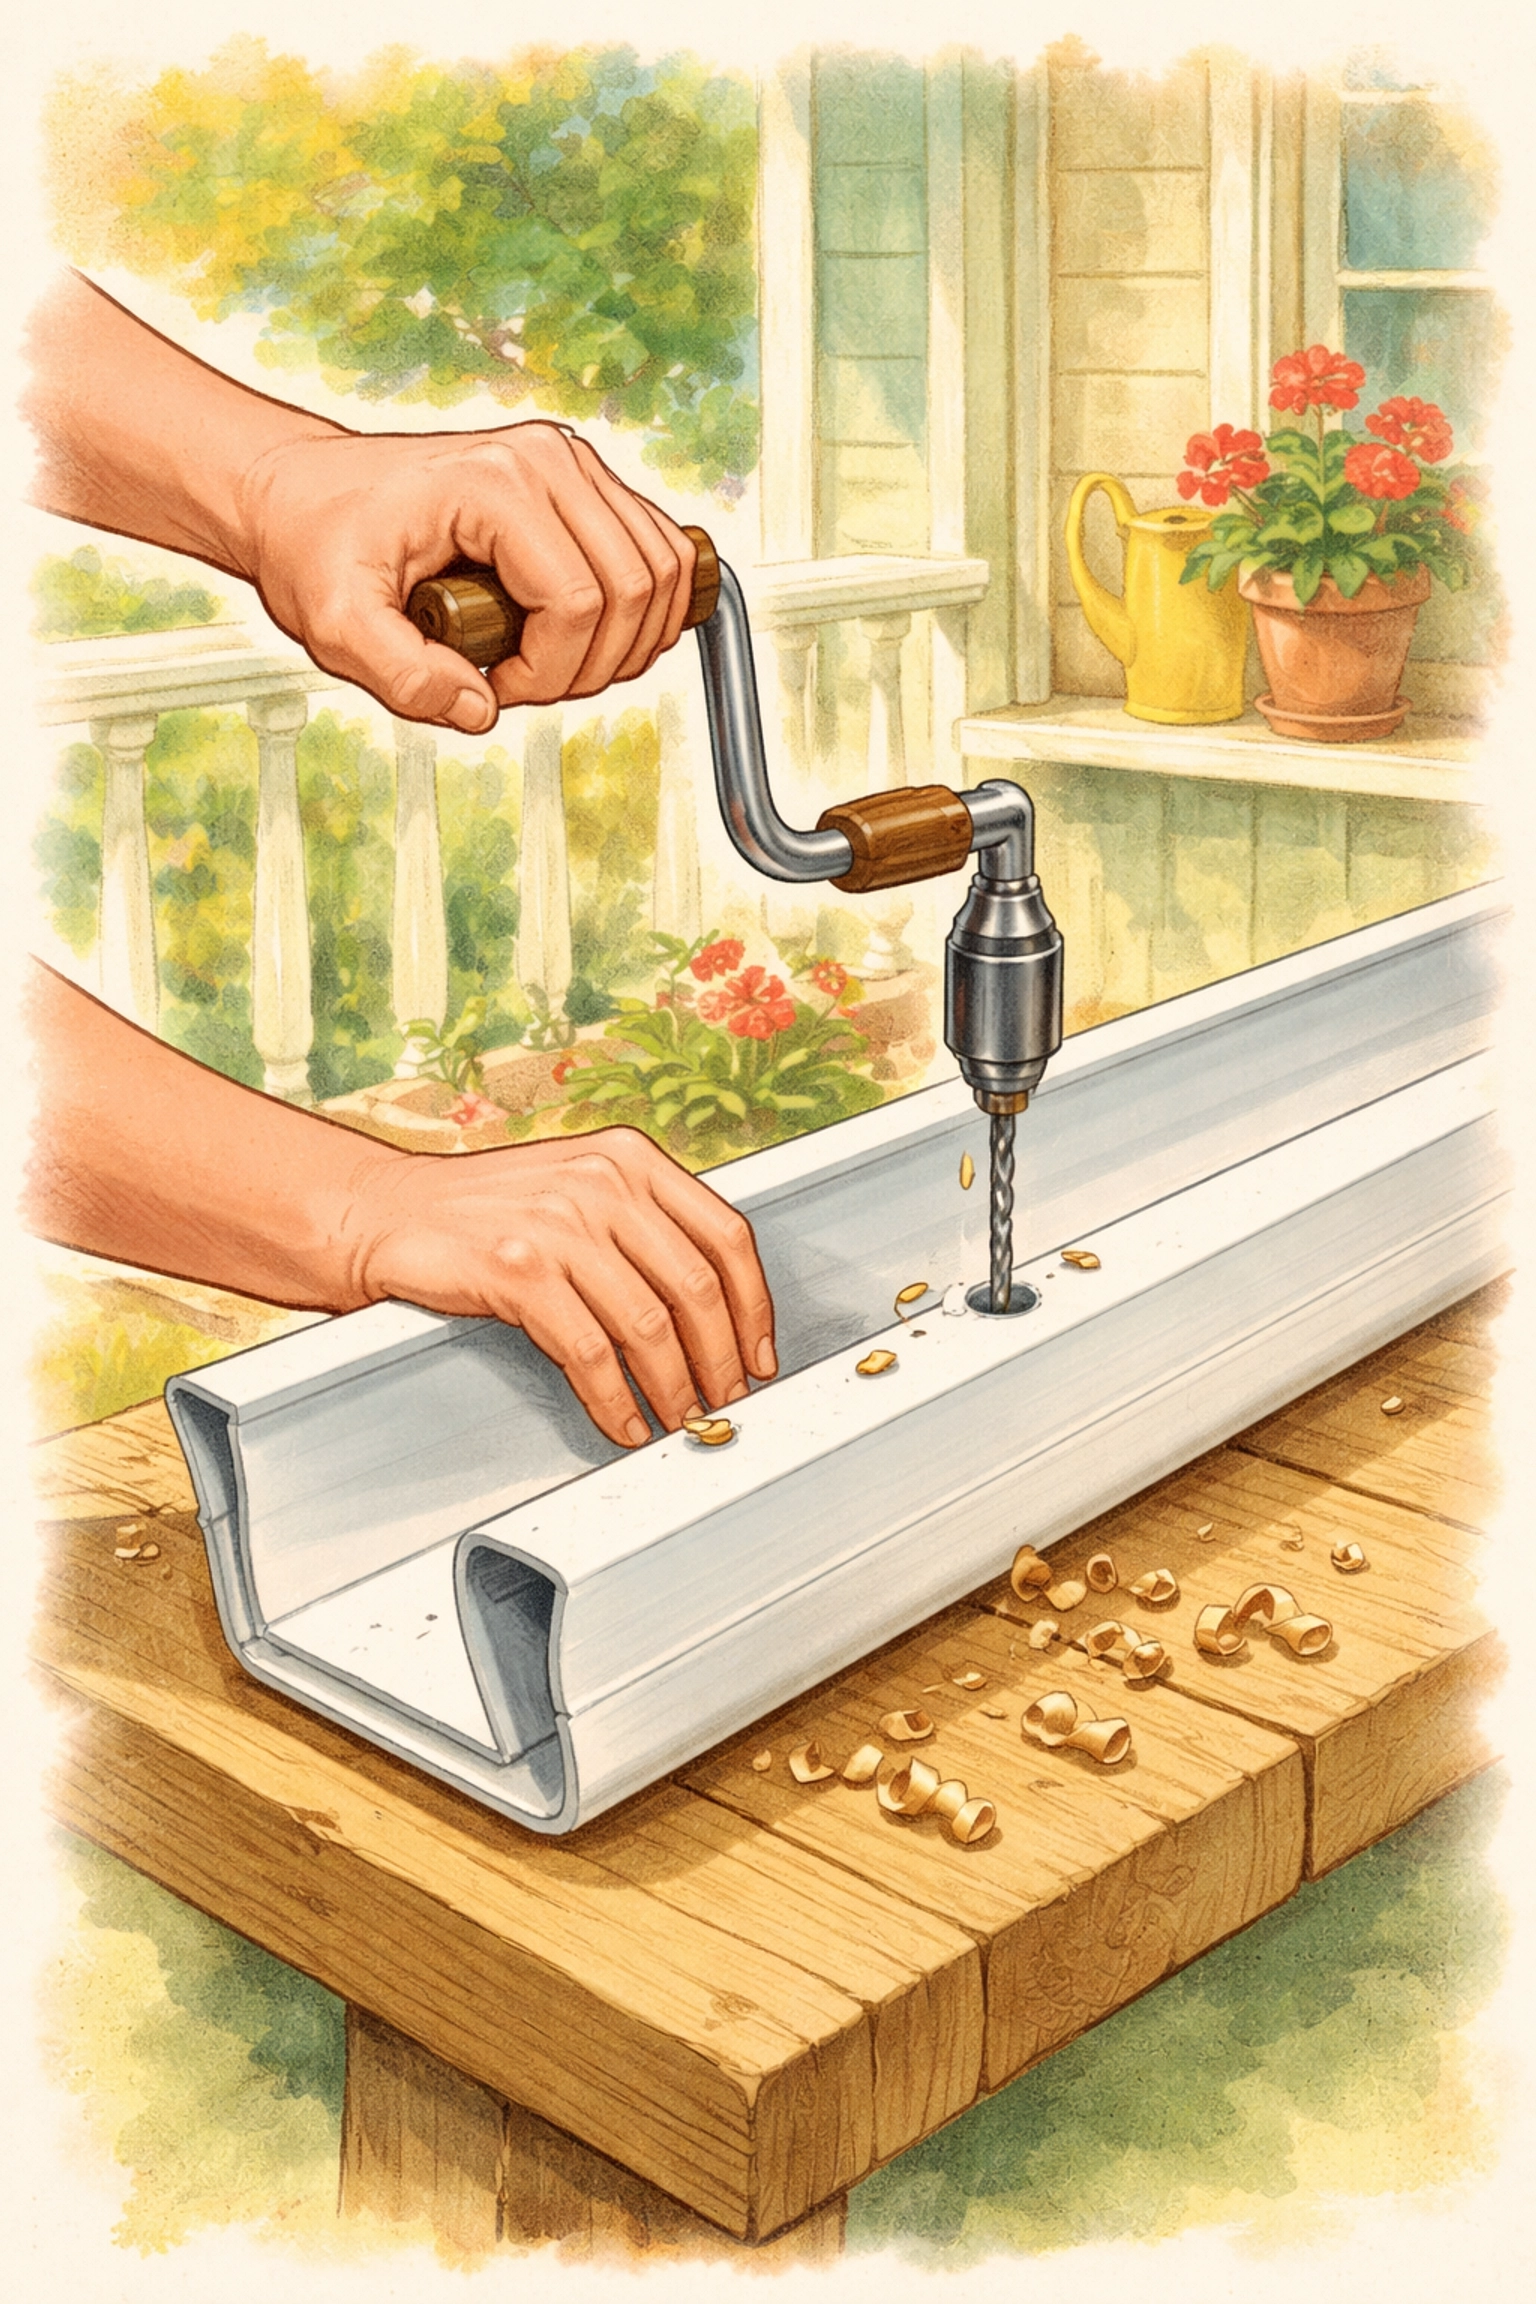
Step 3: Add Drainage Holes
This step is critical. Without drainage, your plants will drown.
Flip each gutter section upside down and drill ½-inch holes along the bottom, spaced about 6 inches apart. Stay at least 9 inches away from each end so water doesn't leak out the sides before plants can use it.
Family project tip: Let older kids handle the marking and measuring while you operate the drill. It's a great way to practice precision skills.
Step 4: Attach End Caps
Press the end caps firmly onto each end of your gutter sections. These should snap into place. If they feel loose, run a bead of waterproof silicone or outdoor adhesive around the inside edge before attaching.
Give them 24 hours to cure if using adhesive.
Step 5: Build or Prepare Your Mounting System
For wall mounting:
Mark your bracket locations on the wall, spacing them evenly (one bracket every 16-18 inches works well). Use a level to ensure your lines are straight. Drill pilot holes and screw brackets into place. Leave a very slight downward angle toward your drainage holes so water flows properly.
For railing mounting:
Attach over-the-rail hooks or heavy-duty zip ties. Make sure the gutters are secure enough to handle the weight of wet soil (which is heavier than you'd expect).
For a freestanding frame:
Build two identical "ladders" using 2×4 boards with horizontal rungs spaced about 12 inches apart. Connect them at the top with hinges to create an A-frame that opens and closes. Mount your gutter brackets on each rung.
Step 6: Line the Gutters
Before adding soil, lay a strip of screen material or landscape fabric along the bottom of each gutter. This keeps soil from washing out through your drainage holes while still allowing water to escape.
Cut your screen slightly wider than the gutter bottom and let the edges curl up the sides about an inch.
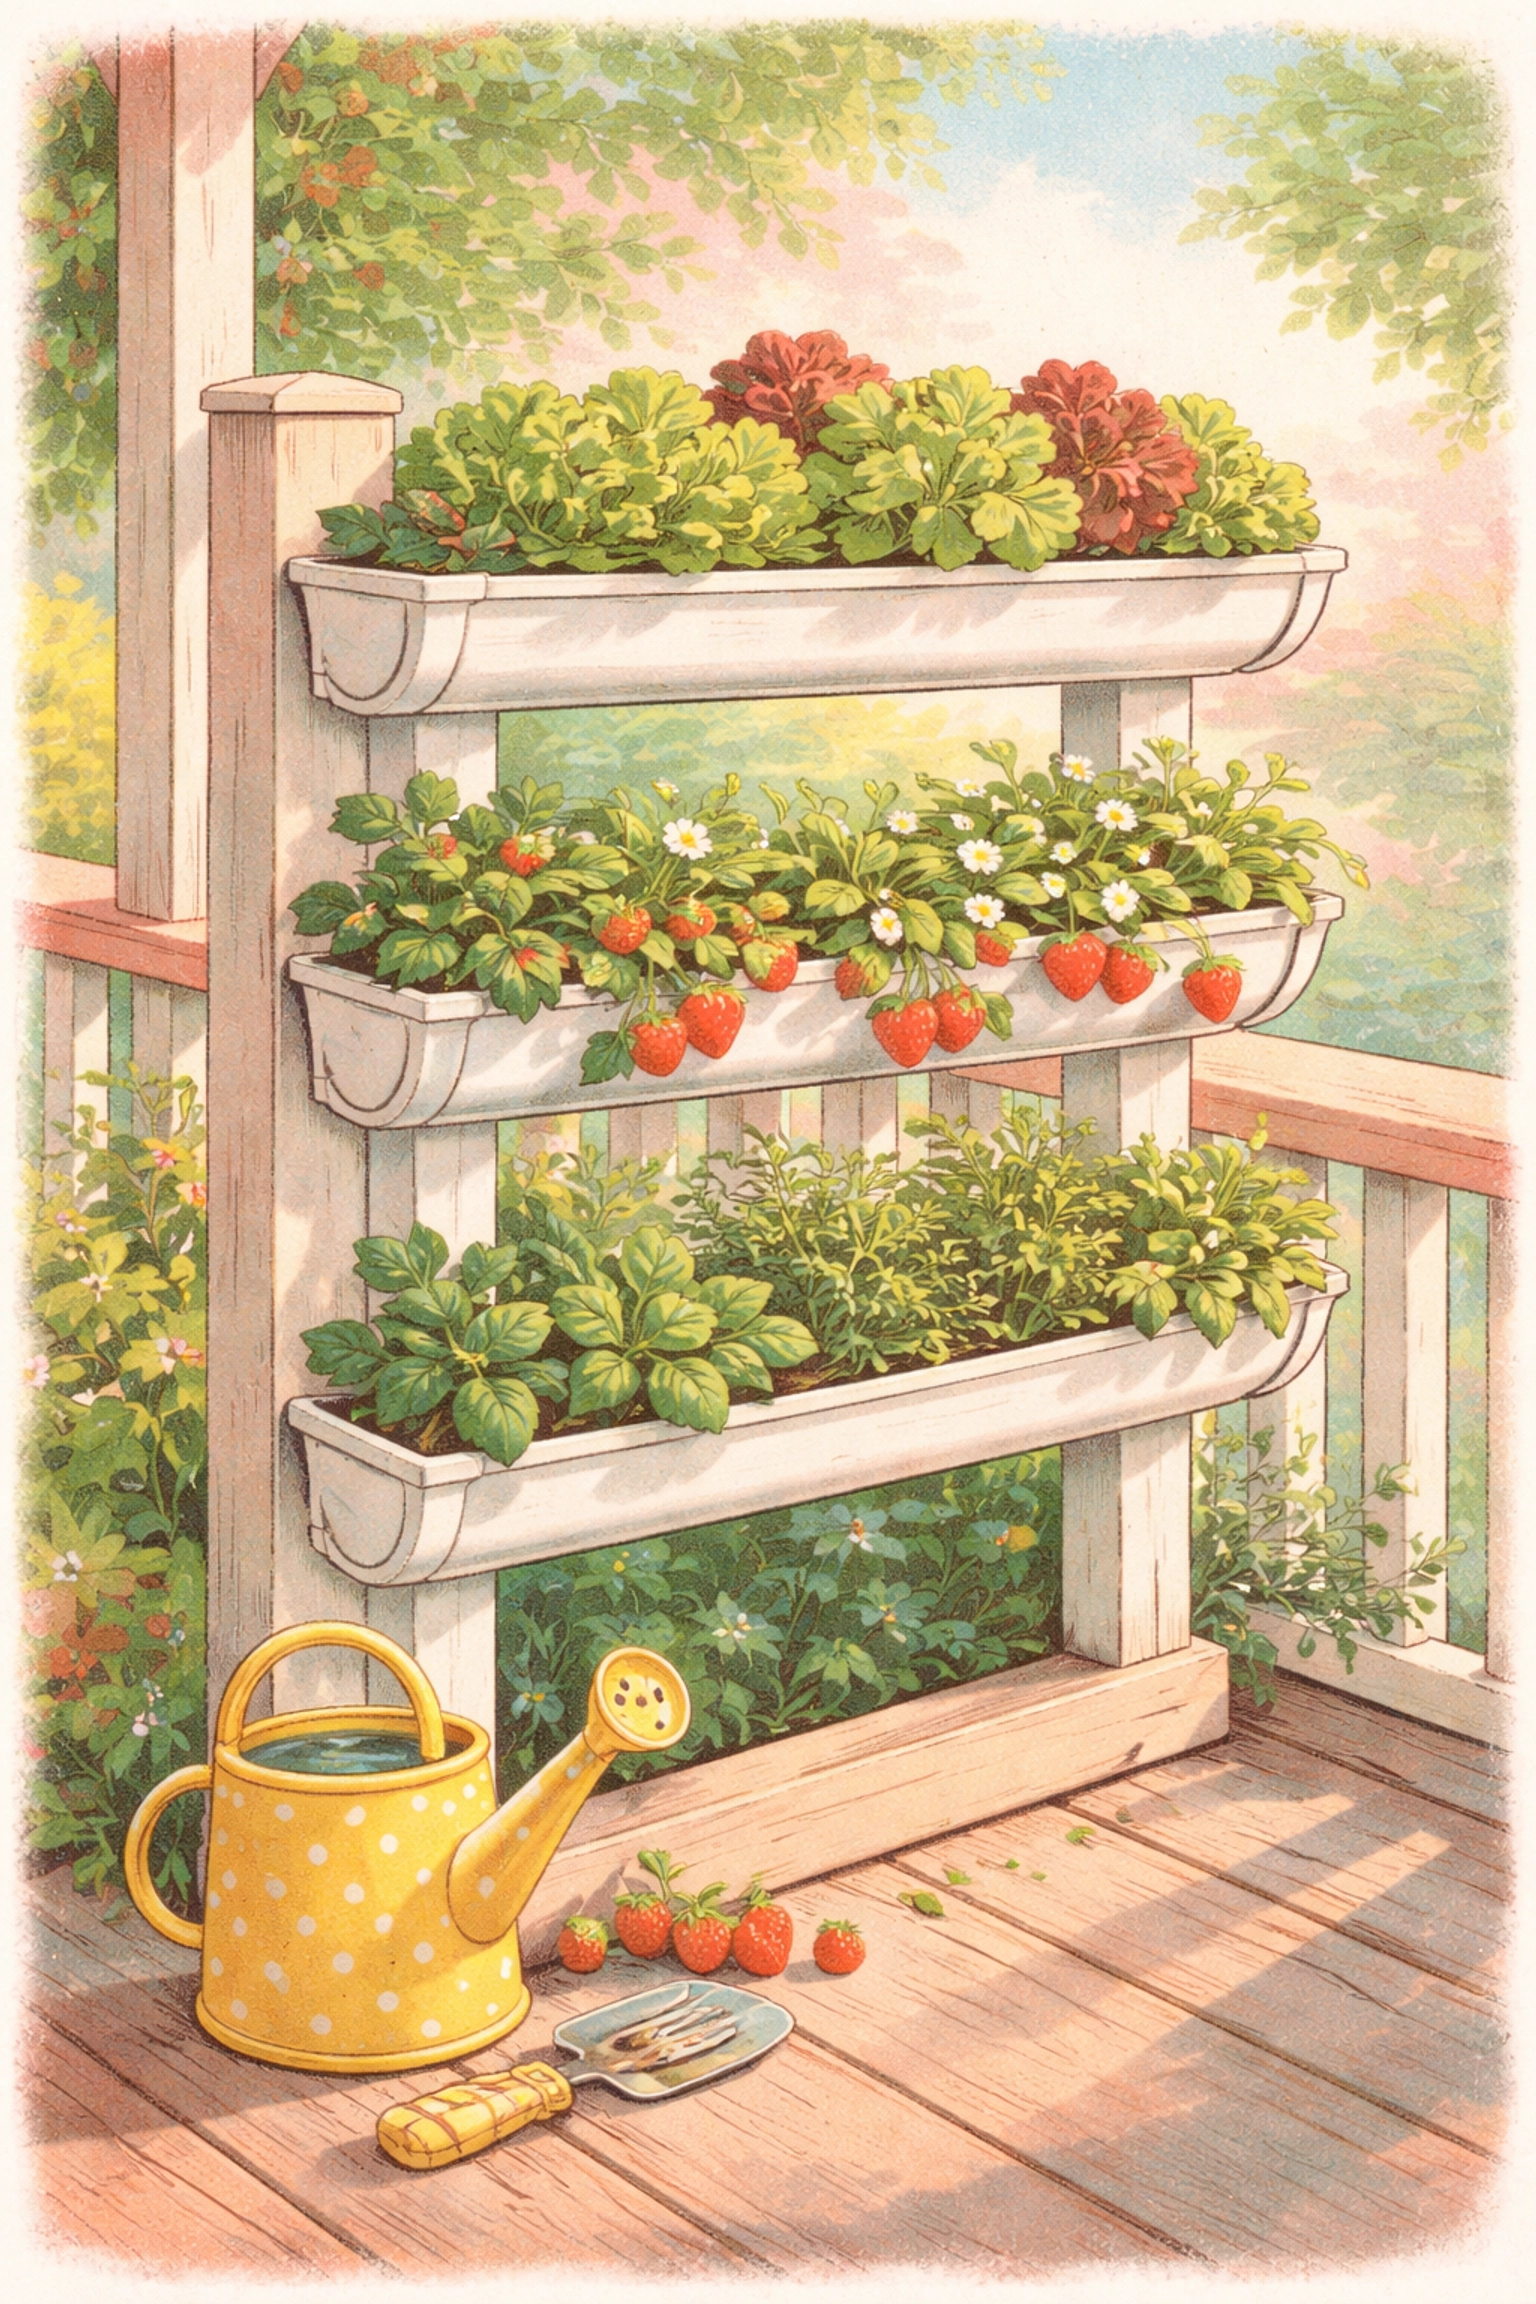
Step 7: Add Soil and Plants
Fill each gutter with lightweight potting mix, leaving about ½ inch of space at the top. Avoid using heavy garden soil, it compacts too much in shallow containers and drains poorly.
Now the fun part: planting! Great choices for gutter gardens include:
- Lettuce and salad greens – Quick-growing and shallow-rooted
- Herbs – Basil, cilantro, chives, and parsley thrive in gutters
- Strawberries – They'll cascade beautifully over the edges
- Spinach – Loves the partial shade that vertical mounting can provide
- Radishes – Fast-growing and perfect for impatient young gardeners
Space plants according to their seed packet instructions, but you can usually plant slightly closer together since vertical gardens have excellent air circulation.
Step 8: Water and Maintain
Gutter gardens dry out faster than traditional containers because of their shallow depth. Check soil moisture daily during warm weather, stick your finger an inch into the soil. If it's dry, water thoroughly.
If you've stacked multiple gutters, position them so water from the top tier drips into the one below. This cascade effect means you often only need to water the top gutter.
For hands-free watering, consider adding a simple drip irrigation line along each tier. You can find inexpensive kits at garden centers, or check out our post on easy DIY watering solutions.
Tips for Success
- Location matters: Most edible plants need at least 6 hours of sunlight. Position your gutter garden where it'll get adequate light.
- Don't overcrowd: It's tempting to pack plants in tightly, but they need room to grow.
- Harvest regularly: Cutting lettuce and herbs encourages new growth and extends your harvest season.
- Refresh soil annually: At the end of the growing season, dump old soil into your compost and start fresh next year.
Frequently Asked Questions
How deep should gutters be for planting?
Standard 5-inch vinyl gutters work perfectly for most shallow-rooted plants like lettuce, herbs, and strawberries. Plants needing deeper roots (tomatoes, peppers) won't thrive in gutters.
Can I use metal gutters instead of vinyl?
Yes, but metal gutters heat up faster in direct sun, which can stress plant roots and dry out soil quickly. If using metal, position them in a spot with afternoon shade.
How much weight can a gutter garden hold?
A 4-foot gutter filled with wet soil weighs approximately 20-25 pounds. Make sure your mounting system is rated for this weight plus a safety margin.
What plants should I avoid in gutter gardens?
Skip deep-rooted vegetables like carrots, potatoes, tomatoes, and peppers. Also avoid tall plants that could become top-heavy and tip over.
How often should I water a vertical gutter garden?
During summer, expect to water daily. Shallow containers dry out quickly. Morning watering is best to reduce evaporation and disease risk.
Will my gutter garden survive winter?
In freezing climates, empty your gutters before winter. Water expands when frozen and can crack plastic gutters. Replant in spring.
Can kids help build this project?
Absolutely! Kids can measure, mark hole locations, help attach end caps, add soil, and do all the planting. Adult supervision is needed for power tools only.
Do I need special soil for gutter gardens?
Use lightweight potting mix designed for containers. Avoid heavy garden soil, which compacts in shallow planters and drains poorly.
References
- University of Florida IFAS Extension – Container Gardening Guidelines
- National Gardening Association – Vertical Gardening Techniques
- Penn State Extension – Growing Vegetables in Containers
- Oregon State University Extension – Small Space Vegetable Gardening
Looking for more small-space gardening ideas? Check out our guide on how much space you actually need for a productive hydroponic garden.


