


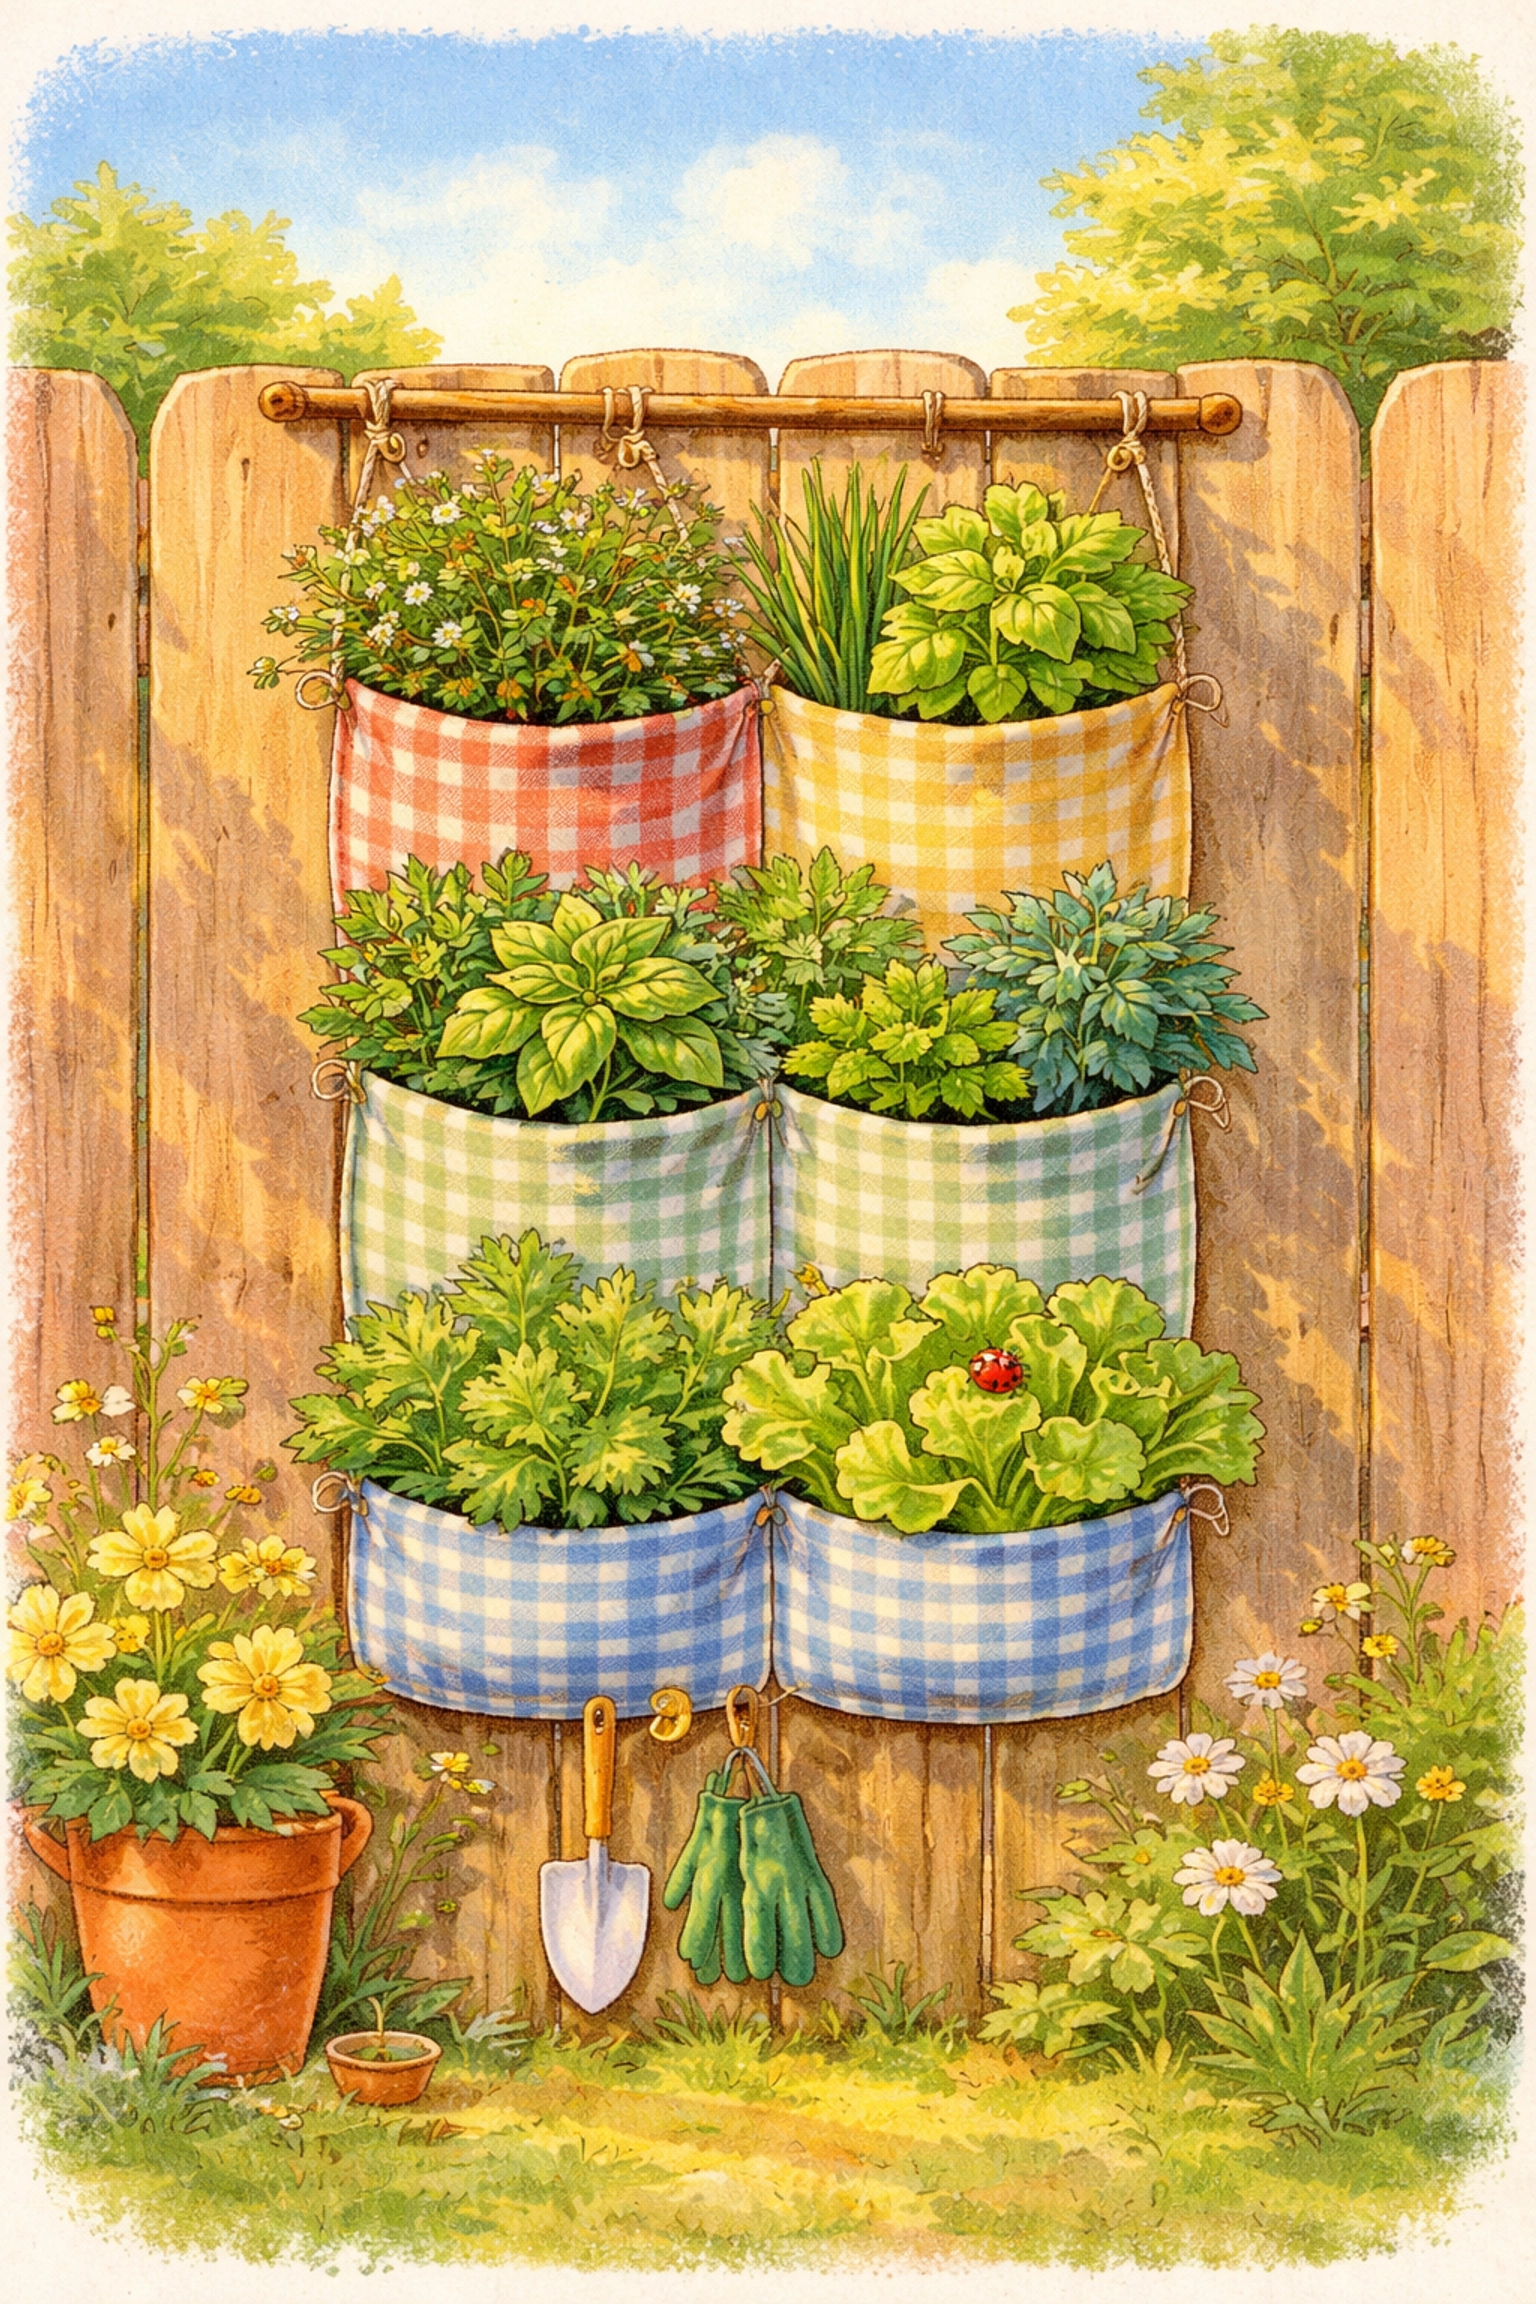
Yes, you can build a beautiful, functional vertical pocket garden using simple felt fabric for under $10! Felt is an ideal material because it holds moisture, allows roots to breathe, and is incredibly easy to work with, even for beginners and kids. A basic felt pocket planter can be assembled in about an hour and mounted on a fence, wall, or balcony railing, turning unused vertical space into a thriving herb or lettuce garden.
This project is perfect for small spaces, apartments, or anyone who wants to get the kids involved in growing their own food without needing a traditional garden bed.
Why Felt Works So Well for Vertical Gardens
You might be wondering why anyone would use felt for growing plants. Here's the deal: felt is porous, which means it allows air to reach the roots while retaining moisture. This creates a healthy environment for plants without the risk of waterlogging.
Unlike plastic pocket planters that can overheat and trap excess water, felt "breathes." It wicks moisture throughout the material, helping distribute water evenly to all your pockets. Plus, felt is lightweight, inexpensive, and doesn't require any sewing skills to work with, a staple gun does all the heavy lifting.
Materials You'll Need
Here's everything required to build a simple three-pocket vertical felt garden. Most of these items can be found at dollar stores, thrift shops, or around your house.
| Material | Estimated Cost |
|---|---|
| Felt fabric (½ yard of thick craft felt or landscape felt) | $2.00–$3.00 |
| Plywood or cardboard backing (12" x 24" scrap piece) | Free–$2.00 |
| Heavy-duty staple gun + staples | Already owned or $5.00 |
| Lightweight potting mix (small bag) | $2.00–$3.00 |
| Seedlings or herb starts (3–6 small plants) | $1.00–$3.00 |
| Eye hooks or chain for hanging (optional) | $1.00 |
| Total | Under $10 |
Tip: If you have an old wool sweater or thick fabric scraps, you can repurpose those instead of buying new felt. Thicker felt (at least ¼ inch) holds up better outdoors.
Step-by-Step Instructions
Step 1: Prepare Your Backing Board
Start with a piece of plywood, thick cardboard, or even a repurposed cutting board. A 12" x 24" size works well for a starter garden with three pockets.
If you're hanging this outdoors on a fence or wall, drill two small holes in the top corners and thread chain or sturdy twine through them. For indoor use, you can simply lean it against a wall or attach it with adhesive hooks.
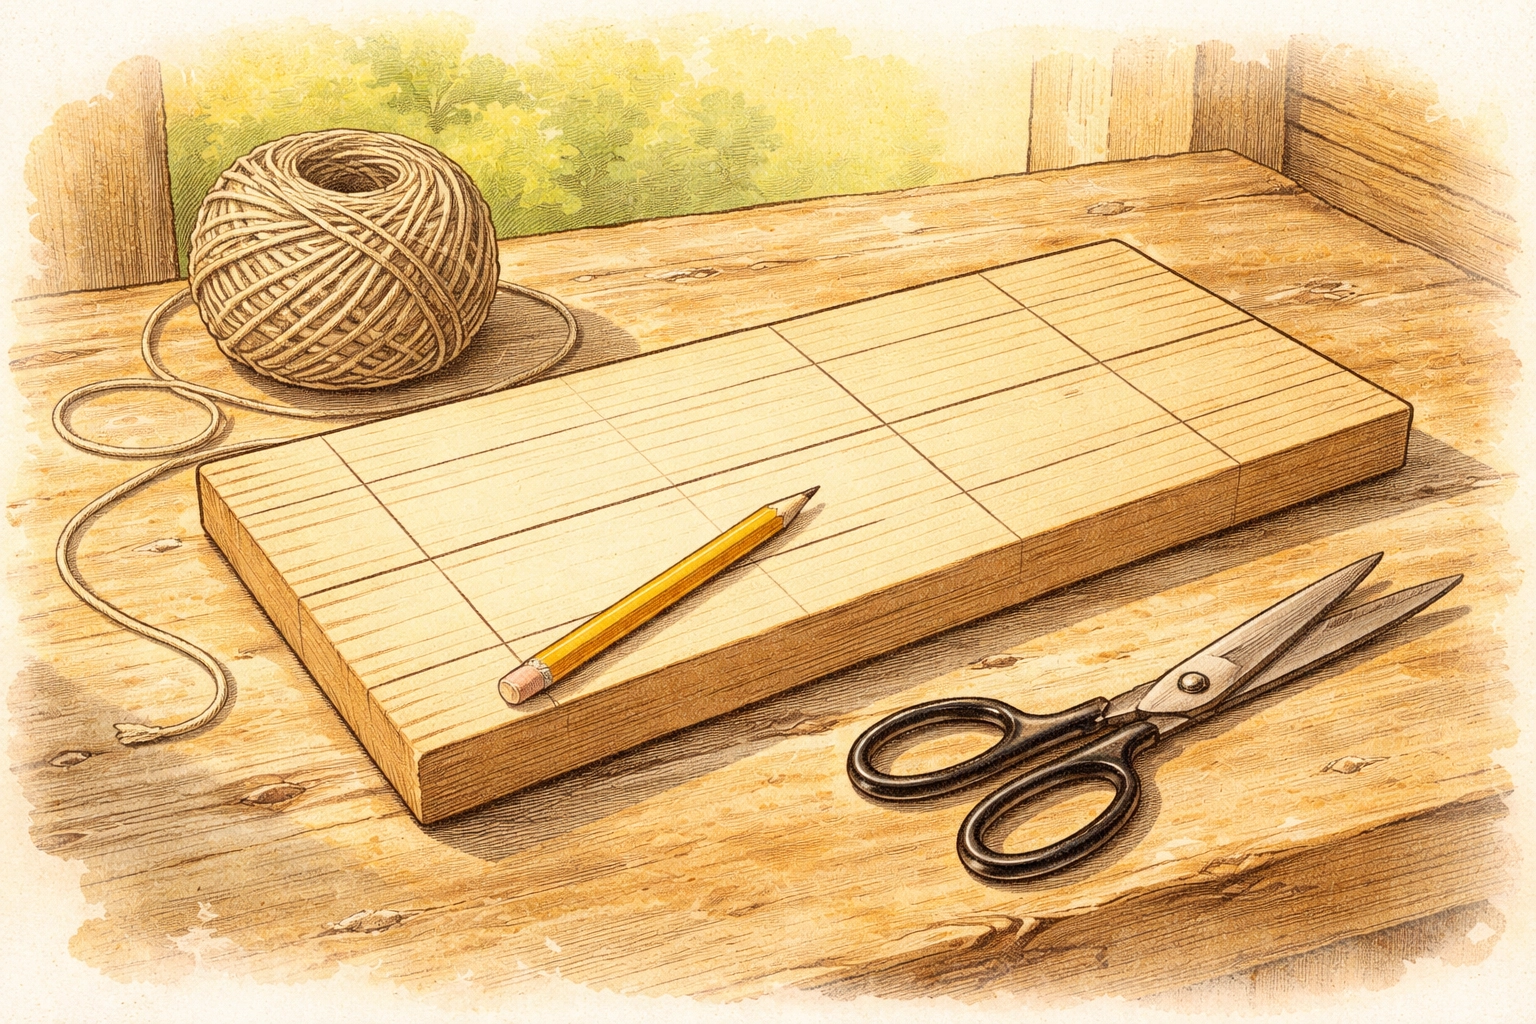
Step 2: Mark Your Pocket Lines
Using a pencil or chalk, draw two horizontal lines across your backing board at 6-inch intervals. These lines will serve as your guides for attaching each felt pocket. With a 24-inch board, you'll have room for three stacked pockets.
Step 3: Cut Your Felt Strips
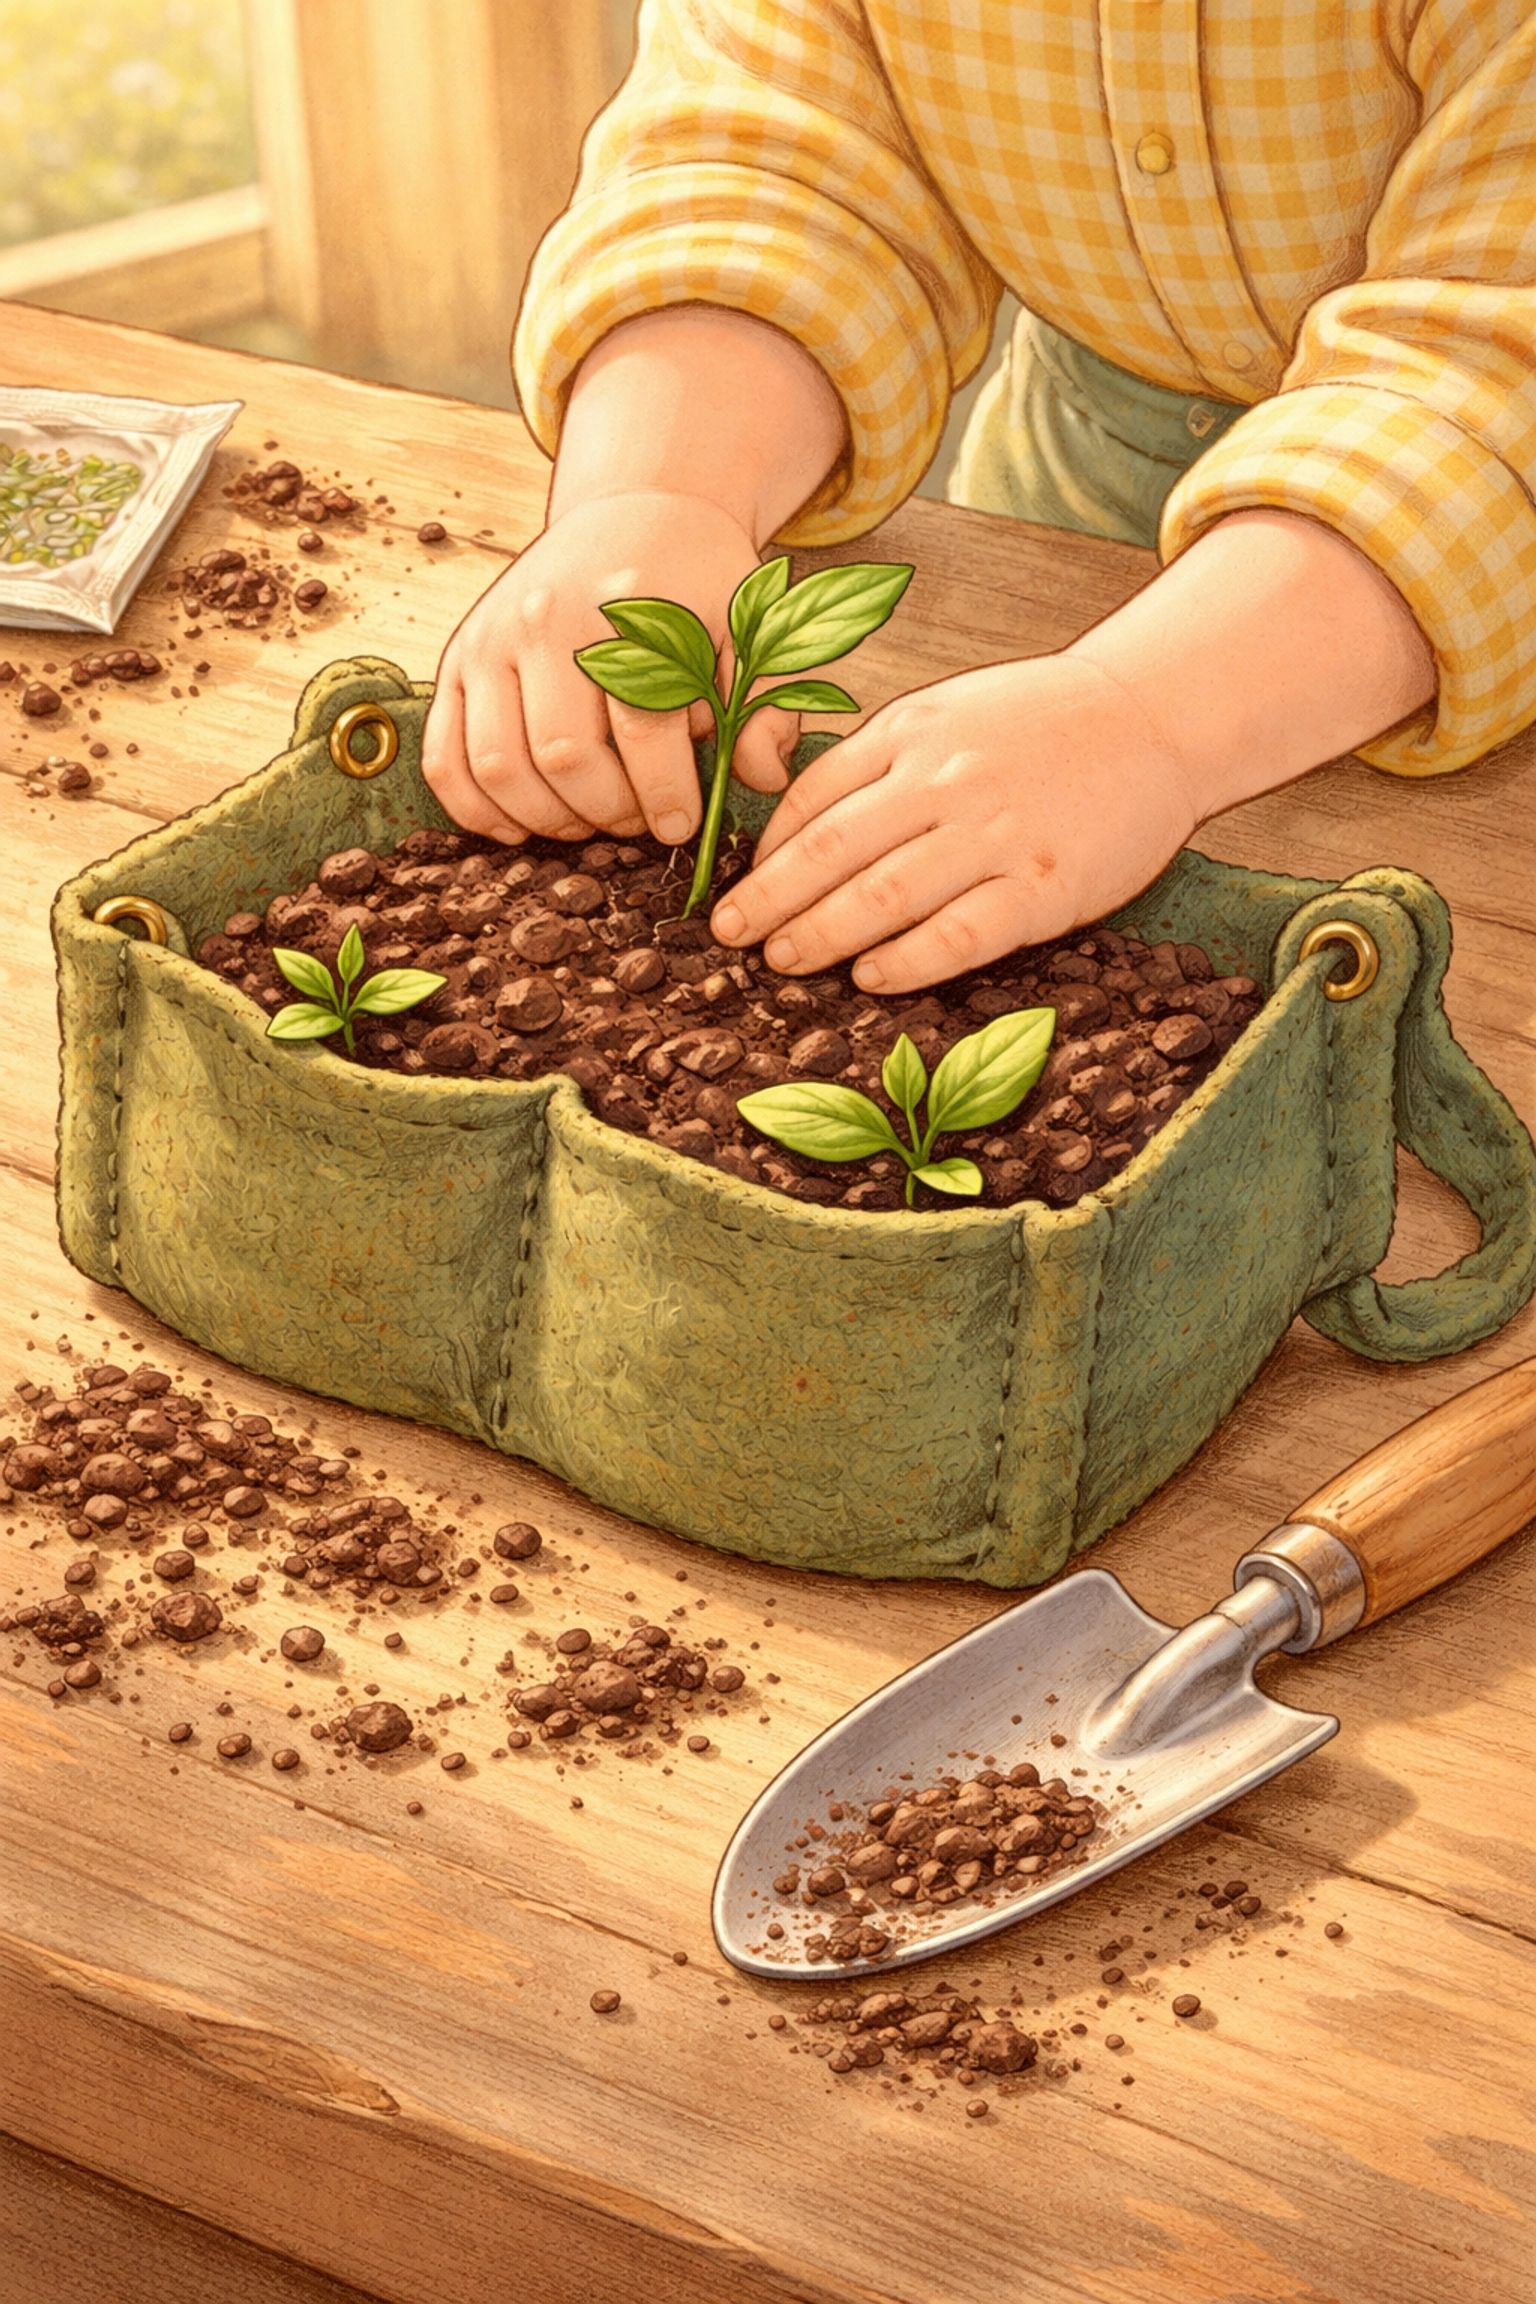
Cut three strips of felt, each approximately 12 inches wide by 10 inches tall. The extra height allows you to create a folded pocket with enough depth to hold soil and roots.
Step 4: Attach the First Pocket
Starting at the bottom of your board:
- Lay one felt strip horizontally along your bottom guideline
- Staple the top edge of the felt strip firmly to the board along the line
- Fold about 3 inches of felt inward on each side to prevent soil from spilling out the edges
- Staple these side folds in place
Now fold the bottom of the felt strip upward to meet about 2 inches below the stapled top edge. This creates your pocket. Staple along the sides to secure the pocket shape.
Important: Add 2–3 vertical staples at the midpoint of each pocket to prevent sagging when soil is added.
Step 5: Repeat for Remaining Pockets
Work your way up the board, attaching the middle pocket along the second guideline and the top pocket along the top guideline. Each pocket should overlap slightly with the one below it, creating a cascading effect.
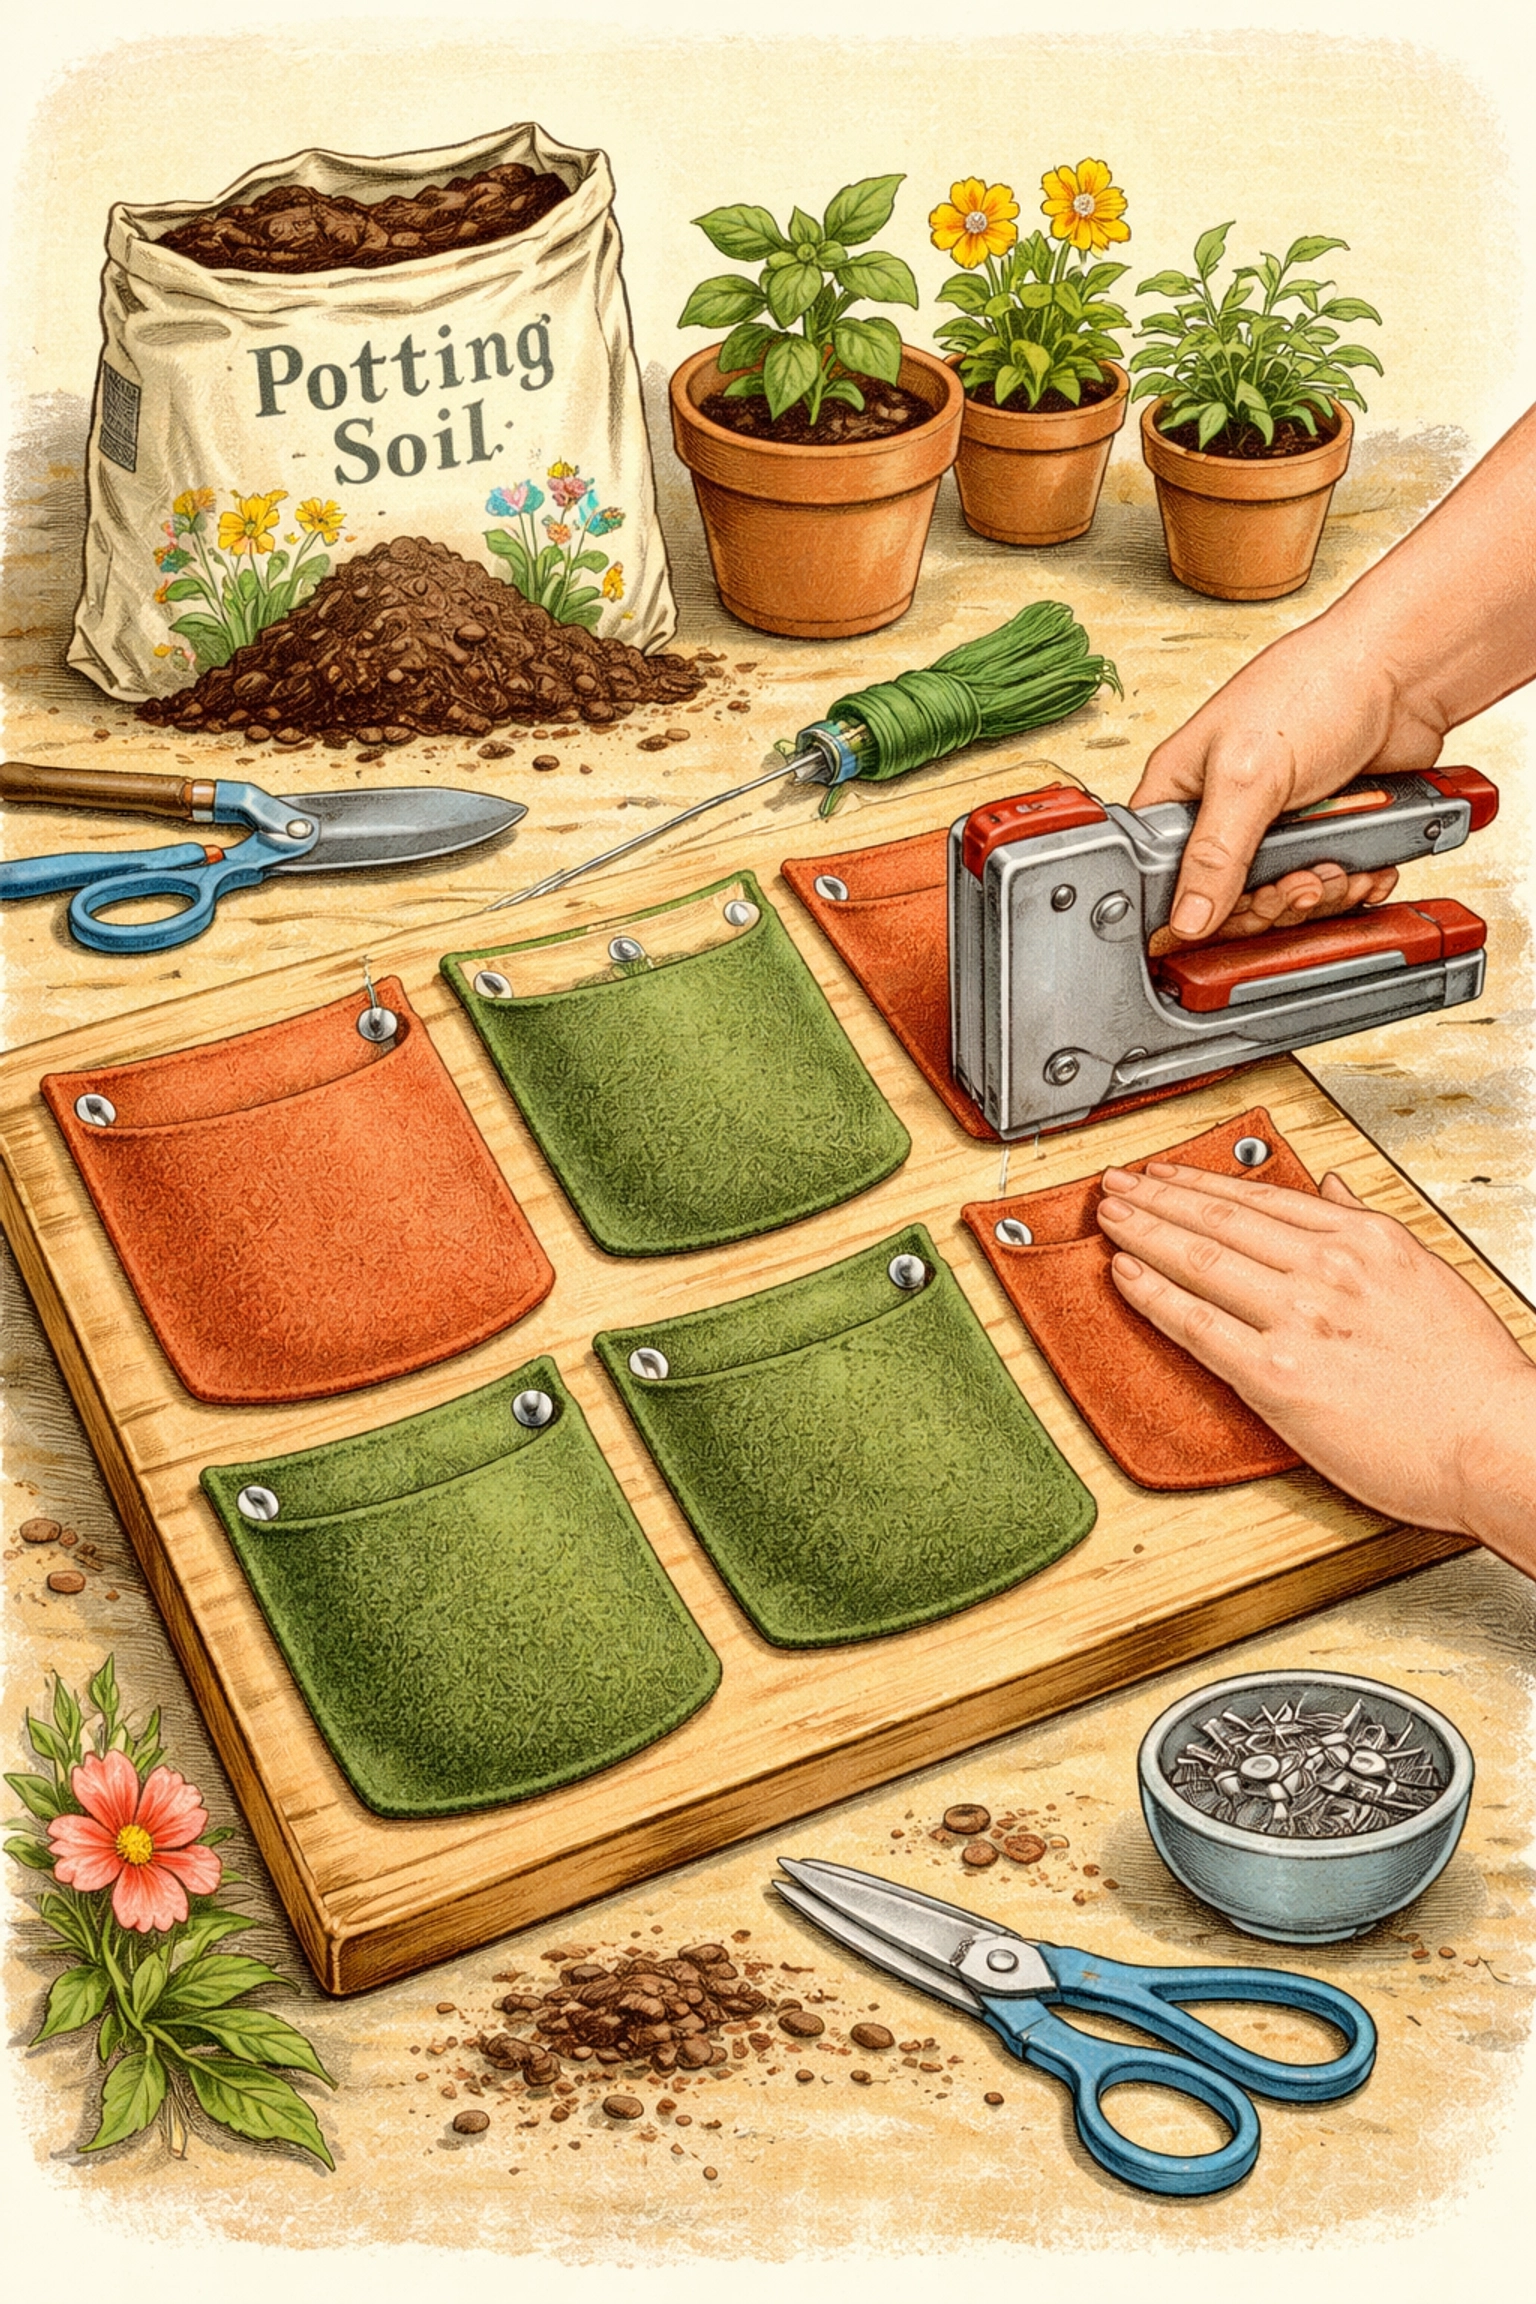
Step 6: Fill and Plant
Fill each pocket about three-quarters full with lightweight potting mix. Avoid using heavy garden soil, which compacts and doesn't drain well in vertical applications.
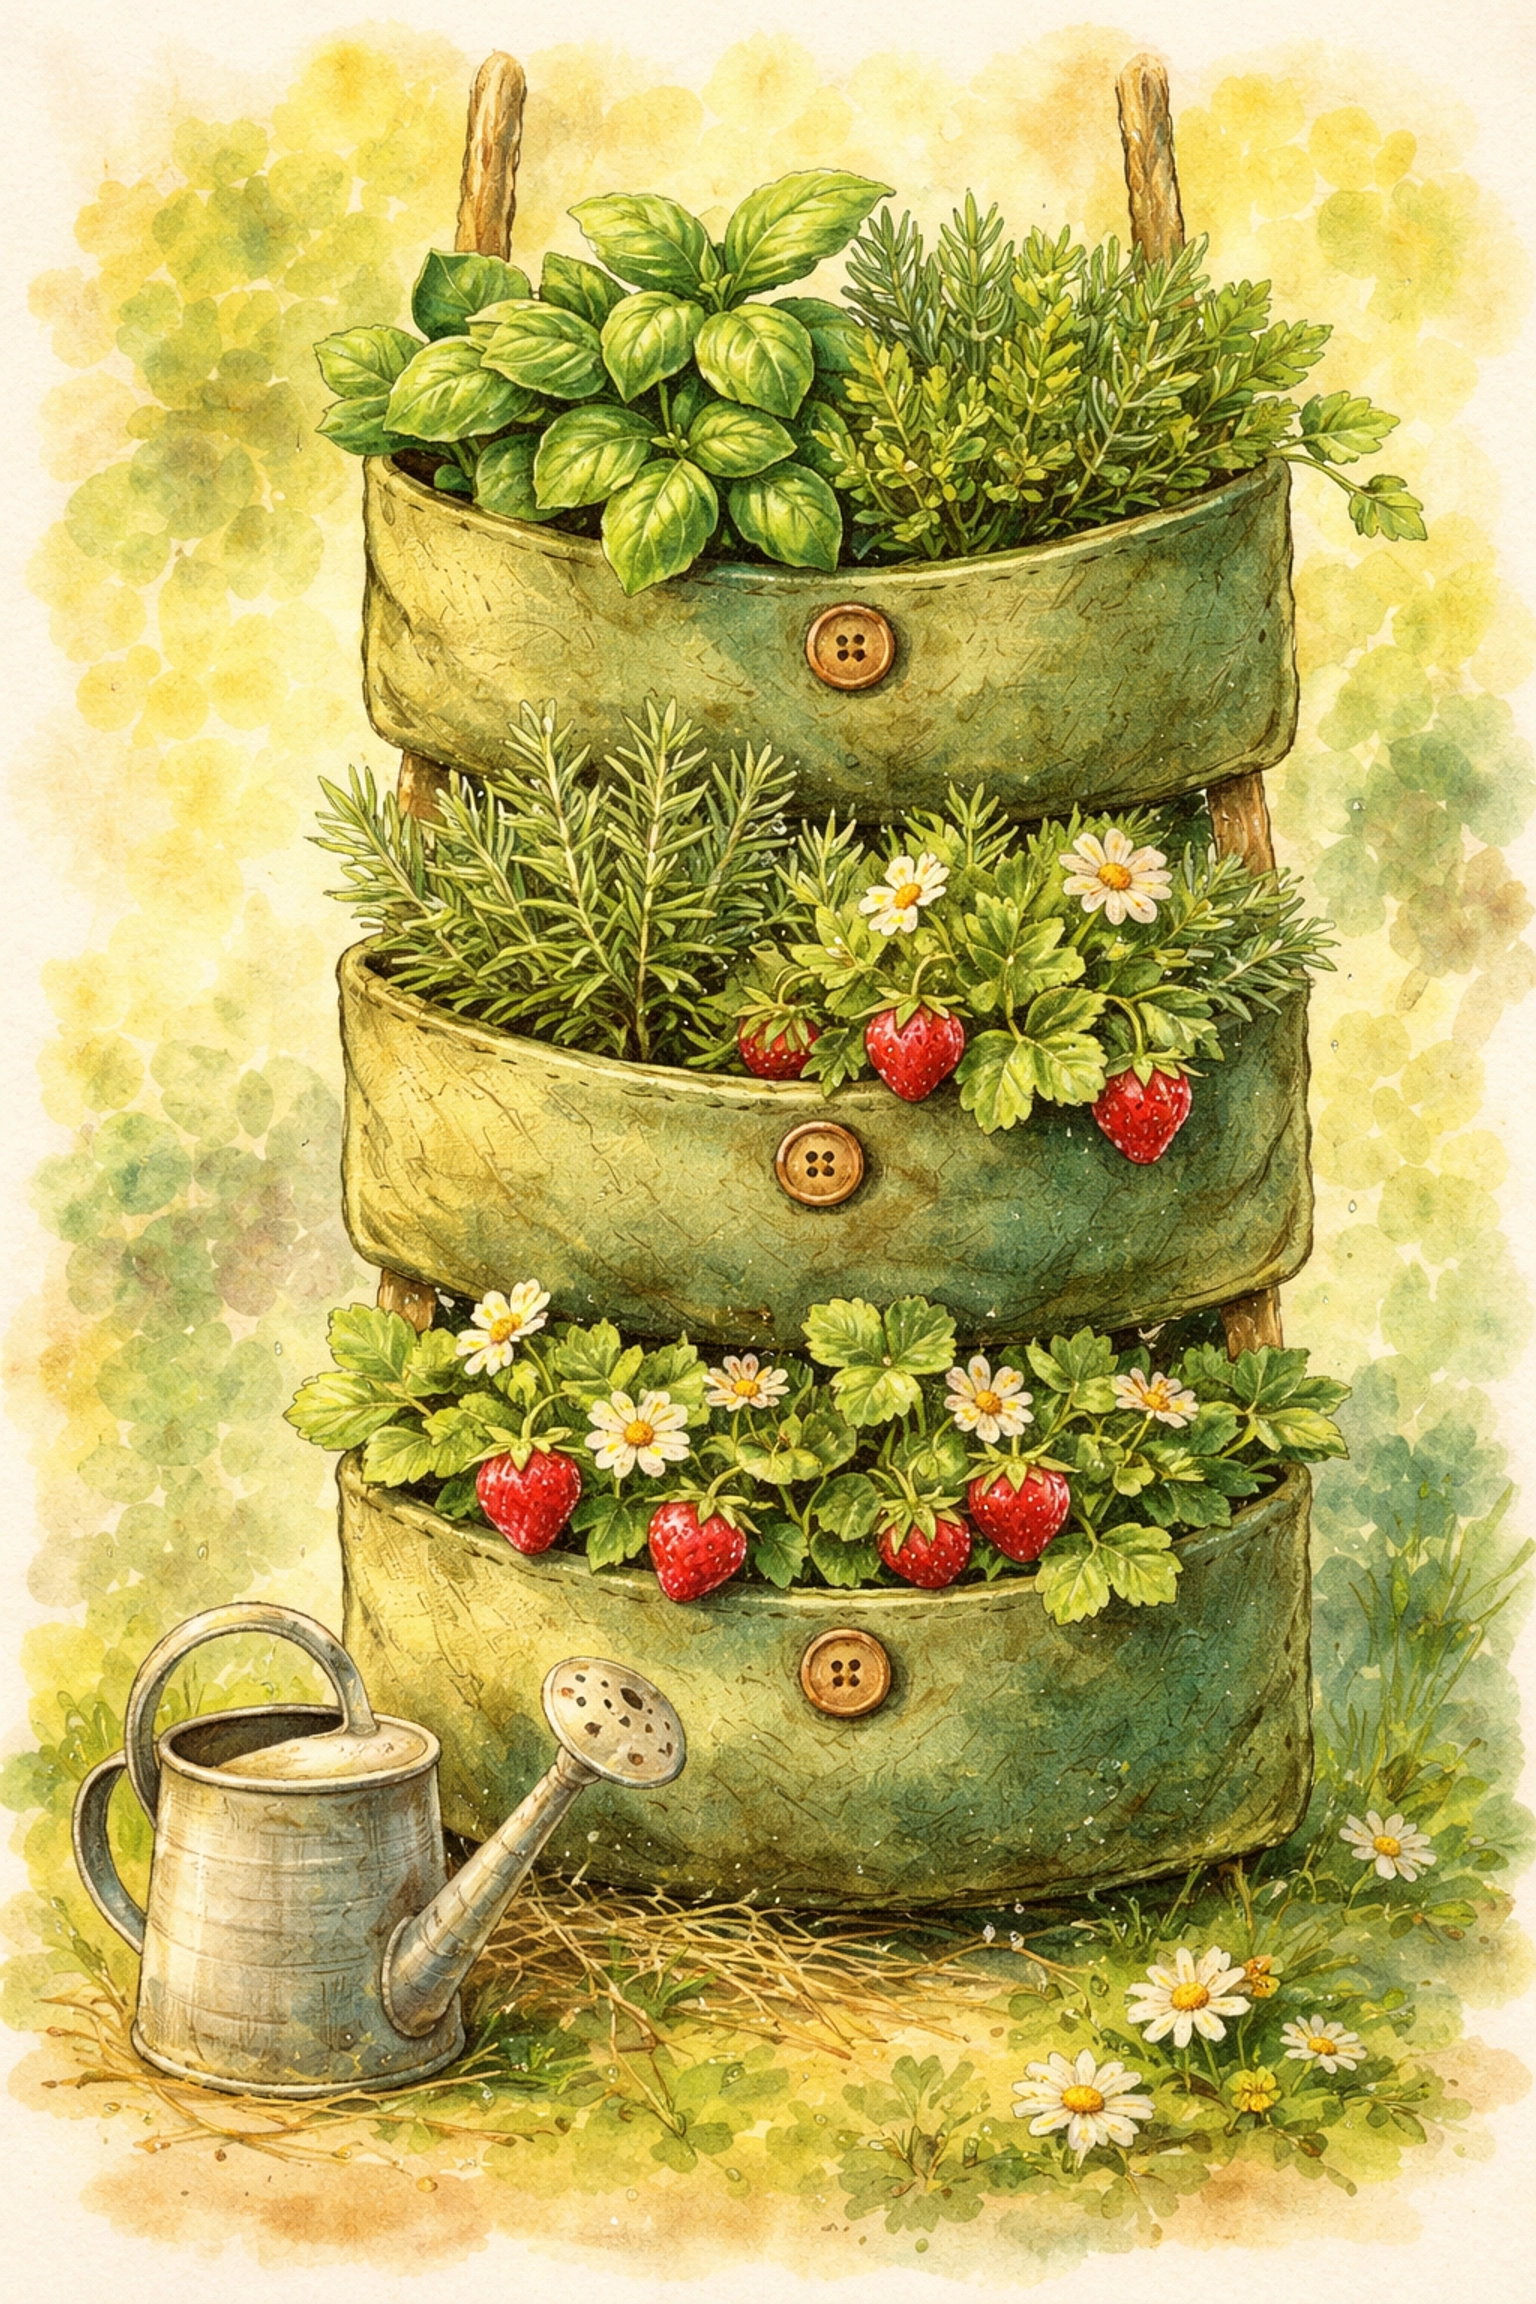
Arrange your seedlings, giving each plant enough room to grow. Small herbs like thyme, oregano, and mint work wonderfully, as do compact lettuce varieties and strawberry plants.
Add more soil around each plant, leaving about an inch of space below the top edge of the felt to prevent spillage during watering.
Step 7: Tuck and Finish
Fold the front lip of each felt pocket inward slightly to create a neat, finished edge. This also helps keep soil contained when you water.
Best Plants for Felt Pocket Gardens
Not every plant thrives in a vertical pocket setup. Stick with shallow-rooted, compact varieties:
- Herbs: Basil, cilantro, parsley, thyme, oregano, chives
- Lettuces: Butterhead, loose-leaf varieties, spinach, arugula
- Flowers: Pansies, violas, petunias, marigolds
- Succulents: Hens and chicks, sedums (great for less frequent watering)
- Strawberries: Alpine or compact varieties
Avoid deep-rooted vegetables like carrots or tomatoes, they need more soil depth than pockets provide.
Watering and Care Tips
Vertical gardens dry out faster than traditional containers because of increased air exposure. Here's how to keep your felt pocket garden happy:
- Water from the top: Pour water slowly into the top pocket and let it trickle down through the lower pockets. The felt wicks moisture throughout.
- Check moisture daily: Stick your finger into the soil. If it feels dry an inch down, it's time to water.
- Morning watering is best: This gives plants time to absorb moisture before the heat of the day.
- Feed monthly: Use a diluted liquid fertilizer once a month during the growing season.
If you're looking for ways to keep plants watered while the family is away, check out our guide on easy DIY self-watering solutions.
Getting Kids Involved
This project is fantastic for little hands. Kids can help with:
- Measuring and marking lines on the backing board
- Cutting felt strips (with child-safe scissors for younger ones)
- Filling pockets with soil
- Choosing and placing plants
- Daily watering duties
It's a great way to teach responsibility while growing something they can actually eat. Watching lettuce or herbs grow from their own handiwork? That's the kind of thing kids remember.
Frequently Asked Questions
How long does a felt pocket garden last?
With proper care, a felt pocket garden can last 2–3 growing seasons. Outdoor exposure to sun and rain will cause faster wear. Consider bringing it indoors during winter or replacing the felt annually.
Can I use any type of felt?
Thick craft felt or landscape felt works best. Avoid thin, flimsy felt from craft stores, it won't hold up to moisture and weight. Wool felt is excellent but more expensive.
Does felt get moldy?
Felt can develop mold if it stays constantly saturated without airflow. Ensure your planter has good air circulation and isn't overwatered.
Can I hang this indoors?
Absolutely! Just place a drip tray beneath it or mount it over a sink/tub during watering to catch runoff.
How many plants fit in each pocket?
Generally, 1–2 small herb plants or 2–3 lettuce seedlings per pocket, depending on pocket size and mature plant spread.
Do I need to fertilize?
Yes, because pocket gardens have limited soil volume. Feed with a diluted liquid fertilizer every 3–4 weeks during active growth.
Can I grow vegetables in a felt pocket garden?
Stick to leafy greens, compact herbs, and strawberries. Root vegetables and large fruiting plants need deeper soil.
Is this project safe for balconies?
Yes! Felt pocket gardens are lightweight and perfect for balconies. Just ensure secure mounting so wind doesn't knock it over.
References
- HGTV. "How to Make a Felt Wall Planter." https://www.hgtv.com
- Florafelt. "Florafelt Vertical Garden Guide." https://www.florafelt.com
- Florafelt. "Root Wrap Planting Instructions." https://www.florafelt.com
- Florafelt. "Irrigation and Pocket Preparation Guide." https://www.florafelt.com


