


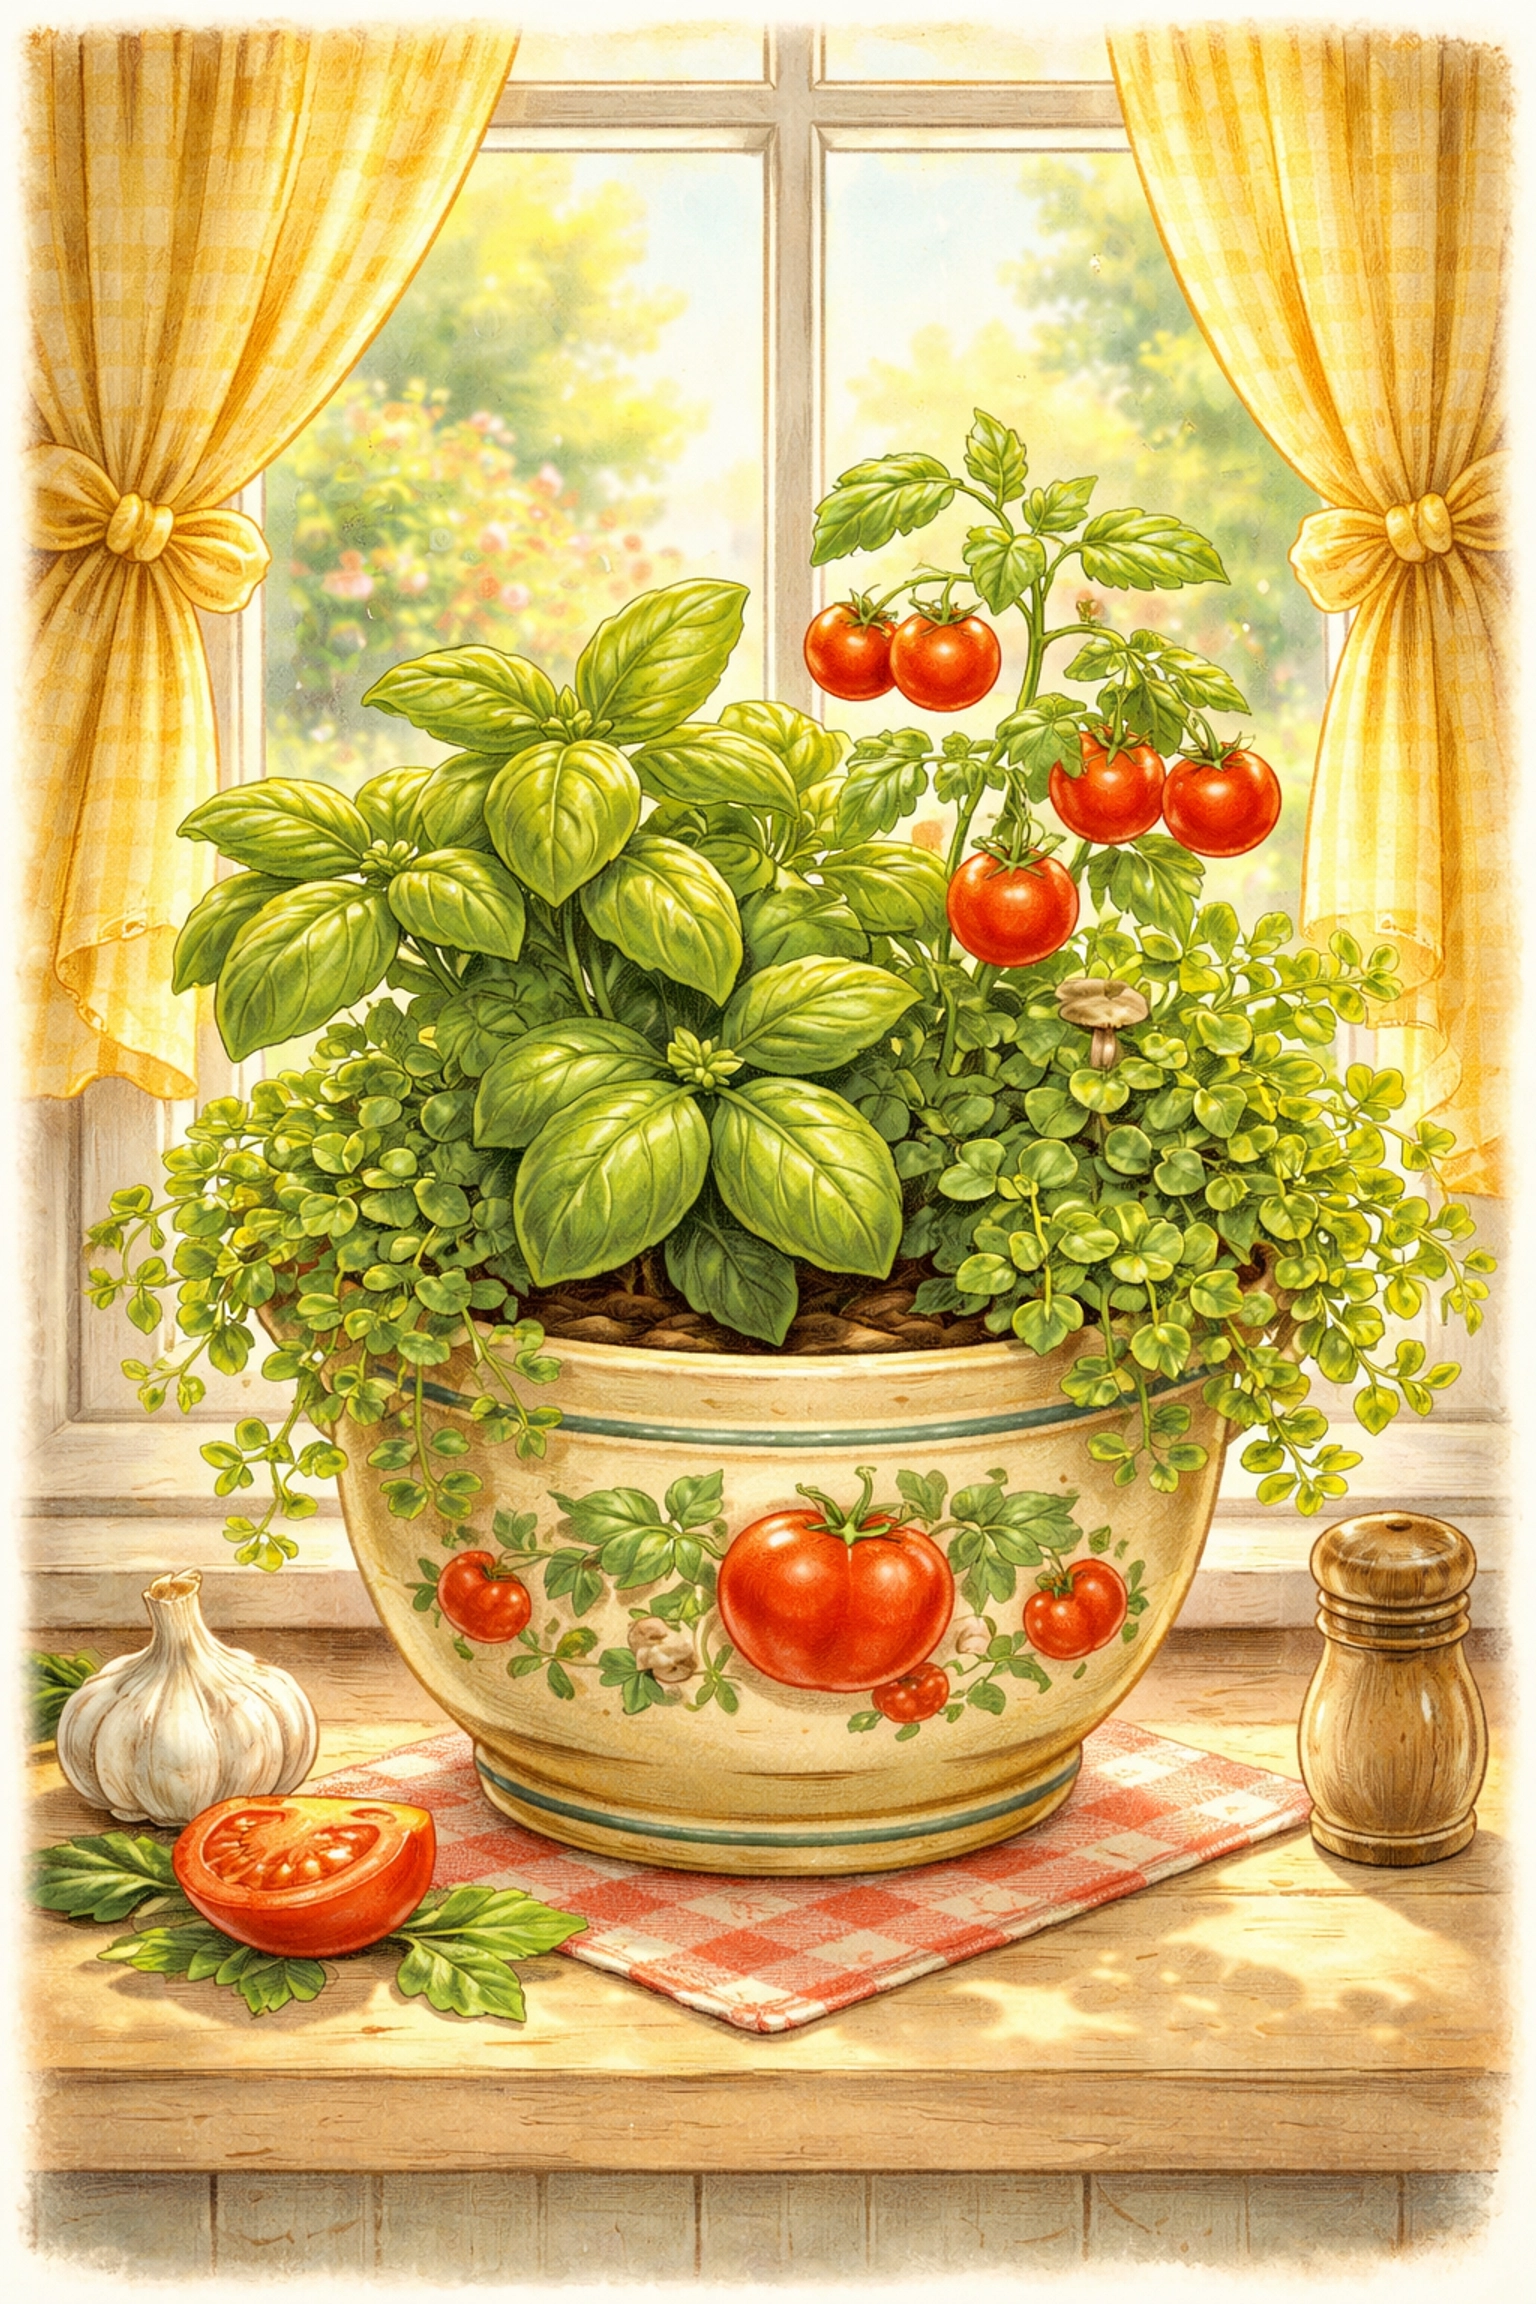
A "Pizza Topping" pot is a container garden where you grow all the fresh ingredients for homemade pizza, think basil, oregano, cherry tomatoes, and peppers, right in one cheerful planter that kids can tend, harvest, and eat! It's one of the tastiest ways to get little hands dirty in the garden, and the best part? You can pull off this entire project for under $10.
Imagine the scene: your kiddo waters their little pizza garden every morning, watches the basil leaves get big and fragrant, and then, when harvest day arrives, they get to pile their very own homegrown toppings onto a warm slice of pizza. That's the kind of memory that sticks around forever.
Let's dig in and build one together!
Why Kids Go Crazy for Pizza Gardens
Here's the thing about getting children interested in gardening: you need a payoff they actually care about. And what do most kids care about more than almost anything else on the planet?
Pizza. 🍕
When you connect the dots between "tiny seed" and "delicious dinner," something clicks in their brains. Suddenly, watering isn't a chore, it's part of the pizza-making process. Watching a tomato turn red isn't boring, it's exciting because that tomato is going on THEIR pizza.
Plus, growing herbs and veggies teaches patience, responsibility, and basic botany without feeling like a lesson. It's sneaky education at its finest.

What You'll Need (Budget: Under $10)
Here's your shopping list. Most of this stuff you probably already have lying around the house or garage:
Container Options (pick one):
- A large round planter or pot (at least 12 inches wide) , $3-5 at a thrift store or dollar store
- A rectangular window box works great too
- An old colander, bucket, or even a cleaned-out kitty litter container (free!)
Growing Supplies:
- Potting soil , $3-4 for a small bag
- Seeds OR starter plants , $1-3 total (seeds are cheaper!)
- Small rocks or gravel for drainage (optional, often free from your yard)
Fun Extras:
- Popsicle sticks or wooden spoons for plant markers
- Crayons, markers, or paint for decorating
Total damage to your wallet: Around $7-10, depending on what you already have at home.
The Best Plants for Your Pizza Pot
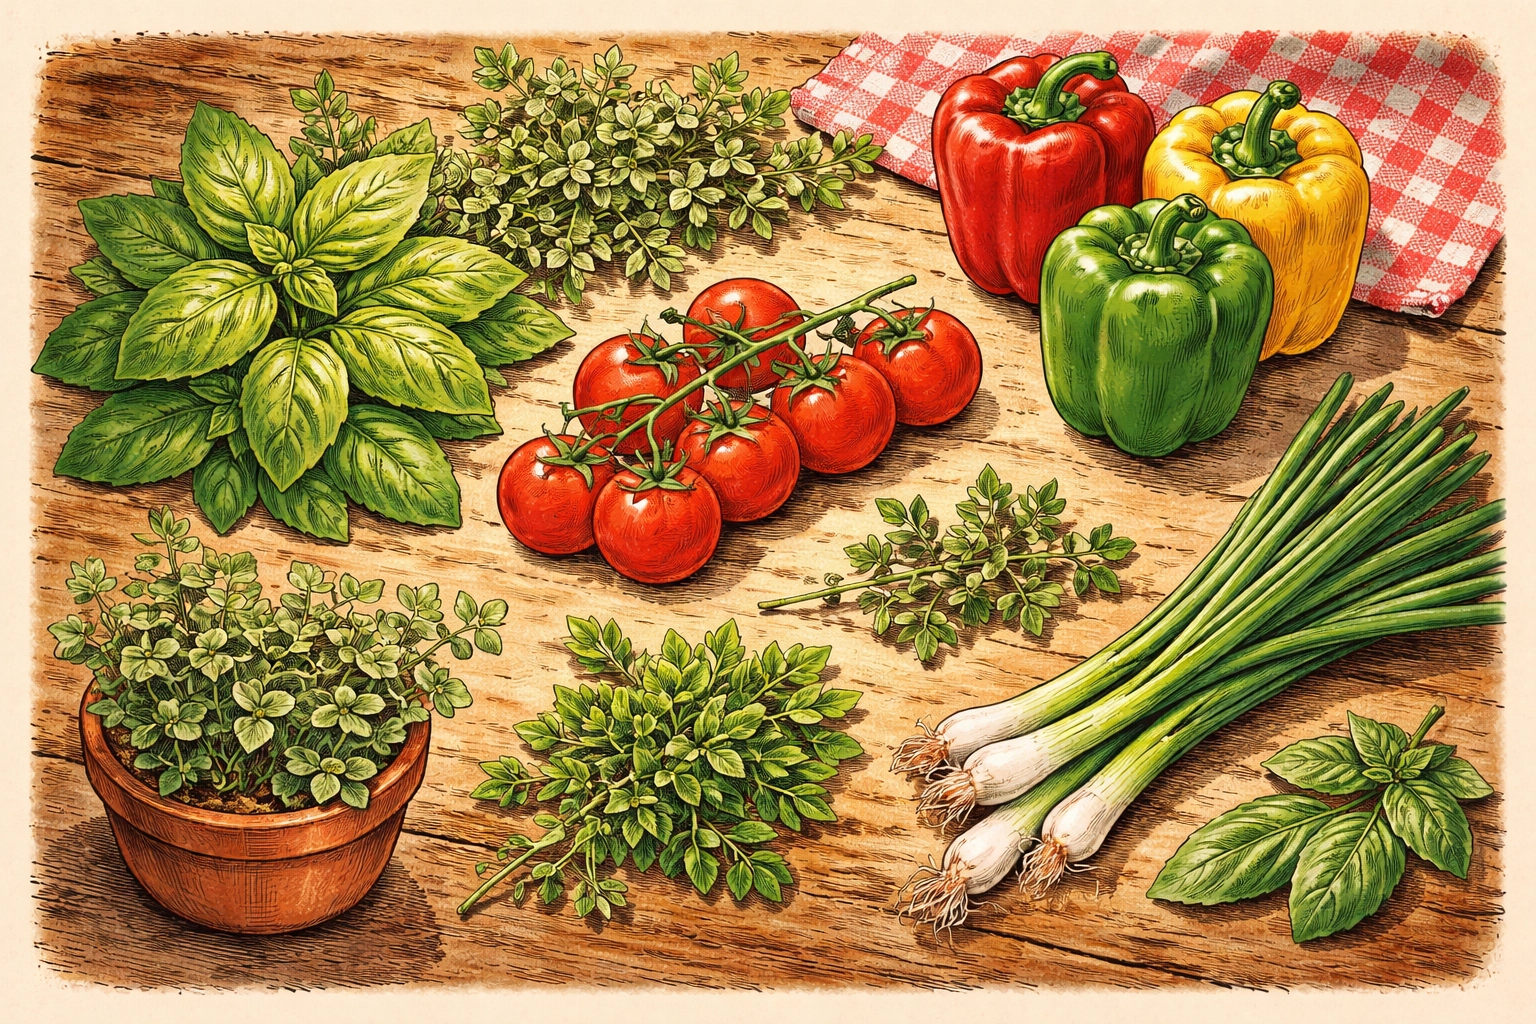
Not every pizza topping grows well in a container, so let's focus on the superstars that thrive in pots and taste amazing fresh:
Herbs (The MVPs)
- Basil , The king of pizza herbs. Easy to grow, smells incredible, and kids love pinching off leaves.
- Oregano , That classic "pizza smell" comes from this little guy. Super hardy and forgiving.
- Parsley , Mild flavor, grows like a champ, and looks pretty too.
Veggies (The Heavy Hitters)
- Cherry tomatoes , Way easier than full-size tomatoes and perfect for small hands to harvest.
- Bell peppers , Go for a compact variety like "Mini Bell" if space is tight.
- Green onions , You can even regrow these from kitchen scraps! (Check out our kitchen scrap regrow guide for more on that.)
Pro tip: If you're working with a smaller pot, stick to 2-3 herbs. If you've got a bigger container or multiple pots, go wild with the full lineup!
Step-by-Step: Building Your Pizza Topping Pot
Step 1: Prep Your Container
First things first, drainage. Poke or drill 3-5 holes in the bottom of your container if it doesn't already have them. Soggy roots are sad roots, and sad roots don't make pizza toppings.
If you want to get fancy, add a thin layer of small rocks or gravel at the bottom before adding soil. This helps water flow through instead of pooling.
Step 2: Add the Soil
Fill your container with potting soil, leaving about an inch of space at the top. Give it a good fluff, you don't want it packed down like cement.
Let your kiddo help with this part. Yes, it'll get messy. That's the point.
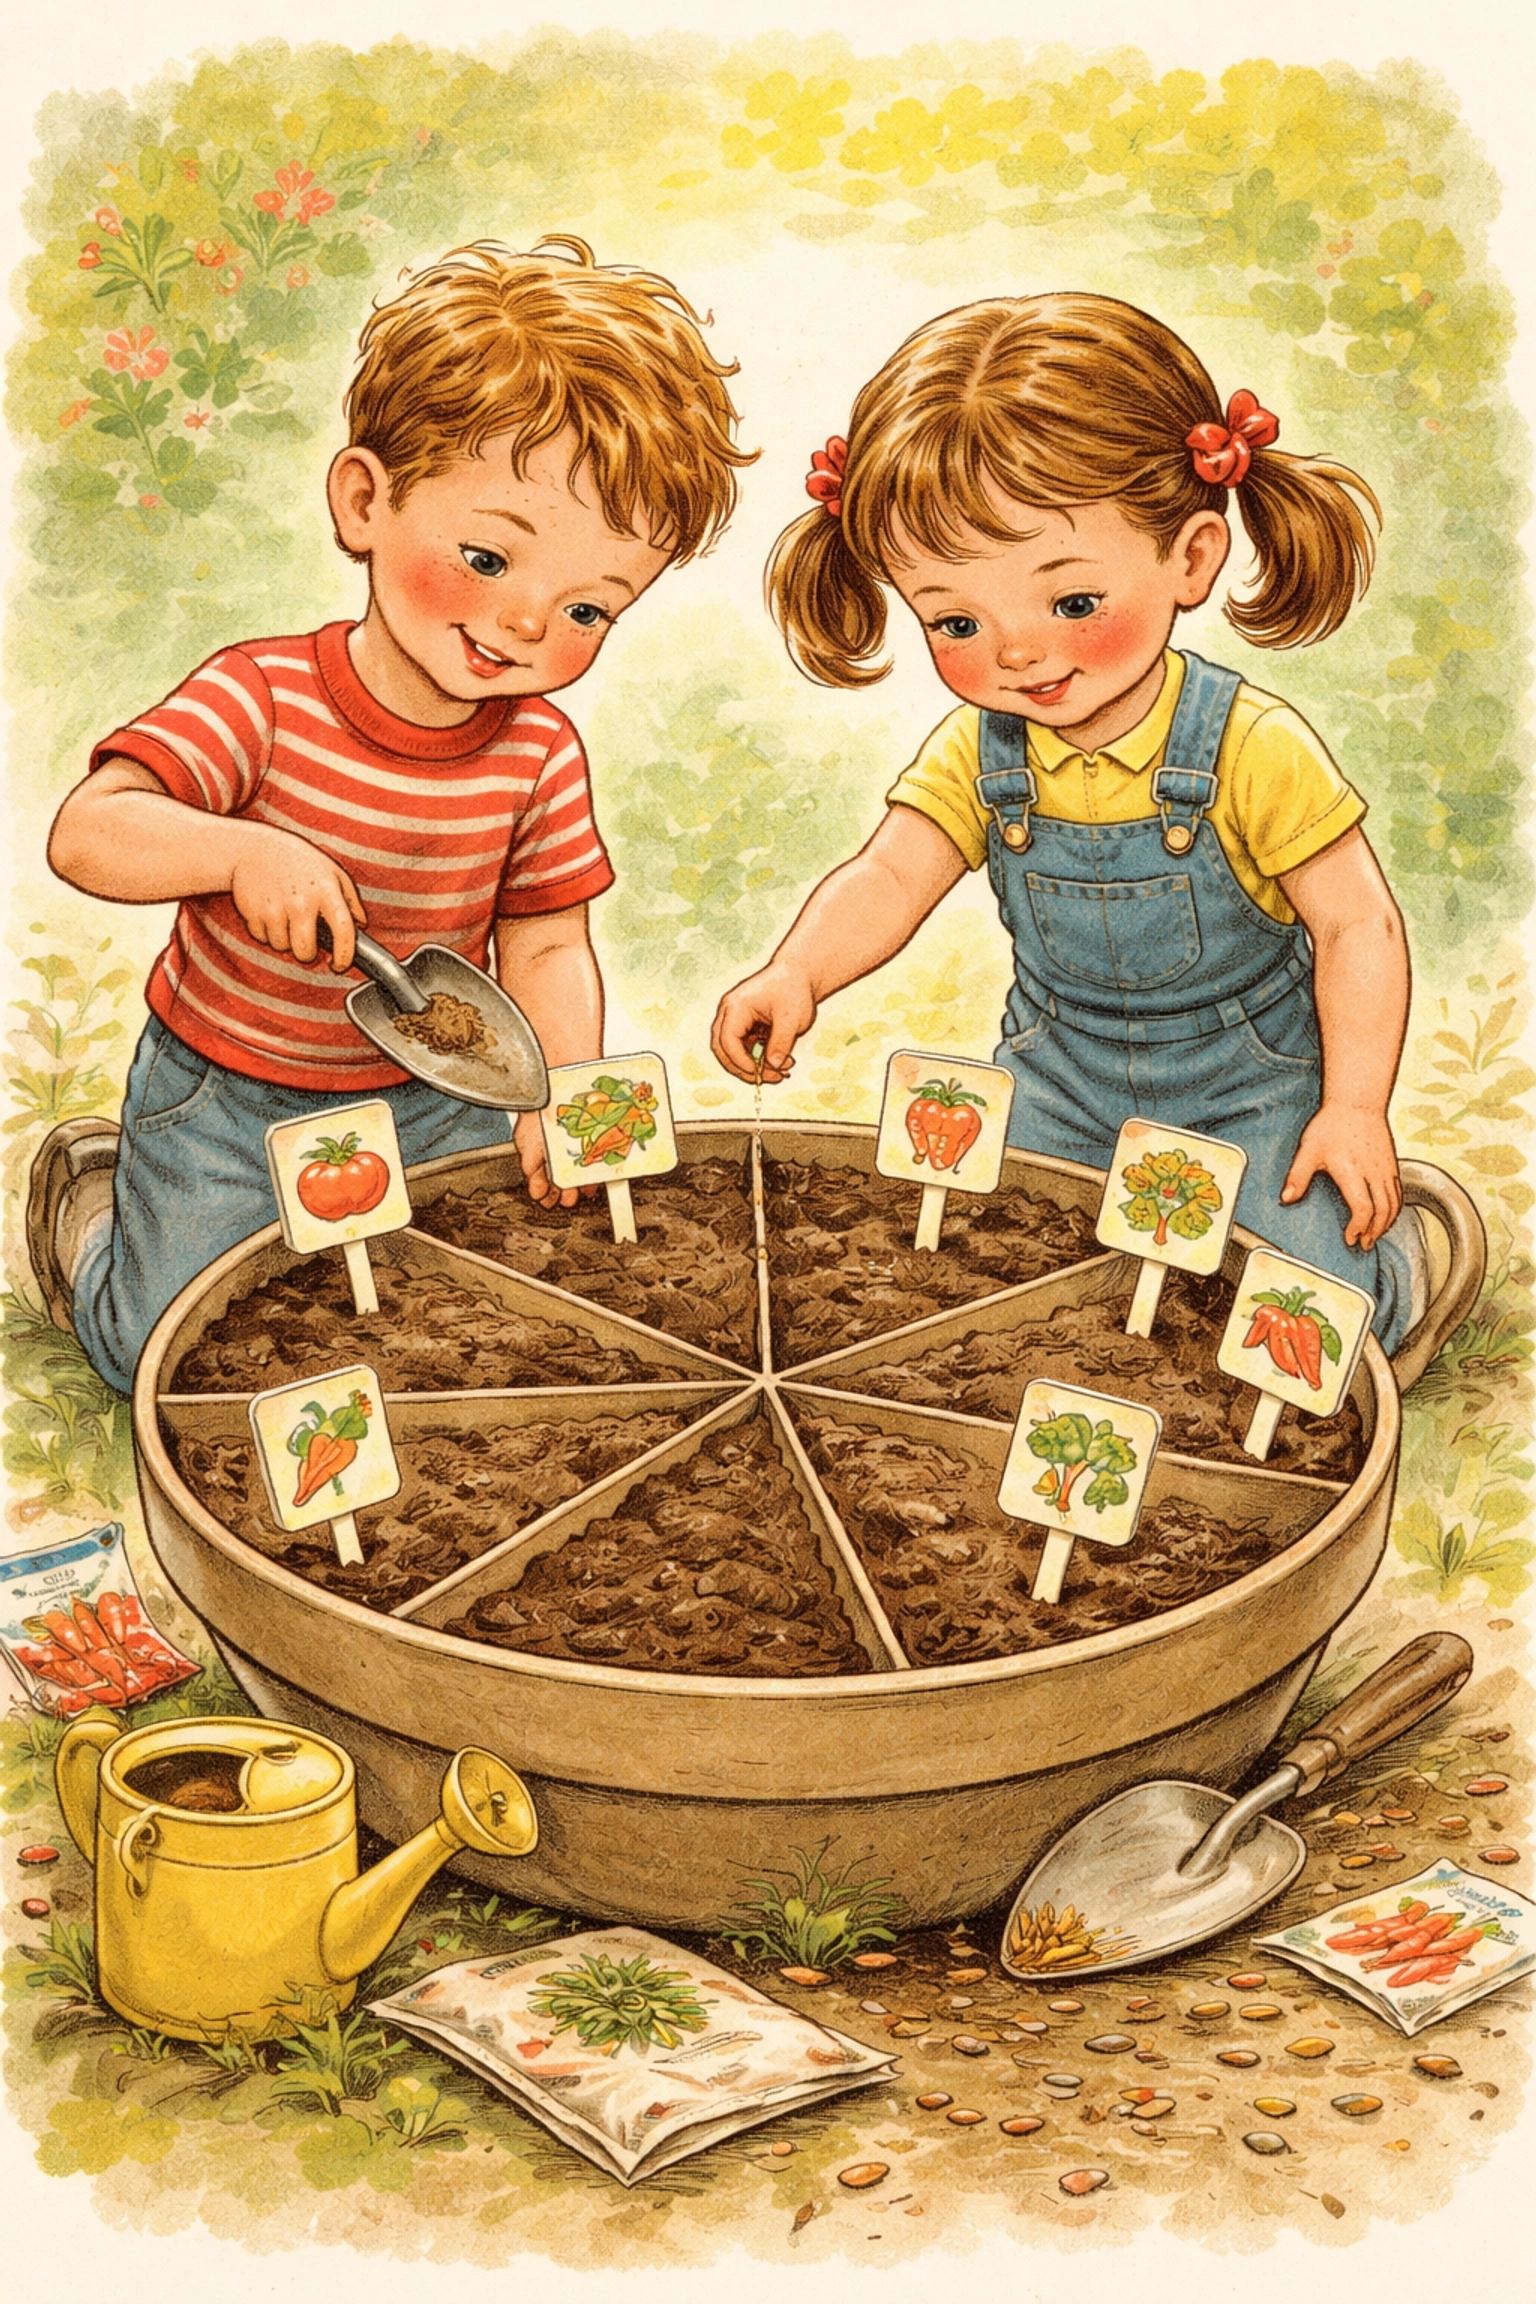
Step 3: Plan Your "Slices"
Here's where the pizza magic happens! You can divide your round container into triangular sections like pizza slices. Use:
- String or twine stretched across the soil
- Popsicle sticks as dividers
- Or just eyeball it and plant in clusters
Each "slice" gets a different plant. Basil in one wedge, oregano in another, cherry tomato in the center (it'll be the tallest), and so on.
Step 4: Plant Your Toppings
If using seeds: Poke small holes about ¼ inch deep, drop in 2-3 seeds per hole, and cover lightly with soil. Water gently.
If using starter plants: Dig a hole just big enough for the root ball, pop the plant in, and press the soil around it snugly.
Let the kids do the planting! Their technique doesn't need to be perfect. Plants are pretty forgiving.
Step 5: Make Plant Markers
This is the arts-and-crafts bonus round. Grab popsicle sticks, wooden spoons, or even painted rocks and let your kids label each section.
Draw little pictures of basil leaves, tomatoes, or peppers. Write the plant names. Go nuts with the glitter if that's your family's vibe.
Step 6: Water and Find a Sunny Spot
Give everything a good drink (not a flood, just enough to dampen the soil thoroughly). Then park your pizza pot somewhere that gets at least 6 hours of sunlight per day.
A sunny porch, patio, or even a bright windowsill works great. If you're keeping it indoors, a south-facing window is your best friend.
Caring for Your Pizza Garden
Here's the easy maintenance routine:
- Water when the top inch of soil feels dry. Stick a finger in to check, kids think this is hilarious for some reason.
- Pinch back herbs like basil when they start getting bushy. This encourages more growth (and gives you taste-test opportunities).
- Watch for flowers on your basil, pinch those off to keep the leaves coming.
- Rotate the pot every few days if it's in a window, so all sides get equal sunshine.
If you're going on vacation, check out our guide to keeping plants watered while you're away!
Harvest Time: From Pot to Pizza!
Most herbs are ready to harvest in 3-4 weeks. Cherry tomatoes take longer, usually 60-80 days from seed, but the wait is absolutely worth it.
When harvest day arrives:
- Let your kids snip herbs with kid-safe scissors
- Have them gently twist cherry tomatoes off the vine
- Wash everything together (another chance for hands-on fun)
- Pile those fresh toppings onto homemade or store-bought pizza dough
- Bake, eat, and bask in the glory of growing your own food
There's something deeply satisfying about a kid saying, "I grew that basil!" while chomping down on a slice. That's the whole point of this project.
Frequently Asked Questions
Can I grow a pizza garden indoors?
Absolutely! As long as you have a sunny window (6+ hours of light), herbs especially will do just fine indoors. Tomatoes and peppers need more light, so consider a small grow light if you're fully indoor.
What's the easiest plant to start with?
Basil. It germinates quickly, grows fast, and is almost impossible to mess up. Perfect for first-time gardeners of any age.
How often should kids water the pizza pot?
Check daily, water when the top inch of soil is dry. In hot summer weather, that might be every day. In cooler weather, every 2-3 days.
Can I use a rectangular container instead of a round one?
You bet! The "pizza slice" layout is just for fun. A window box works perfectly, just plant in rows instead of wedges.
Do I need to use fertilizer?
Not necessarily for the first few weeks if you're using quality potting soil. After a month or so, a gentle liquid fertilizer every couple of weeks can help keep things growing strong.
What if my tomato plant gets really tall?
Stake it! A chopstick or small wooden dowel works great for cherry tomato varieties. Just tie the stem loosely with string or a soft strip of fabric.
Can we grow pizza toppings year-round?
Indoors with good light, yes: especially herbs. Outdoors, you're limited to your growing season. In colder months, a DIY mini greenhouse can extend your season.
What age is this project good for?
Kids as young as 3 can help with planting and watering. Older kids (6+) can take on more responsibility like checking soil moisture and harvesting.
My basil keeps flowering: is that bad?
Not bad, but it does slow down leaf production. Pinch off flowers as soon as you see them to keep the tasty leaves coming.
Can we grow actual pizza dough ingredients too?
Now you're thinking big! Wheat is trickier, but you could add a section of spinach or arugula for a salad-pizza hybrid situation. Get creative!
Happy growing, pizza lovers! 🍕🌱


