


A cereal box aquarium is a simple recycled craft where you transform an empty cereal box into a colorful underwater scene by cutting a viewing window, adding a blue background, and hanging paper fish inside. This project typically takes around 30-45 minutes, costs less than $10 (often free if you have basic supplies on hand), and works well for kids ages 3 and up with varying levels of adult help.
It's one of those crafts that looks way more impressive than the effort it takes: which is basically the sweet spot for family projects around here at Tierney Family Farms.
Materials You'll Need
Good news: you probably have most of these sitting around your kitchen or craft drawer right now.
| Material | Estimated Cost | Notes |
|---|---|---|
| Empty cereal box (large) | Free | Any brand works: the bigger, the better for little hands |
| Blue construction paper or cardstock | $1-2 | For the water background |
| Colored paper scraps | $1-2 | For fish, seaweed, and decorations |
| Scissors | Already own | Kid-safe scissors for little ones |
| Glue stick | $1-2 | Easier for kids than liquid glue |
| Markers or crayons | Already own | For adding fish details |
| String or thread | $1 | For hanging the fish |
| Tape | Already own | Clear tape works great |
| Googly eyes (optional) | $1-2 | Adds personality to those fish |
Total estimated cost: $0-$10 (depending on what you already have)
Age Range & Time Estimate
| Age | Skill Level | Adult Help Needed | Enjoyment Level |
|---|---|---|---|
| 3-4 years | Beginner | High (cutting, assembly) | High: loves decorating fish |
| 5-7 years | Intermediate | Moderate (box cutting) | Very high: can do most steps |
| 8+ years | Independent | Minimal supervision | High: enjoys creative freedom |
Time to complete: 30-45 minutes for basic version, up to an hour if you go all-out with decorations
Step-by-Step Instructions
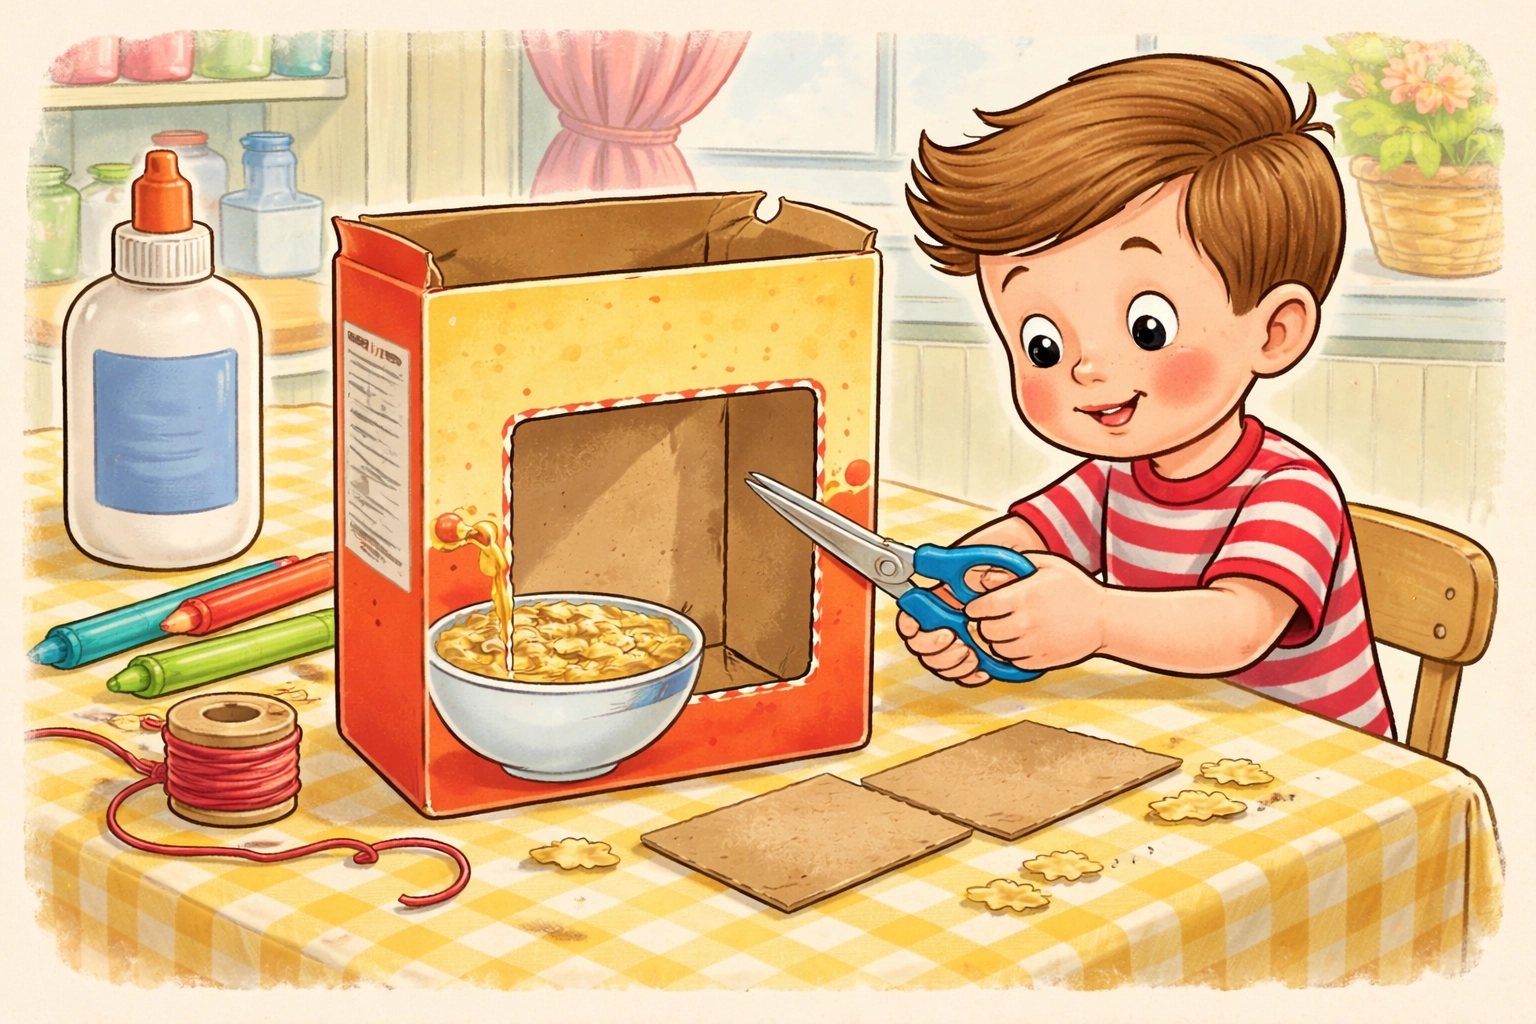
Step 1: Prep Your Cereal Box
Start by finishing that cereal (the fun part, right?). Once the box is empty, cut off the top flaps entirely using scissors. You want a clean, open top to work with.
Next, you'll create the viewing window. On the front panel of the box, draw a rectangle leaving about a 1-inch border on all sides. An adult should handle cutting this part: especially if using an X-acto knife or box cutter. Regular scissors can work if you poke a starting hole first.
Keep the back of the box intact. This becomes the backdrop for your underwater scene.
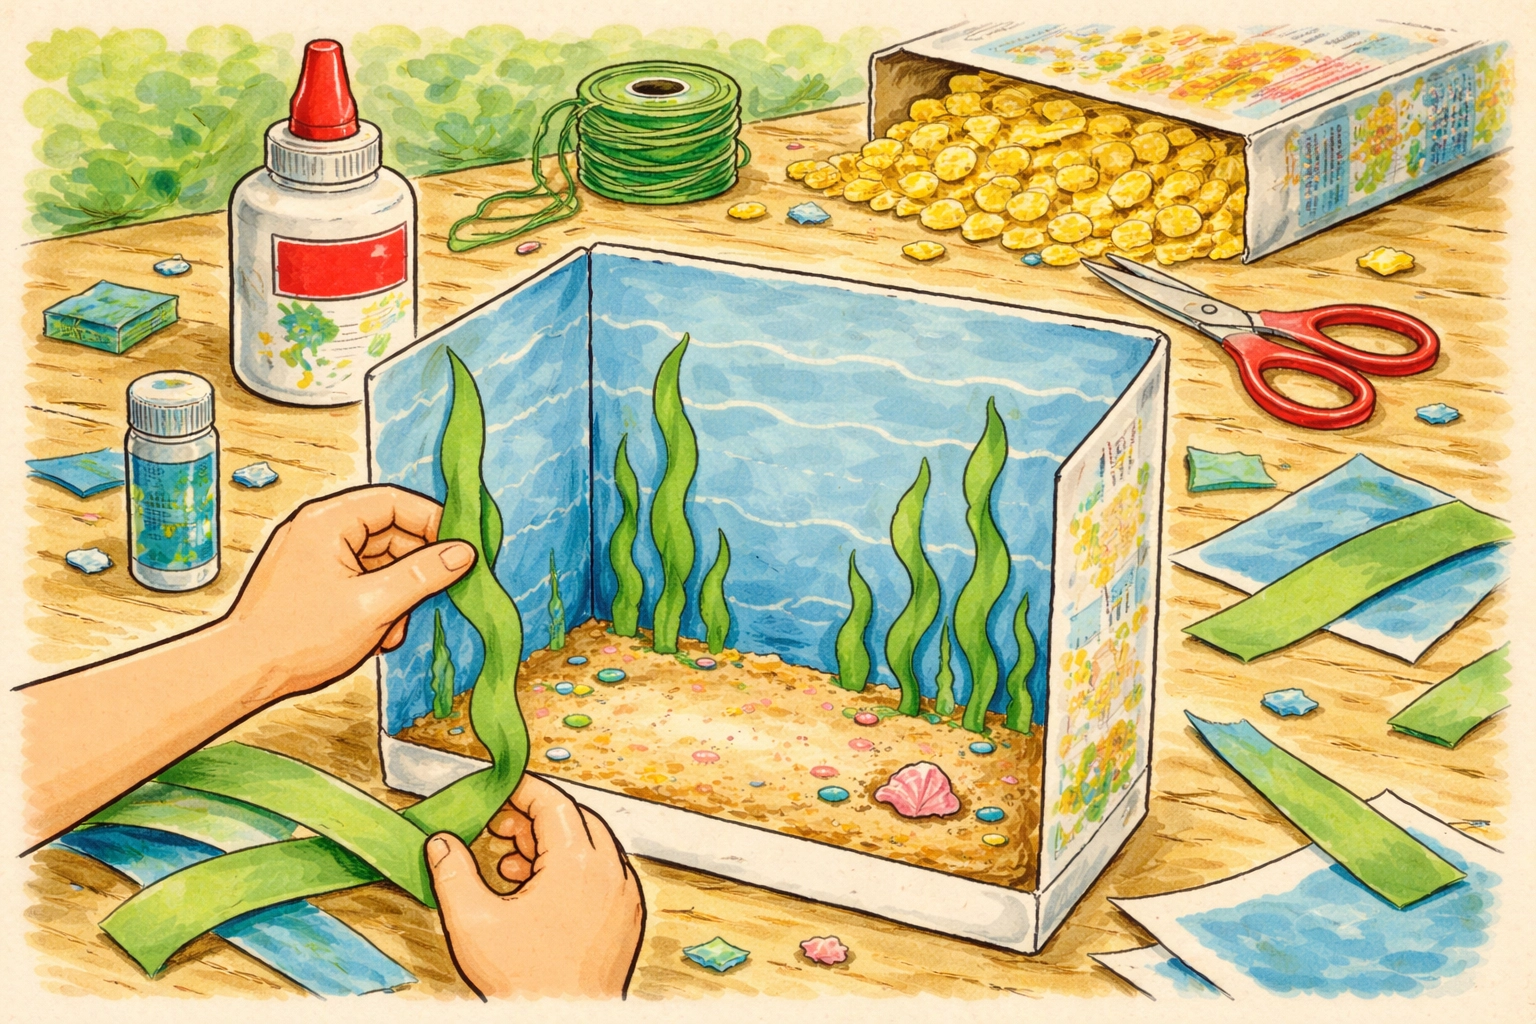
Step 2: Create Your Ocean Background
Cut a piece of blue construction paper to fit the inside back wall of your cereal box. This is your water. Glue it in place with a glue stick, smoothing out any bubbles or wrinkles.
For the ocean floor, cut a strip of brown, tan, or sandy-colored paper and glue it along the bottom. Some families like adding a thin layer of actual sand or crushed crackers for texture: though fair warning, this can get messy.
If you want to get fancy, you can layer different shades of blue to create depth, with darker blue at the bottom and lighter blue toward the top. Kids often have strong opinions about their ocean's exact color scheme.
Step 3: Make Your Seaweed and Plants
Cut strips of green paper in wavy shapes for seaweed. These don't need to be fancy: wobbly, uneven strips actually look more realistic (and are way easier for little hands to cut).
Glue the bottom of each seaweed strip to the ocean floor, letting them stand up or curve naturally. You can also fold them accordion-style for a 3D effect.
Some kids like adding coral shapes cut from pink, orange, or red paper. Starfish and shells are popular additions too.
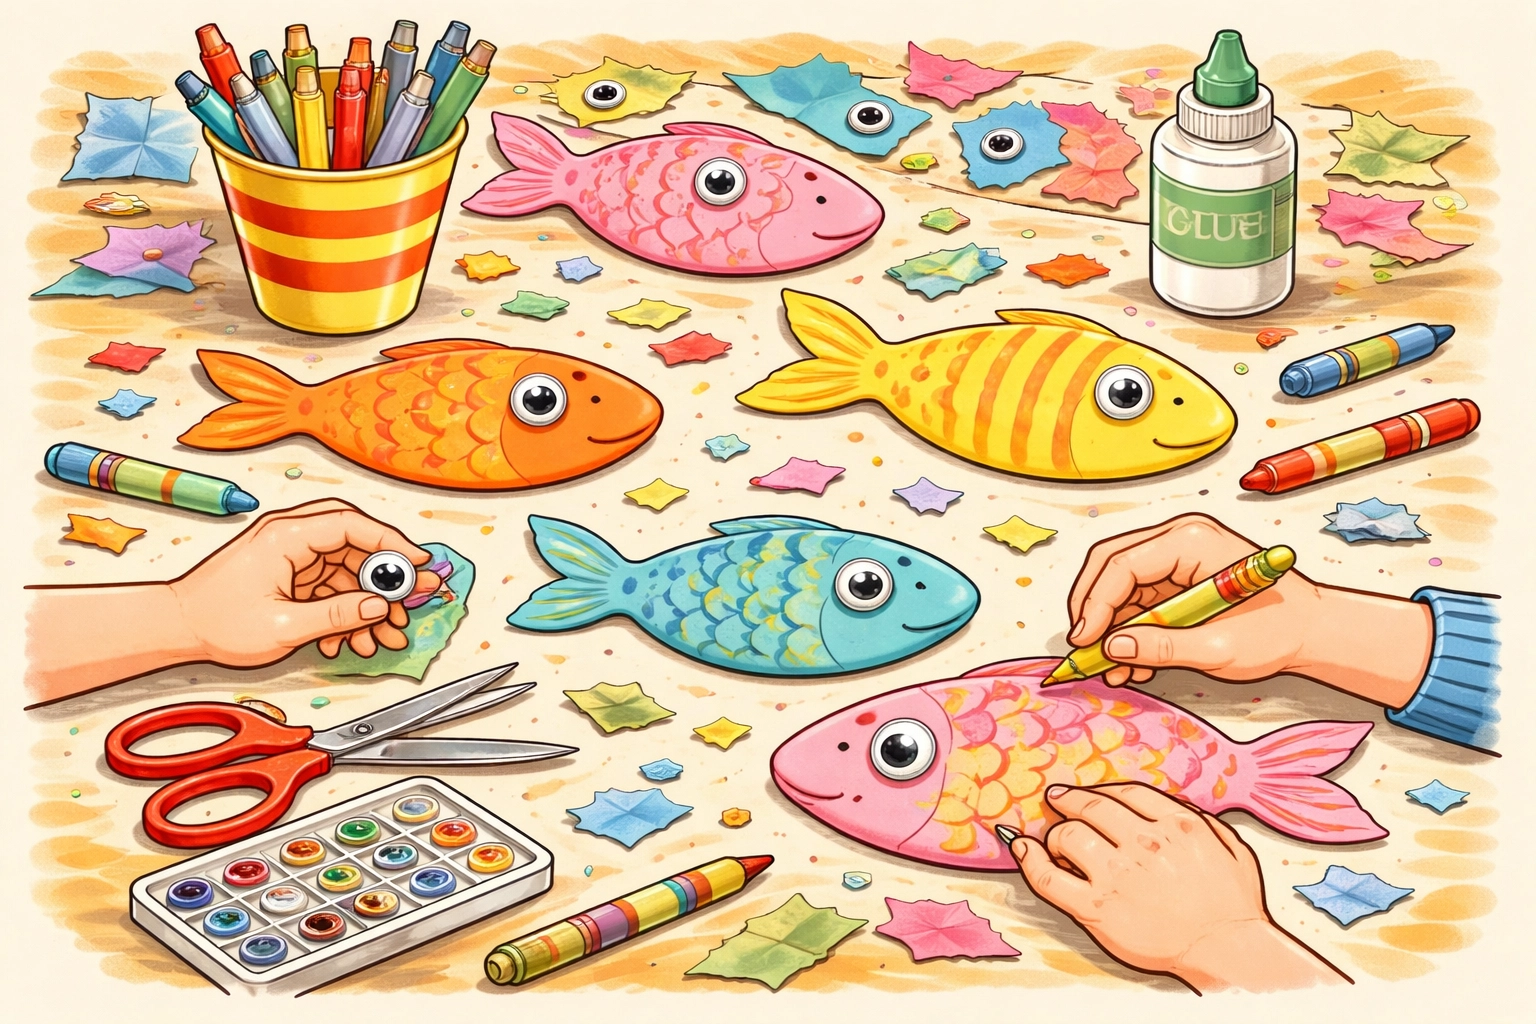
Step 4: Create Your Fish
This is where kids really get to shine. Cut fish shapes from colorful paper scraps: you can draw a simple fish template first, or let kids freehand their own designs. Imperfect fish have more character anyway.
Decorate each fish with:
- Googly eyes (a kid favorite)
- Drawn-on scales, fins, and patterns
- Glitter glue accents (if you're feeling brave)
- Smaller paper scraps for stripes or spots
Don't limit yourselves to just fish! Jellyfish, octopi, seahorses, crabs, and even a friendly whale can join the party.
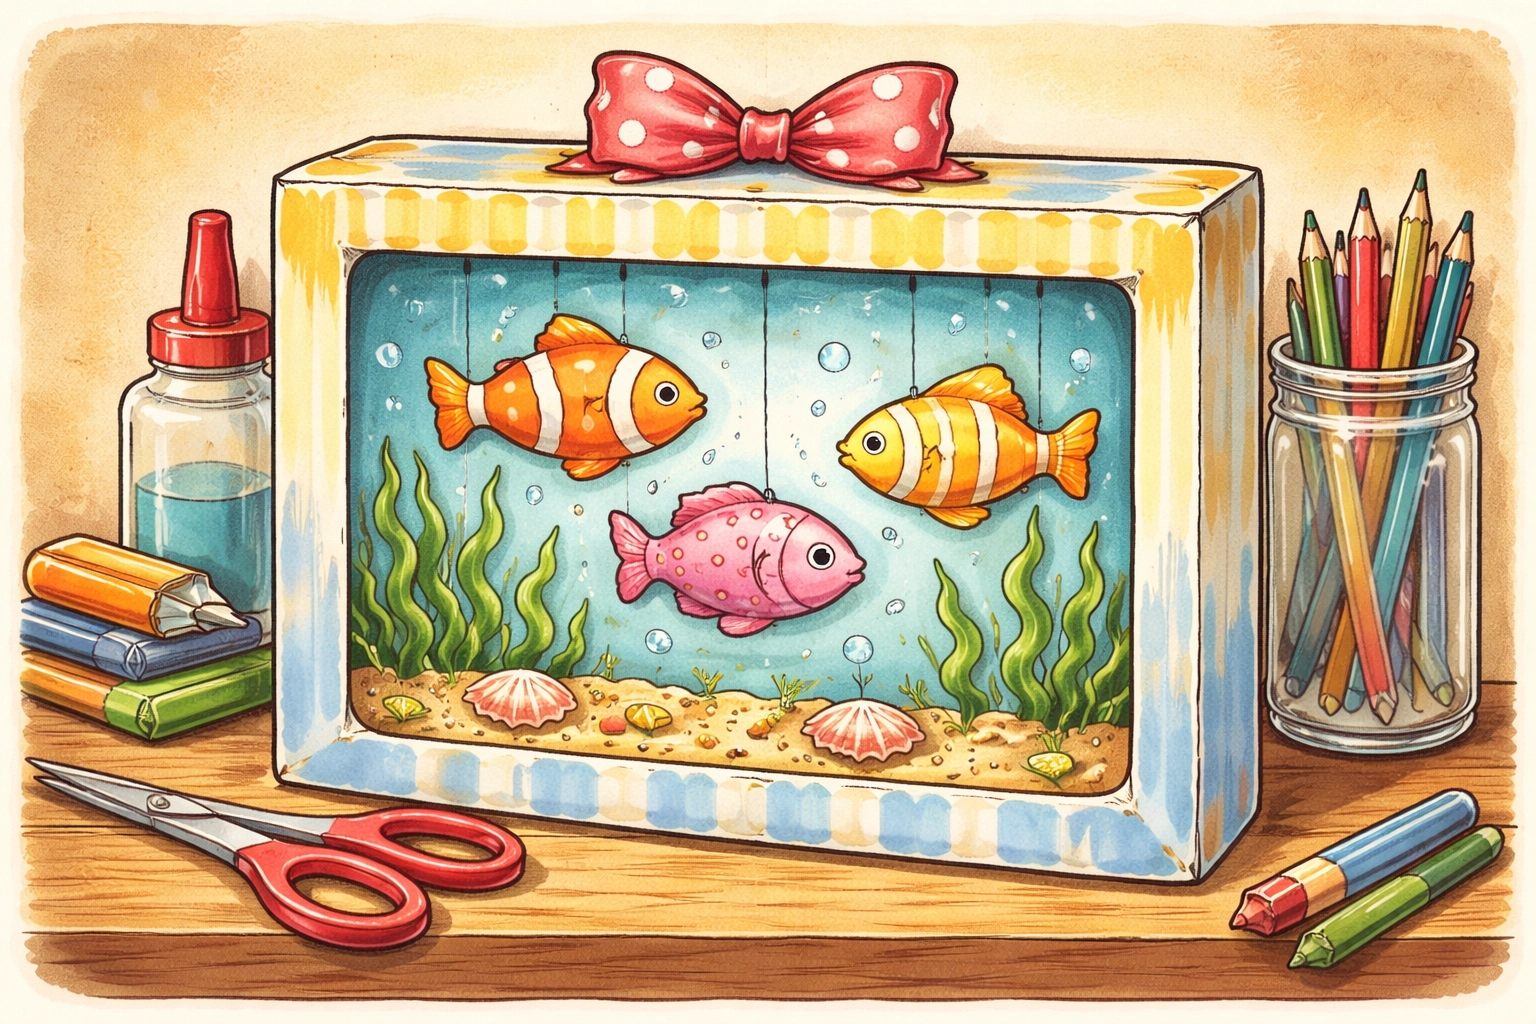
Step 5: Hang Your Sea Creatures
Cut pieces of string or thread in varying lengths: somewhere between 3-6 inches works well for most cereal boxes. Tape one end of each string to the back of a fish.
Tape the other end to the inside top of the cereal box, spacing your creatures out so they hang at different heights. This creates that floating, swimming effect when you look through the viewing window.
Pro tip: Use clear tape and try to hide it behind the fish so it's less visible from the front.
Step 6: Add Final Touches
Now's the time for those finishing details:
- Glue small pebbles, buttons, or paper "rocks" to the ocean floor
- Add bubbles by gluing small circles of white or light blue paper scattered throughout
- Draw small details on the background with markers
- Create a treasure chest from a small scrap of brown paper
You can also decorate the outside of the box if you'd like: covering the cereal branding with colored paper or letting kids draw waves and additional sea creatures around the frame.
Tips for Success
Start simple. For younger kids or first-timers, stick with 3-4 fish and basic seaweed. You can always add more later.
Work in stages. If attention spans are short, prep the box one day and decorate the next. There's no rule that says it has to happen all at once.
Embrace imperfection. Crooked seaweed and lopsided fish are part of the charm. This is about the process, not gallery-worthy results.
Make it a theme. Tie this into ocean learning: read a book about sea creatures beforehand, or talk about what lives in different parts of the ocean while you craft.
If your family enjoys recycled crafts like this one, you might also like our guide on how to build a mini windmill from recycled materials.
Frequently Asked Questions
Can I use a different type of box instead of a cereal box?
Definitely. Shoe boxes, cracker boxes, and tissue boxes can all work. Cereal boxes are just the right size and easy to find in most kitchens.
What if I don't have construction paper?
You can paint the inside of the box blue instead, use pages from old magazines, or even color white printer paper with crayons or markers. Creativity counts more than having the "right" supplies.
How do I make the fish move?
If you hang the fish with lightweight thread and leave a little slack, they'll sway gently when the aquarium is moved or if there's a breeze. Some families poke a small hole in the top and attach a string to pull for intentional movement.
Is this craft safe for toddlers?
Toddlers can participate in decorating fish and gluing paper, but adults should handle all cutting. Skip googly eyes for kids who still put things in their mouths.
How long will the aquarium last?
With gentle handling, a cereal box aquarium can last for weeks or even months. Keep it away from water and humidity for the longest life.
Can we add lights to make it glow?
You can! A small battery-operated tea light placed inside creates a nice effect. Just make sure there's ventilation and never use real candles.
What age is this craft most appropriate for?
Kids as young as 3 can enjoy decorating fish with help, while kids 7 and up can often complete most steps independently. It's genuinely a good family activity across age ranges.
How can I display the finished aquarium?
Set it on a shelf, windowsill, or bookcase. Some families cut a small stand from cardboard to prop it at an angle. It also makes a sweet gift for grandparents.
For more hands-on projects the whole family can enjoy, explore our Kids Crafts collection for ideas that don't require fancy supplies or advanced skills.


