


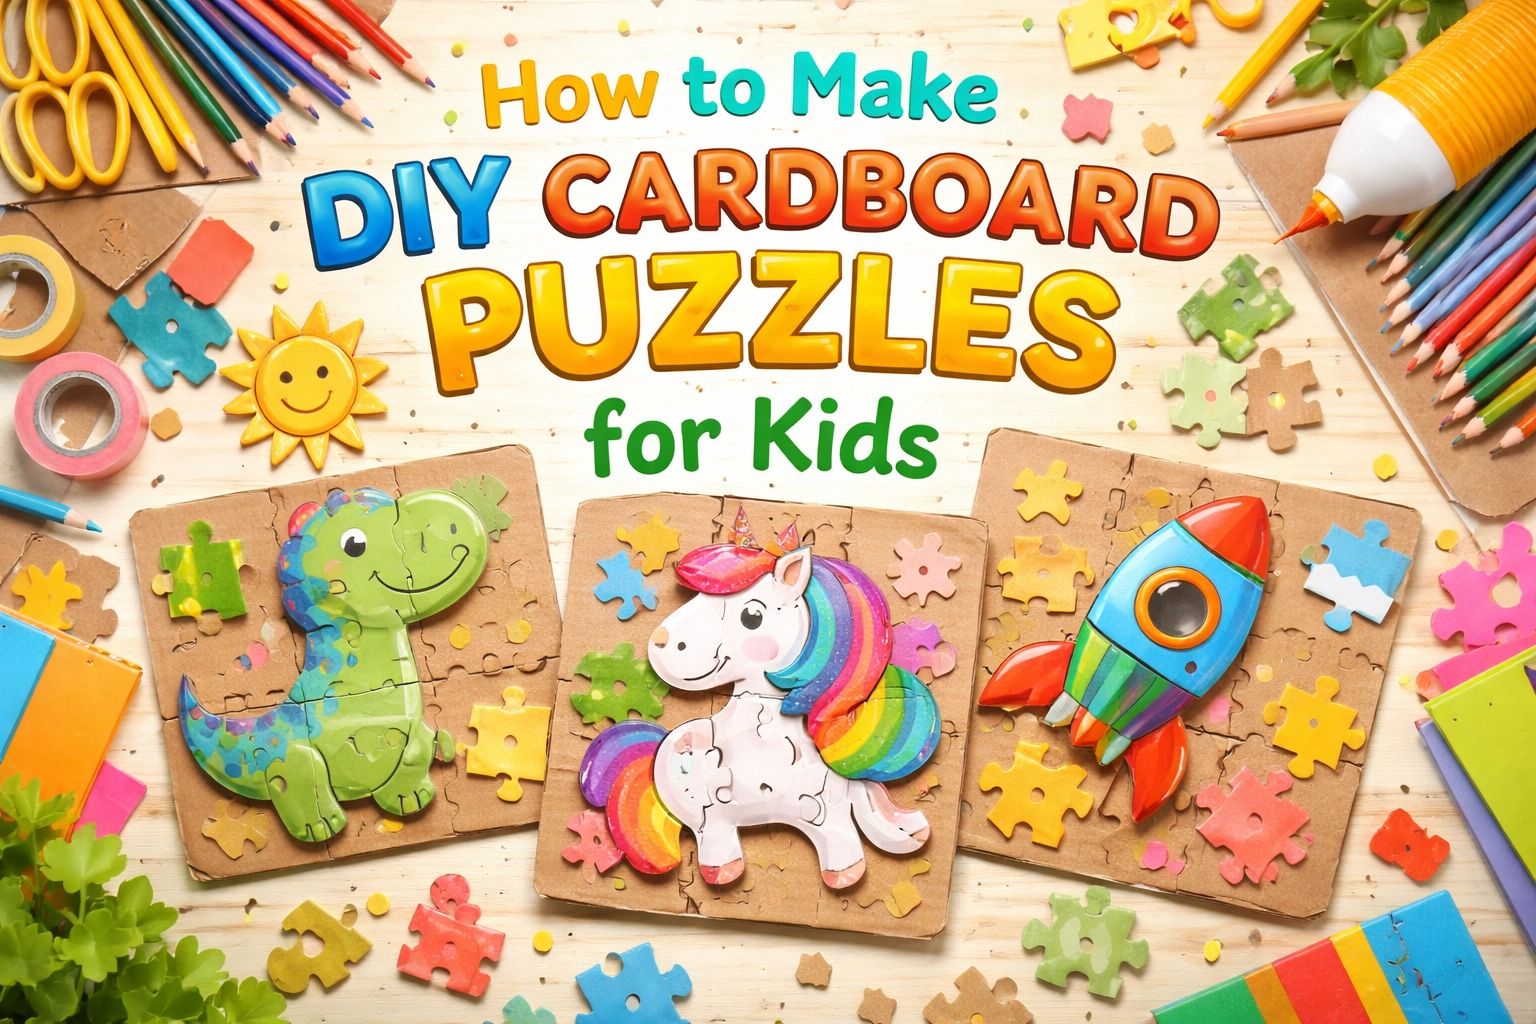
What's the Easiest Way to Make a DIY Cardboard Puzzle at Home?
You can make a simple cardboard puzzle in about 15-20 minutes using recycled cardboard, scissors, and markers or crayons you likely have around the house. Kids draw or color a picture on a piece of cardboard, and then an adult cuts it into puzzle pieces. That's really it: no fancy supplies needed, and you can make it as simple or detailed as you'd like.
This project works well for children ages 3-7 for the playing and enjoying part, though the cutting portion is better suited for kids ages 5-7 (or an adult helper for younger children). The budget? As little as zero dollars if you're using materials you have on hand.
Project Overview
| Detail | Information |
|---|---|
| Recommended Age (Skill) | 5-7 years old for cutting; younger children can color and assemble |
| Recommended Age (Enjoyment) | 3-7 years old |
| Time to Complete | 15-20 minutes |
| Budget | $0 (using household items) to approximately $5-8 if purchasing new supplies |
| Difficulty | Easy |
A note on ages: Some sources suggest this activity works best for ages 4-8, while others recommend 5-9 for the cutting portions. We've found that children around 3-4 can participate enthusiastically with adult help on the cutting, while kids 5 and up can often handle safer scissors with supervision.
Materials List
Here's what you'll need to gather before starting:
| Material | Purpose | Estimated Cost | Notes |
|---|---|---|---|
| Cardboard (cereal box, shipping box, etc.) | Puzzle base | $0 | Recycled works great |
| Markers, crayons, or colored pencils | Decorating the puzzle | $0-$3 | Use what you have |
| Scissors | Cutting puzzle pieces | $0-$4 | Child-safe scissors for older kids; adults should use sharper scissors for cleaner cuts |
| Pencil | Drawing design and cutting lines | $0 | Optional but helpful |
| Glue stick (optional) | Attaching printed images | $0-$2 | Only if using magazine pictures or printed coloring pages |
| Ruler (optional) | Creating straight cutting lines | $0 | Helpful for grid-style puzzles |
Total estimated cost: $0 if using household supplies; up to $5-8 if purchasing everything new.
Step-by-Step Instructions
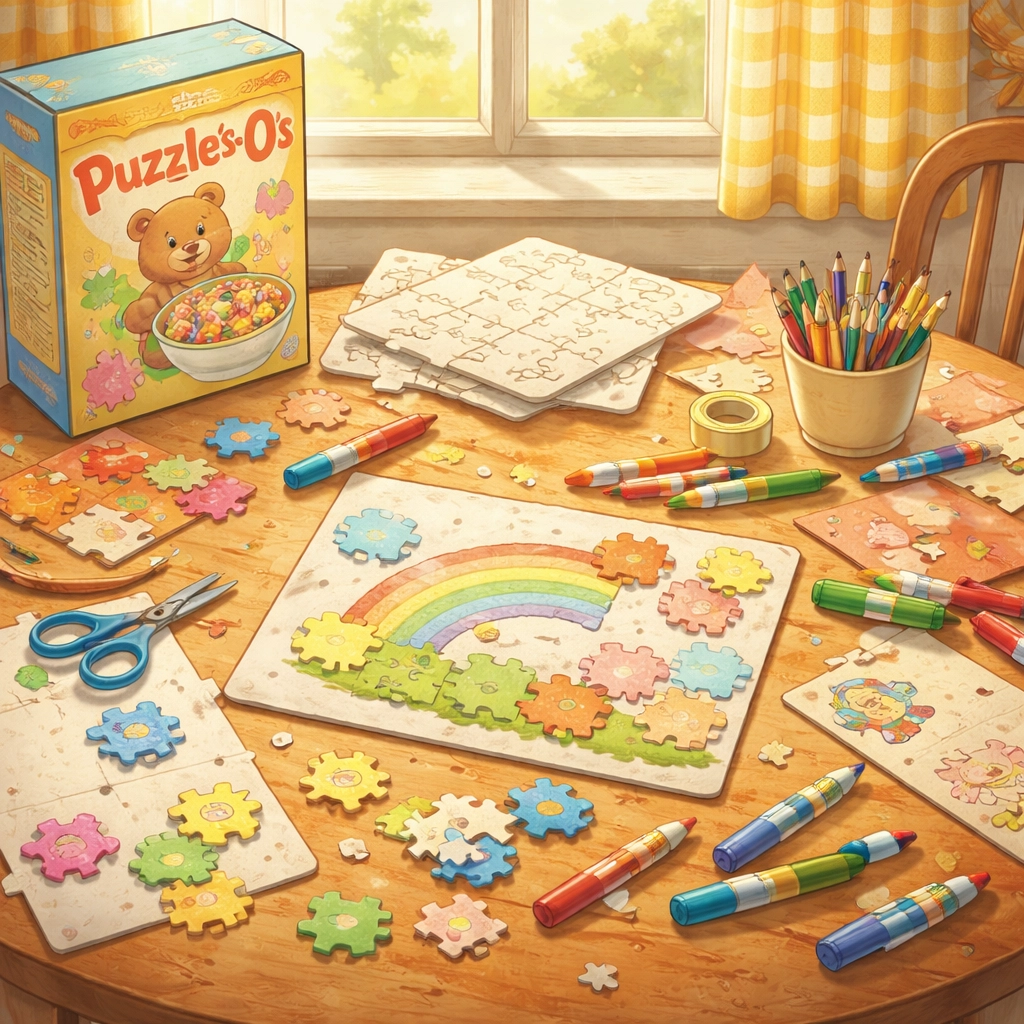
Step 1: Gather Your Cardboard
Look around your home for cardboard you can repurpose. Cereal boxes, cracker boxes, and shipping boxes all work well. You'll want a piece that's relatively flat and not too thick: cereal box cardboard tends to be a good thickness for cutting.
Cut or tear off a section that's roughly 8×10 inches, though any size works. Smaller puzzles with fewer pieces are easier for younger kids, while bigger puzzles can have more pieces for older children.
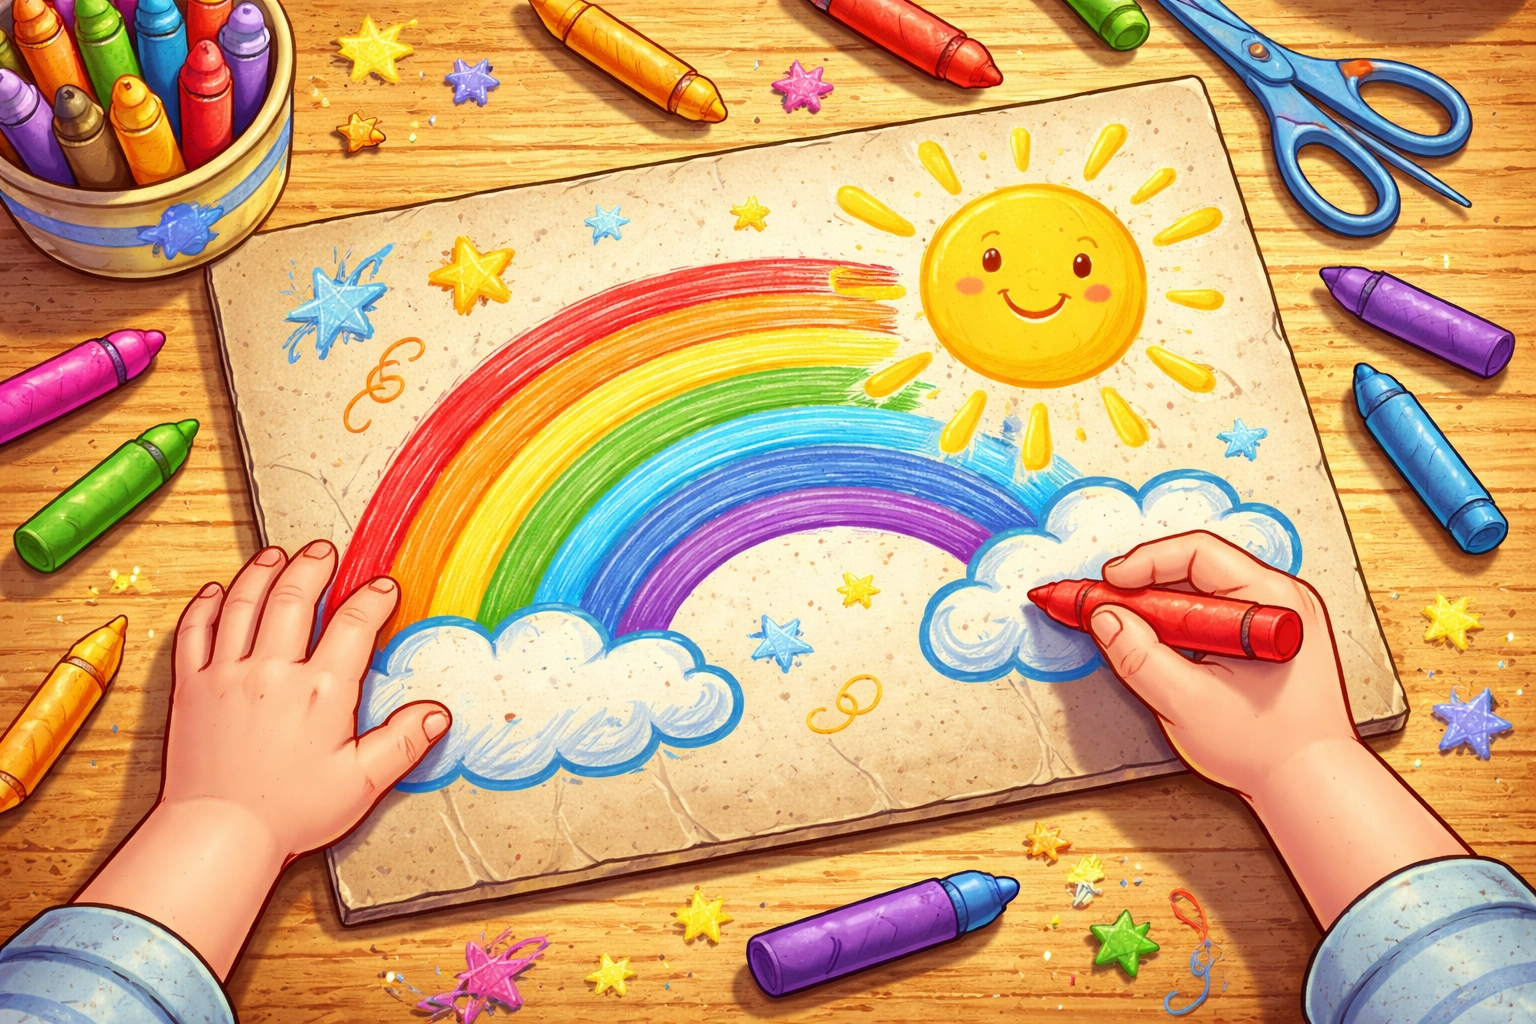
Step 2: Create the Artwork
This is where your child gets to shine. Hand them the cardboard piece (plain side up if using a cereal box) along with markers, crayons, or colored pencils.
Let them draw whatever they'd like:
- A favorite animal
- Their family
- A rainbow or nature scene
- Shapes and patterns
- Their name in big, colorful letters
Tip: Encourage them to color boldly and fill the whole space. This makes the puzzle more interesting to solve later since there are more visual clues.
If your child prefers, you can also glue a printed coloring page, magazine picture, or photograph onto the cardboard instead of drawing freehand.
Step 3: Plan Your Puzzle Cuts
Once the artwork is complete and any glue has dried, flip the cardboard over to the blank side. Using a pencil, lightly draw the lines where you'll cut.
For younger children (ages 3-4): Start with just 4-6 large pieces. Simple horizontal and vertical lines work well.
For children ages 5-7: You can try 8-12 pieces with some wavy or interlocking lines if you're feeling adventurous.
Pro tip: Take a quick photo of the finished artwork before cutting. This gives your child a reference image when they're solving the puzzle, which can reduce frustration: especially for younger kids.
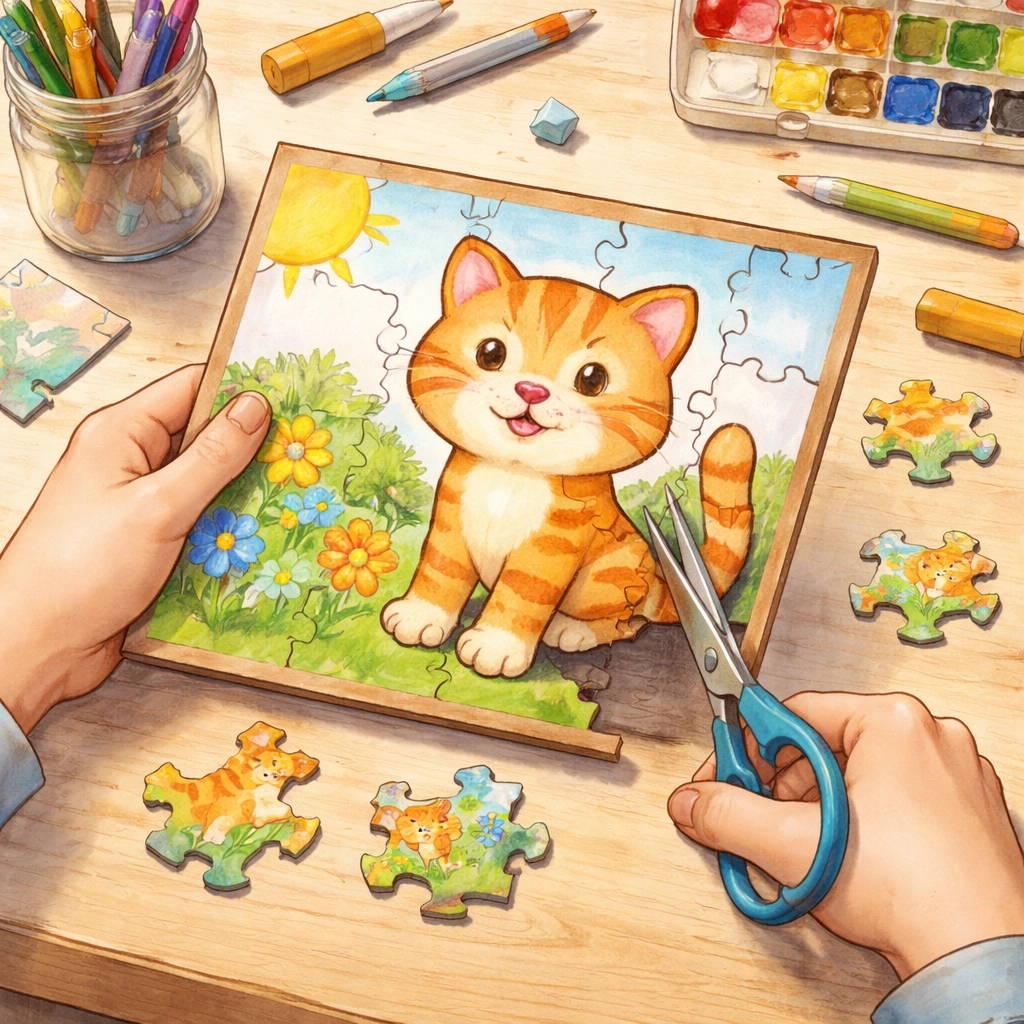
Step 4: Cut the Puzzle Pieces
Here's where age and skill level matter most:
- For children under 5: An adult should handle the cutting.
- For children 5-7: They can try cutting with child-safe scissors under supervision, though thicker cardboard may require adult help.
Cut along your pencil lines carefully. Don't worry if the cuts aren't perfectly straight or the pieces aren't uniform: handmade puzzles have character, and slight imperfections won't affect the fun.
Step 5: Mix and Solve
Shuffle up the pieces, spread them out on a table or the floor, and let your child put their creation back together.
For very young children, you might start by mixing up just 2-3 pieces at a time, then gradually add more as they get the hang of it.
Variations to Try
Once you've mastered the basic version, here are some ways to mix things up:
Strip Puzzles (Easiest)
Instead of irregular shapes, simply cut the artwork into 4-6 vertical strips. Kids arrange them left to right to complete the picture. This is a great starting point for 3-year-olds.
Shape Learning Puzzles
Draw or trace basic shapes (circle, square, triangle, star) on the cardboard, cut them out, and have children match the shapes back into the correct holes. You can write the shape names in each space for early readers.
Number Puzzles
Draw a simple scene, then draw numbers 1-5 or 1-10 on different sections before cutting. Kids can practice putting the numbers in order while assembling the puzzle.
Two-Layer Puzzles
Glue your puzzle base onto a second piece of cardboard before cutting. This creates a "frame" that holds the pieces in place, which can be helpful for kids who get frustrated when pieces slide around.
Helpful Tips for Success
Keep pieces together: Store finished puzzle pieces in a ziplock bag or envelope with the reference photo tucked inside. This prevents the "where did that piece go?" problem.
Test the fit: Before handing the puzzle to your child, quickly reassemble it yourself to make sure all pieces fit together properly. Occasionally a cut goes slightly off, and it's easier to trim a piece than to deal with a frustrated kiddo.
Start simple: It's tempting to make a 20-piece masterpiece right away, but starting with fewer pieces helps build confidence. You can always make more challenging puzzles as your child's skills grow.
Make it a series: Let your child create a new puzzle each week featuring different themes: animals one week, vehicles the next. Over time, you'll build a collection of homemade puzzles.
Why This Activity Works
DIY cardboard puzzles check a lot of boxes for child development:
- Fine motor skills: Coloring, and for older kids, cutting
- Problem-solving: Figuring out how pieces fit together
- Spatial awareness: Recognizing how parts relate to a whole
- Pride of ownership: Kids tend to enjoy puzzles more when they made them
Plus, there's something satisfying about turning would-be recycling into a toy that provides repeat entertainment.
FAQ
- How thick should the cardboard be for a DIY puzzle? A cereal box or a thin shipping box is perfect. It's sturdy enough to last but thin enough that kids (or adults) can cut through it easily with regular scissors.
- What is the best way to cut the puzzle pieces? For younger kids, stick to simple straight lines or large wavy cuts. For older kids, you can try more traditional interlocking shapes. Always supervise closely during the cutting phase!
- Can I use a photo instead of a drawing? Absolutely! You can glue a favorite family photo or a picture from a magazine onto the cardboard before cutting it into pieces. Just make sure the glue is completely dry before you start cutting.
References
- Research on cardboard puzzle methods and variations from craft education sources
- Age-appropriateness guidelines based on fine motor development research
Looking for more hands-on projects to do with your kids? Check out our guide on how to make a DIY worm composting bin with children or explore building a mini windmill from recycled materials for your next family activity.


