


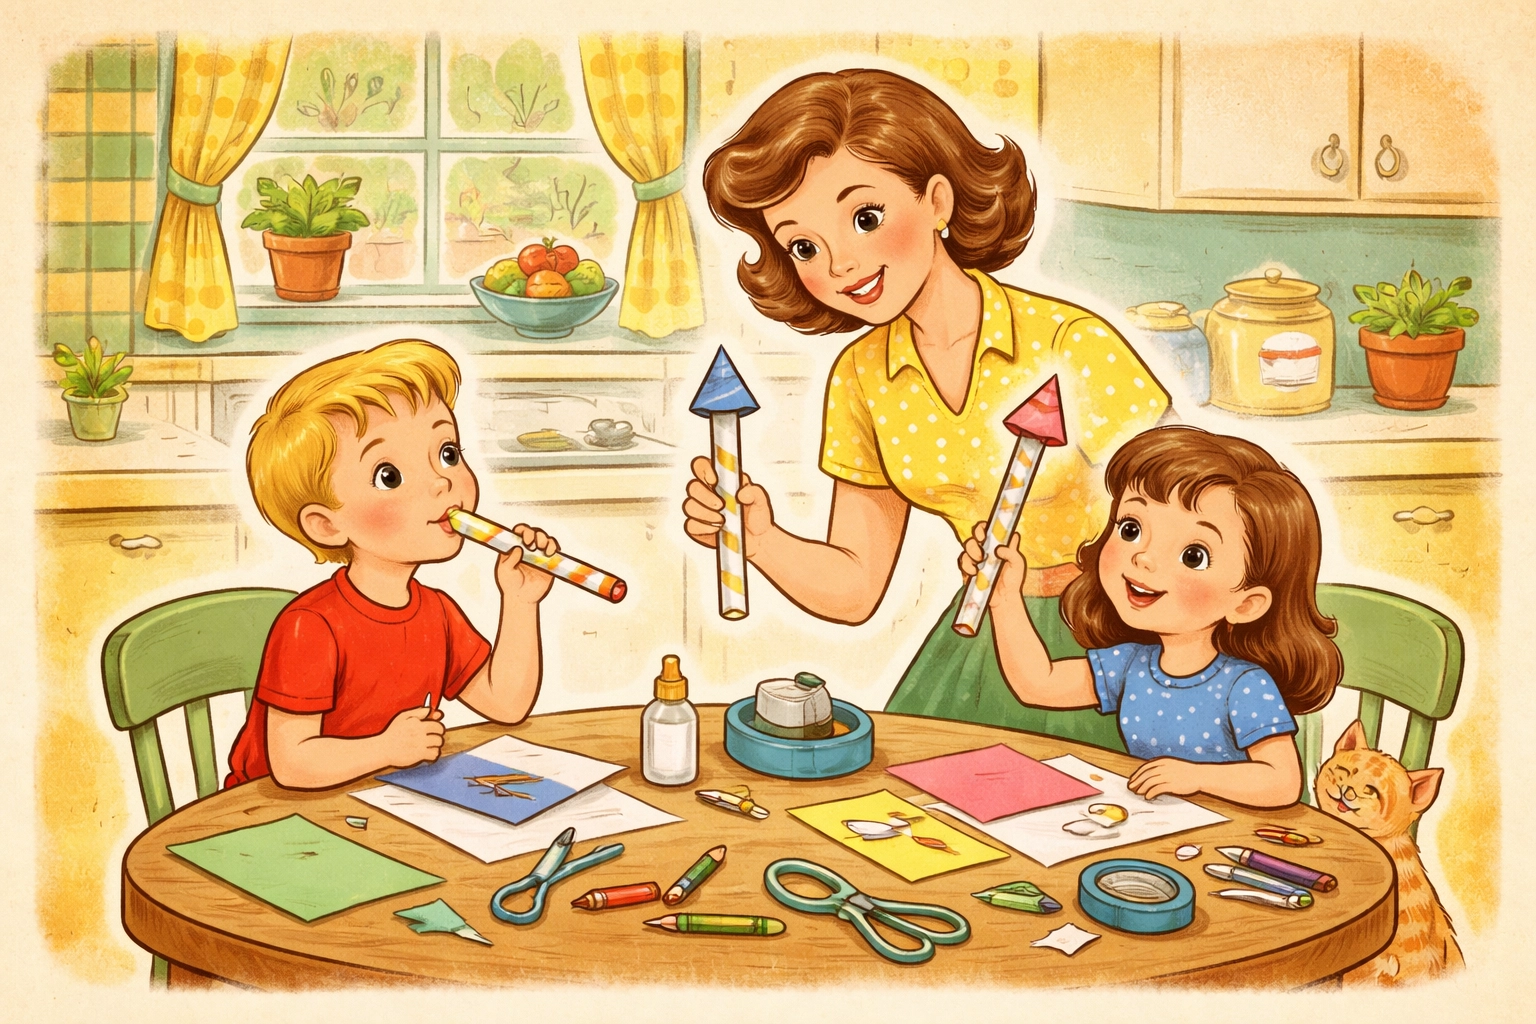
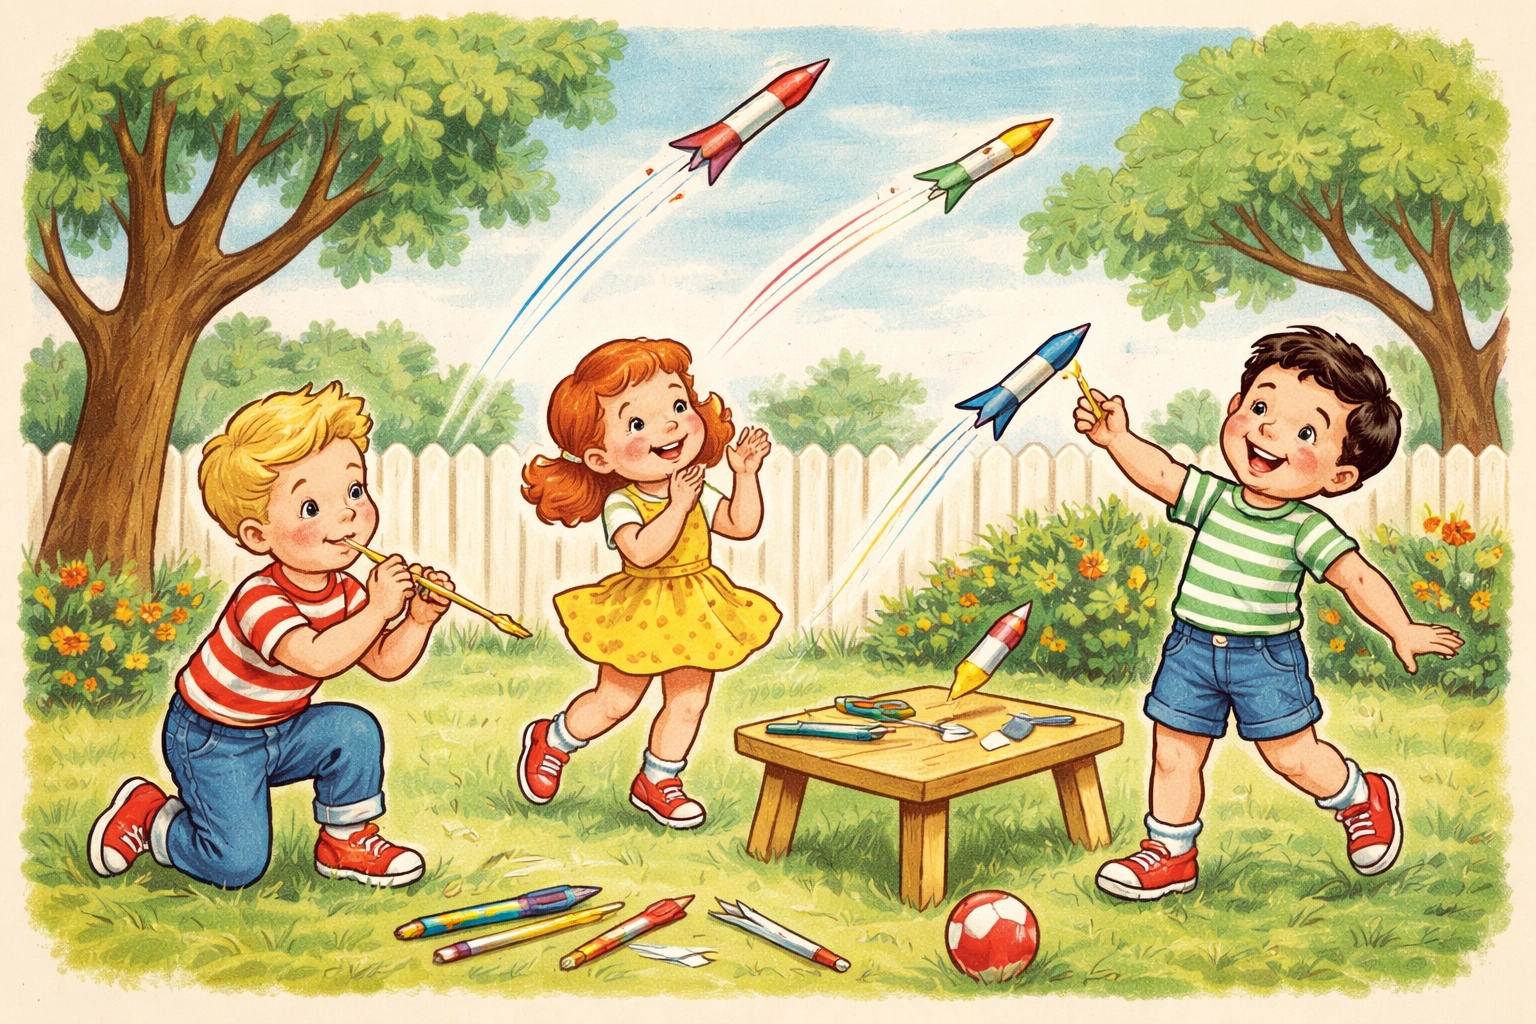
DIY straw rockets are one of the easiest and most satisfying STEM crafts you can do with kids. You'll need paper, straws, tape, and scissors, that's it. The whole project typically takes about 15-20 minutes, costs well under $10, and works for ages 3 and up with a little guidance. Kids roll paper around a straw, seal one end to trap air, decorate their creation, and then launch it across the room (or yard) with a single breath. It's simple physics wrapped in pure fun.
Let's get into everything you need to know to pull this off without a hitch.
Why Straw Rockets Work So Well for Family Craft Time
There's something almost magical about watching a paper rocket shoot across the kitchen when your kid blows into a straw. The "wow" factor is immediate, and the science behind it clicks without needing a lecture.
When you blow into the straw, air pressure builds up inside the sealed paper tube. That pressure has to go somewhere, so it pushes the rocket forward. Kids grasp cause-and-effect instantly, and older kids can start experimenting with variables like fin shapes or launch angles.
Plus, cleanup is minimal. No glitter. No paint drying for hours. Just paper scraps and maybe a stray straw or two.
Materials You'll Need
Here's everything required to make straw rockets at home. You likely have most of this already.
| Material | Quantity | Estimated Cost |
|---|---|---|
| Paper (copy paper or construction paper) | 2-3 sheets | ~$0.10 |
| Plastic or paper straws | 5-10 | ~$1.00 |
| Scissors | 1 pair | Already owned |
| Clear tape or masking tape | 1 roll | ~$1.50 |
| Markers, crayons, or colored pencils | Assorted | Already owned |
| Index cards or cardstock (optional, for fins) | 2-3 cards | ~$0.50 |
Total estimated cost: Under $4
Even if you need to buy everything from scratch, you're staying well under $10. And you'll have supplies left over for multiple rocket-building sessions.
Age Ranges: Who Can Do What
Straw rockets are flexible enough to work across a wide age range. Here's a general breakdown:
Ages 3-4: Kids this age can decorate the paper, help with rolling (with assistance), and definitely handle the launching. They'll likely need an adult to do the cutting and taping.
Ages 5-7: Most kids in this range can handle the entire simple version with minimal help. They might need guidance on rolling the paper snugly enough around the straw.
Ages 8+: Older kids can tackle the advanced version with fins and nose cones. They can also start experimenting with design variables and tracking results, turning it into a mini science fair project if they're interested.
Time Estimate
- Simple version: 10-15 minutes per rocket
- Advanced version with fins: 20-25 minutes per rocket
- Full activity with decorating and multiple launches: 30-45 minutes
This is a great activity for those "I'm bored" moments because it doesn't require extensive prep time.
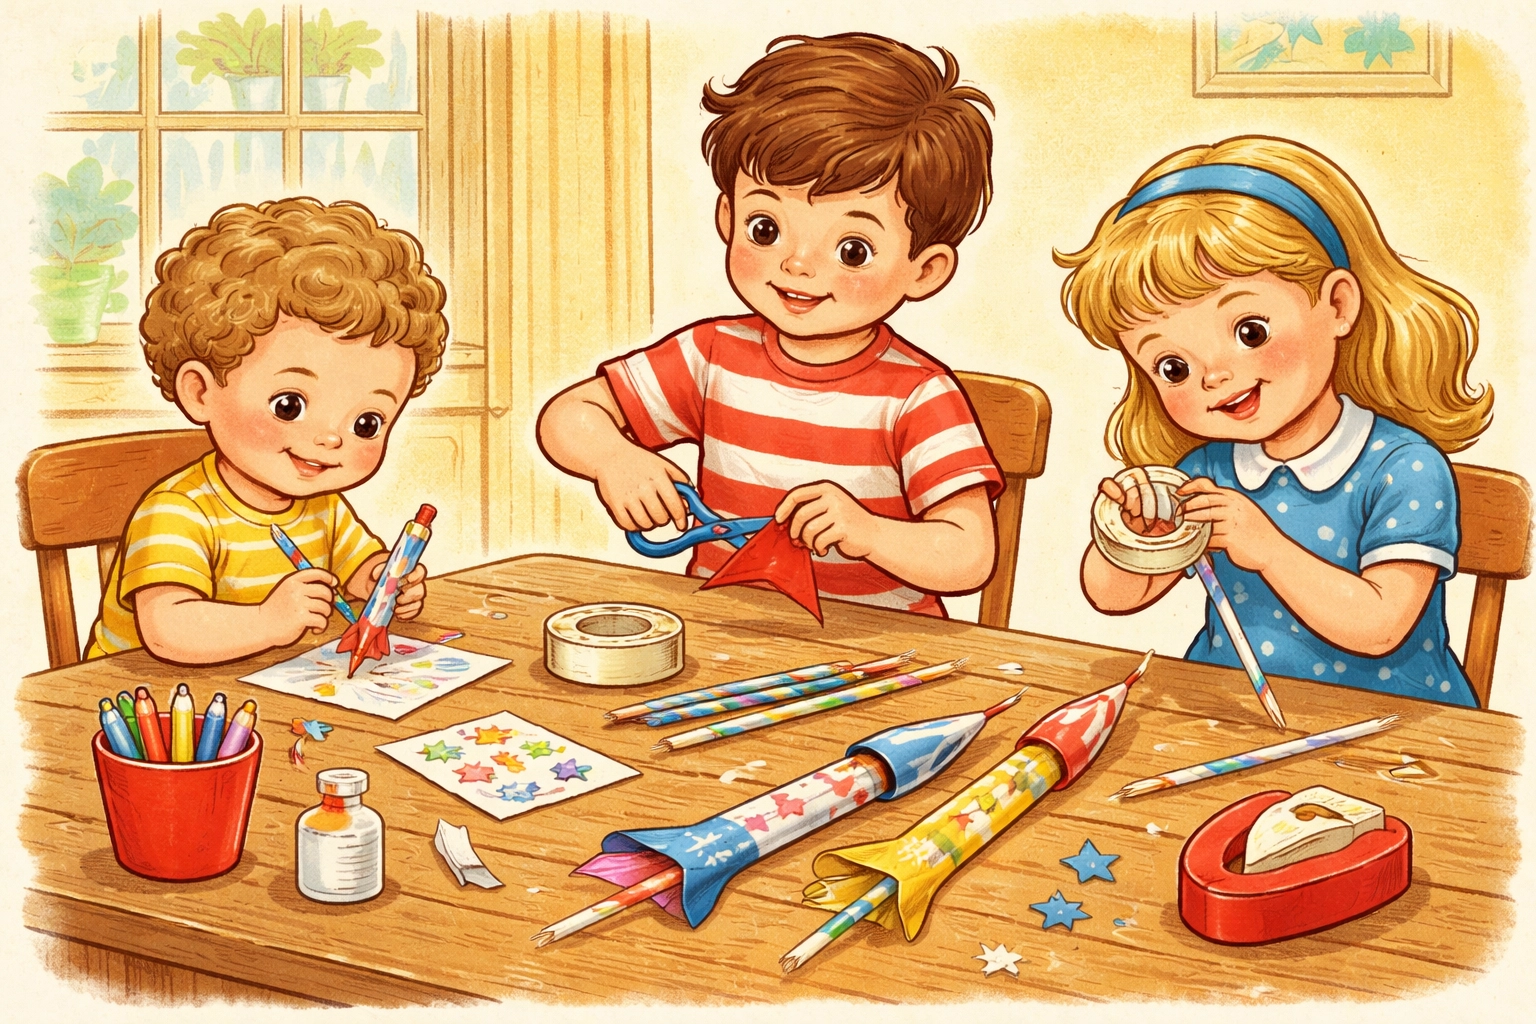
Step-by-Step: Simple Straw Rockets
This version works beautifully for younger kids or when you want quick results.
Step 1: Cut Your Paper
Cut a piece of paper into strips roughly 3 inches by 3 inches. Each square will make one rocket, though you can cut them in half for smaller rockets.
Step 2: Decorate First
Hand over the markers and let kids go wild. Flames, stars, stripes, polka dots, whatever they want. Decorating is easier when the paper is still flat.
Step 3: Roll the Paper Around the Straw
Place the straw along one edge of the paper square. Roll the paper around the straw, keeping it snug but not too tight. The rocket needs to slide on and off the straw easily.
Tape the seam closed so the tube holds its shape.
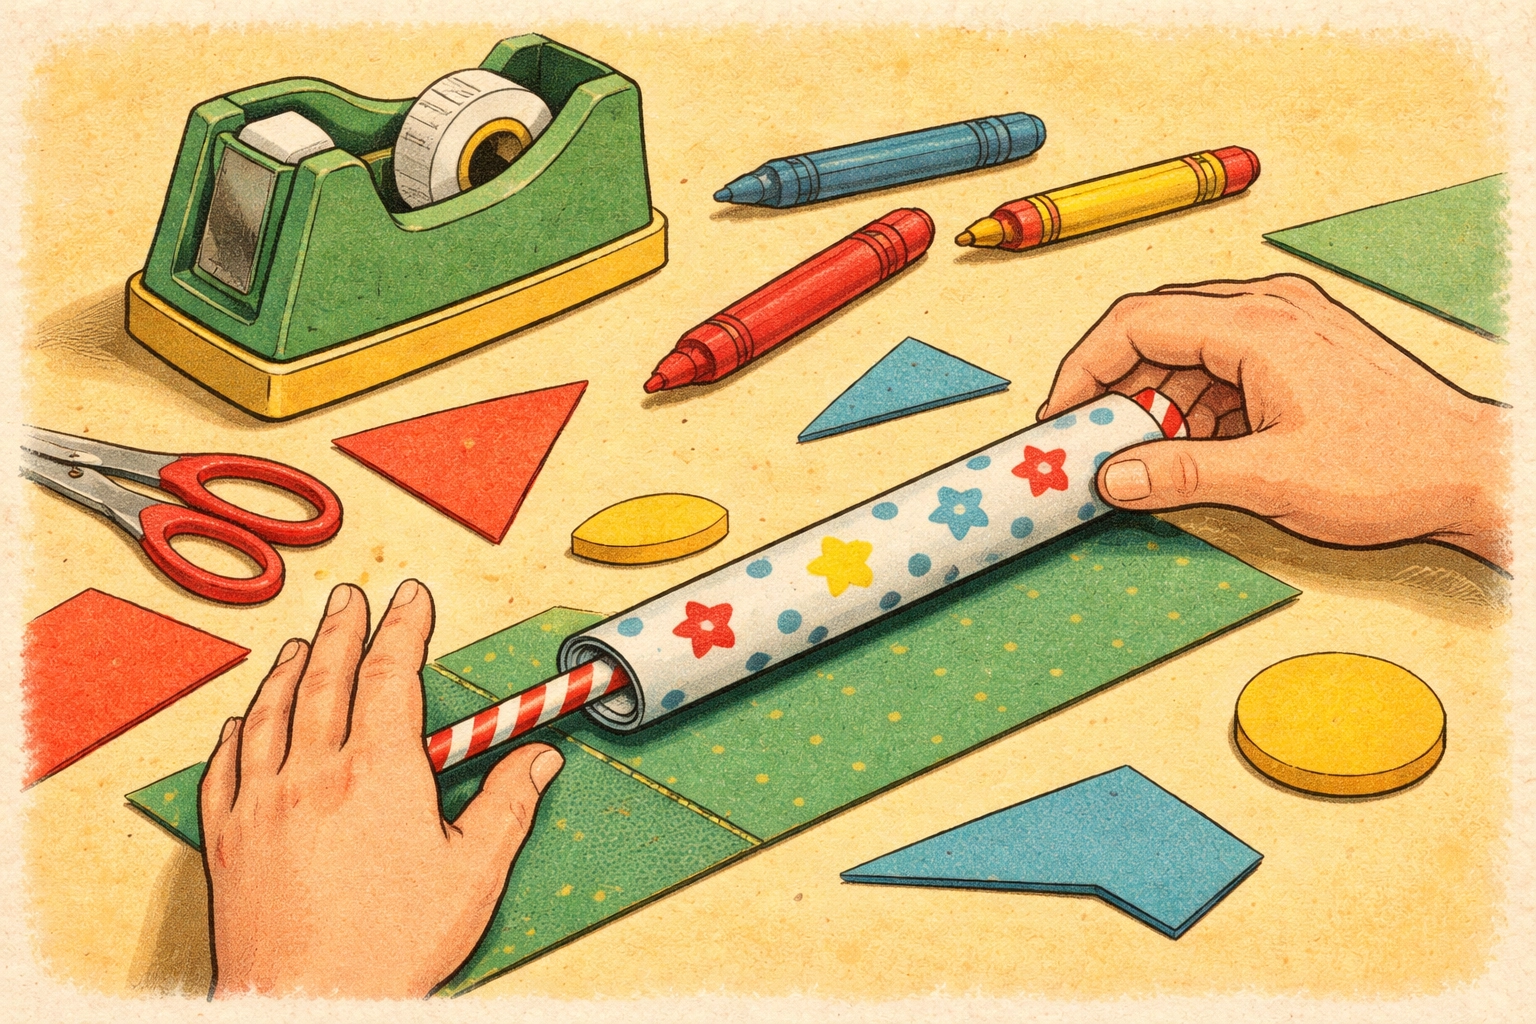
Step 4: Seal the Top
This is the critical step. Fold the top of the paper tube down and tape it completely shut. No air should escape from this end. If air leaks out, your rocket won't launch with any force.
Step 5: Launch
Slide the rocket onto the straw (open end down), aim, and blow. Watch it fly.
Step-by-Step: Advanced Straw Rockets with Fins
For kids who want more of a challenge, this version introduces aerodynamics in a hands-on way.
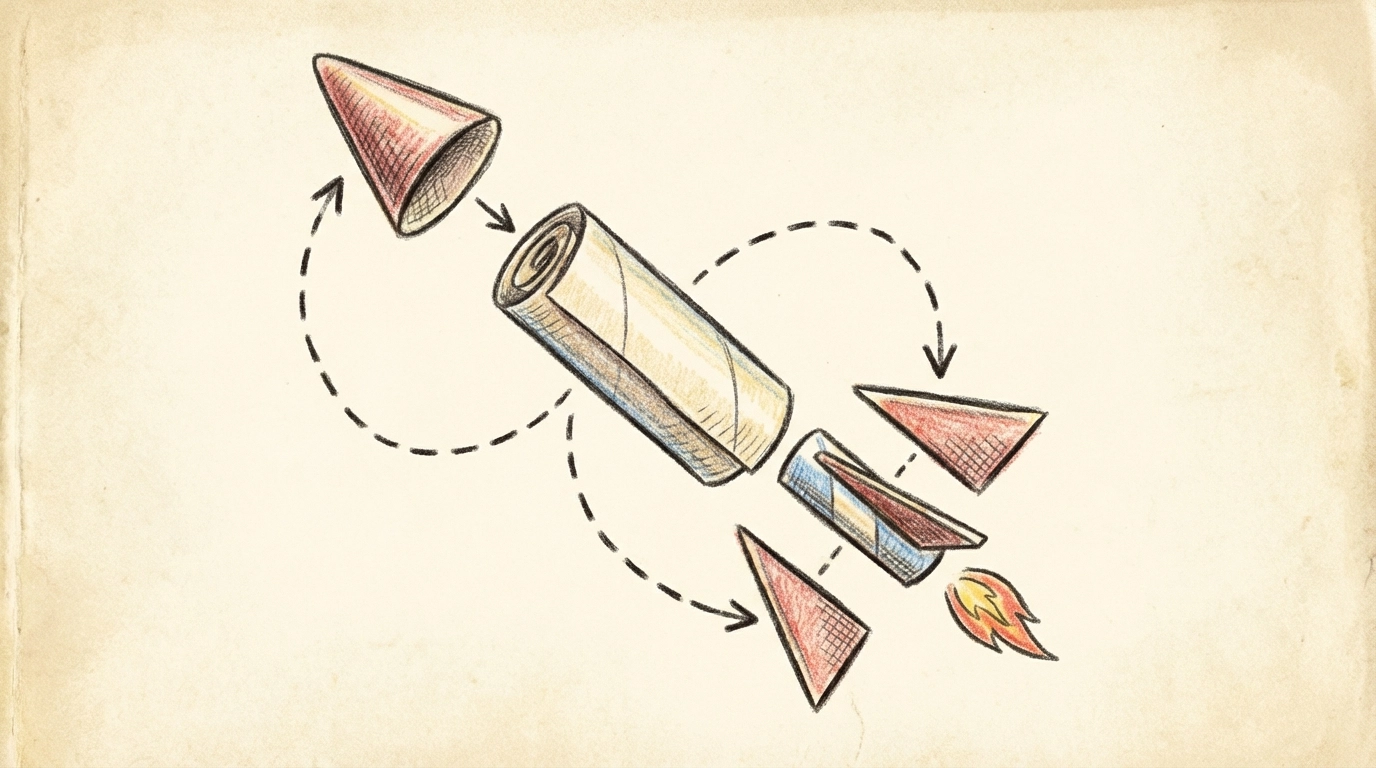
Step 1: Create the Rocket Body
Cut a strip of paper about 8½ inches by 2¾ inches. Wrap it lengthwise around a pencil (not the straw, the pencil gives you a sturdier tube). Tape the seam closed and slide the pencil out.
Step 2: Add the Nose Cone
Flatten one end of your paper tube. Fold it into a triangular point, almost like you're wrapping a present. Tape it securely so no air can escape.
Step 3: Cut and Attach Fins
Cut 2-4 small triangular or rectangular fins from index cards or cardstock. Tape them to the bottom of the rocket body, spacing them evenly. When viewed from the bottom, the fins should form a + shape.
Fins help stabilize the rocket in flight and generally improve distance.
Step 4: Decorate
Add designs, a rocket name, or window details. This is where personality comes in.
Step 5: Launch with the Straw
Insert a straw into the open end of the rocket (the end with the fins). Blow firmly and watch your advanced rocket soar.
Tips for Better Launches
Roll snugly, not tightly. If the paper is too tight on the straw, friction will slow your launch. If it's too loose, air escapes around the sides.
Seal completely. Any air leak from the nose cone means weak launches. Use extra tape if needed.
Experiment with angles. A 45-degree launch angle often produces the longest flights, but let kids discover this through trial and error.
Try different paper weights. Construction paper makes heavier rockets that fly differently than copy paper rockets. Cardstock creates even sturdier builds.
Set up a target. Place a laundry basket across the room and see who can land their rocket inside. Instant game.
Educational Extensions
If your kids are hungry for more learning, straw rockets open up several directions:
- Measure flight distance with a tape measure and record results in a notebook
- Change one variable at a time (fin size, nose cone length, straw diameter) and compare outcomes
- Discuss Newton's Third Law in kid-friendly terms: the air you blow pushes back, sending the rocket forward
- Graph results for older kids who want data visualization practice
This pairs nicely with other hands-on STEM projects. If your family enjoys building things together, you might also like our guide on how to build a mini windmill from recycled materials.
Frequently Asked Questions
What age is appropriate for straw rockets?
Kids as young as 3 can participate with help, though they'll mostly decorate and launch. Ages 5 and up can typically handle most steps independently.
Do I need special straws?
Regular plastic or paper drinking straws work fine. Wider straws (like smoothie straws) can work but require larger paper tubes.
How far do straw rockets fly?
Most simple rockets travel 10-20 feet. Advanced versions with fins and good nose cones can sometimes reach 30 feet or more, depending on lung power.
Can we do this indoors?
Absolutely. Straw rockets are lightweight and unlikely to break anything. Clear a hallway or living room and you're set.
Why won't my rocket fly very far?
Usually, the nose cone isn't sealed well enough, or the paper tube is too tight on the straw. Check for air leaks and adjust the fit.
Is this activity safe for toddlers?
With supervision, yes. Just watch for straw-chewing and keep scissors out of reach. Toddlers generally love the launching part.
Can we reuse the rockets?
Often, yes. If the nose cone stays intact and the tape holds, a single rocket can handle dozens of launches.
What's the best paper to use?
Standard copy paper works great for beginners. Construction paper adds durability. Cardstock is ideal for fins.
How can I make this more challenging for older kids?
Introduce variables to test: fin placement, rocket length, paper thickness, or launch angle. Have them predict outcomes before testing.
Can we use this for a party activity?
Straw rockets make excellent party activities. Set up a decorating station, then move to a launching area for competitions.
References
- Research on basic straw rocket construction methods
- Educational extensions for classroom and home science activities
- Advanced rocket building techniques with fins and nose cones
- Physics principles behind air-powered rocket launches
For more hands-on family projects, explore our full collection of kids crafts at Tierney Family Farms.


